Loading
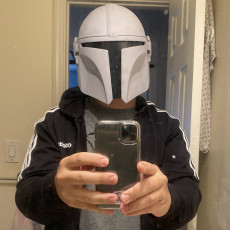
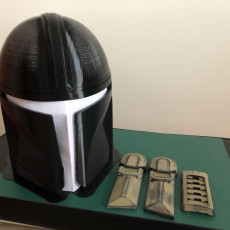
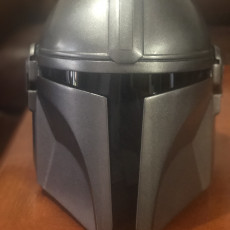
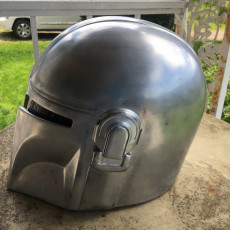
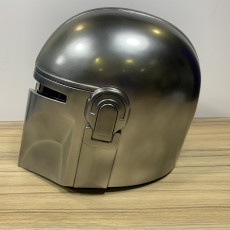
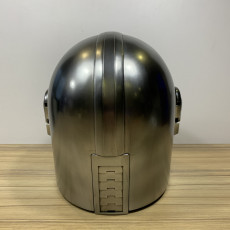
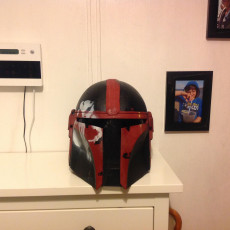
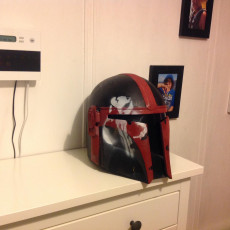
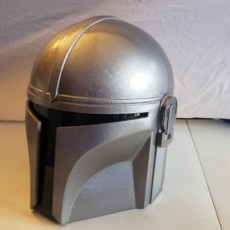
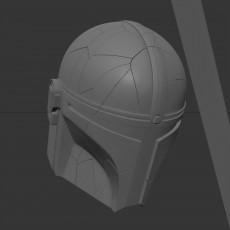
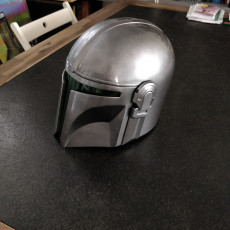
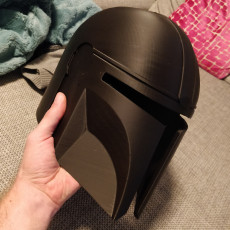
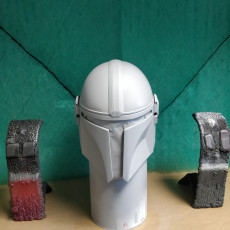
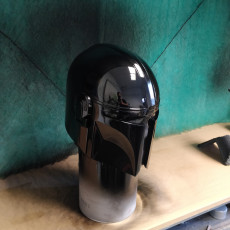
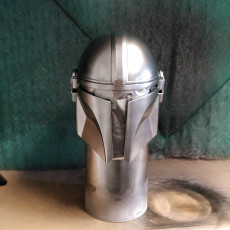
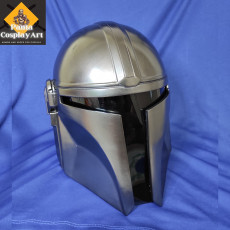
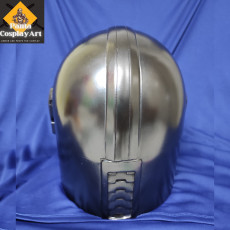
Mandalorian Helmet - v2
Published 2019-11-30T20:02:45+00:00


-
ear-left-bottom
-
ear-left-top
-
ear-right-bottom
-
ear-right-top
-
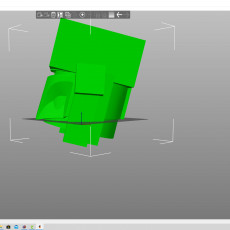
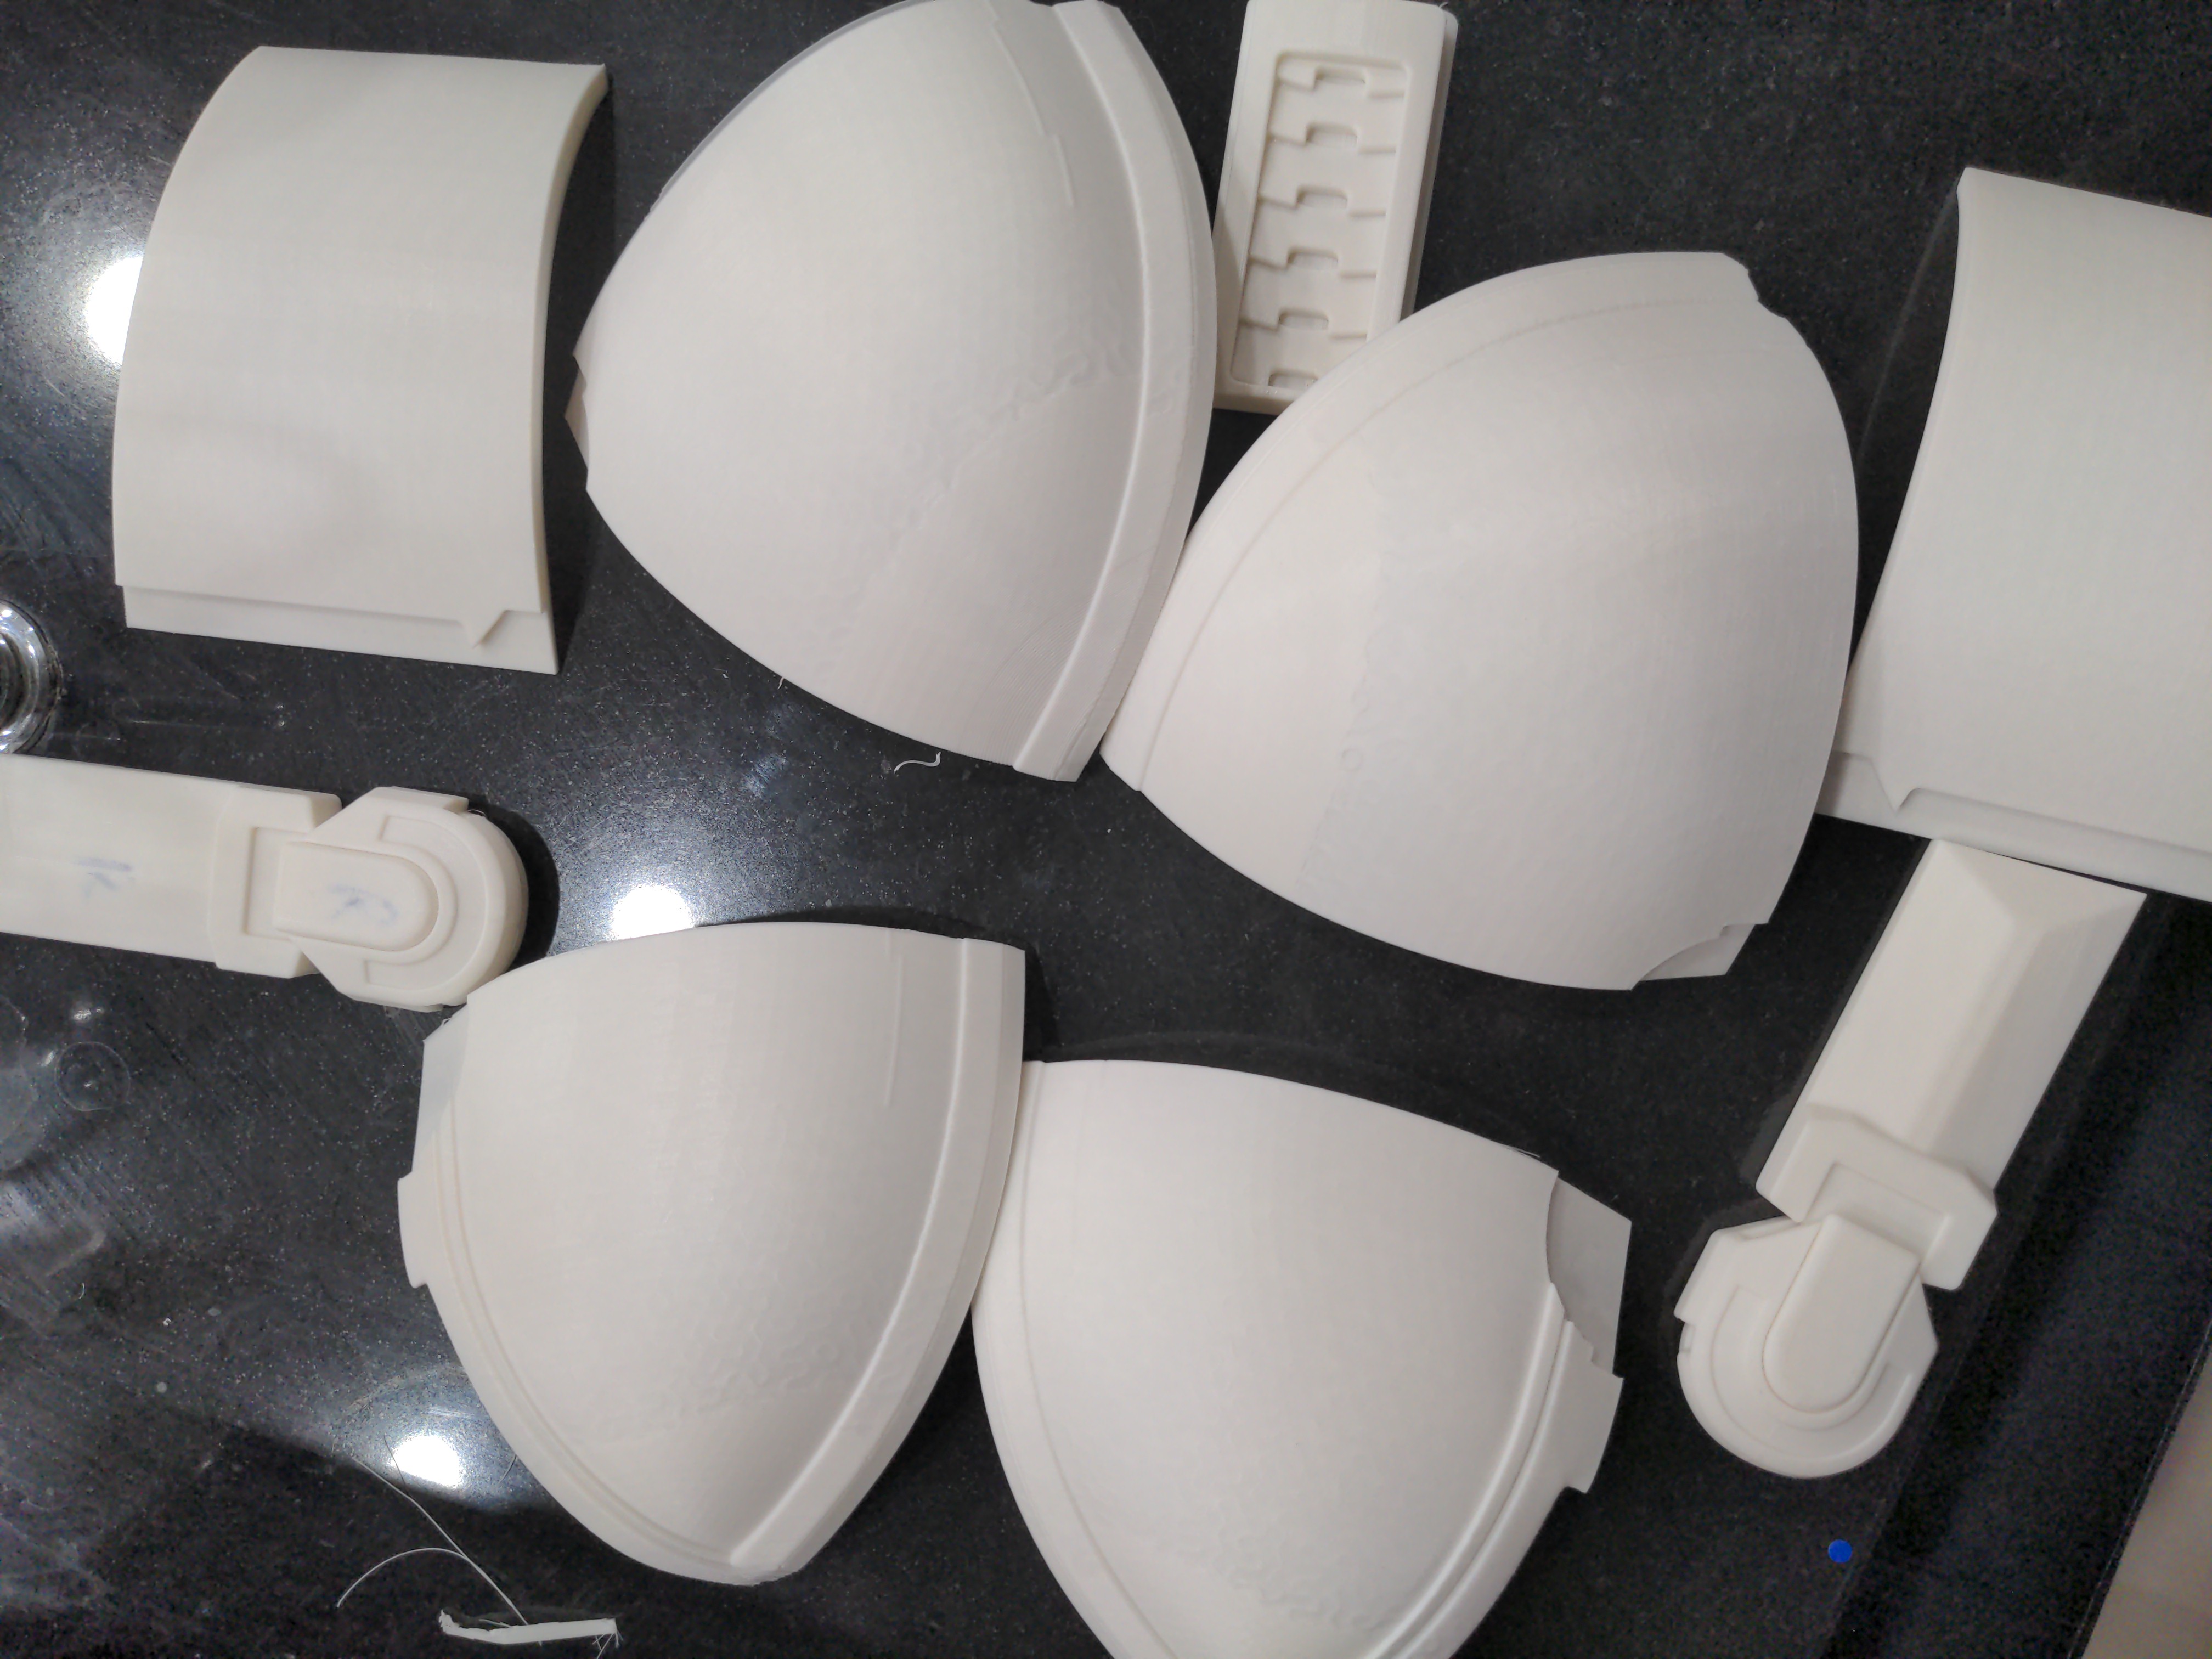
helmet-1-piece
-
helmet-2-piece-left
-
helmet-2-piece-right
-
helmet-8-piece-left-back
-
helmet-8-piece-left-back
-
helmet-8-piece-left-fron
-
helmet-8-piece-left-fron
-
helmet-8-piece-right-bac
-
helmet-8-piece-right-bac
-
helmet-8-piece-right-fro
-
helmet-8-piece-right-fro
-
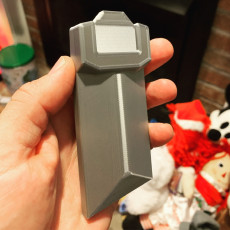
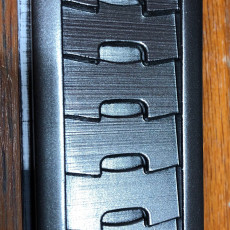
vent
-
visor
-
ear-left-bottom
-
ear-left-top
-
ear-right-bottom
-
ear-right-top
-
helmet-1-piece
-
helmet-2-piece-left
-
helmet-2-piece-right
-
helmet-8-piece-left-back
-
helmet-8-piece-left-back
-
helmet-8-piece-left-fron
-
helmet-8-piece-left-fron
-
helmet-8-piece-right-bac
-
helmet-8-piece-right-bac
-
helmet-8-piece-right-fro
-
helmet-8-piece-right-fro
-
vent
-
visor


Mandalorian Helmet - v2
Published 2019-11-30T20:02:45+00:00
First off, this helmet is NOT to be sold, remixed or redistributed. (That also means selling prints) I'm making it available FREE for personal use only. If you are doing anything that makes money with it, you are violating my copyright, as well as the intellectual property rights of Disney. That being said, if you are featuring it on YouTube or other similar avenues that potentially earns ad revenue, that is allowed.
Now that all the legal stuff is out of the way, have fun!!! Be sure and post your builds. I would love to see what you guys come up with.
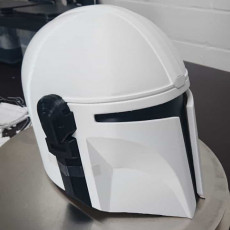
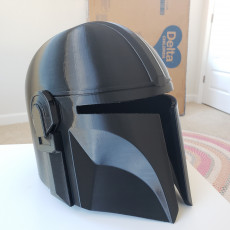
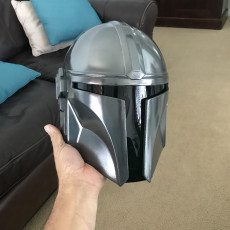
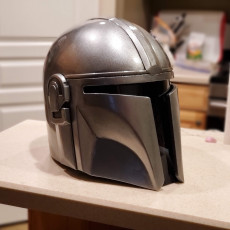
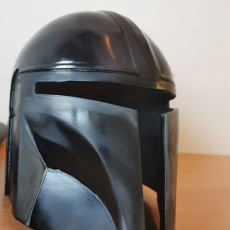
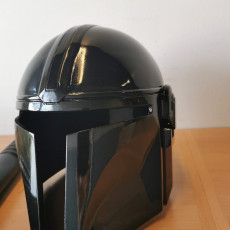
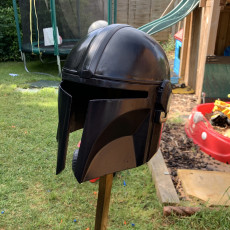
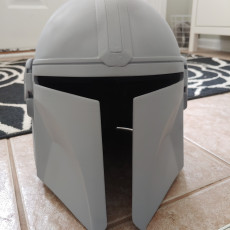
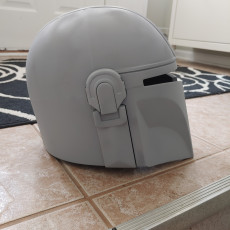
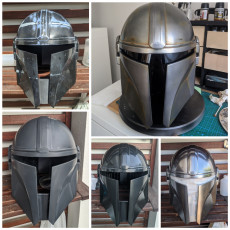
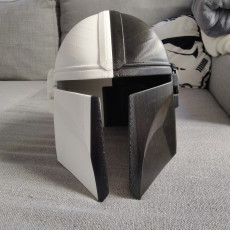
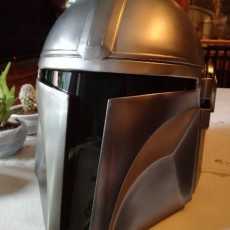
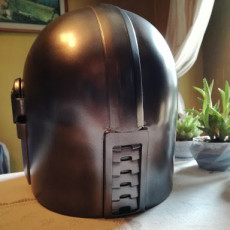
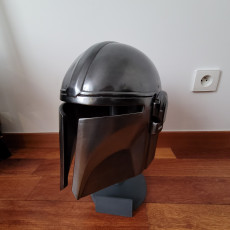
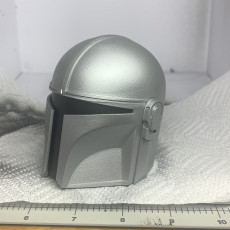
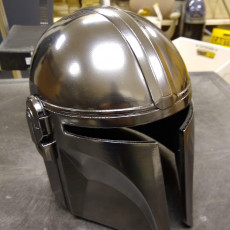
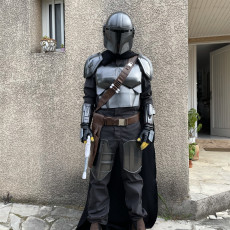
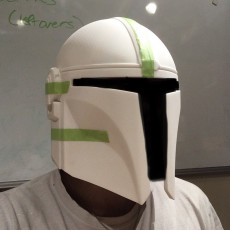
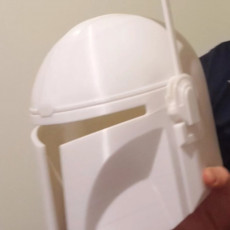
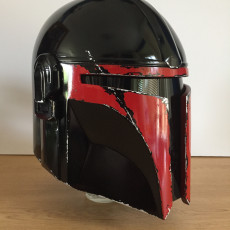
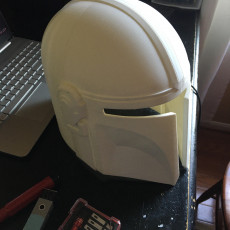
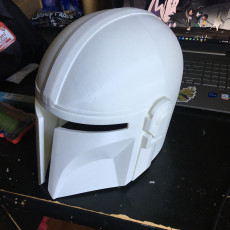
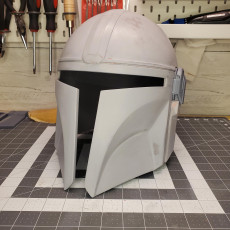
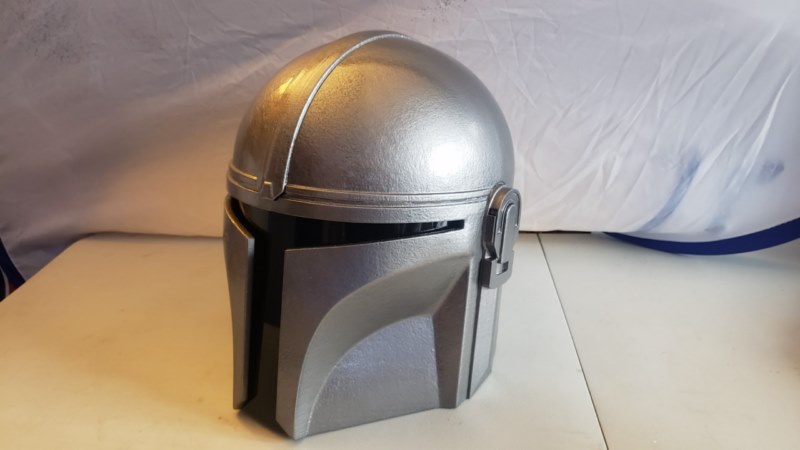
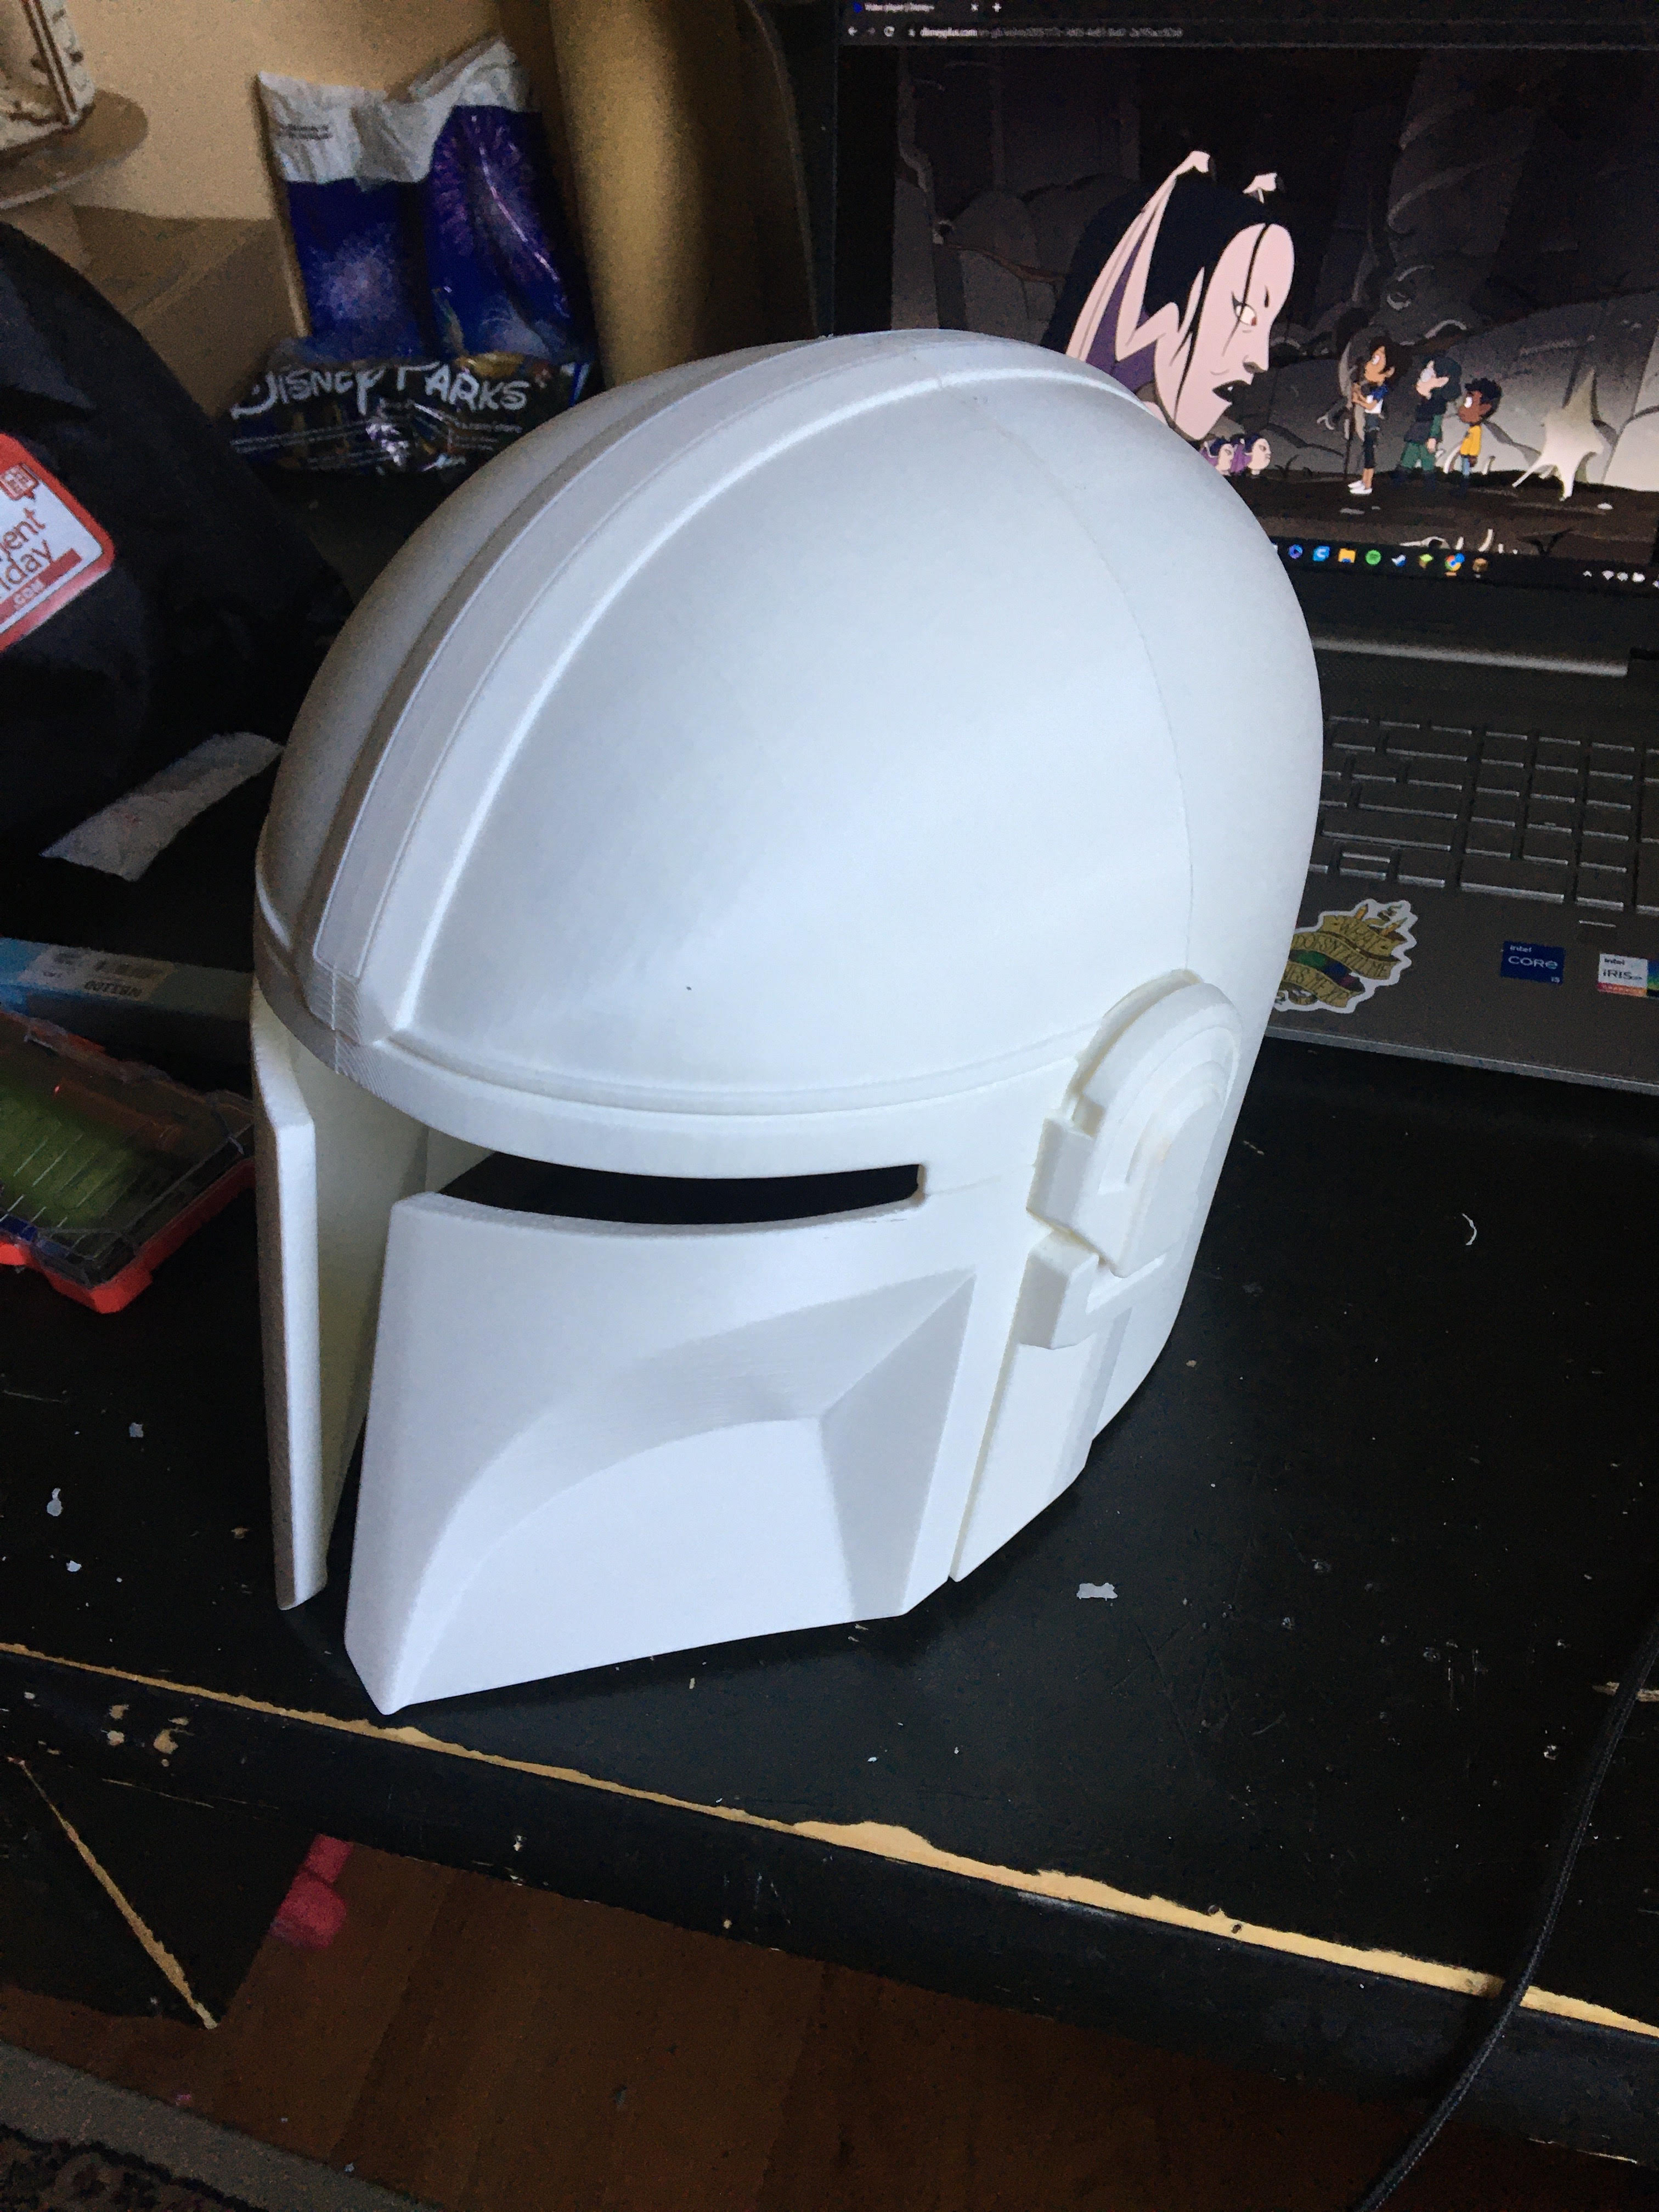
This is my second version of the Mandalorian Helmet. The first was created when only two images were available. I tried to make this one as accurate as I could going from new reference photos.


| Date de publication | 30/11/2019 |


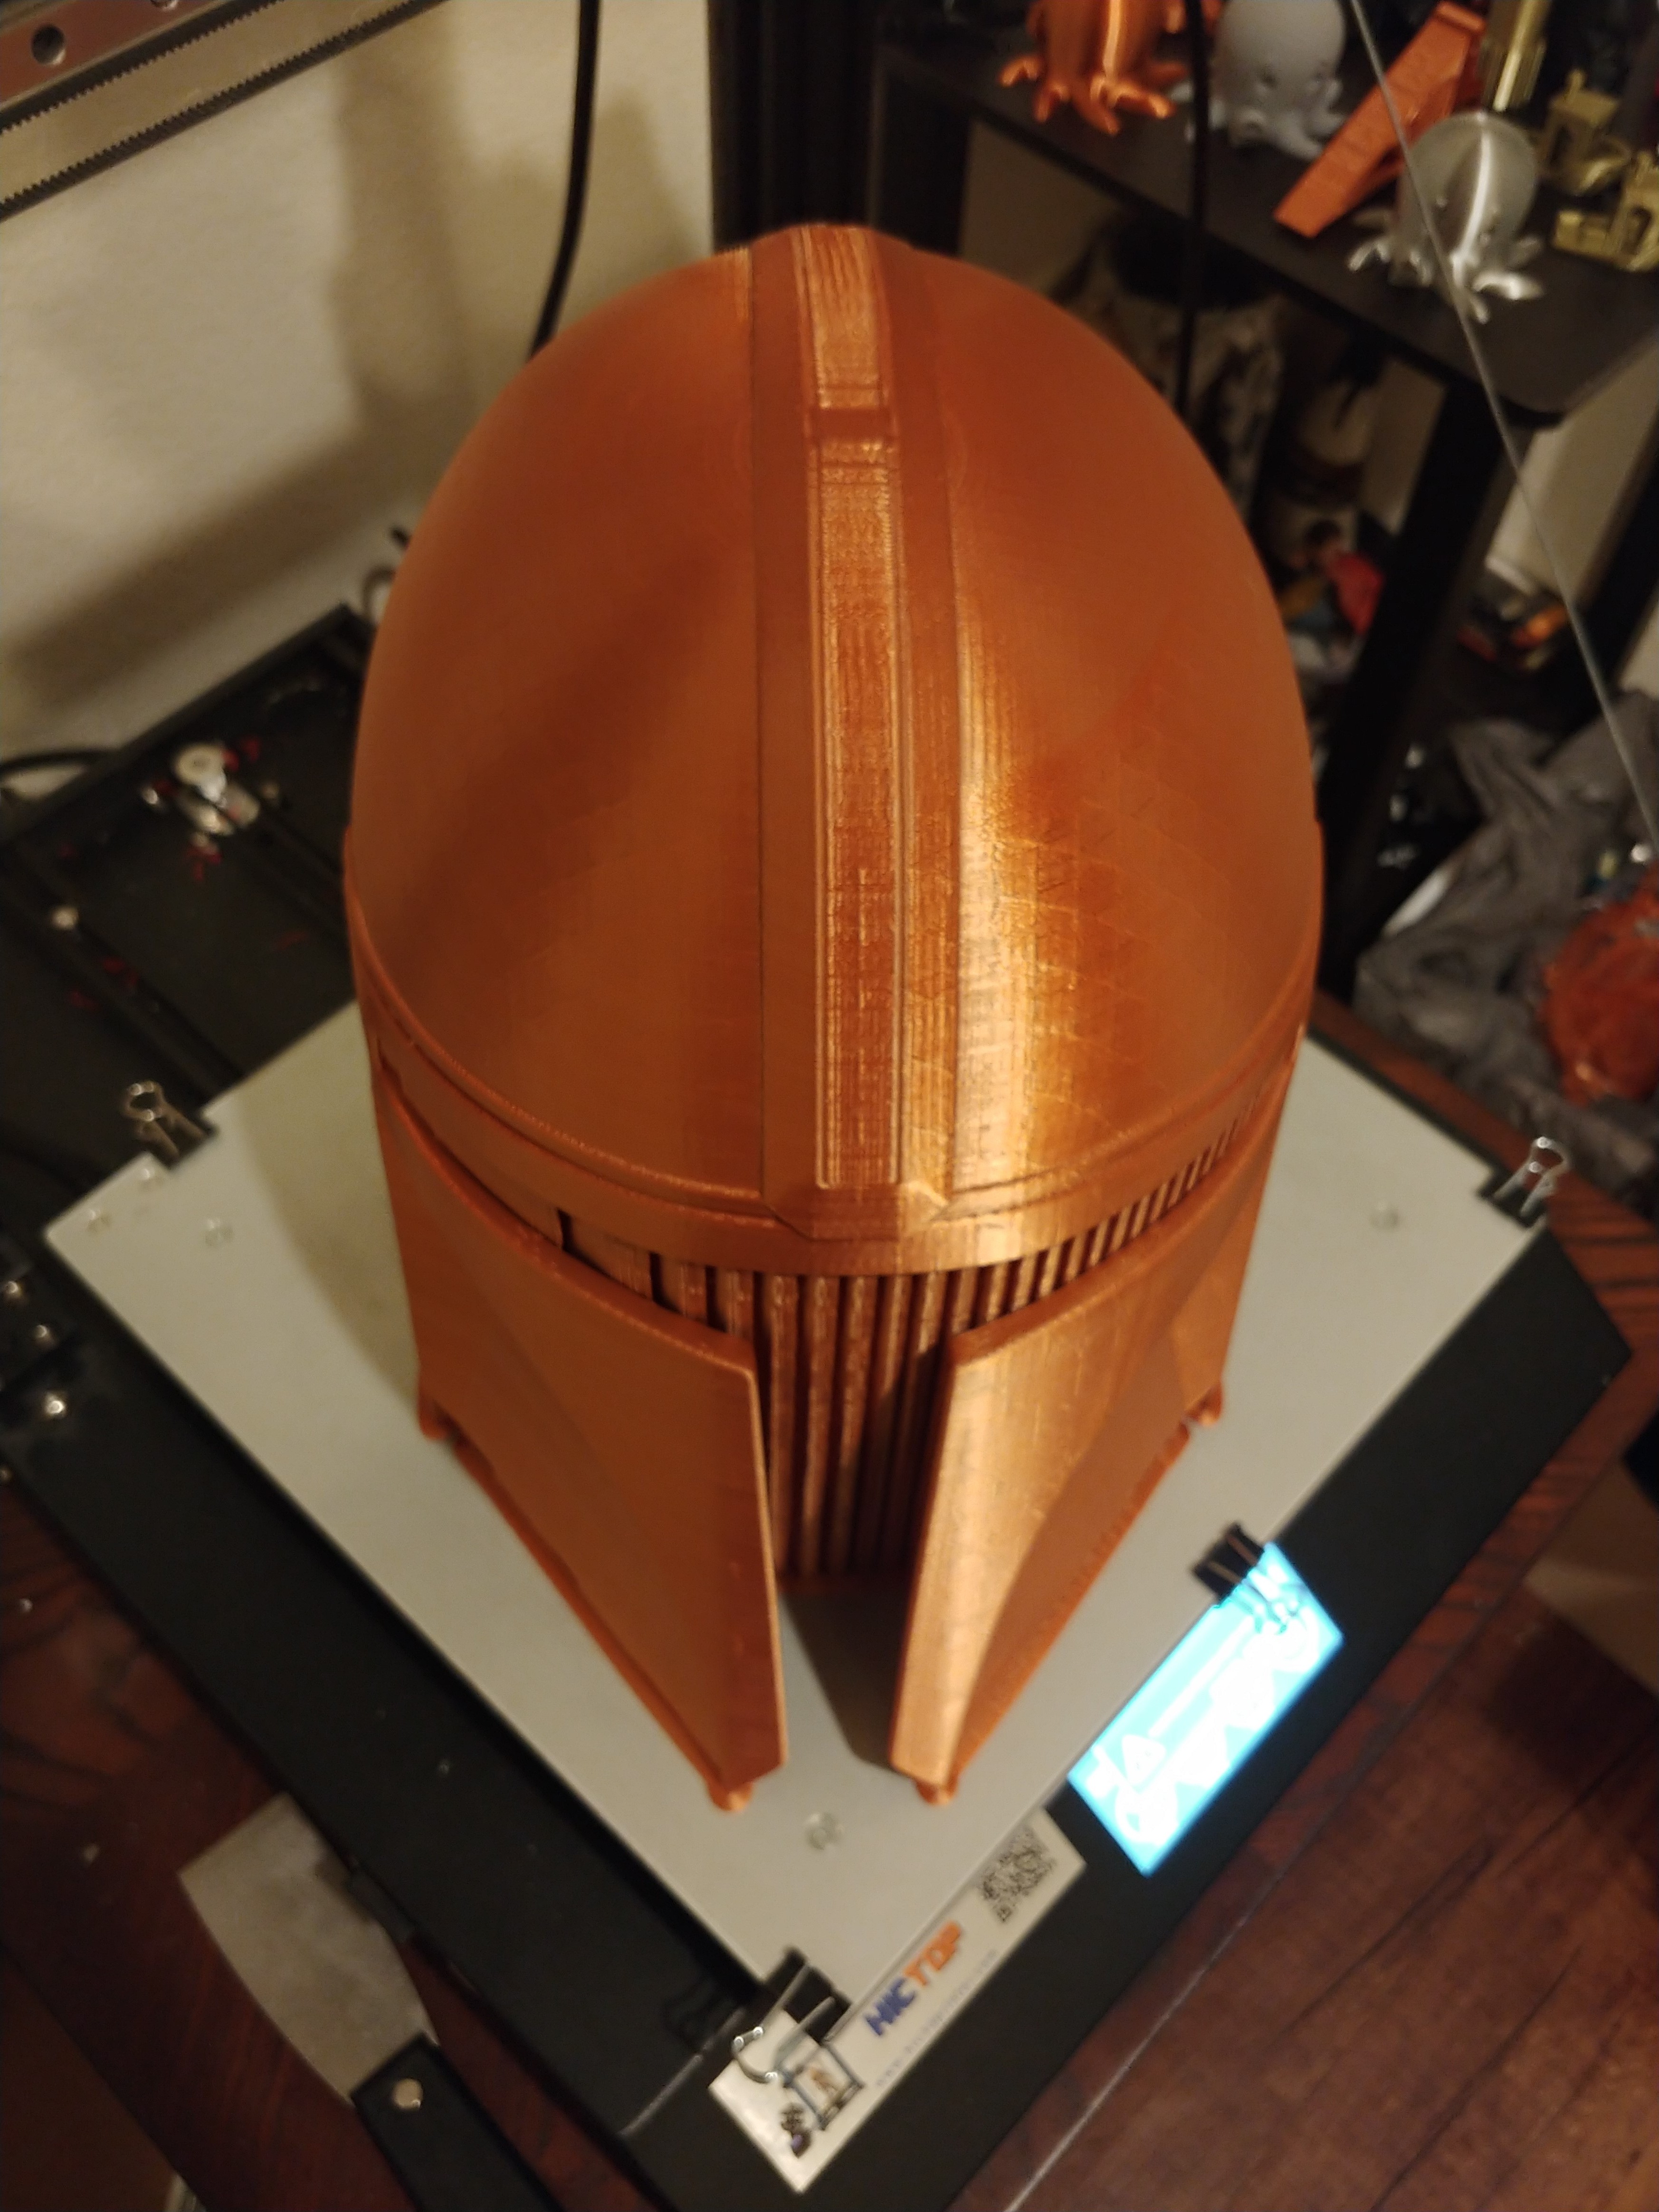
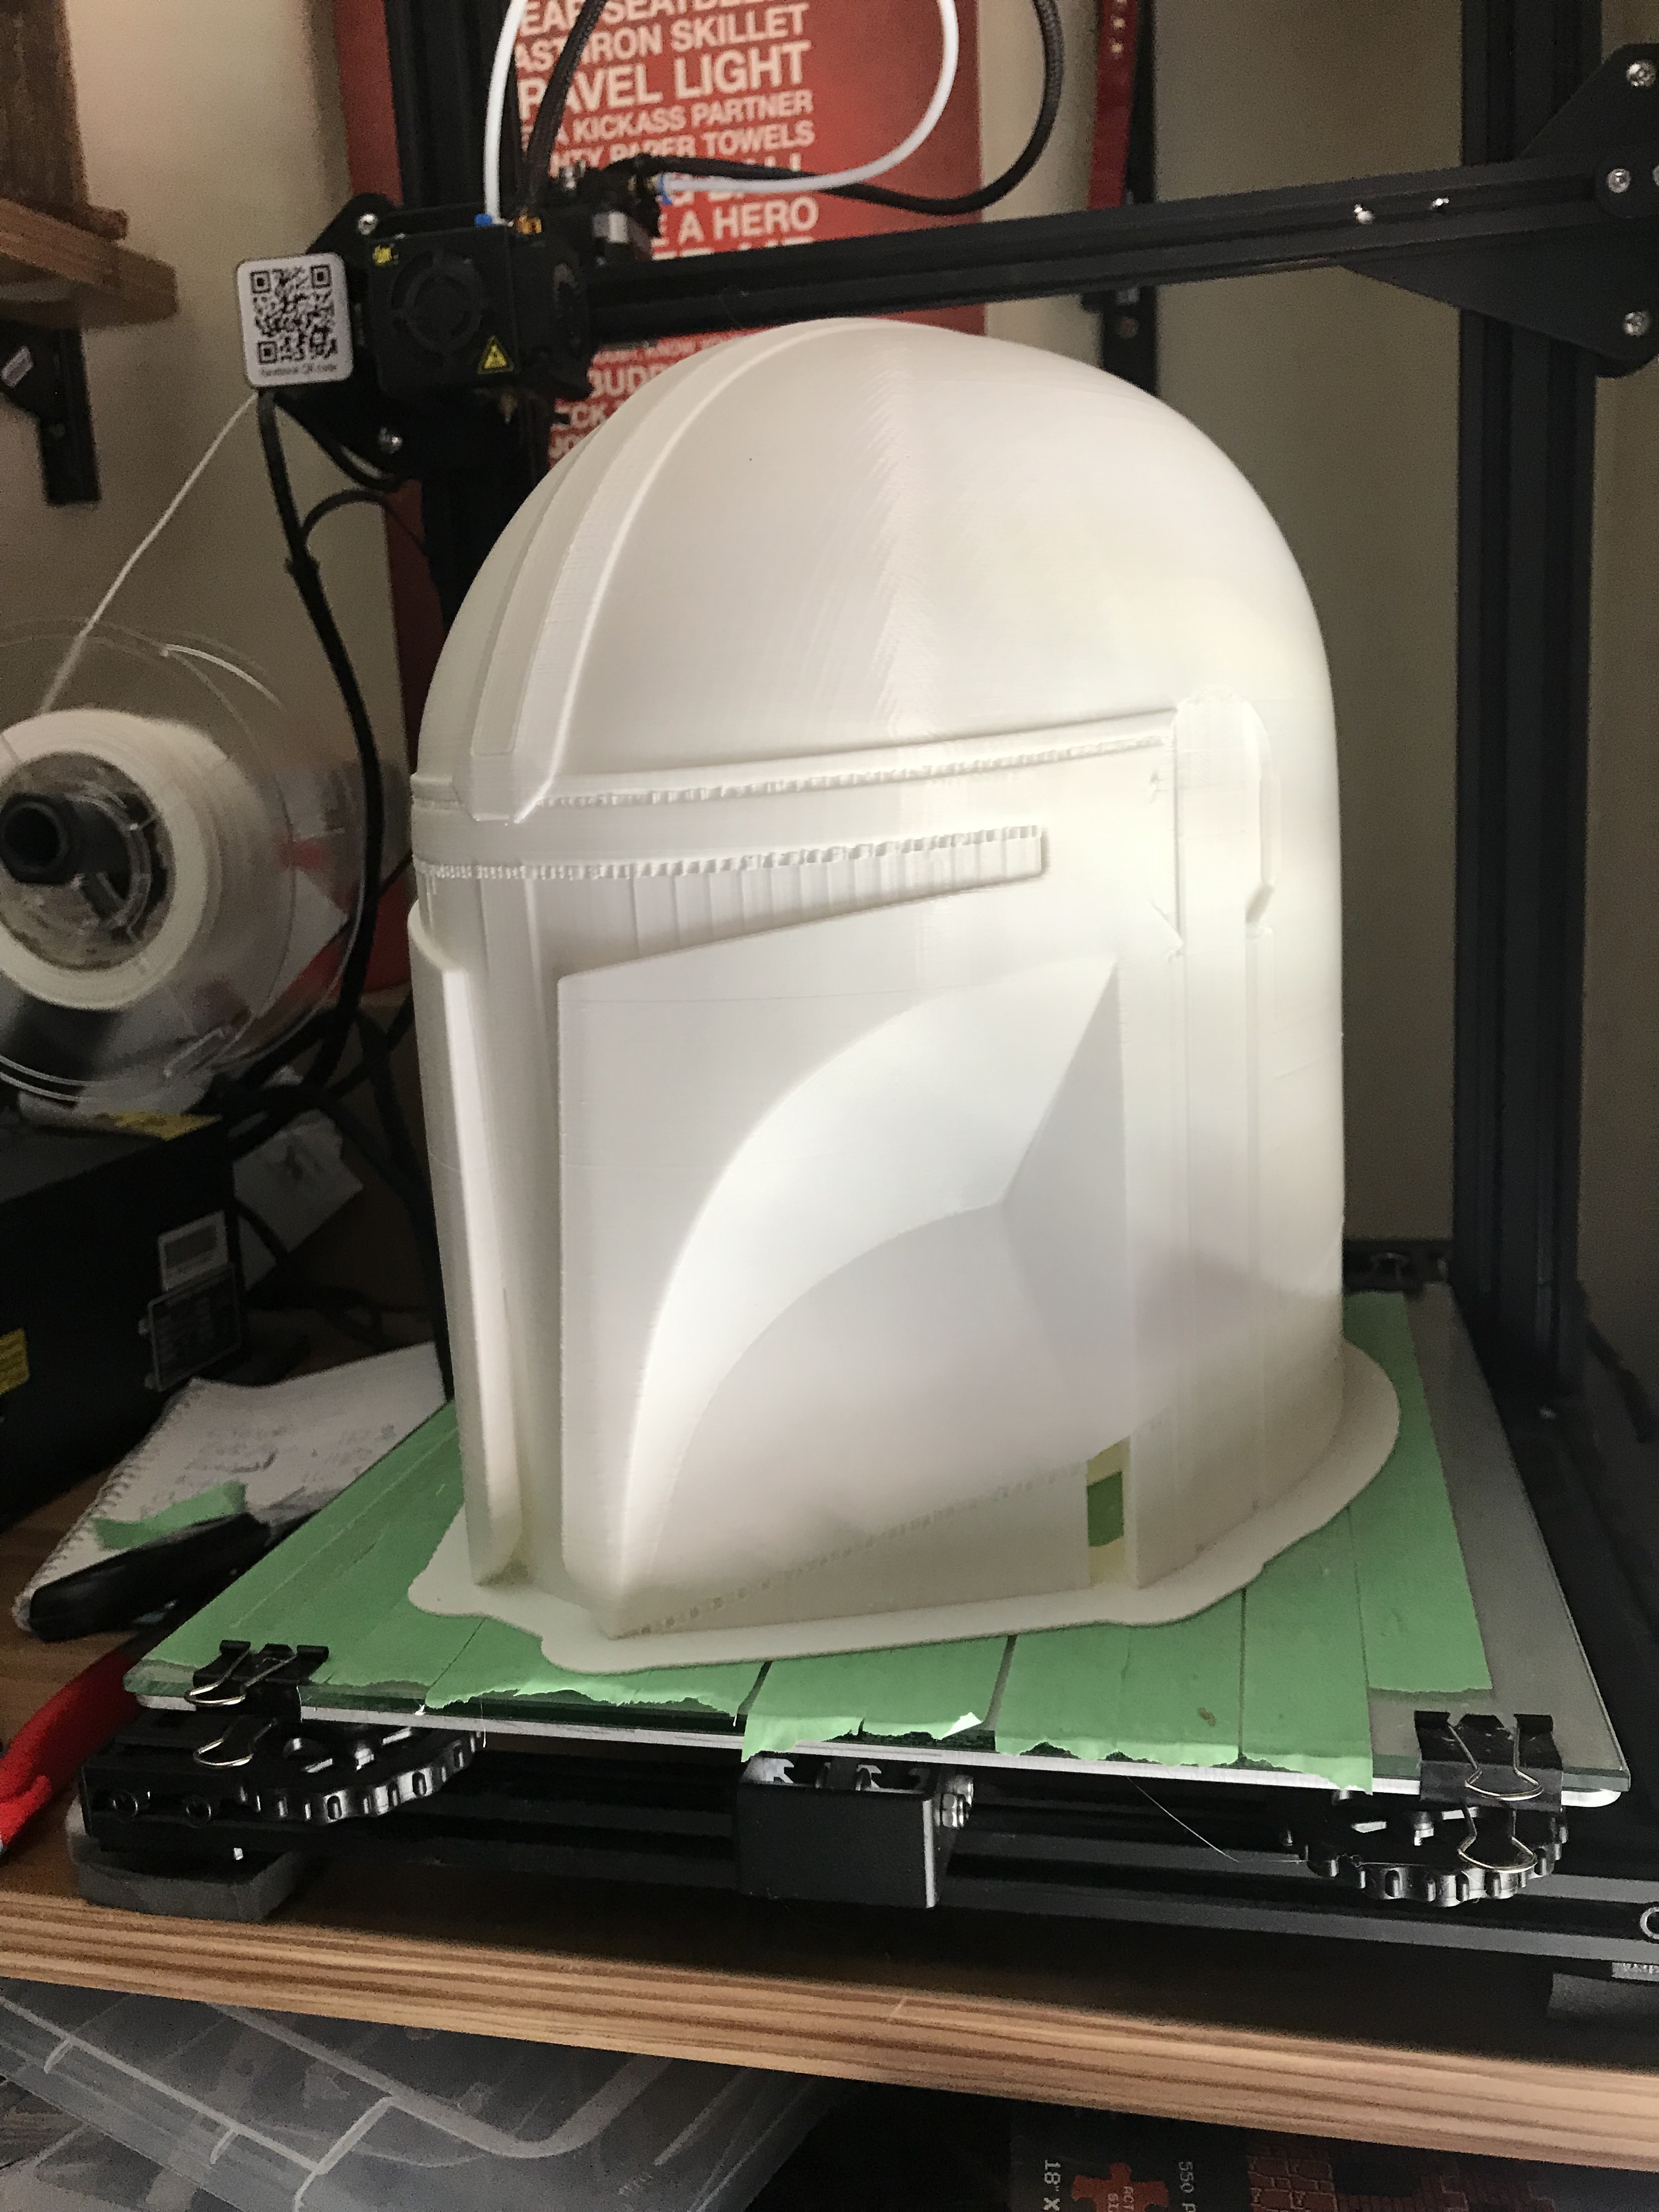


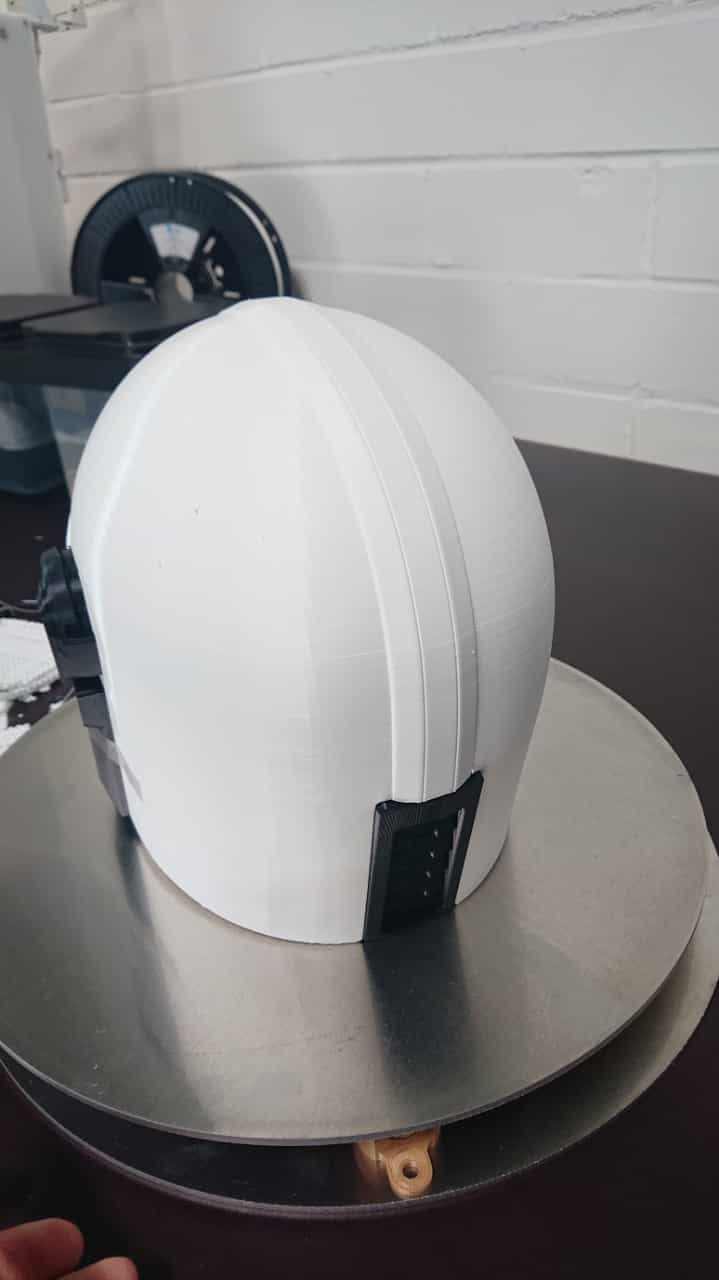


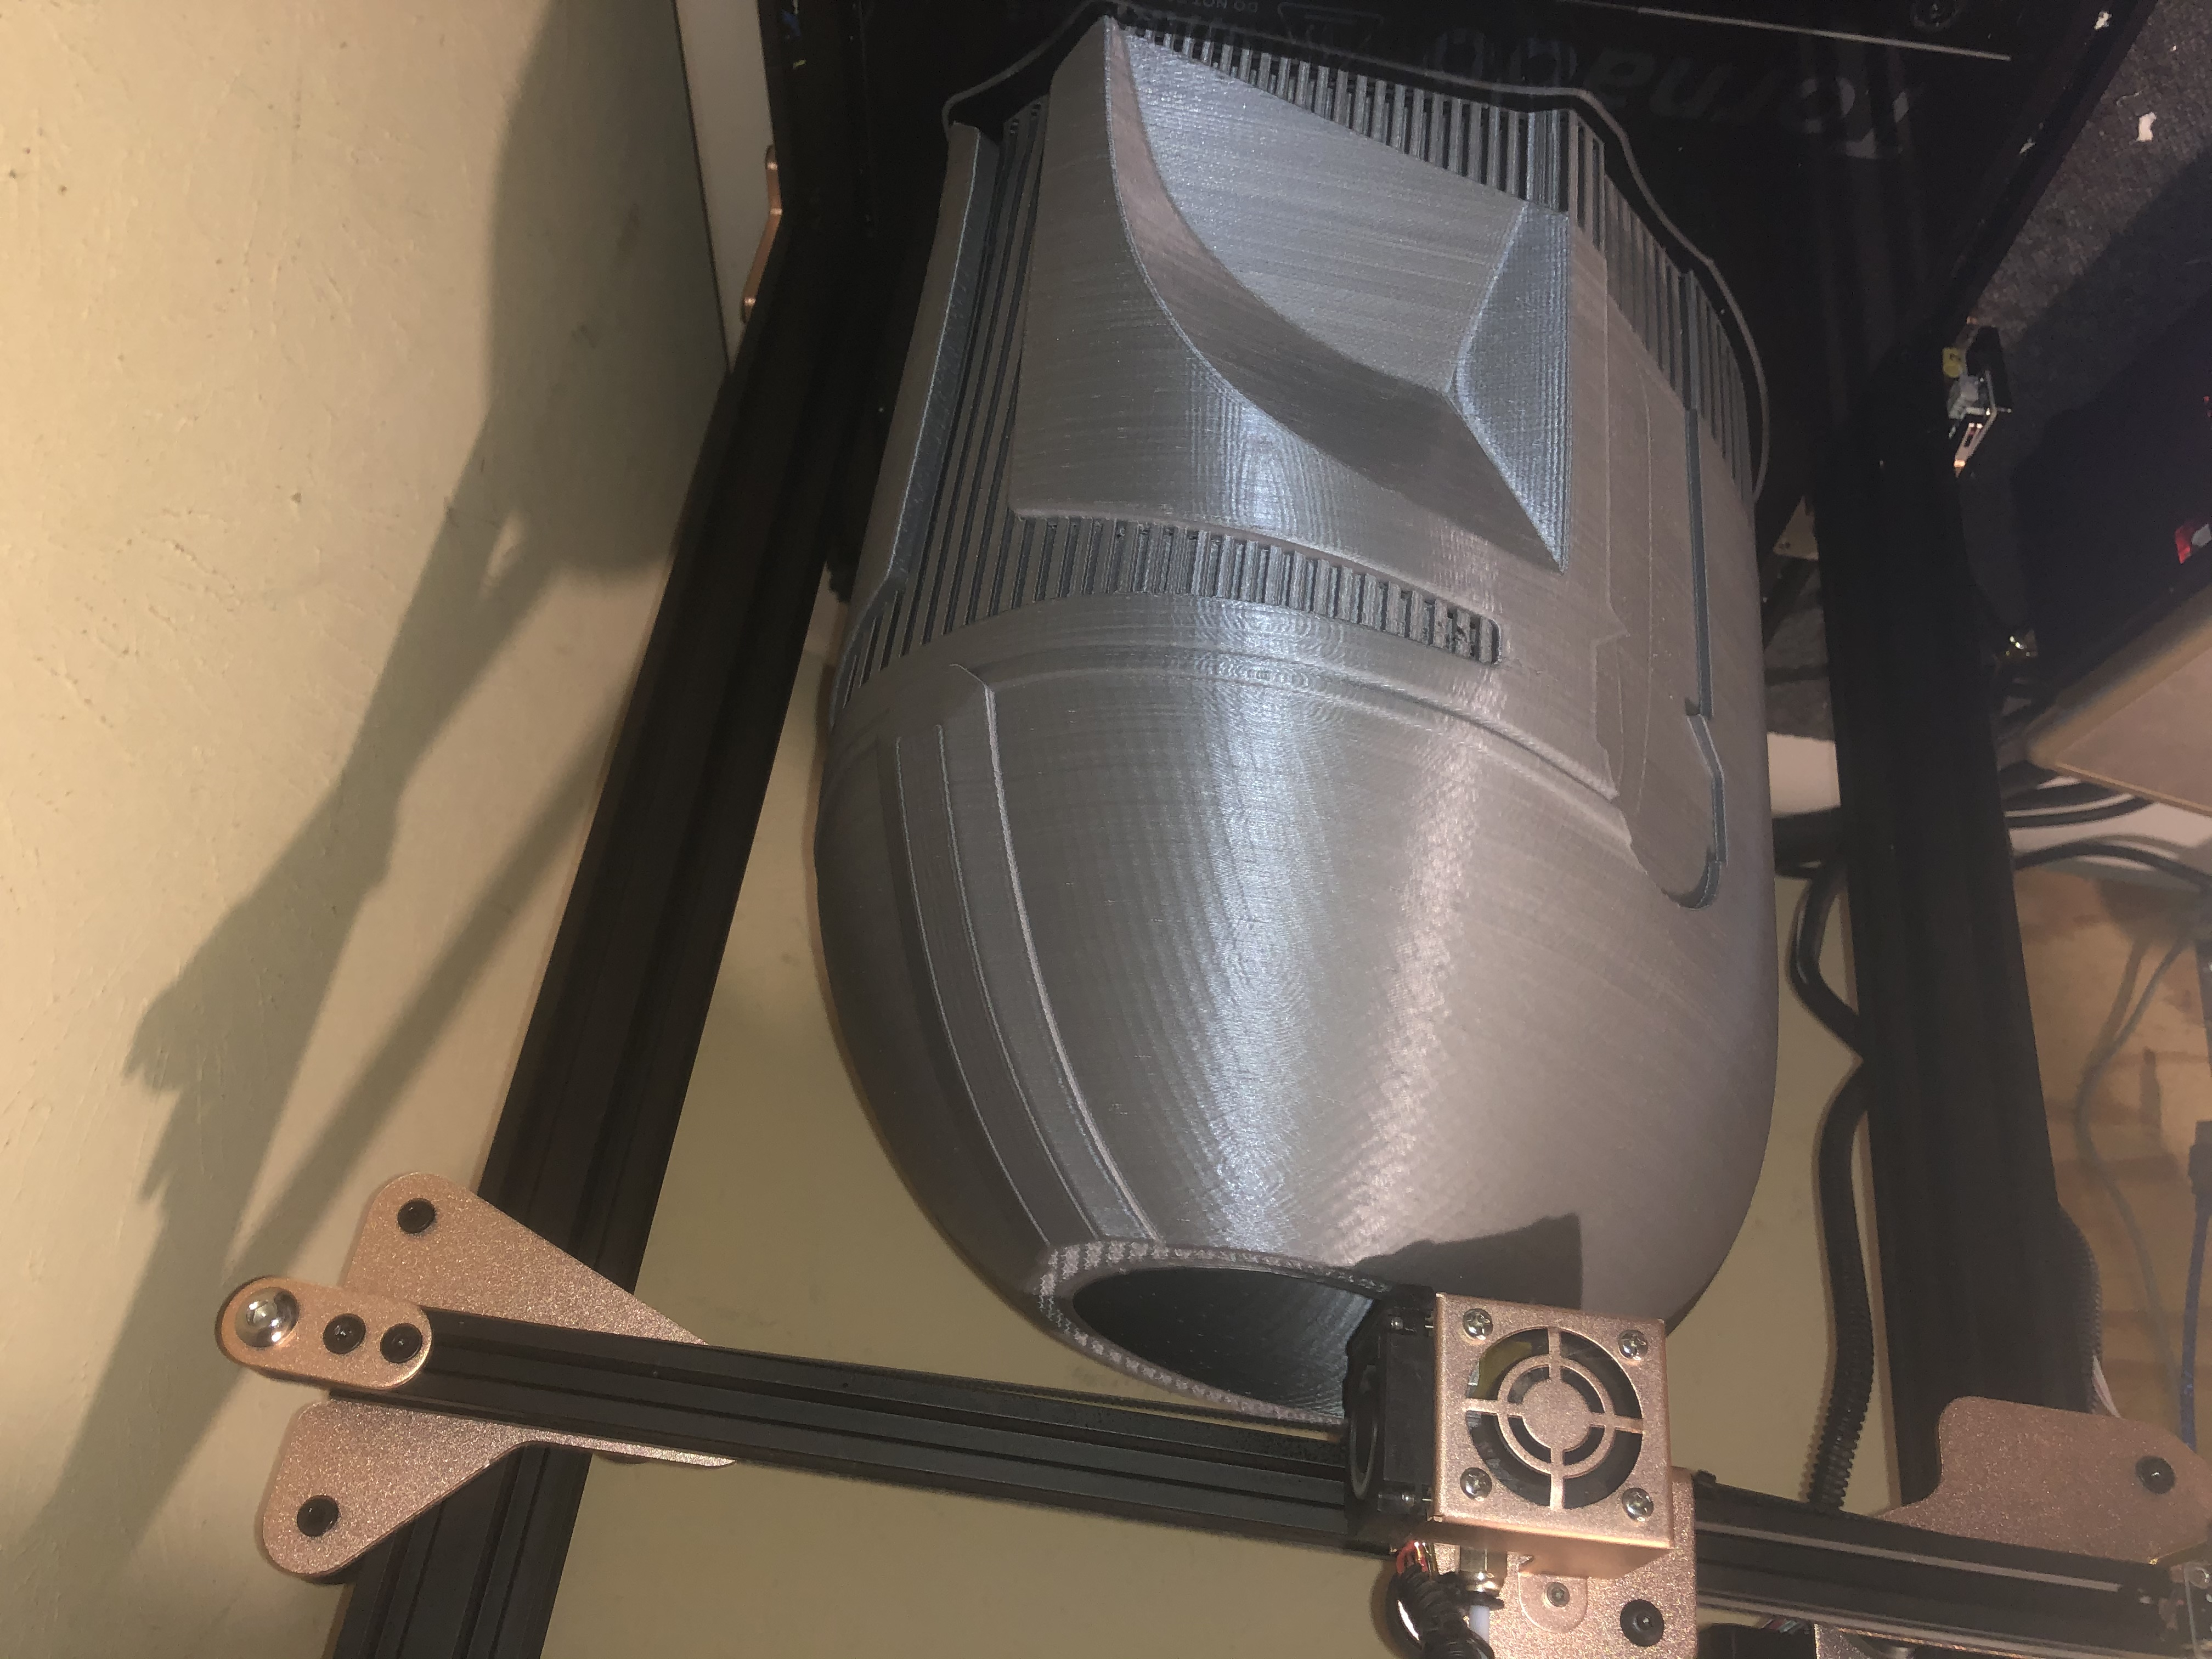


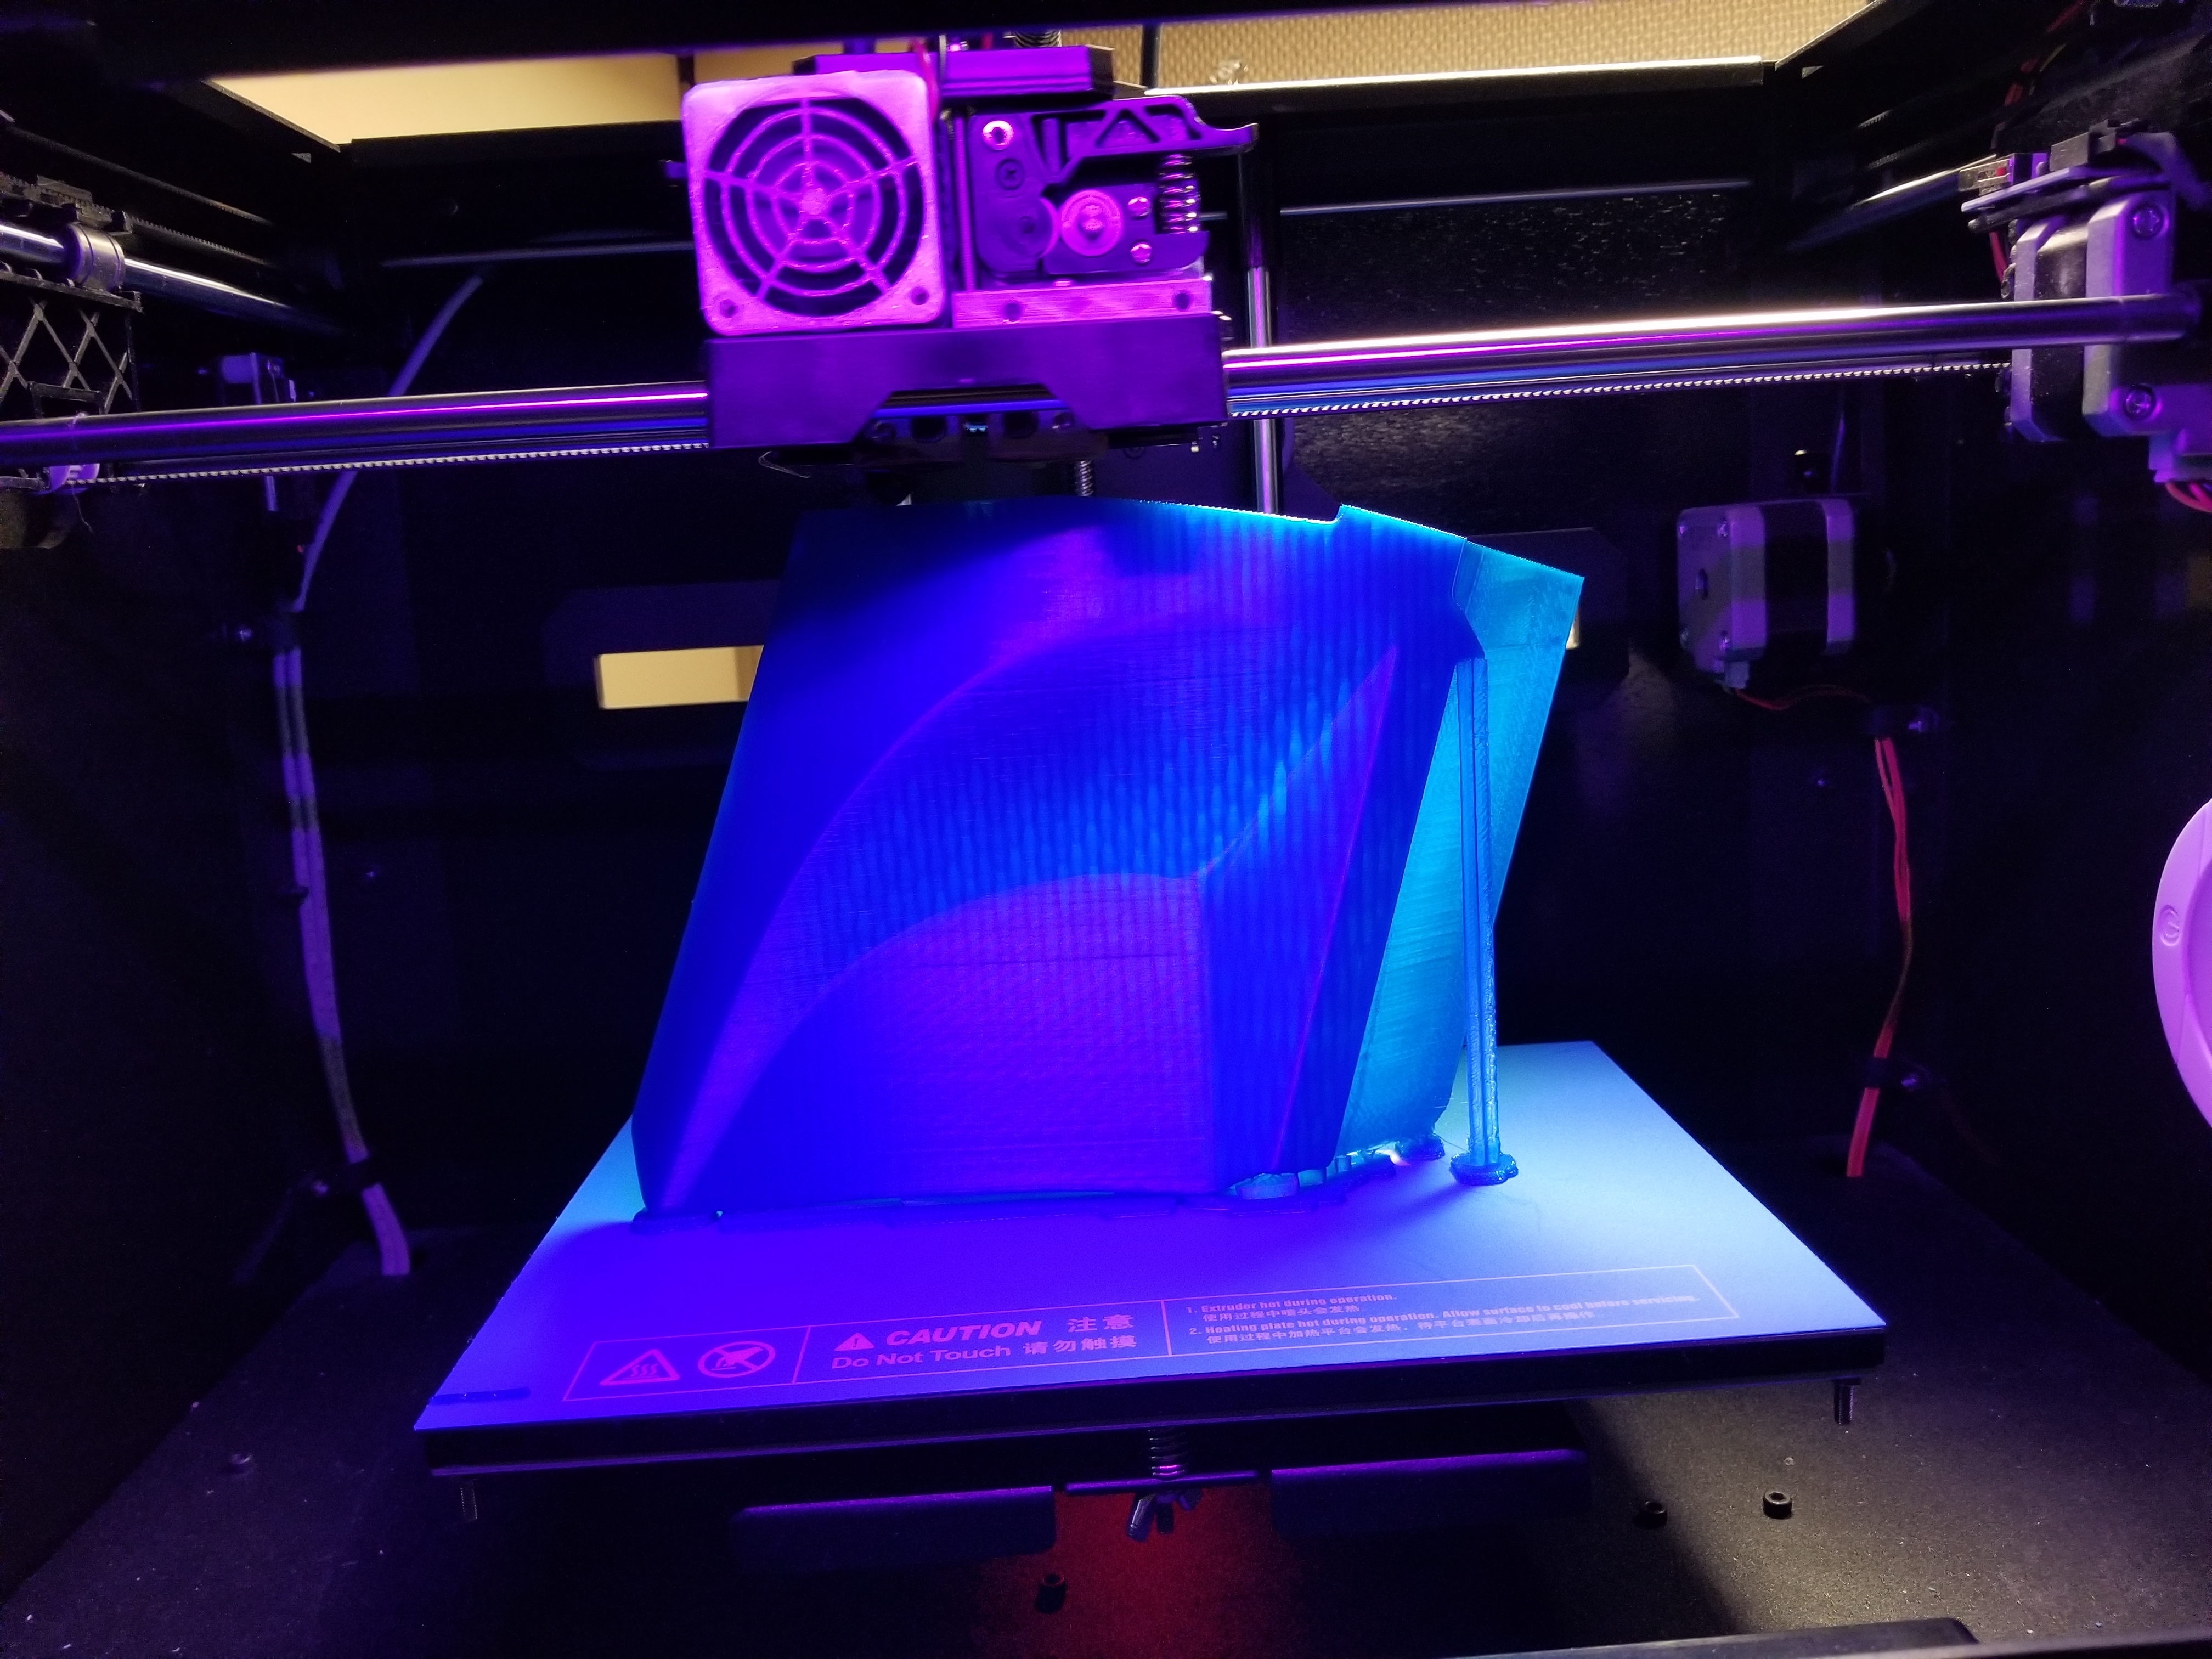


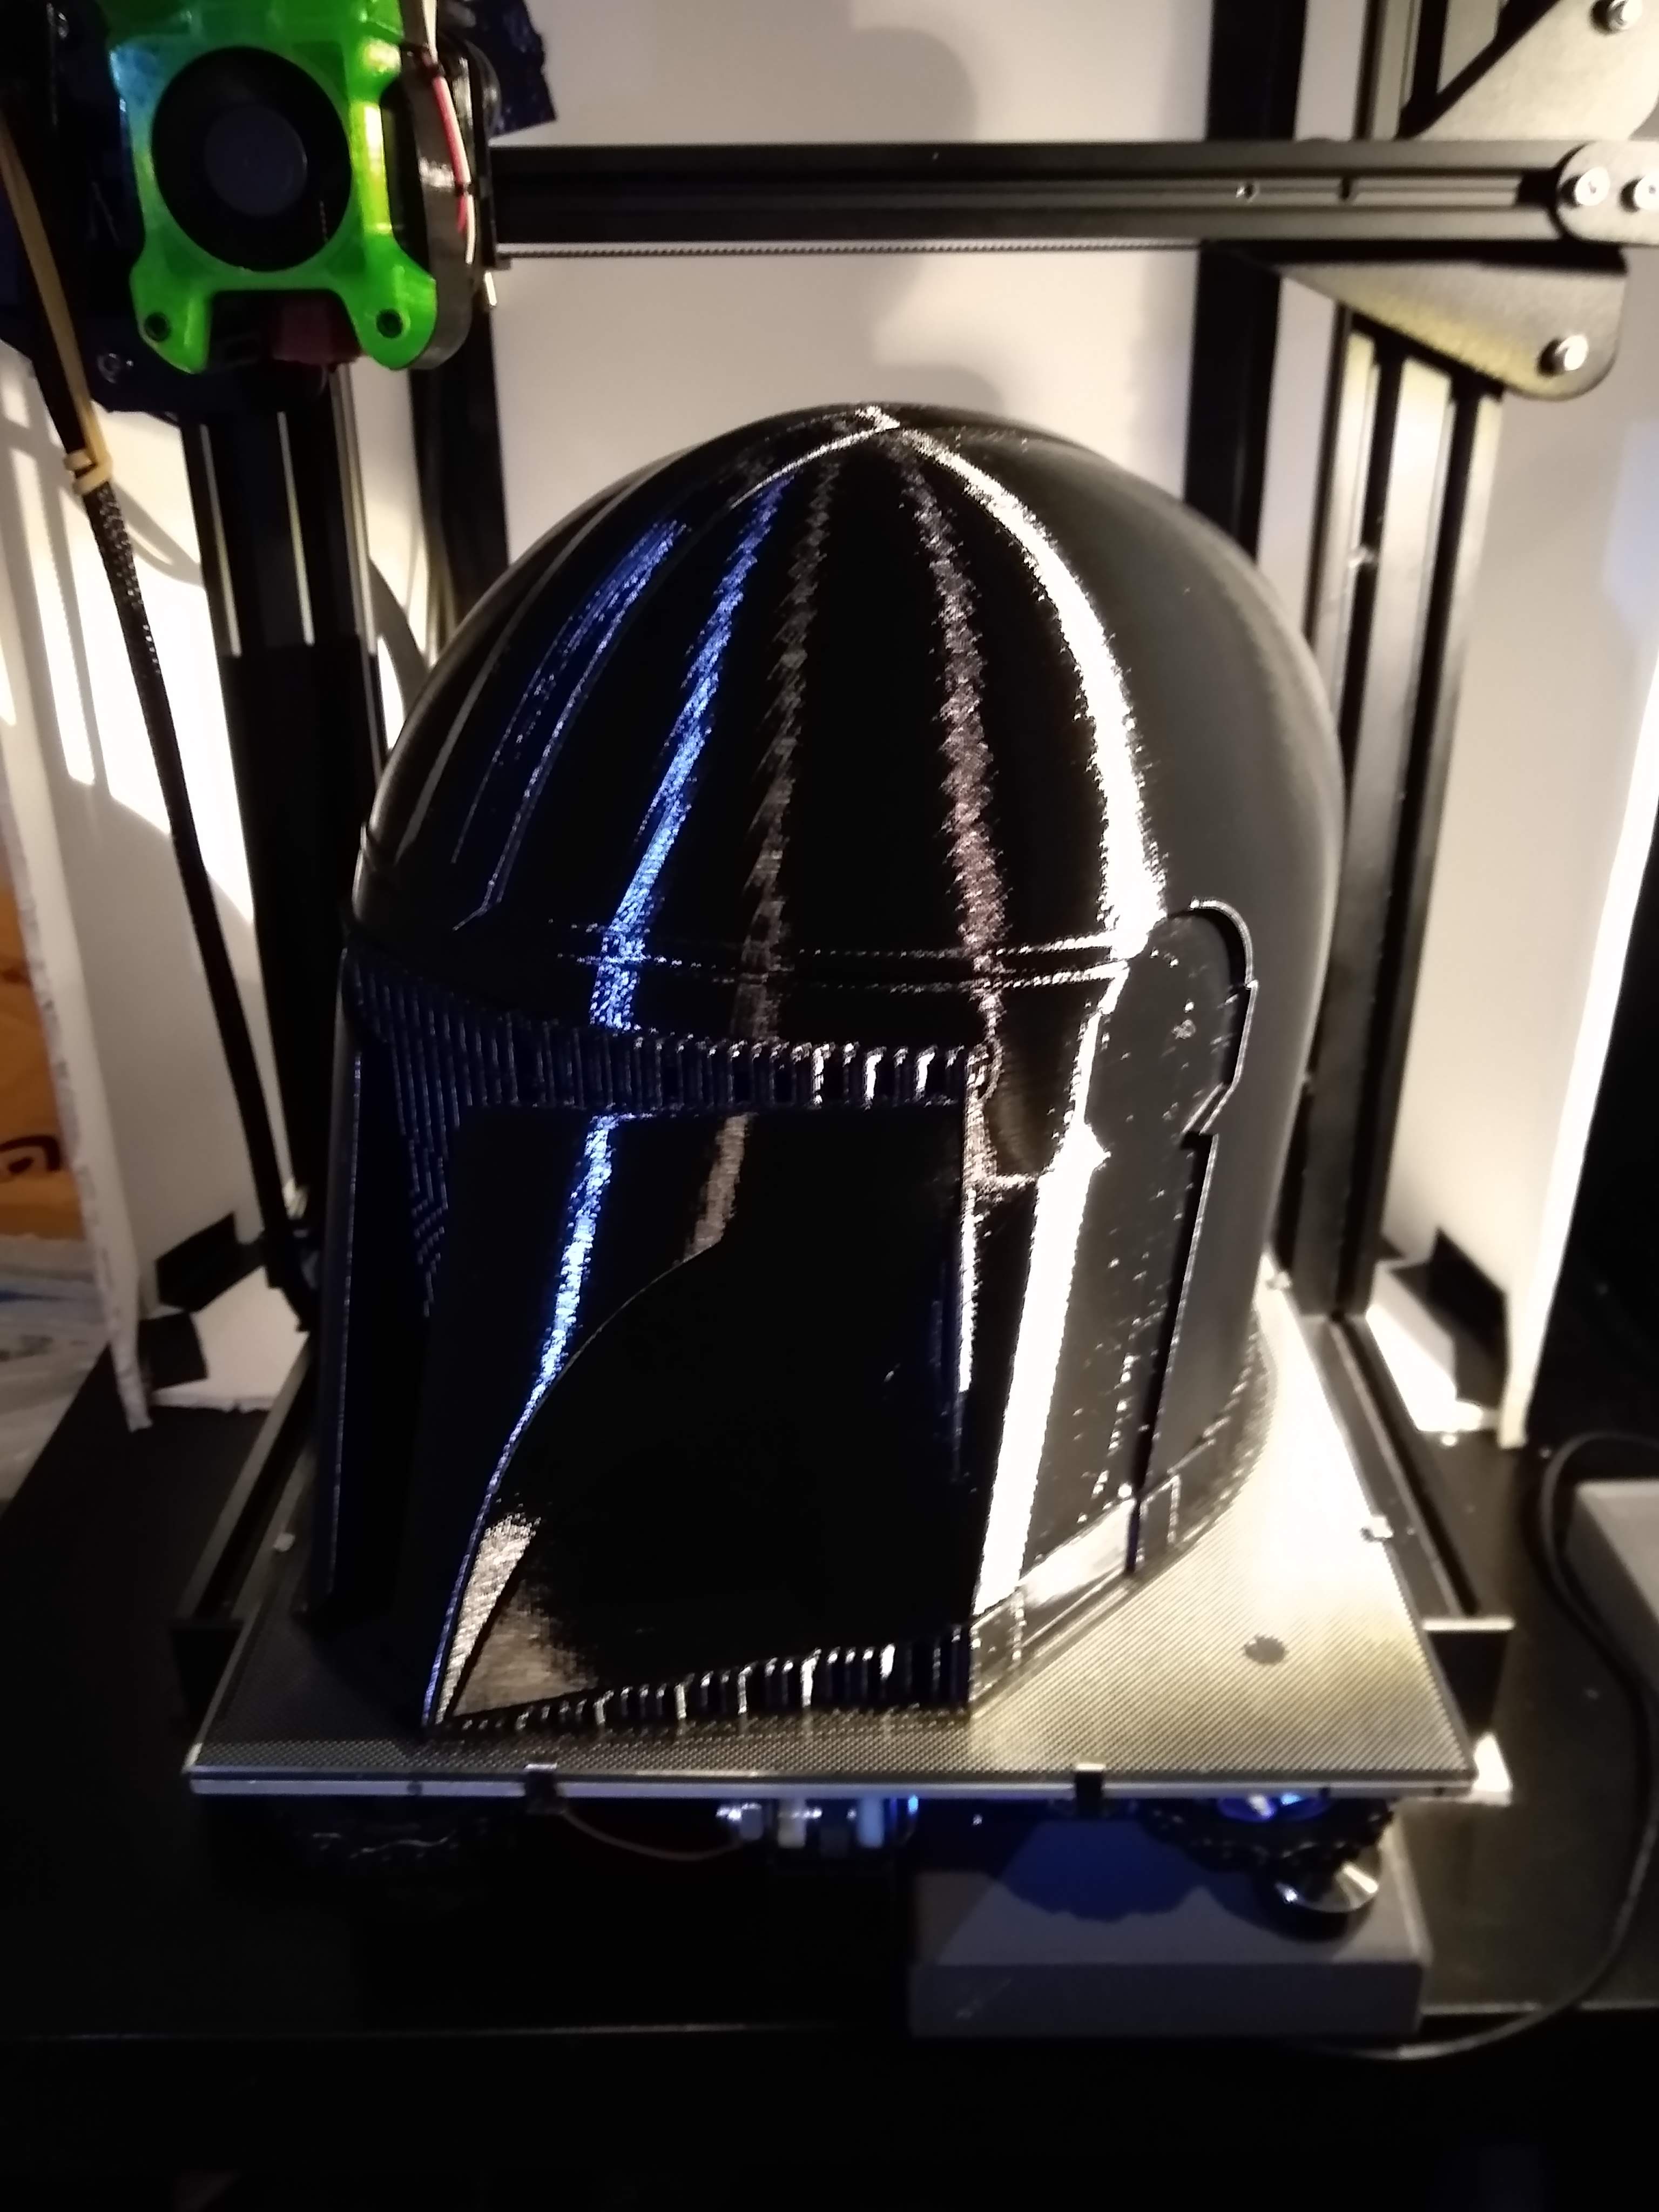


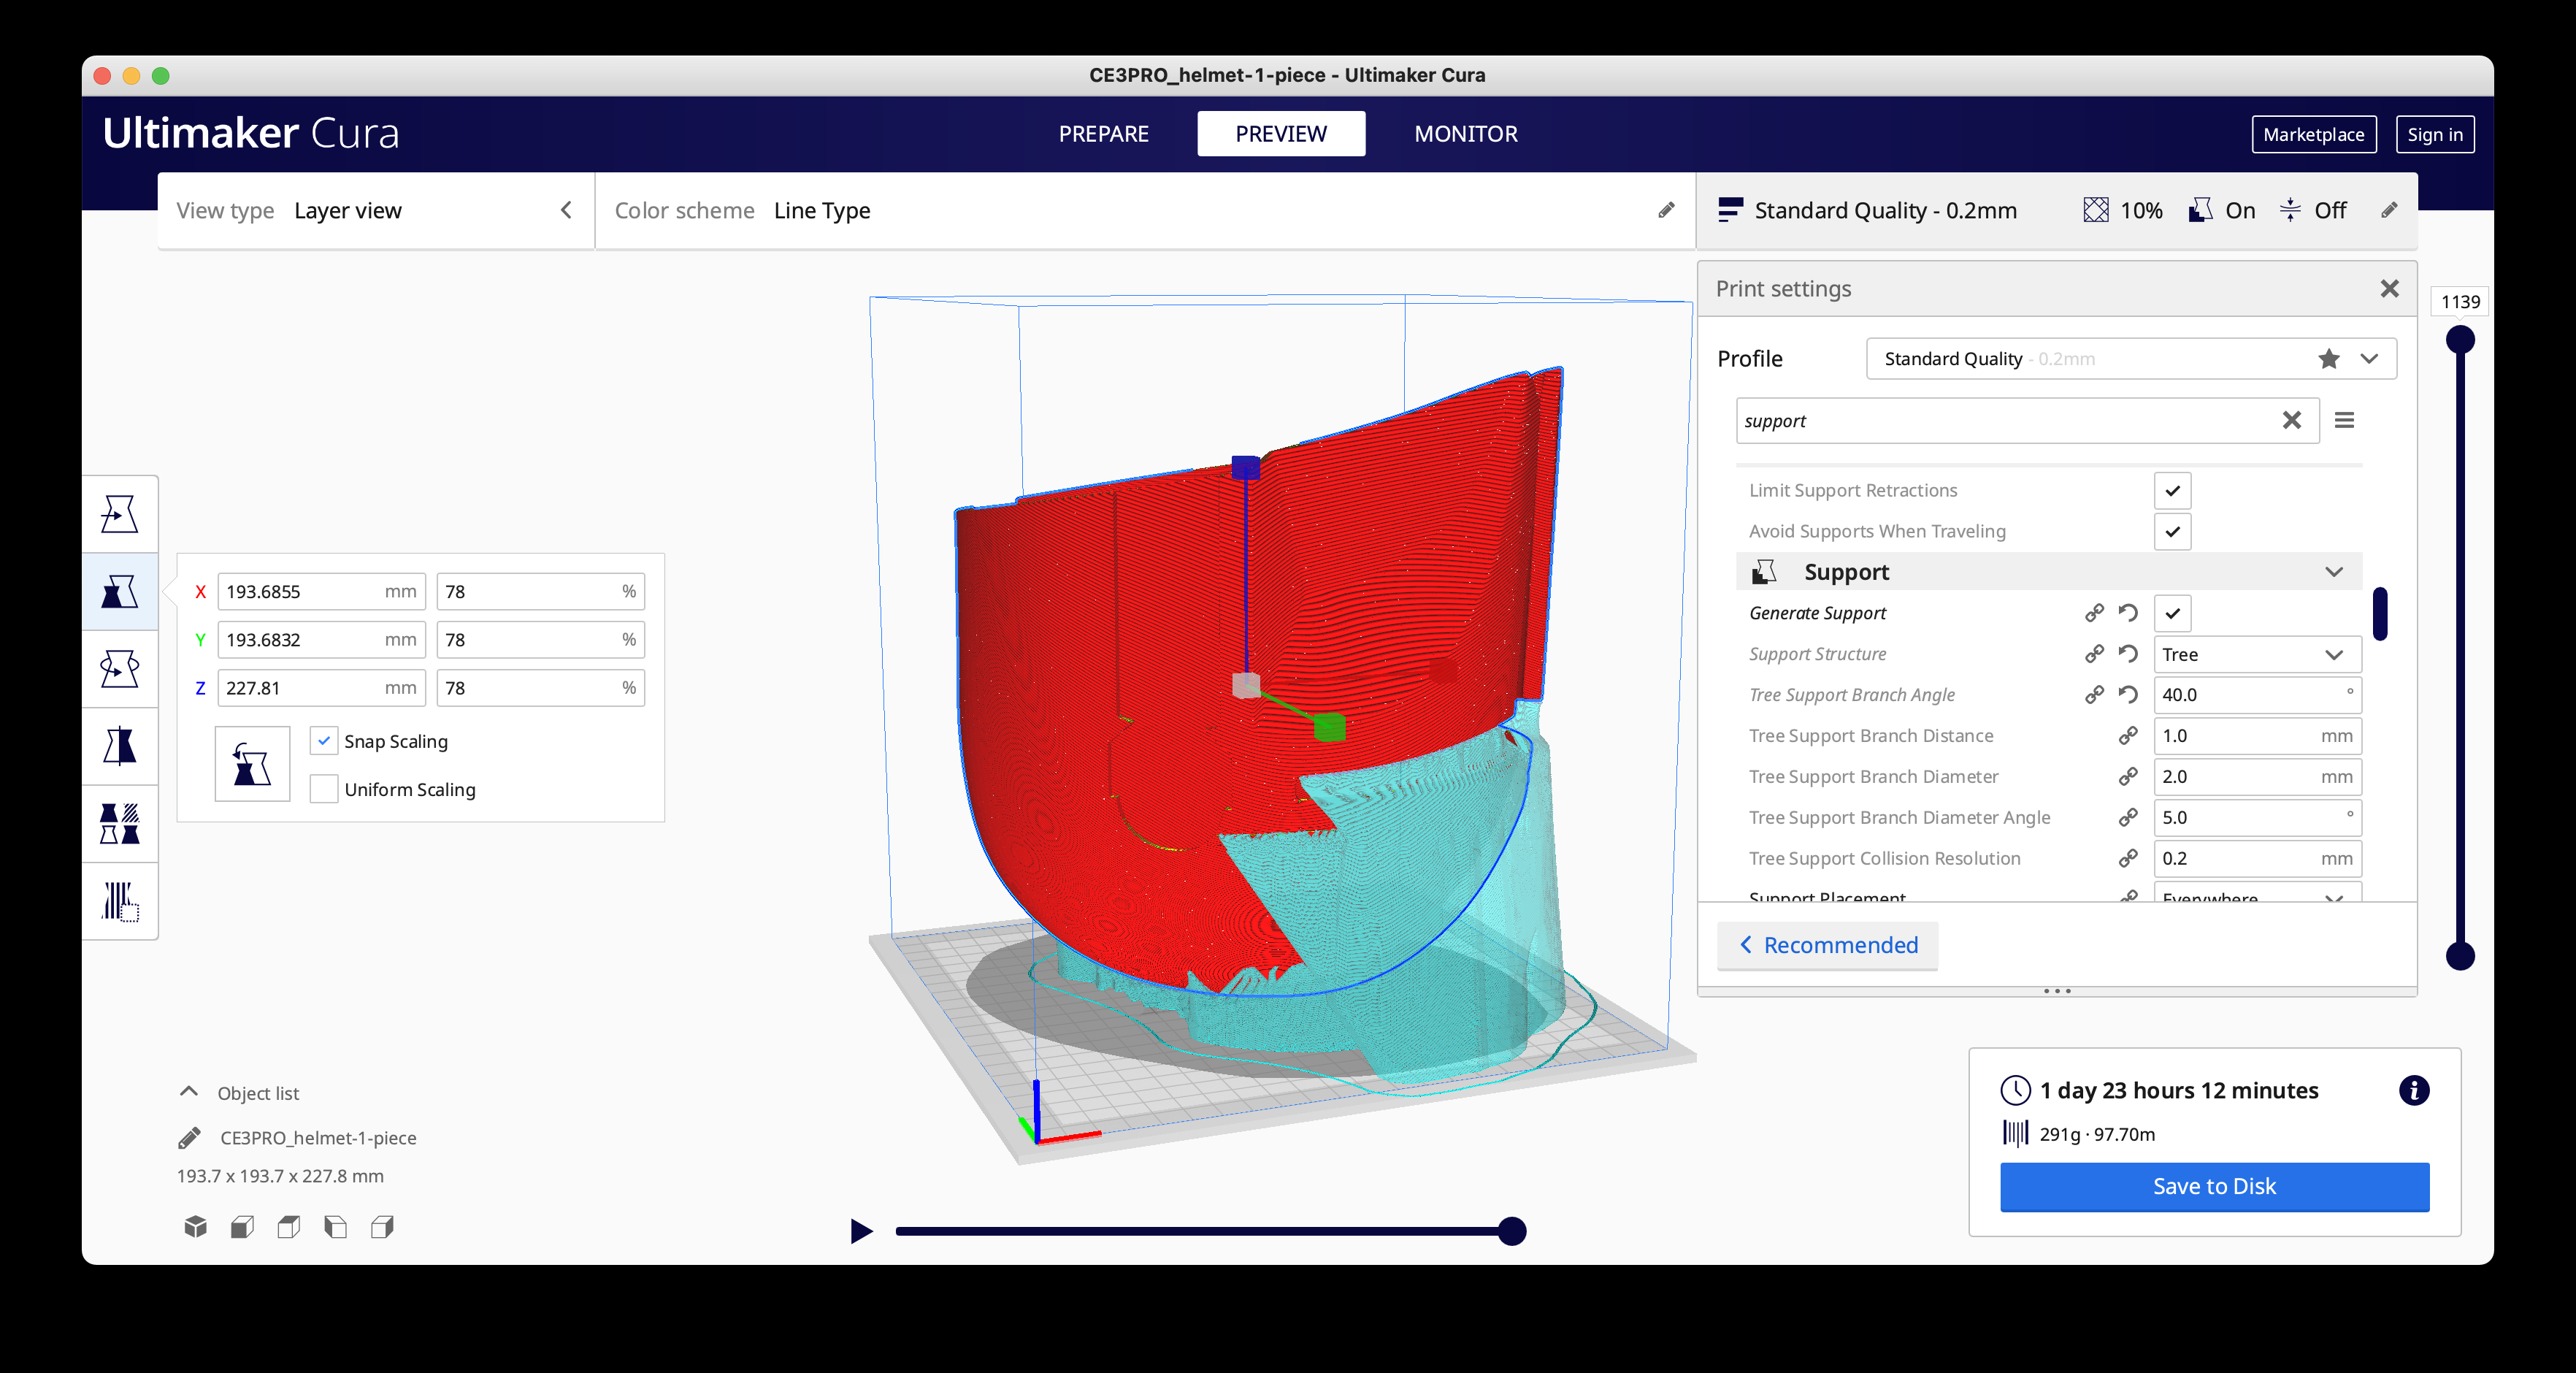


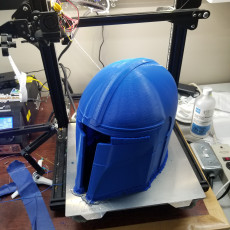
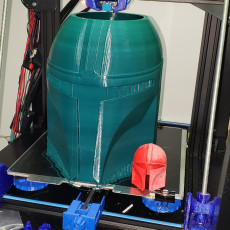
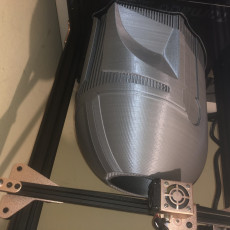
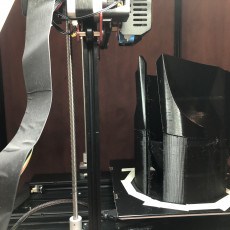
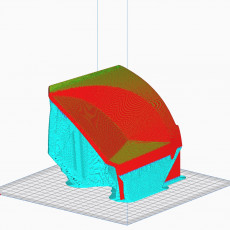
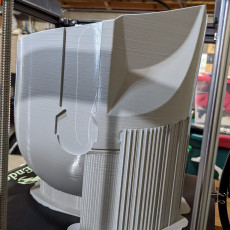
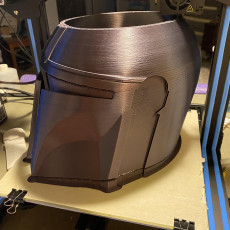
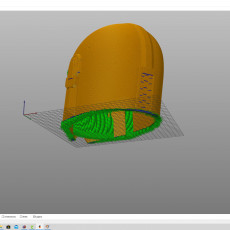
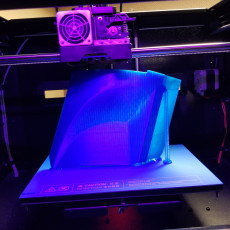
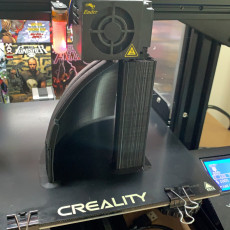
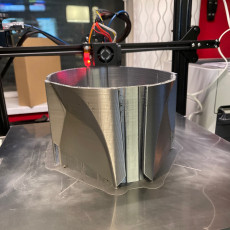
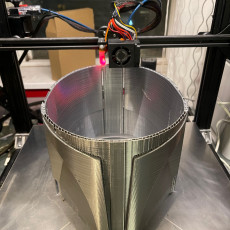
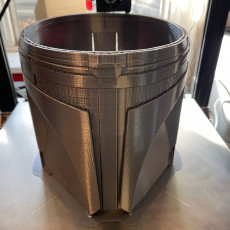
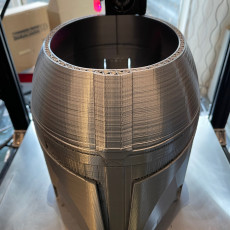
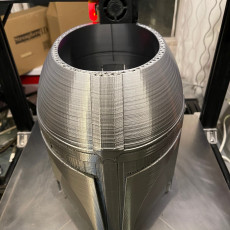
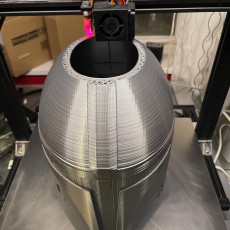
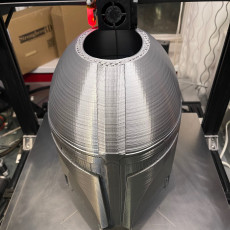
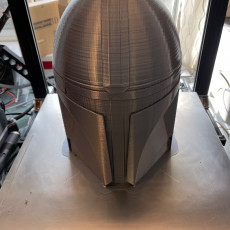
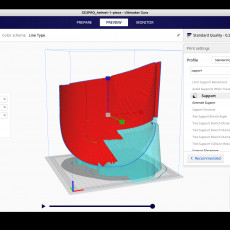
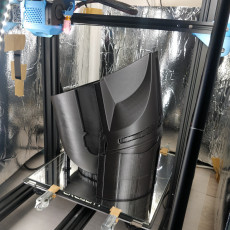
It printed without center supports . My biggest print . 76.5 hours
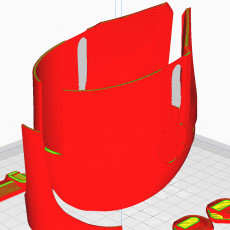
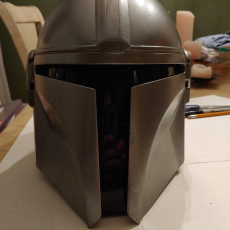
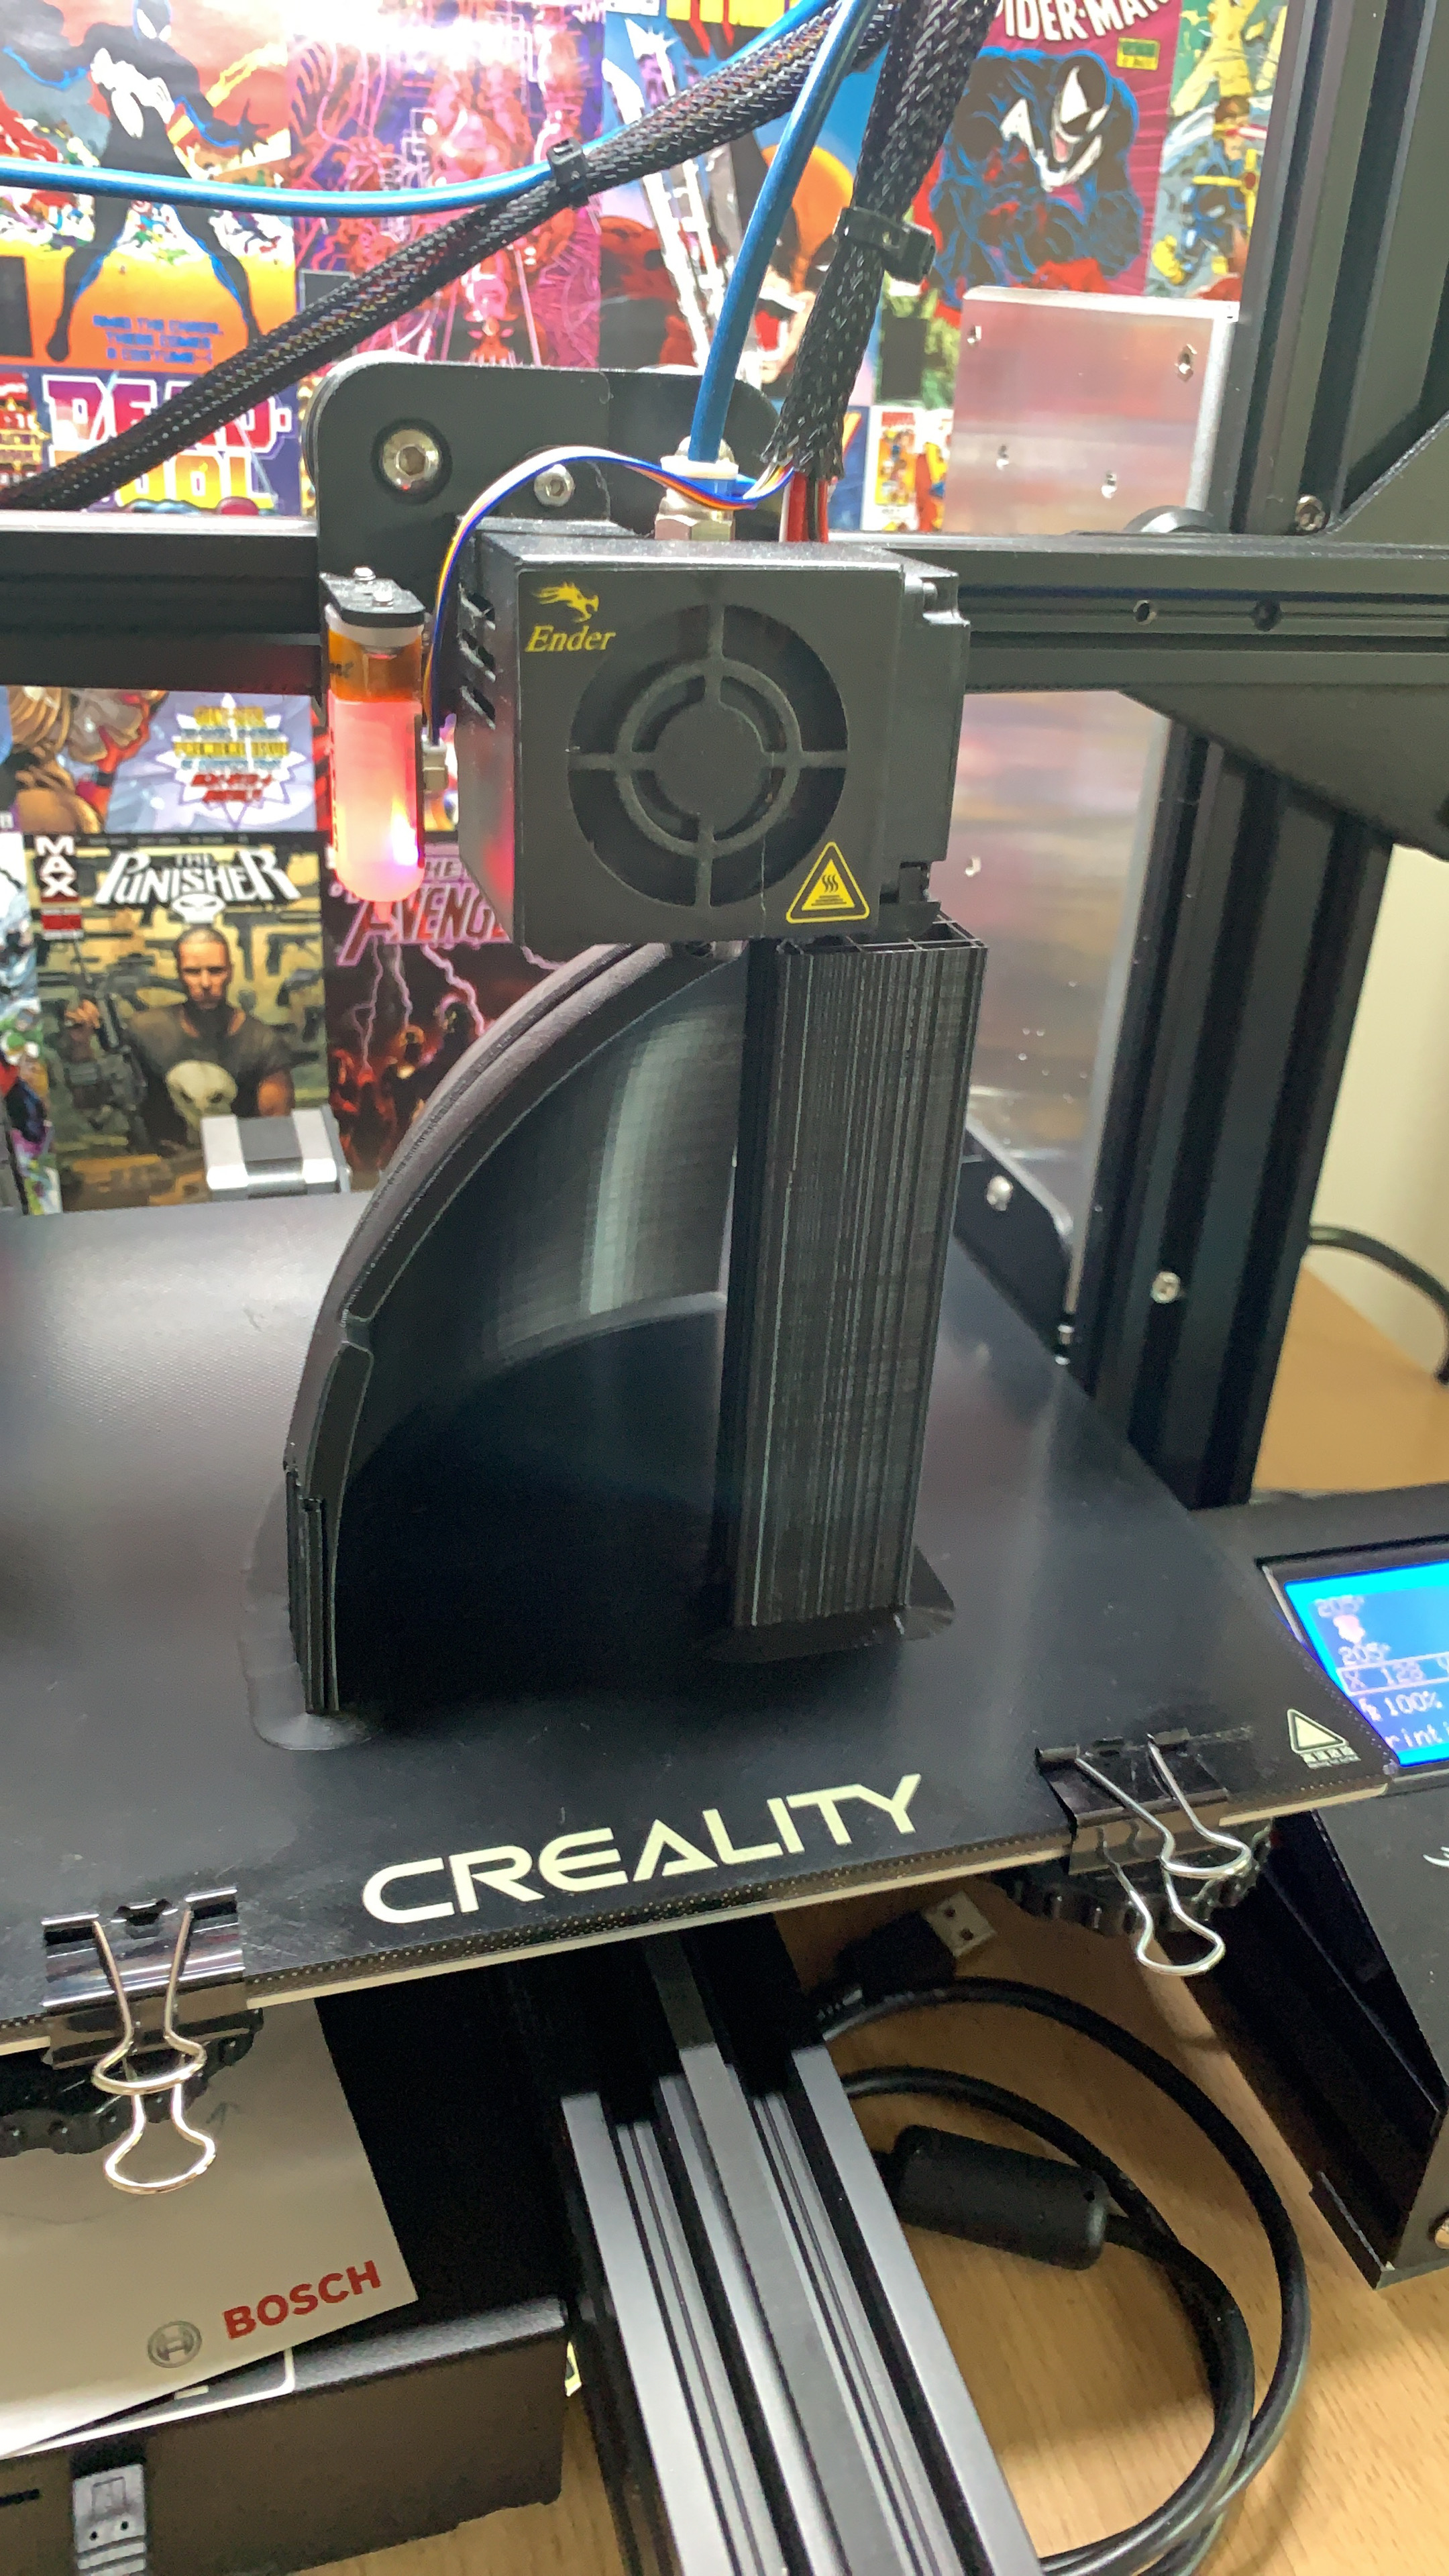
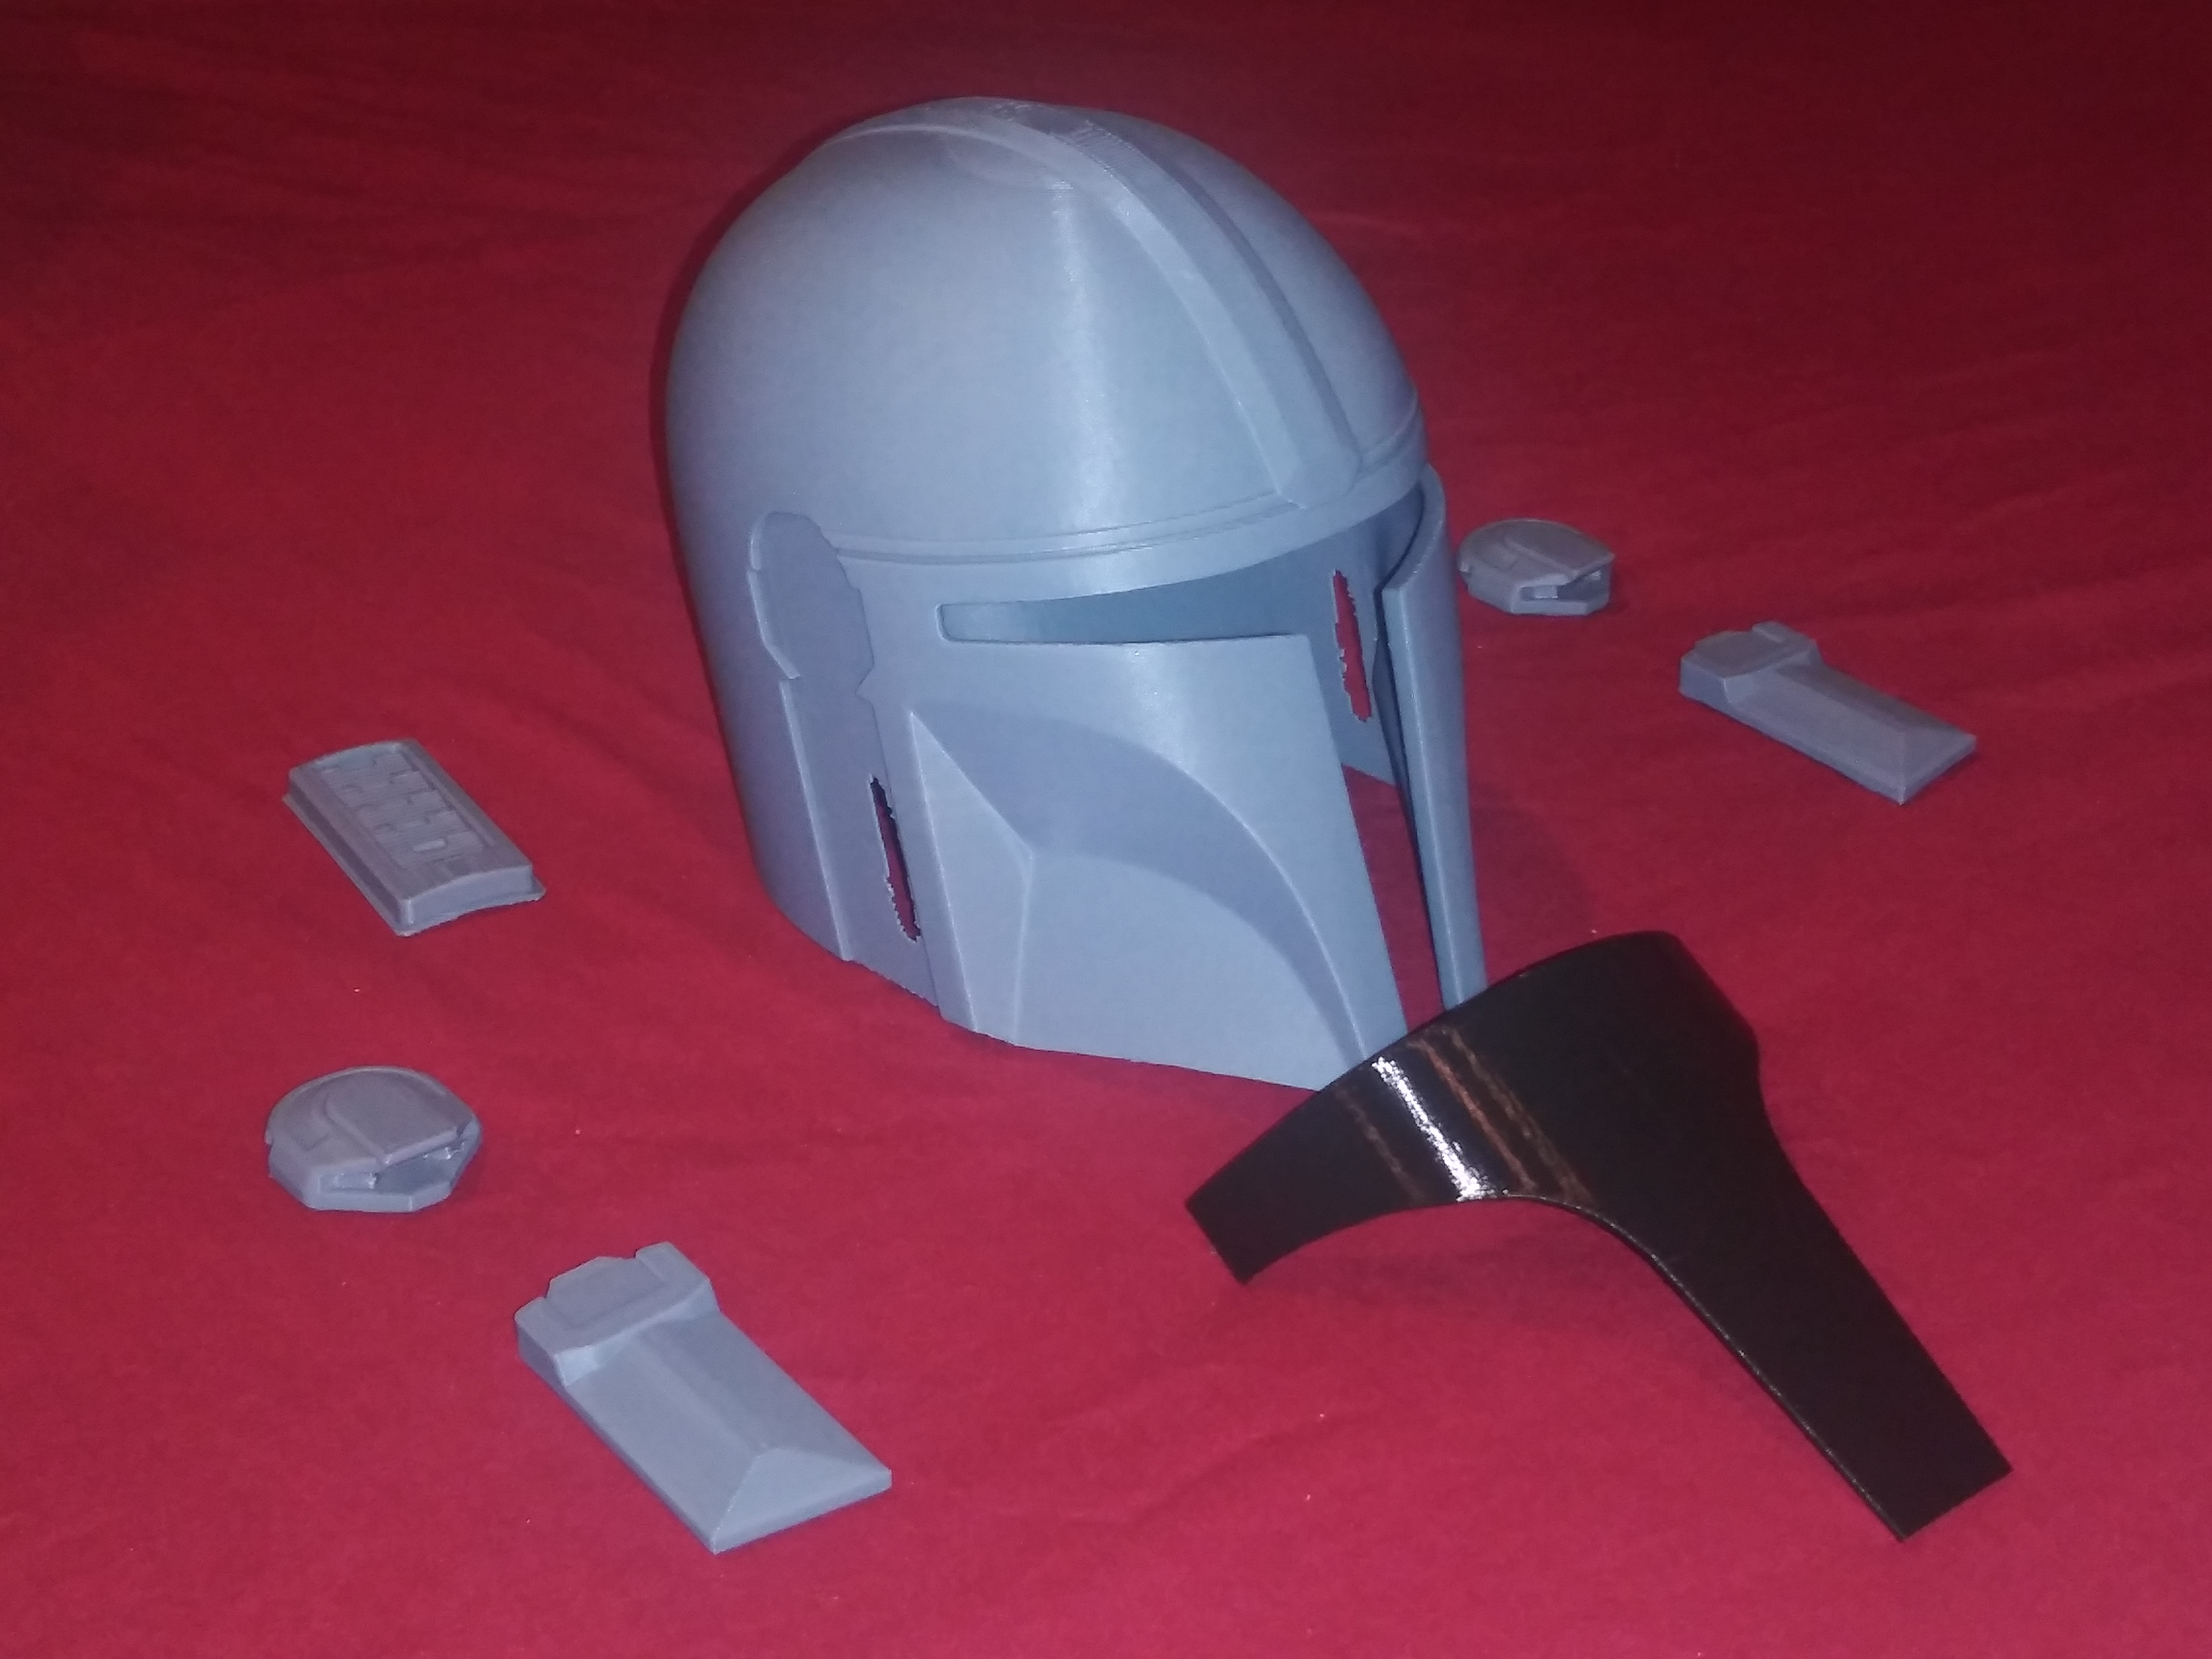
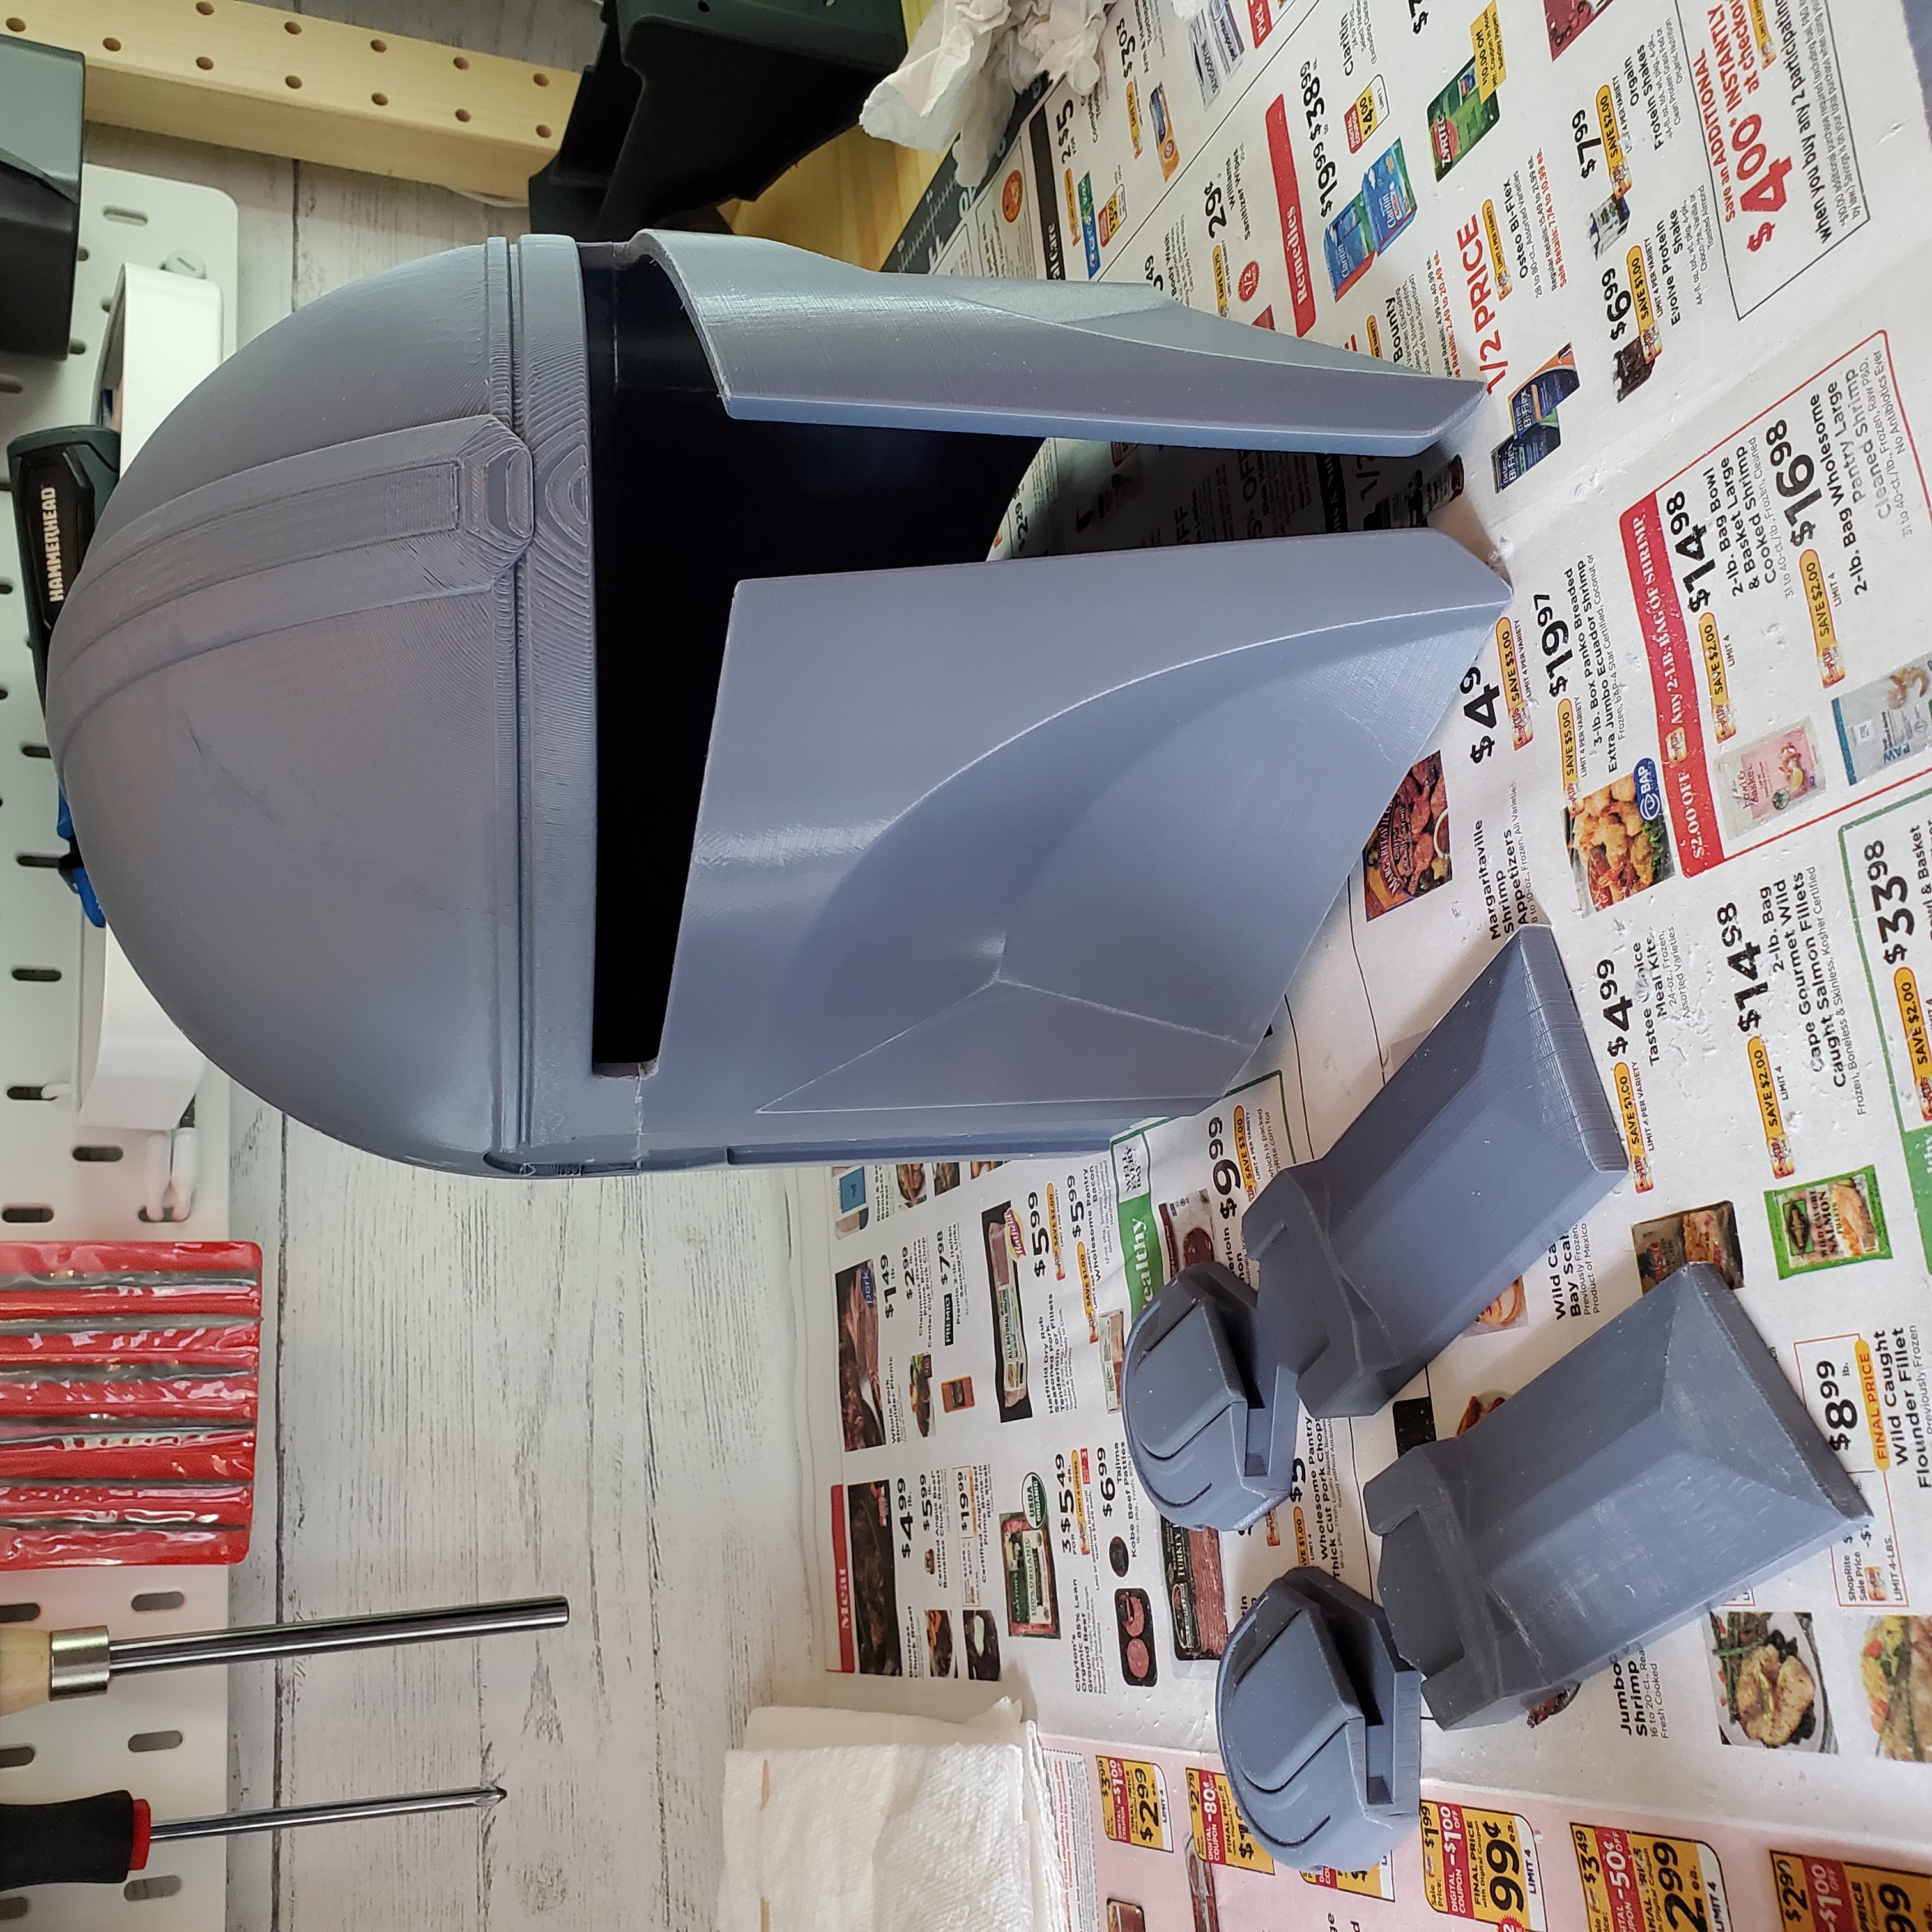
8 piece on ender 3 finally done. Post work next. Get those vents printed and glued before attaching the front pieces.
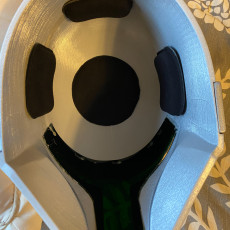
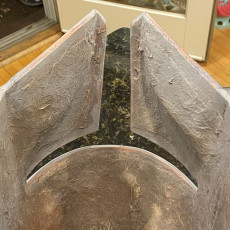
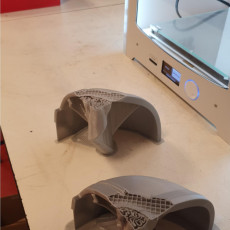
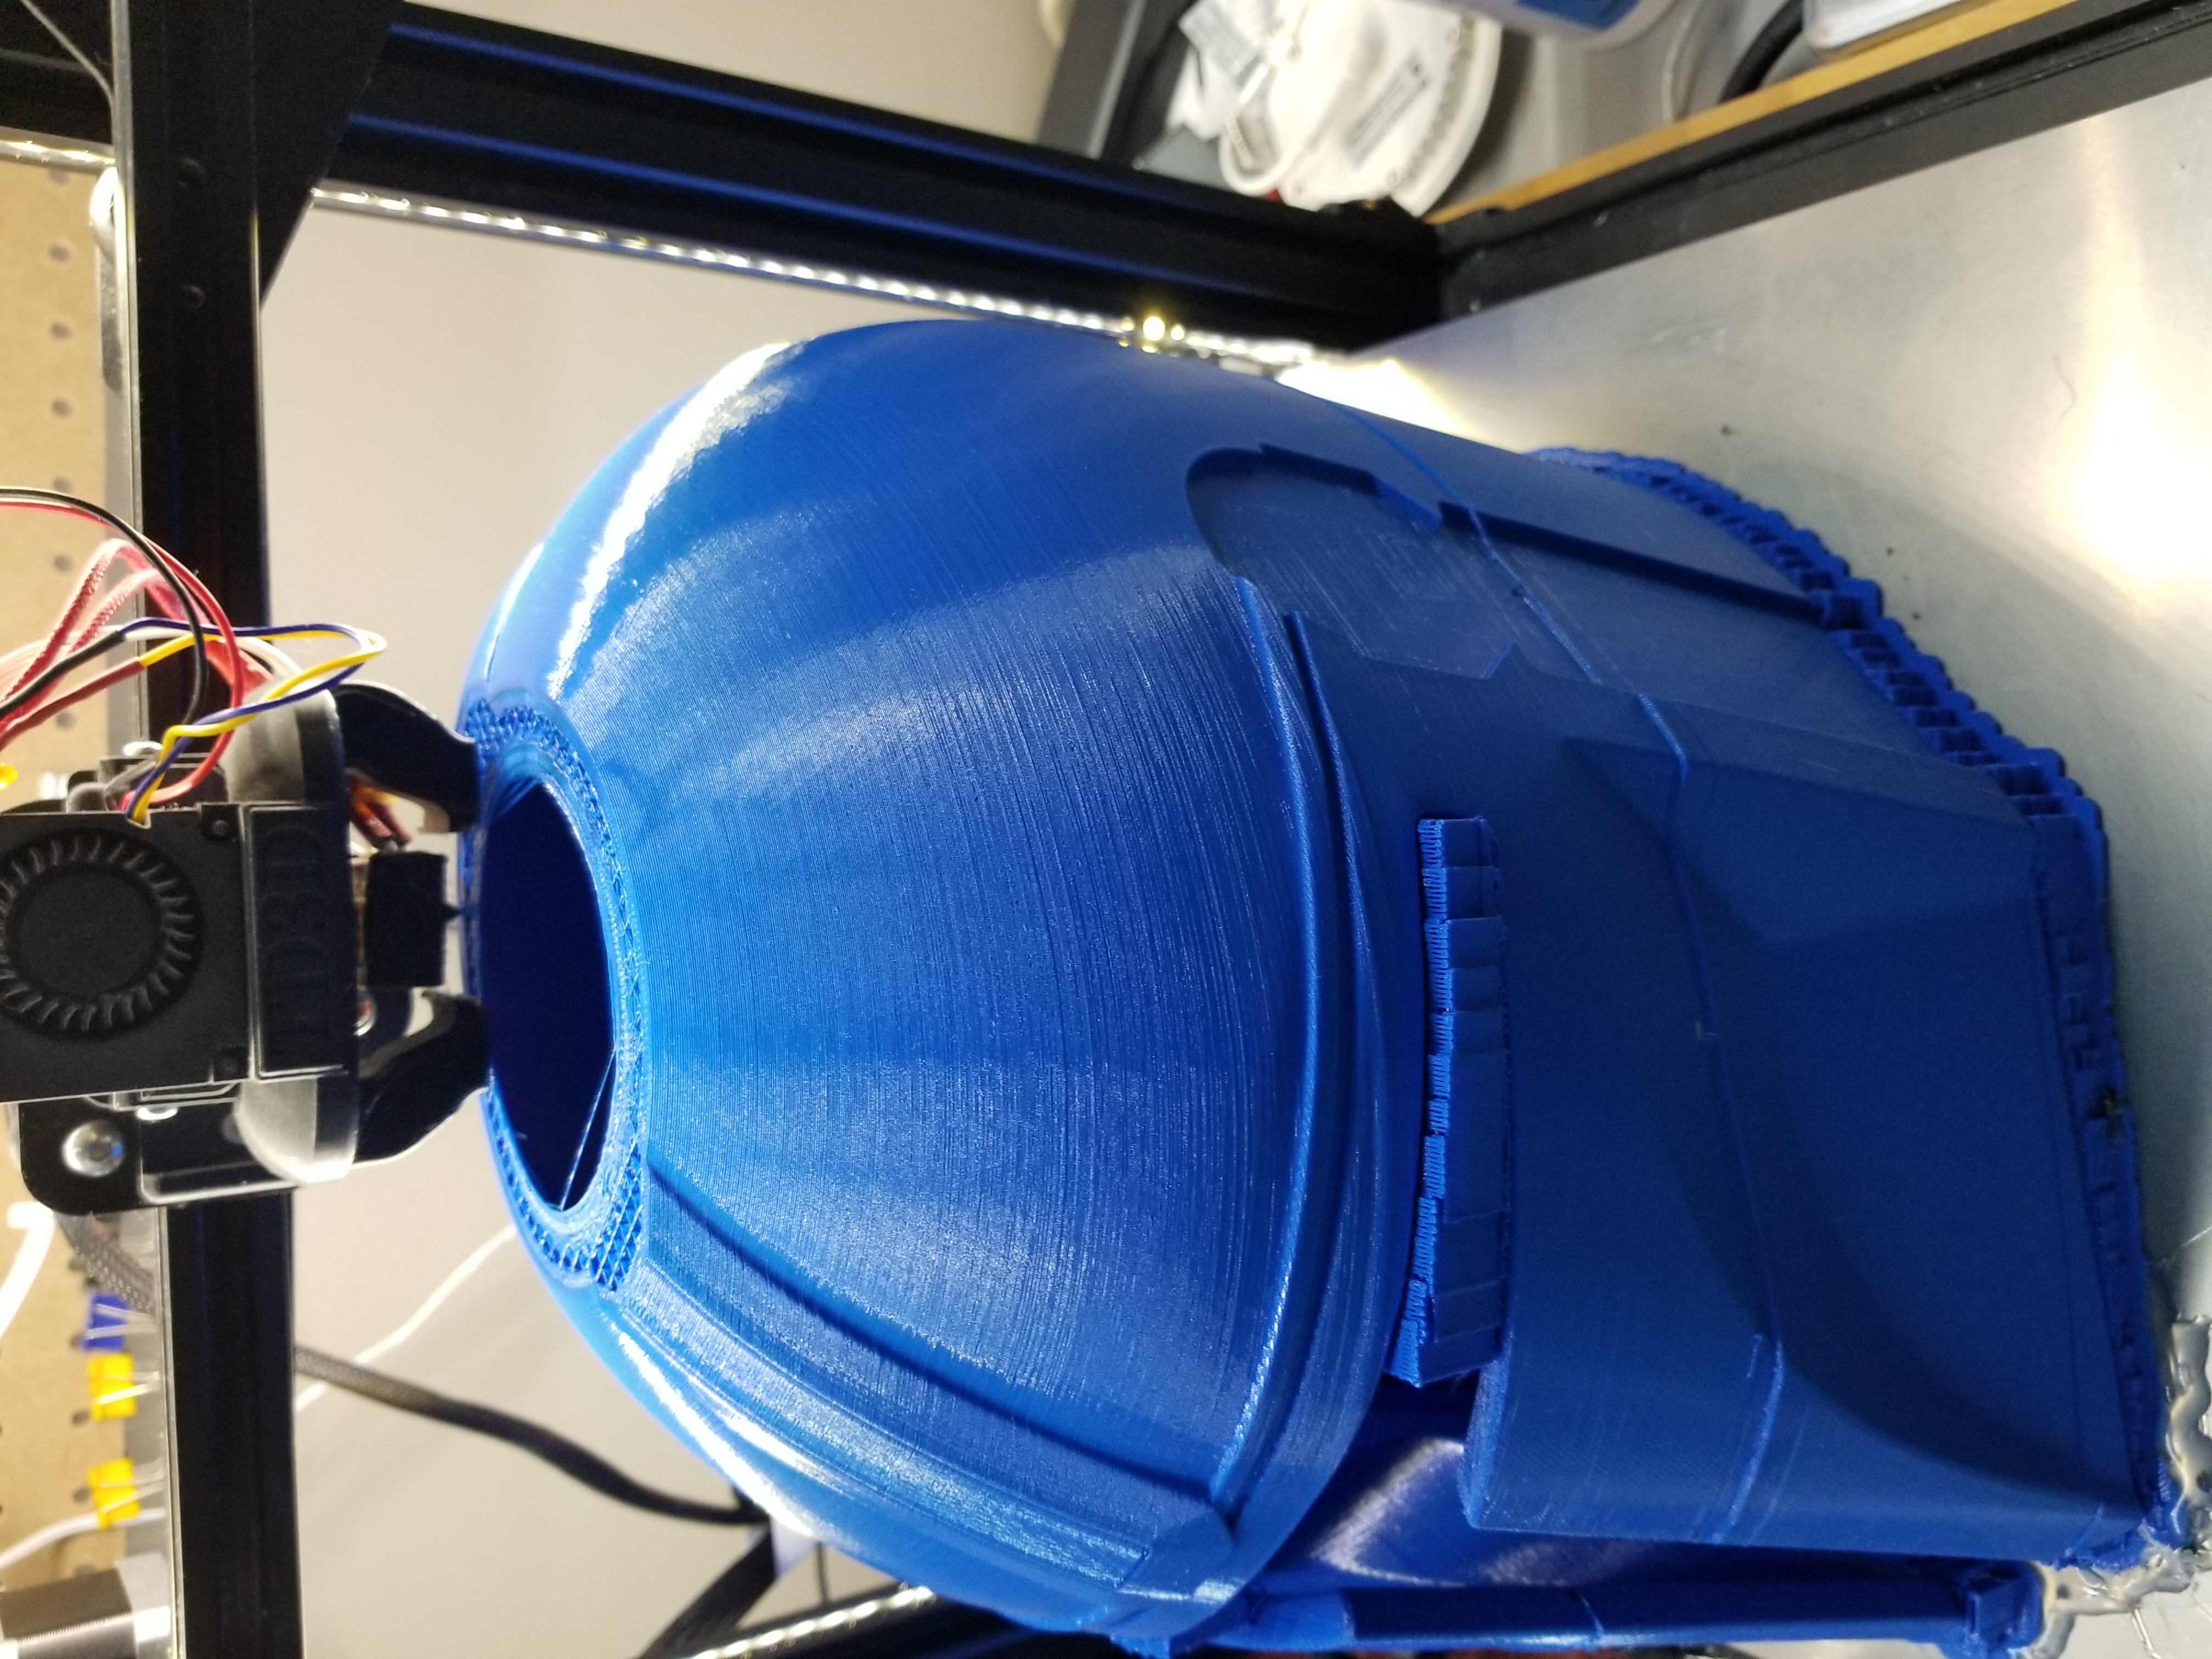
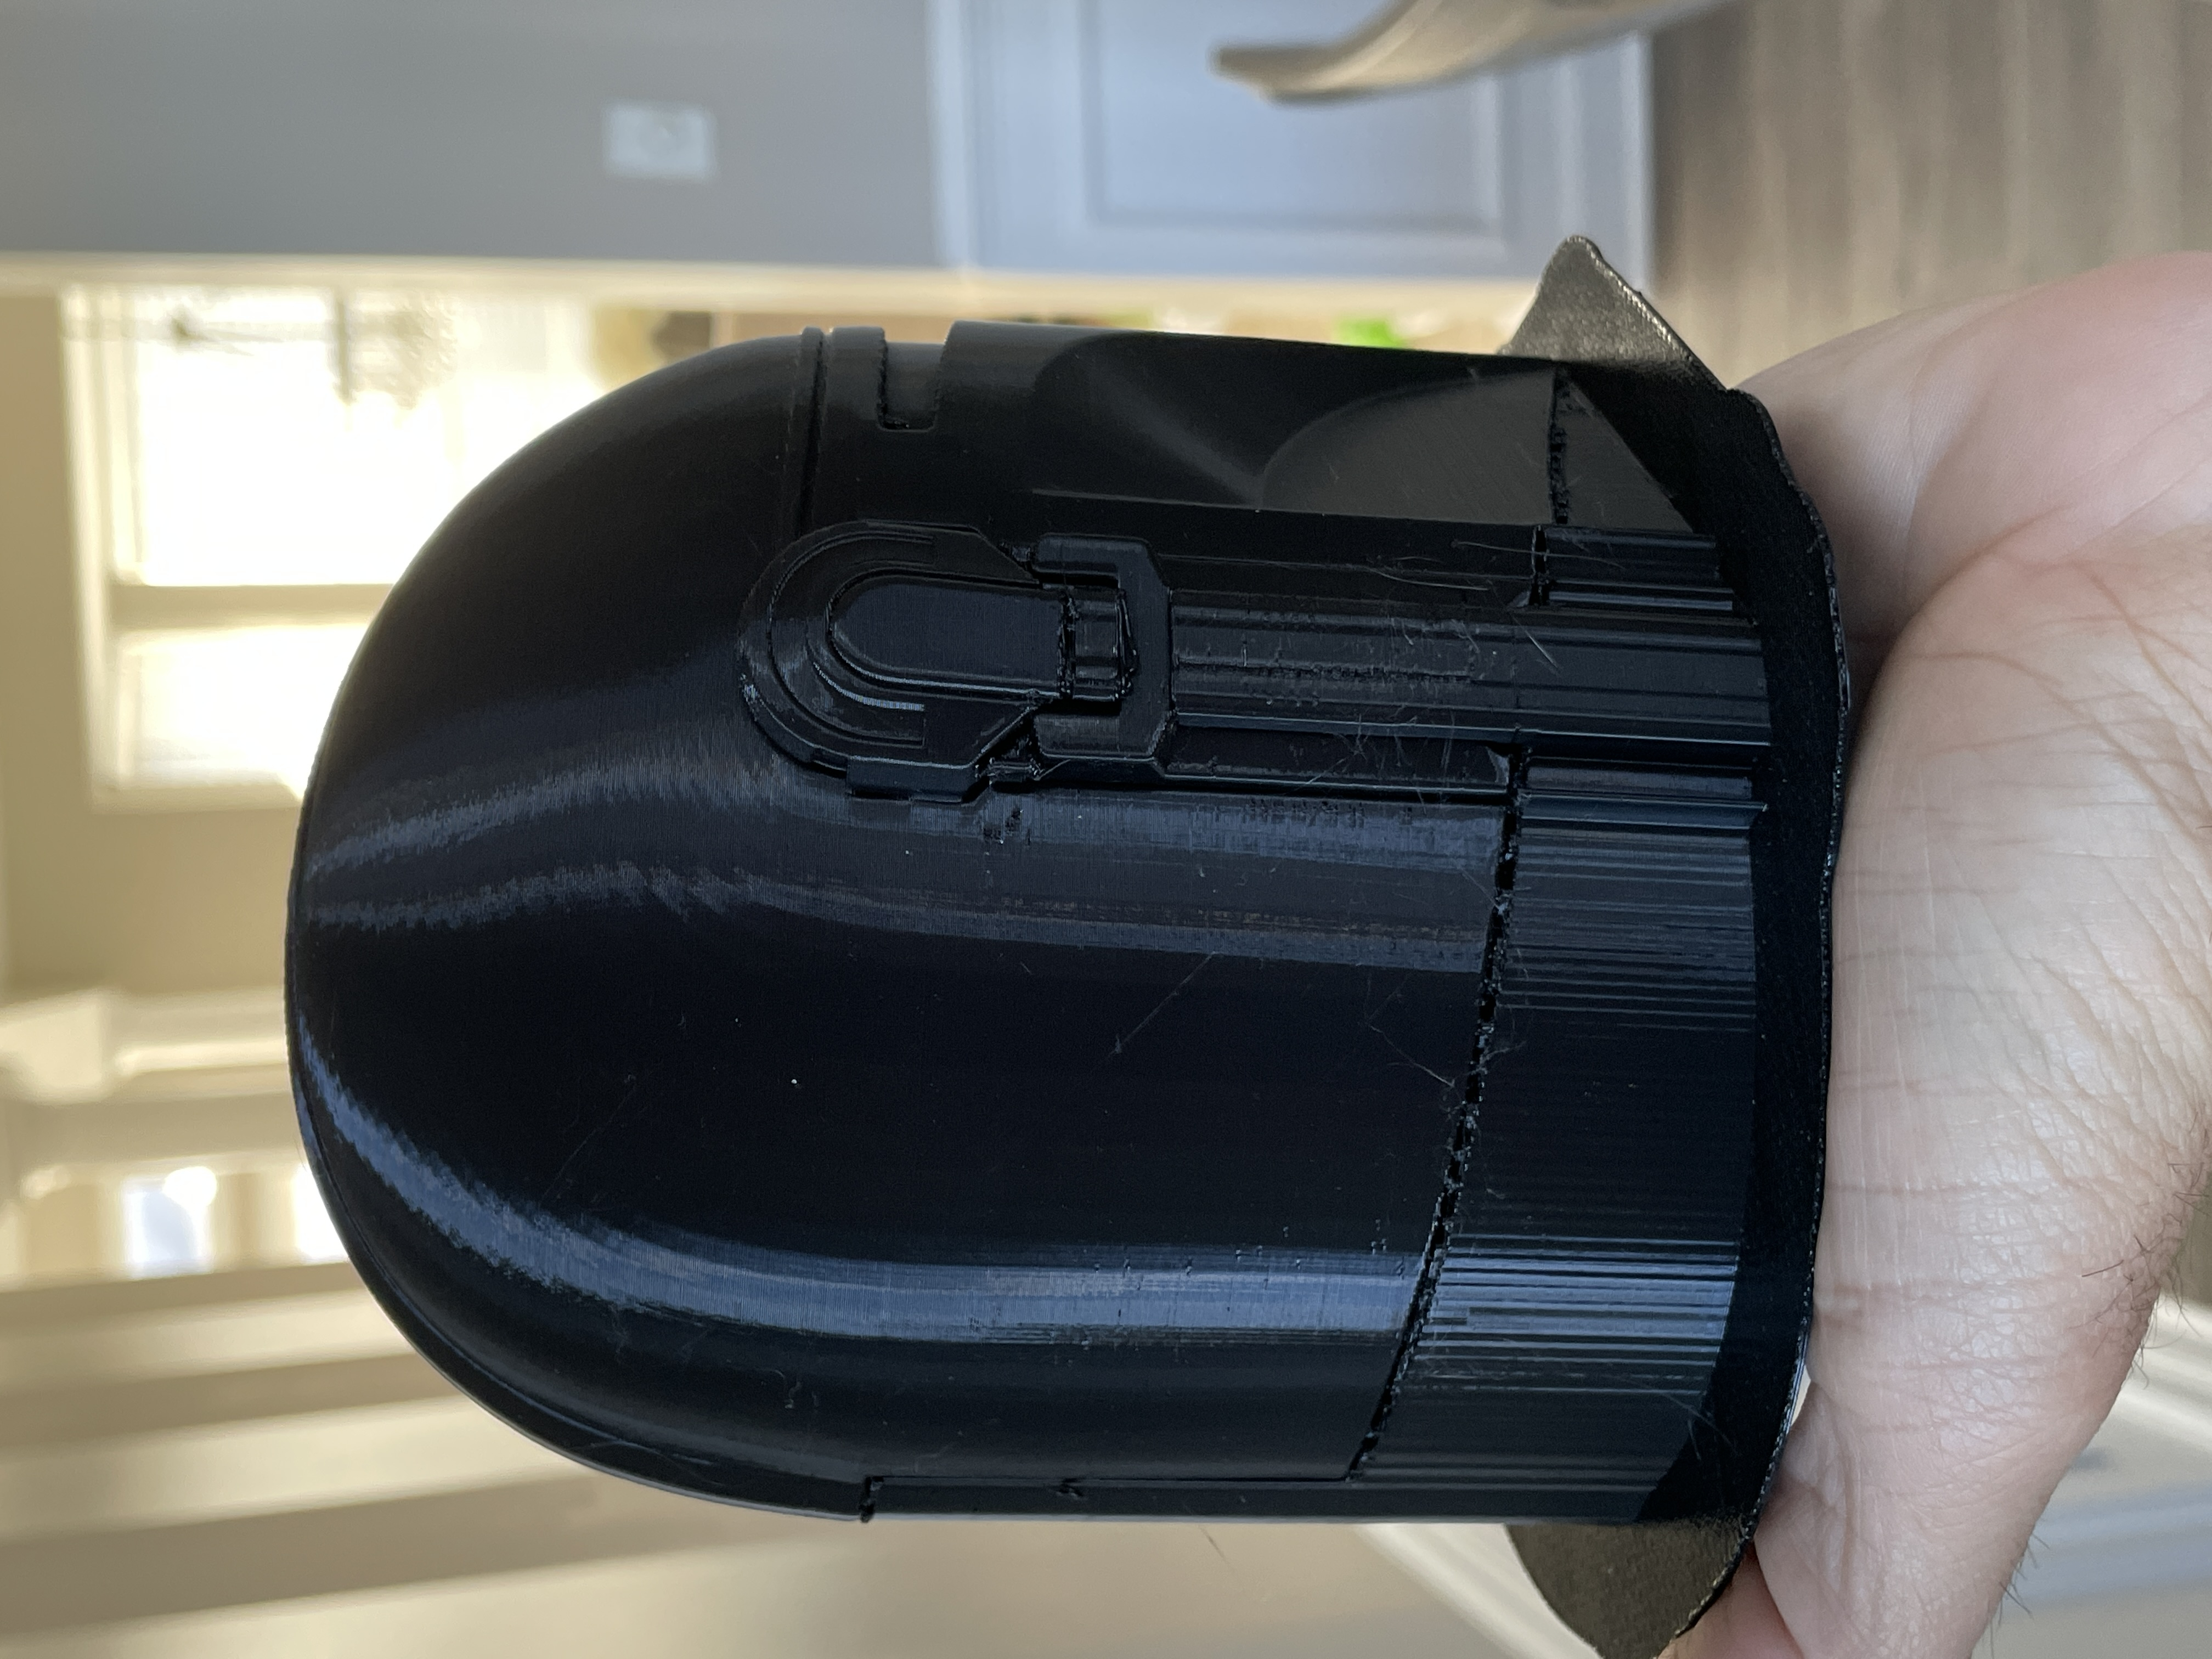
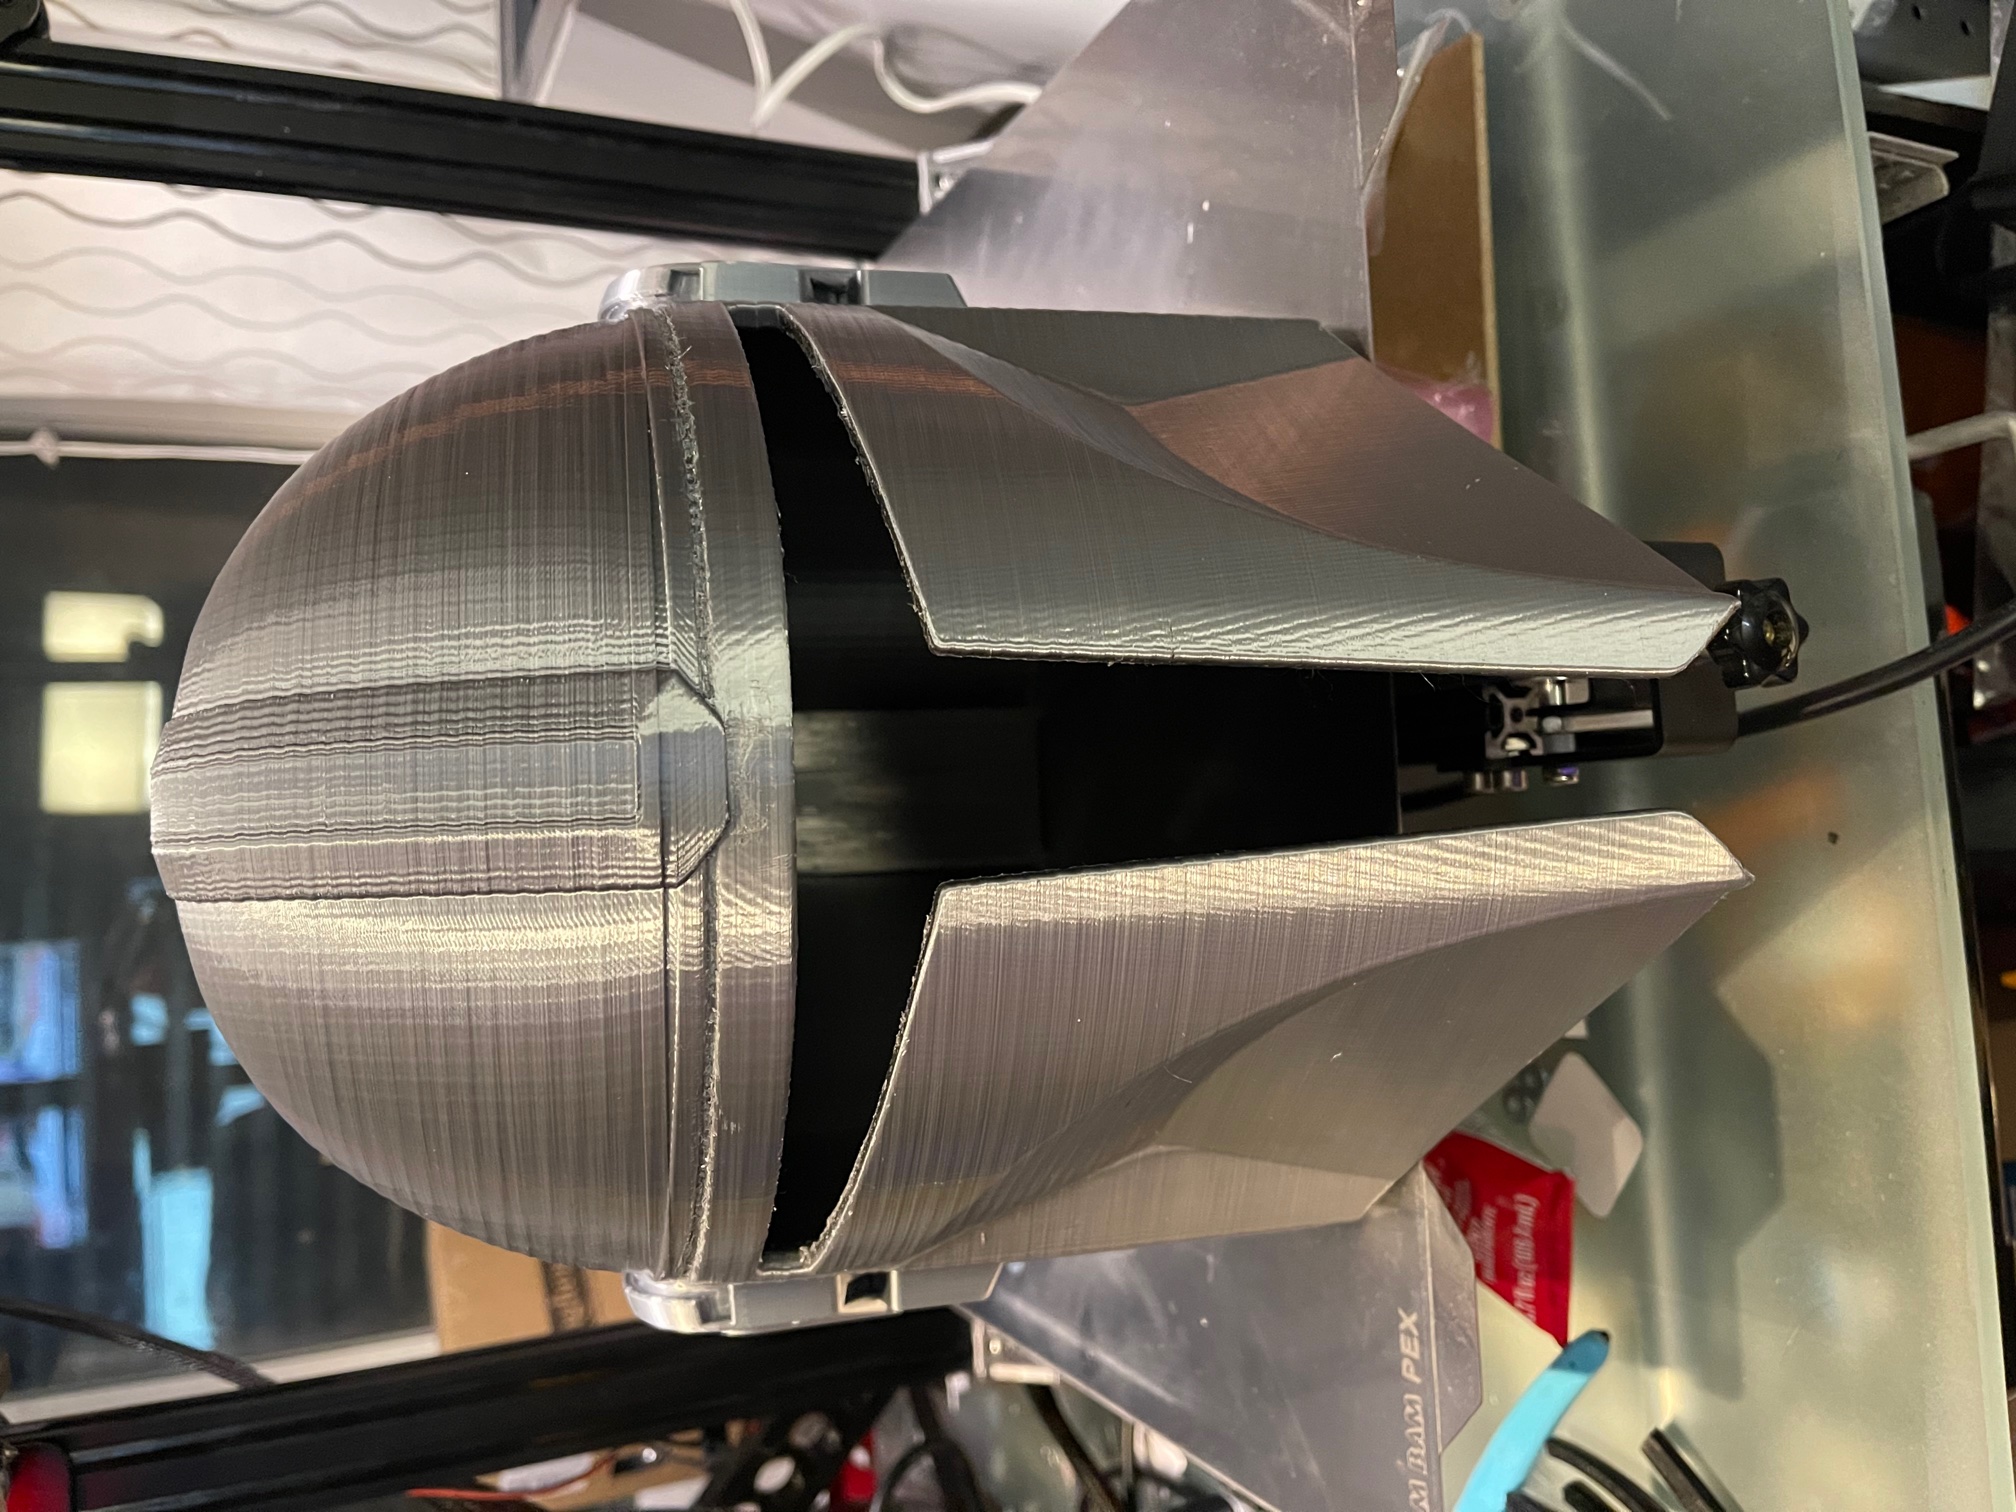
Didn't notice this before printing and until the print was almost complete (overnight)...The wall where ear pieces go/mount has material missing. Has anyone else had this issue? What is the fix? Thank you, JB (Noob Maker)
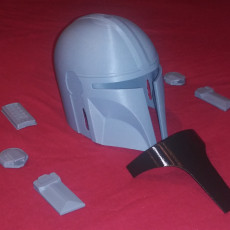
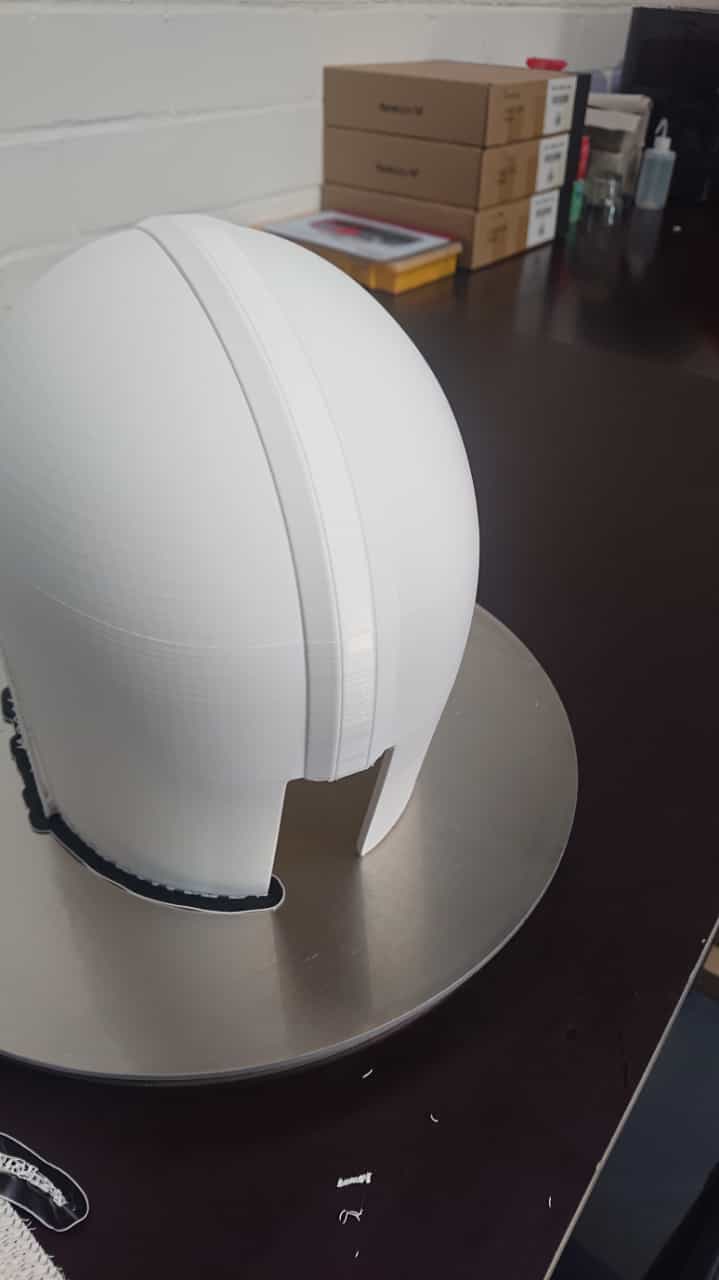
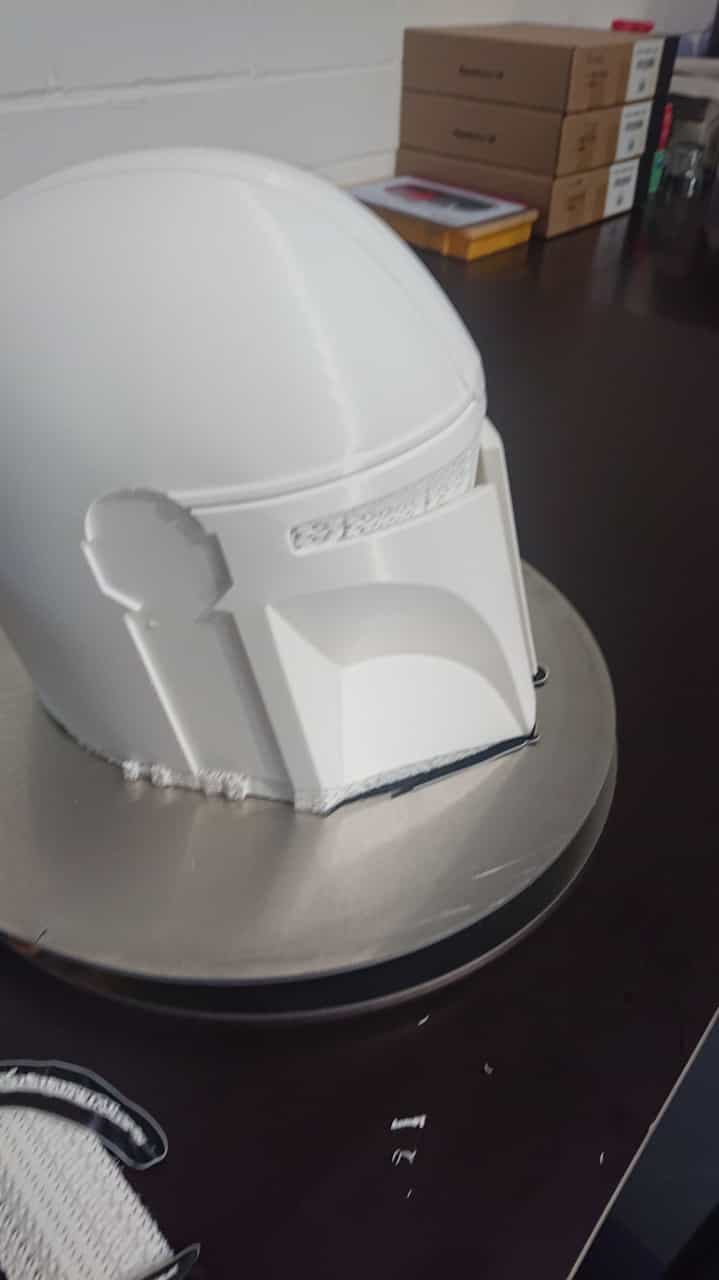
work in progress
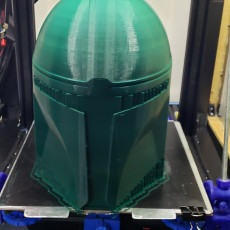
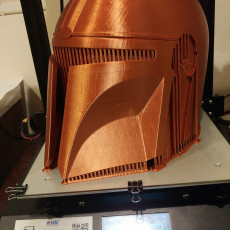
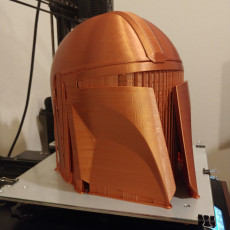
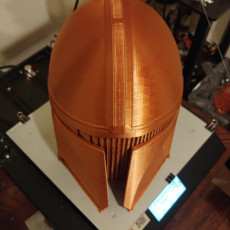
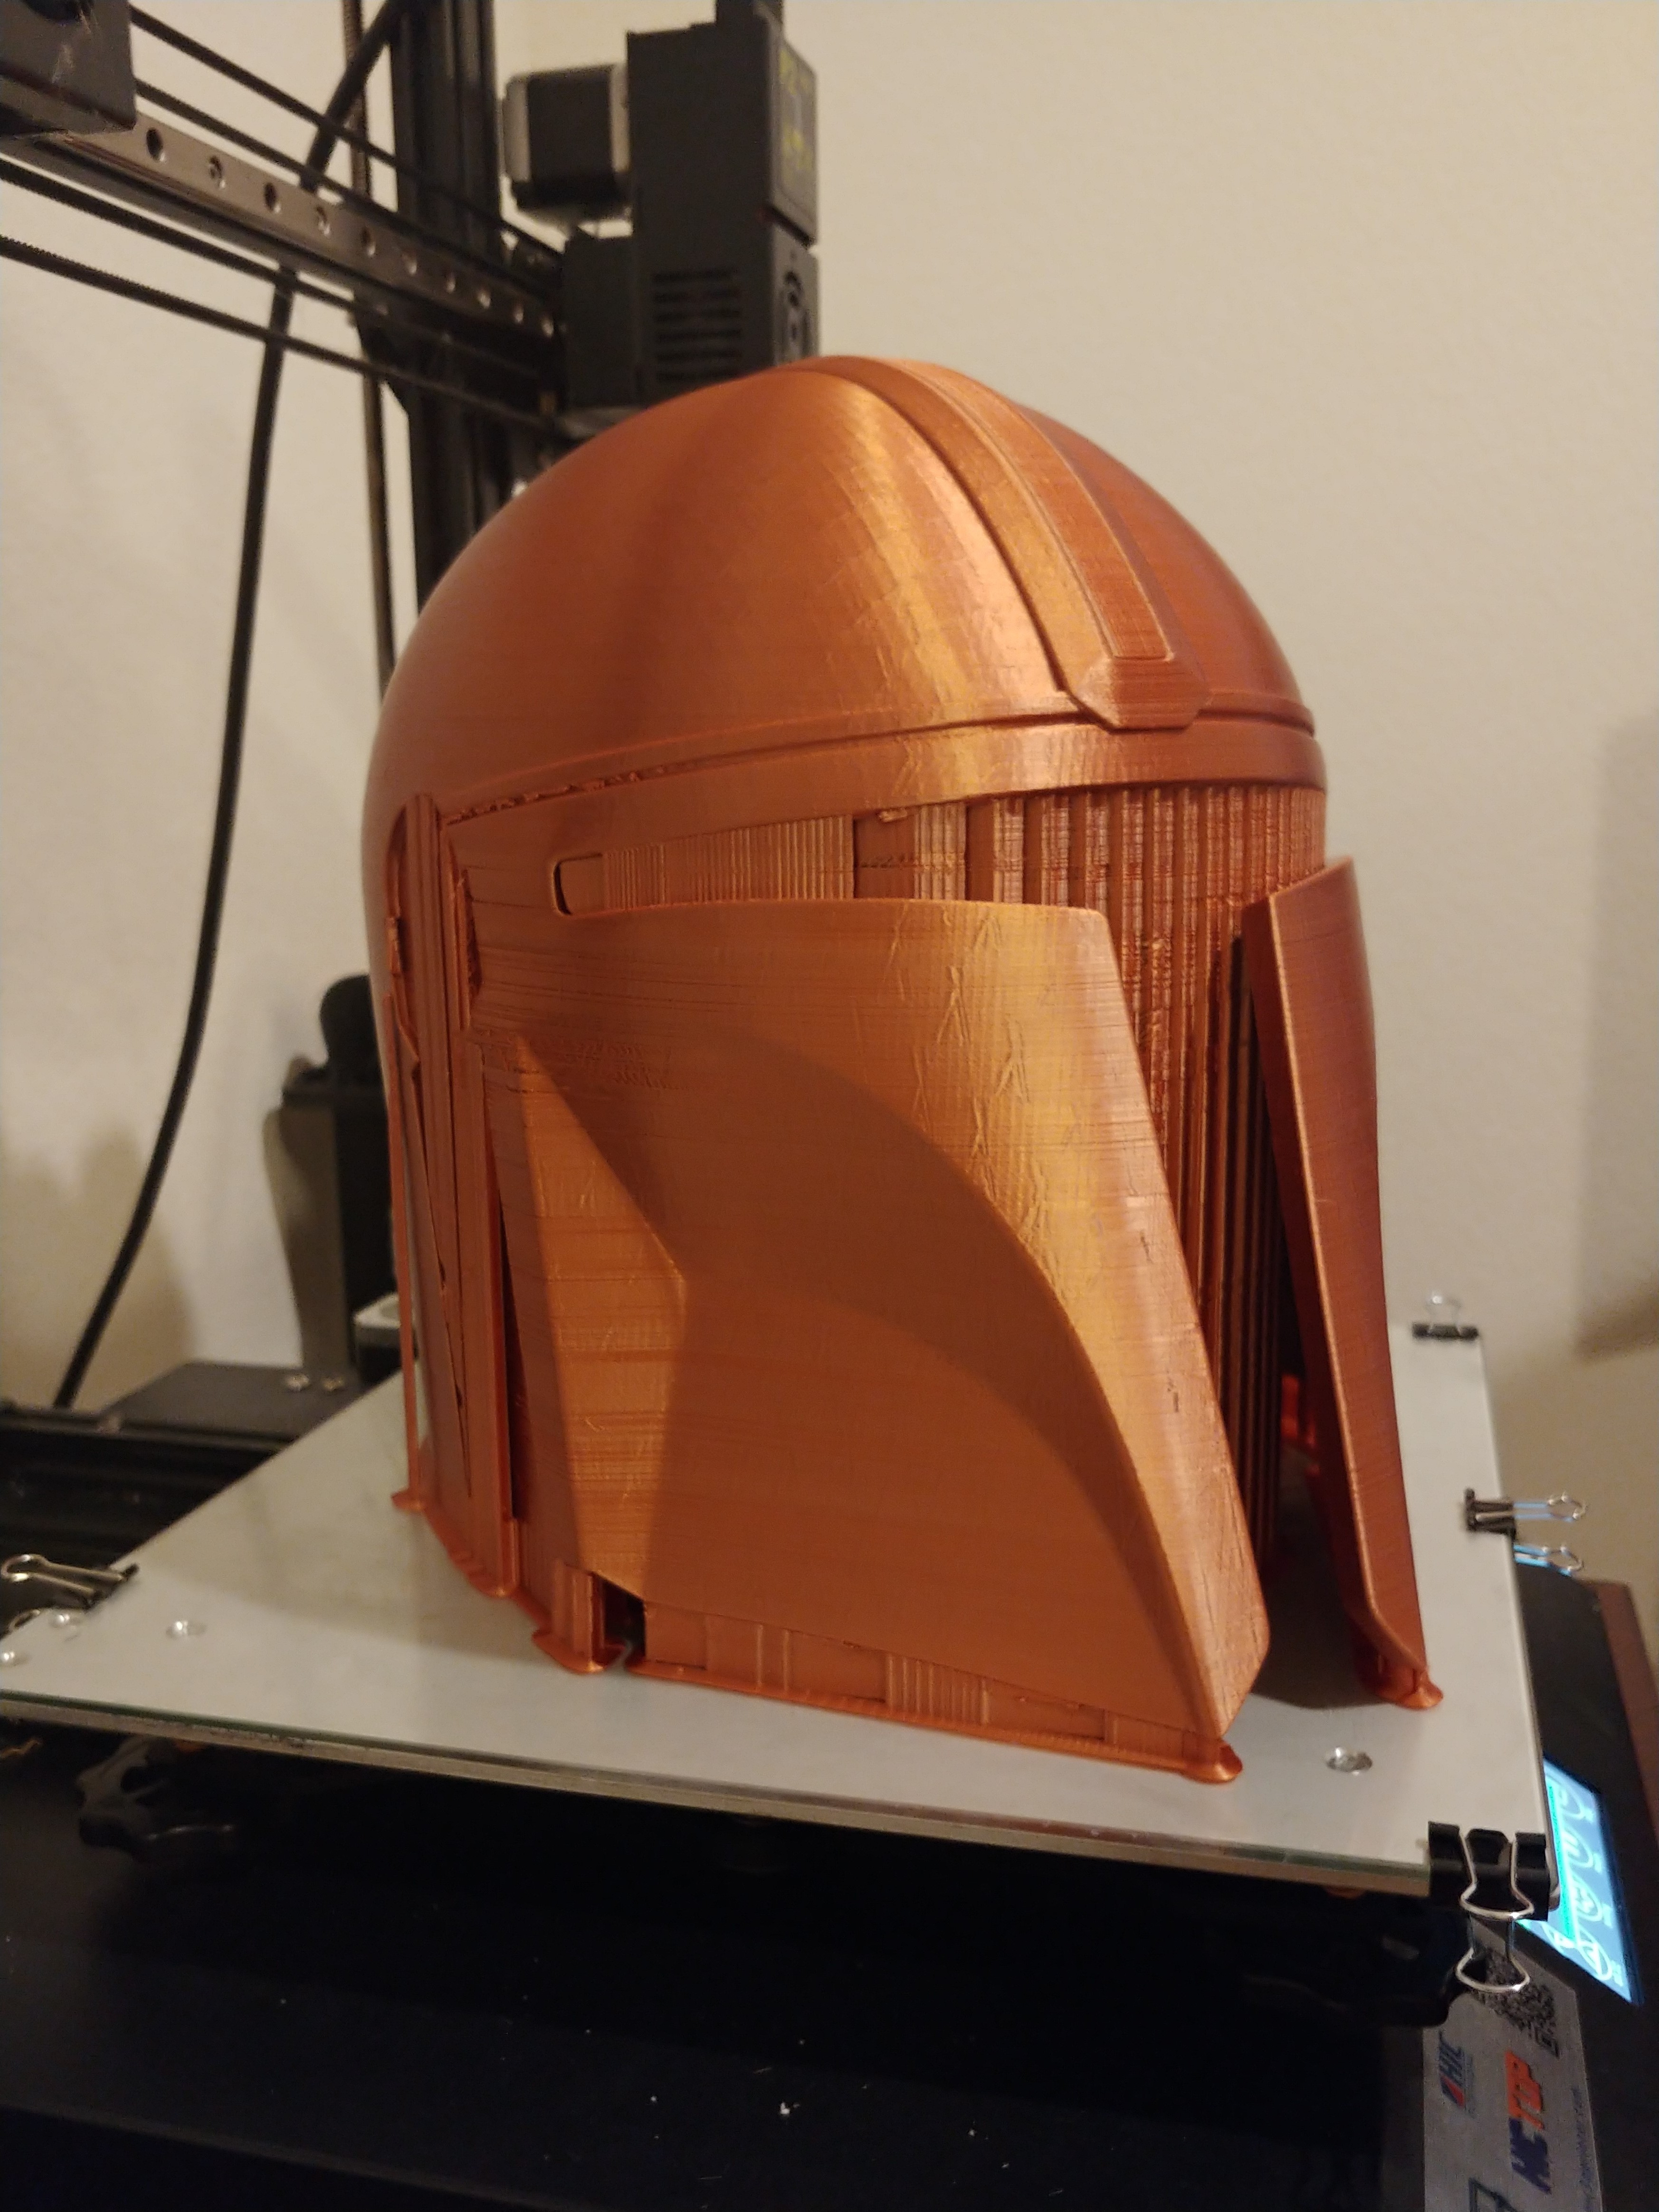
Printed on Hictop D3 Hero with TTyT3D Silk Copper PLA
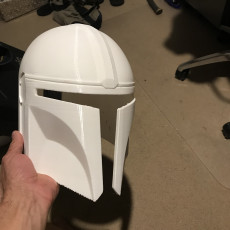
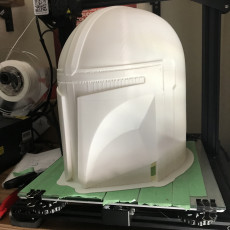
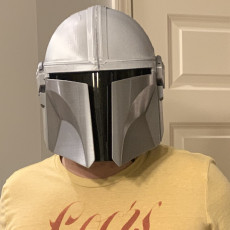
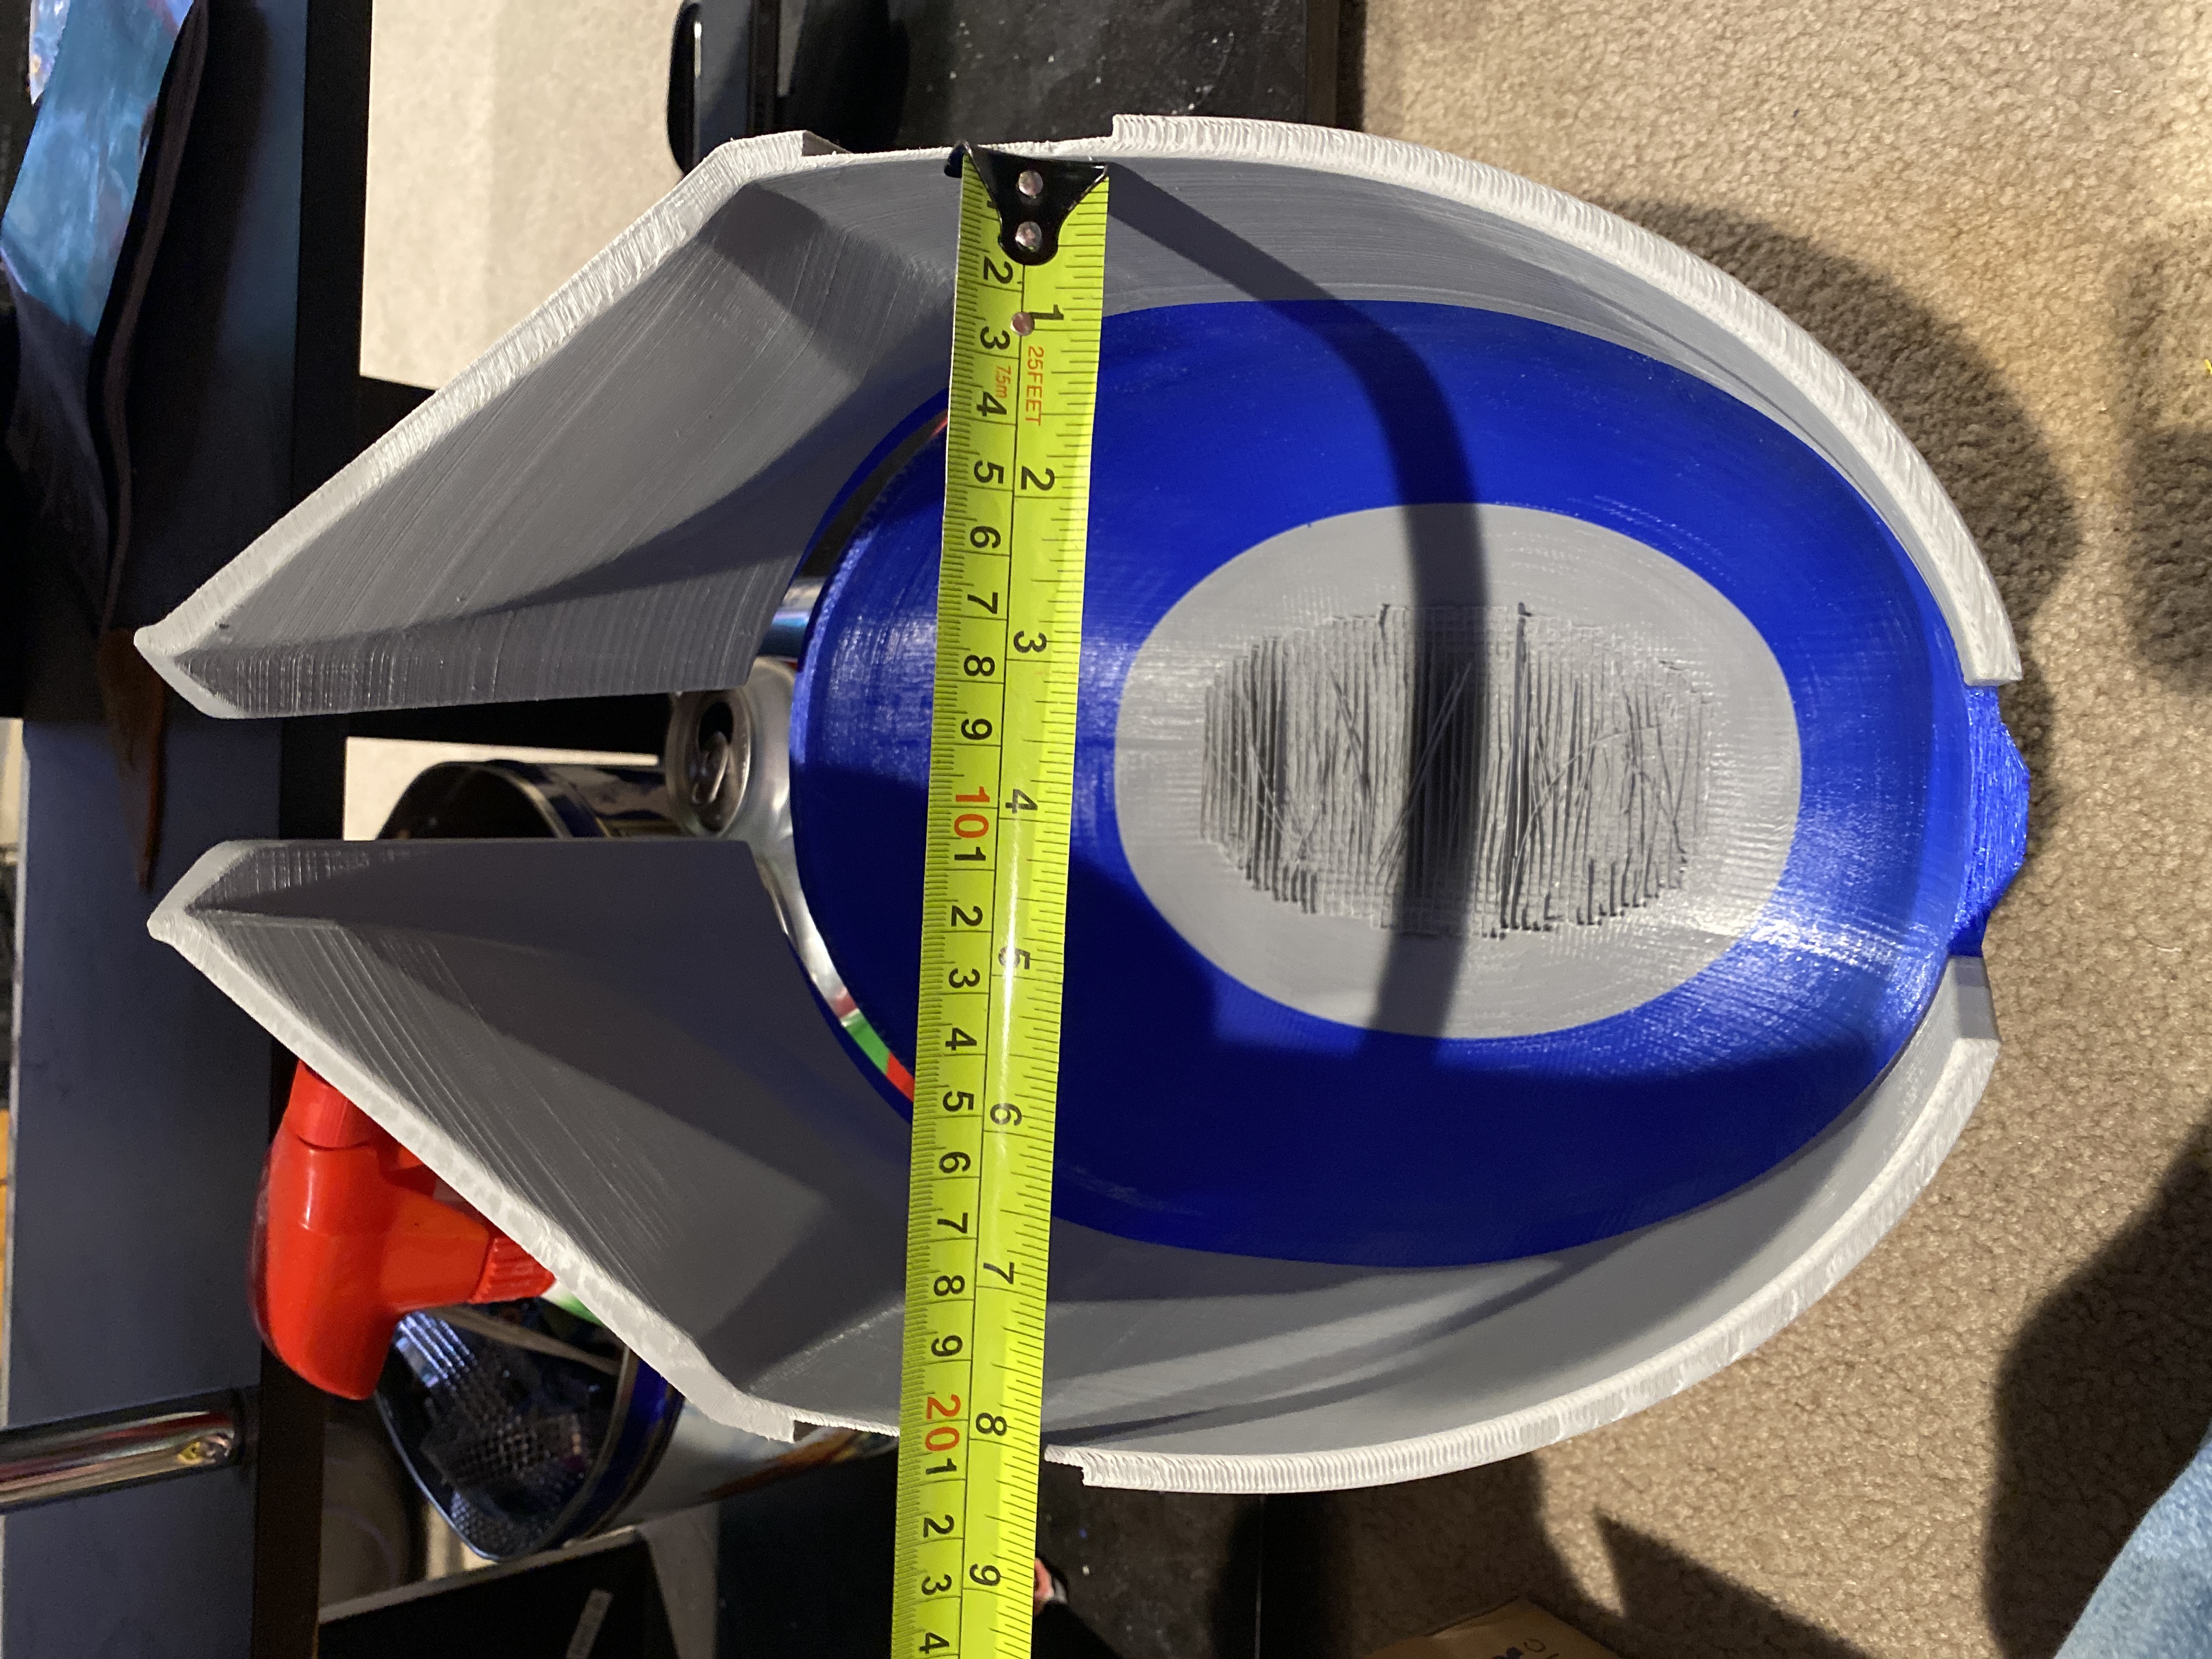
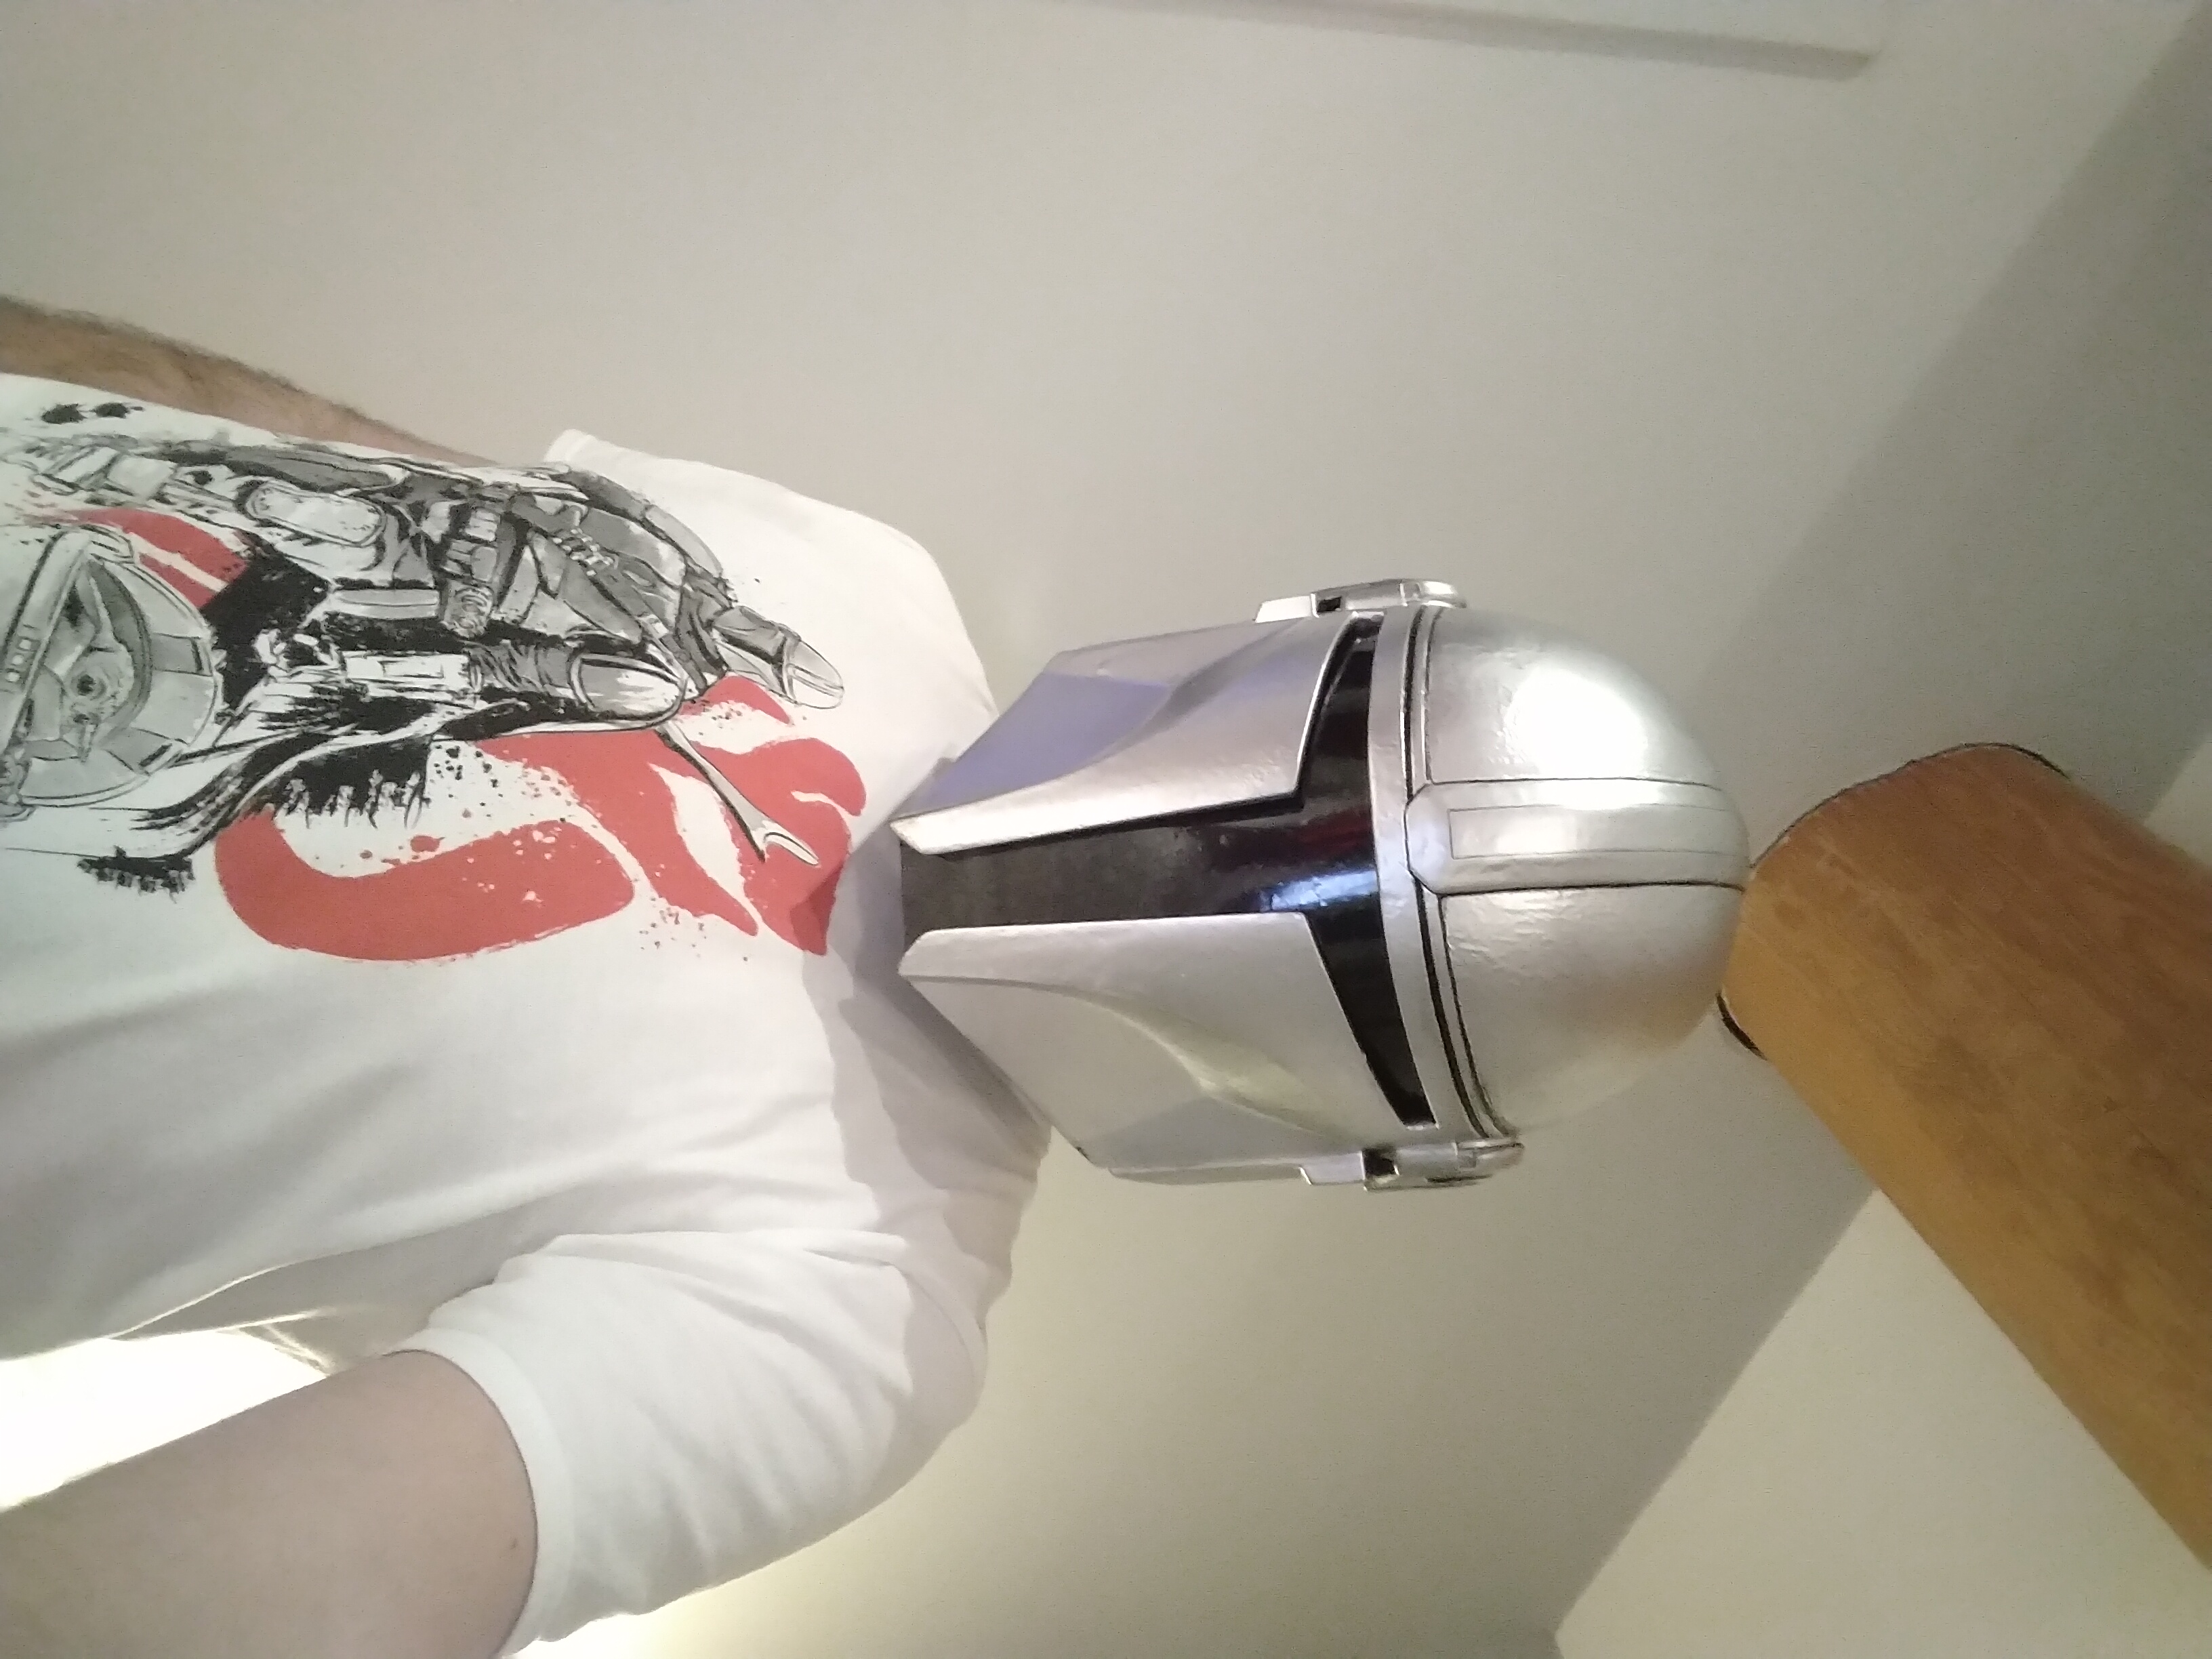
Great file. Great print. used the "uncle jessy" (youtube) method to cut down on print time, fits my head. 560mm circumference. thanks rob for the great work. If you wanted to you could slice the top off in meshmixer, but i think this turned out great. cr10s. 0.28mm. aurum filament,pla white. print time app 60hours and well worth it.
Thanks for the great model! I had to print in pieces and glue together and that caused me some issues. It's not perfect, but I like it!
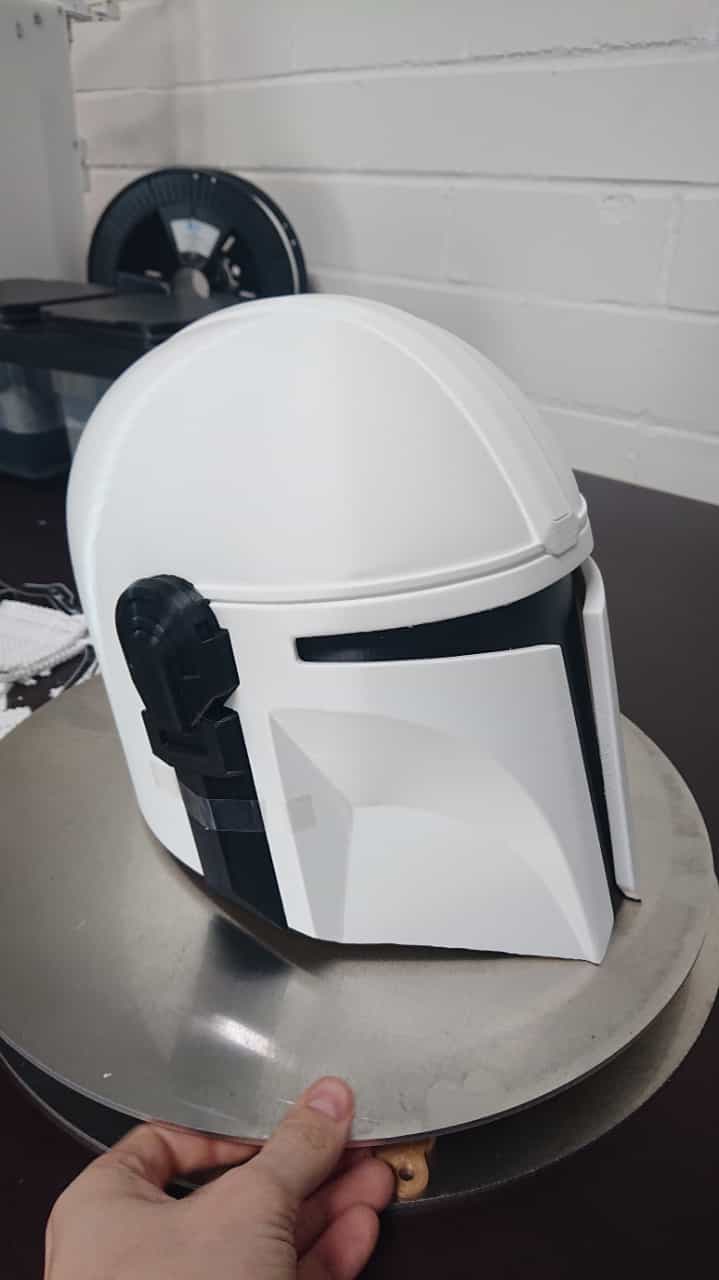
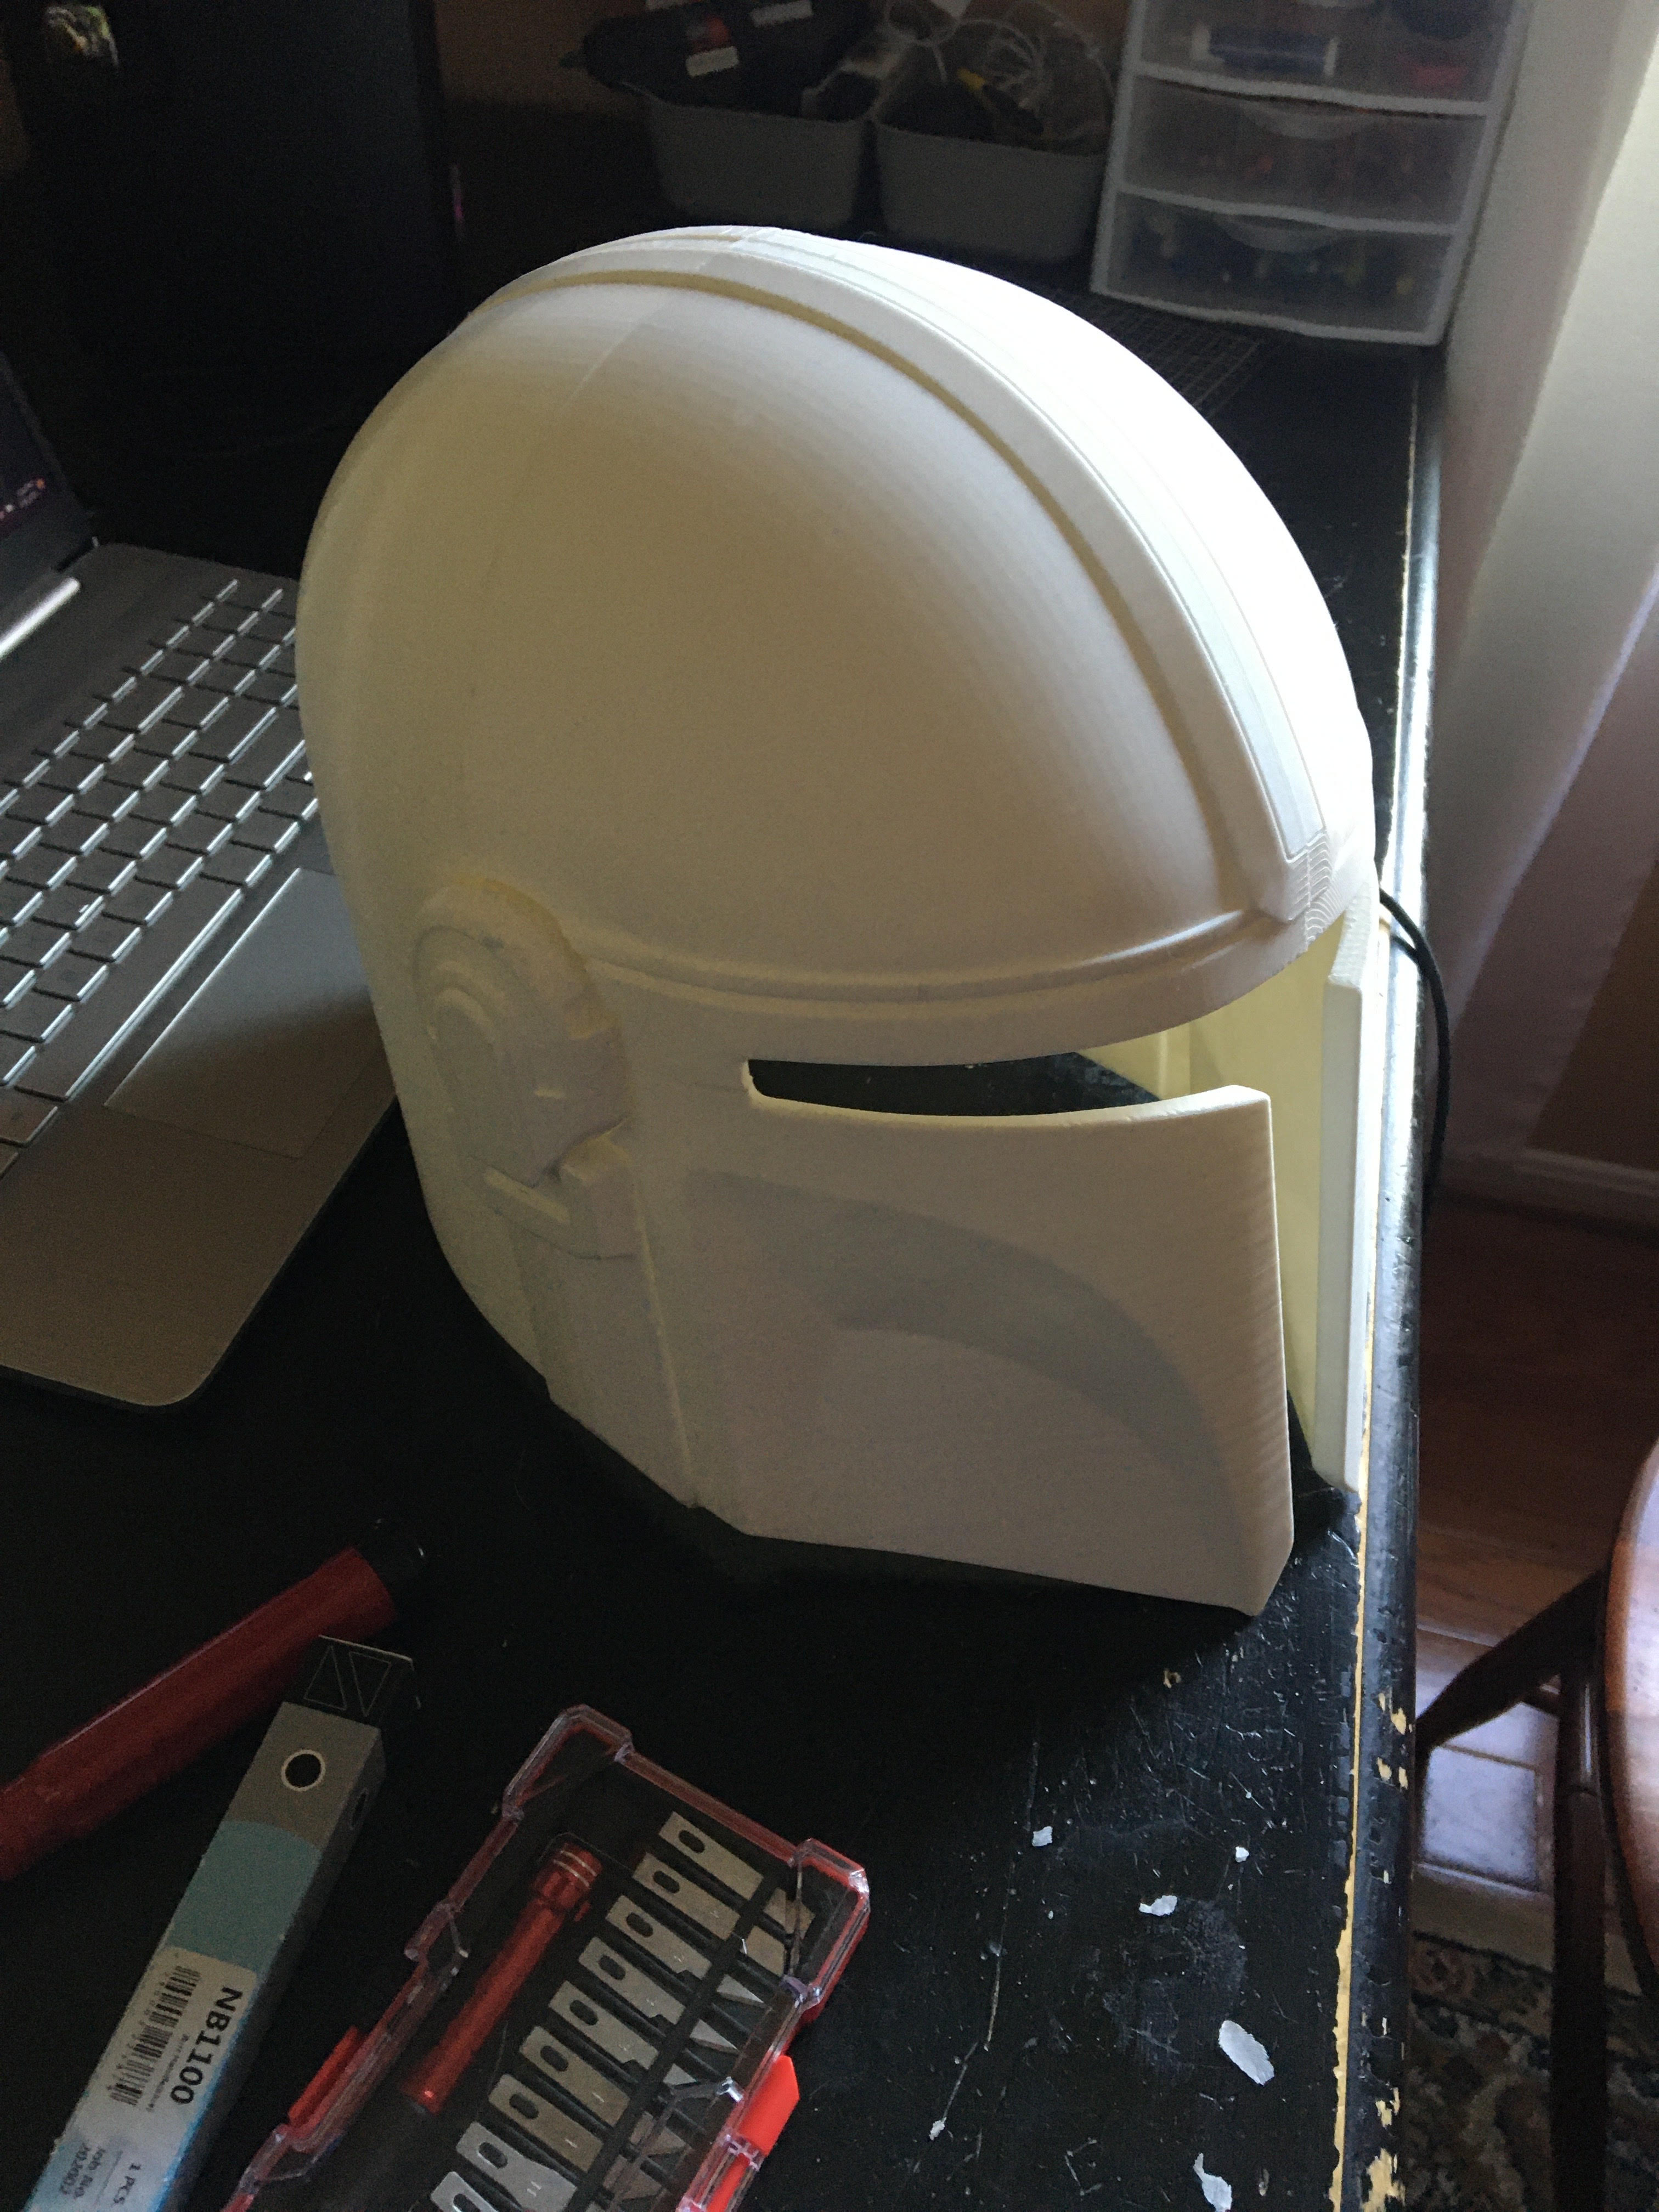
The print turned out well. Just trying to process it now.
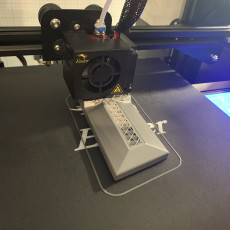
The first piece of 8 is getting very close to completion. This is the lower left earpiece.
140 Hours .12 Layer Height 3 used rolls finished
First Print on our new Ultimaker S5 came out Perfekt :D Thanks Allot
File printed great!
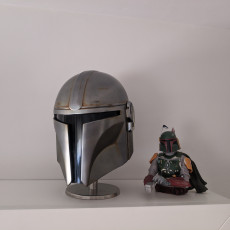
Fantastic model. 97% scale fits me perfectly.
Really enjoying working on this one. Printed on my TEVO Nereus. @robpauza, pm'd you a question.
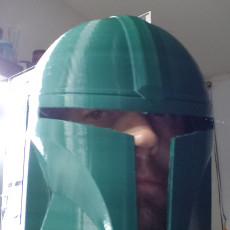
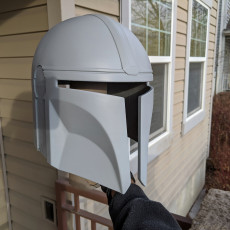
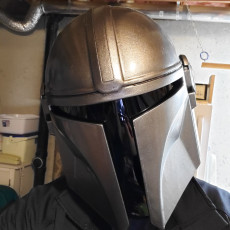
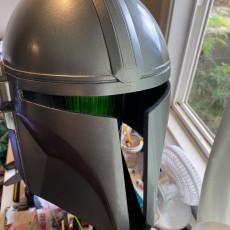
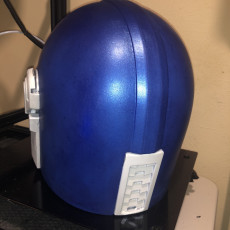
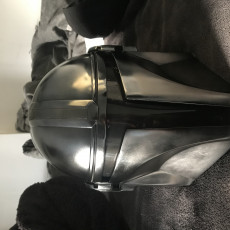
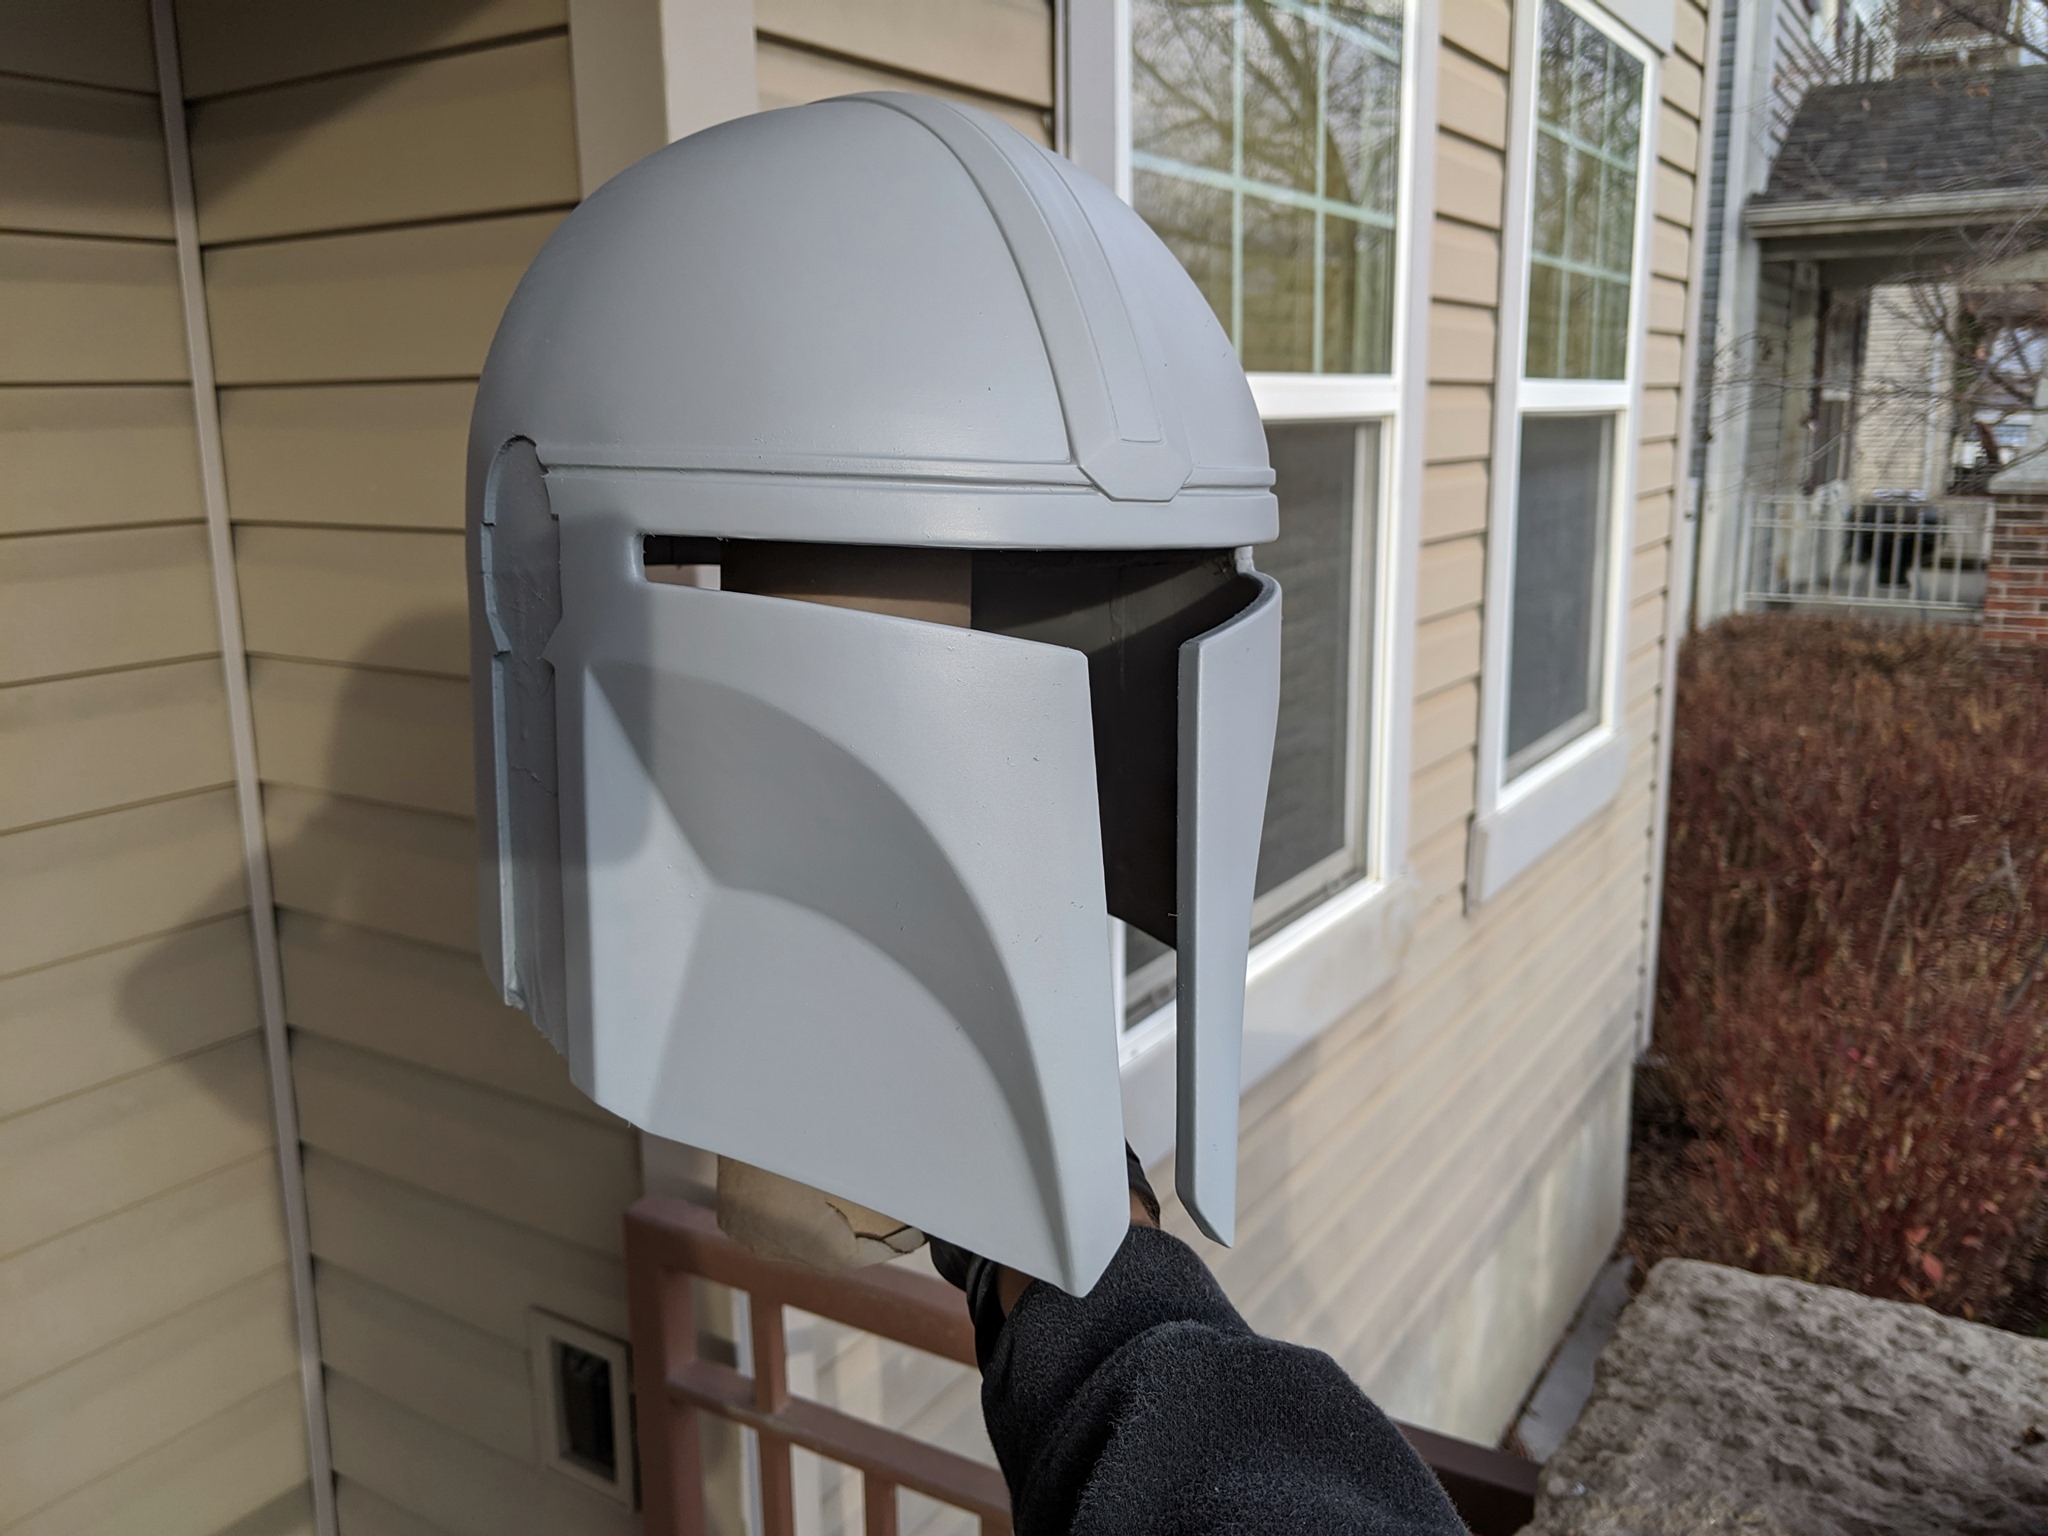
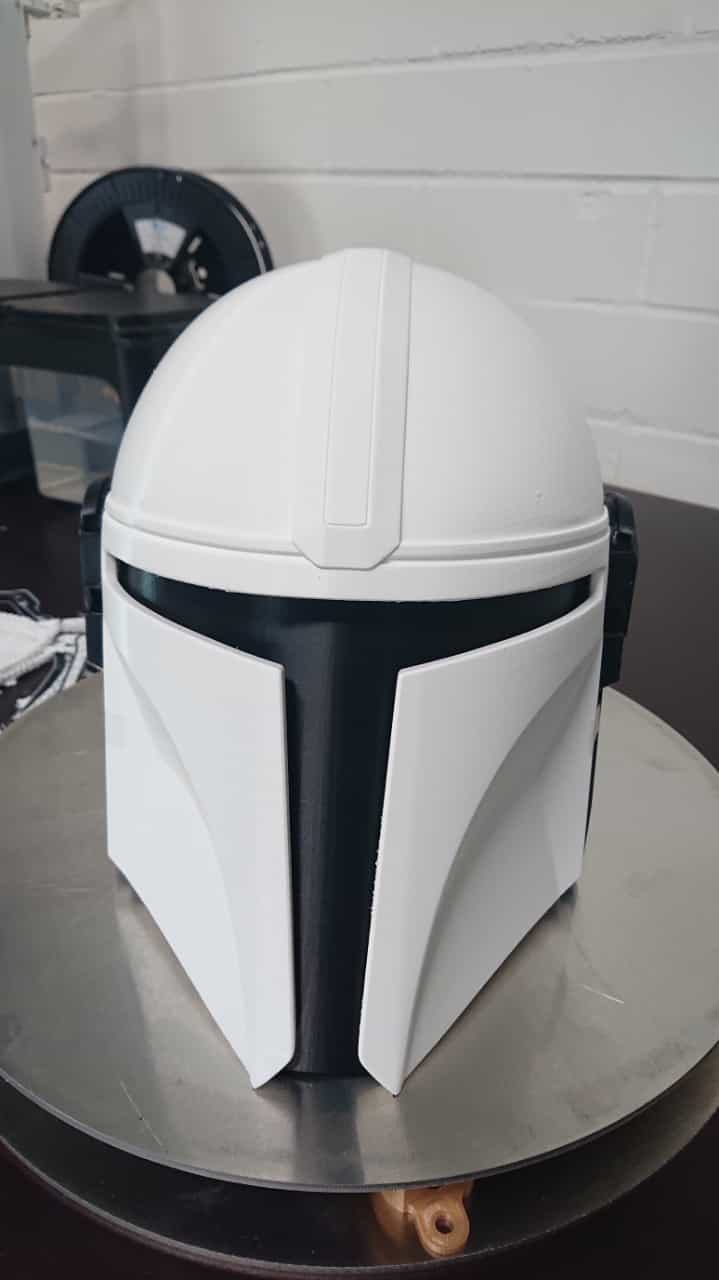
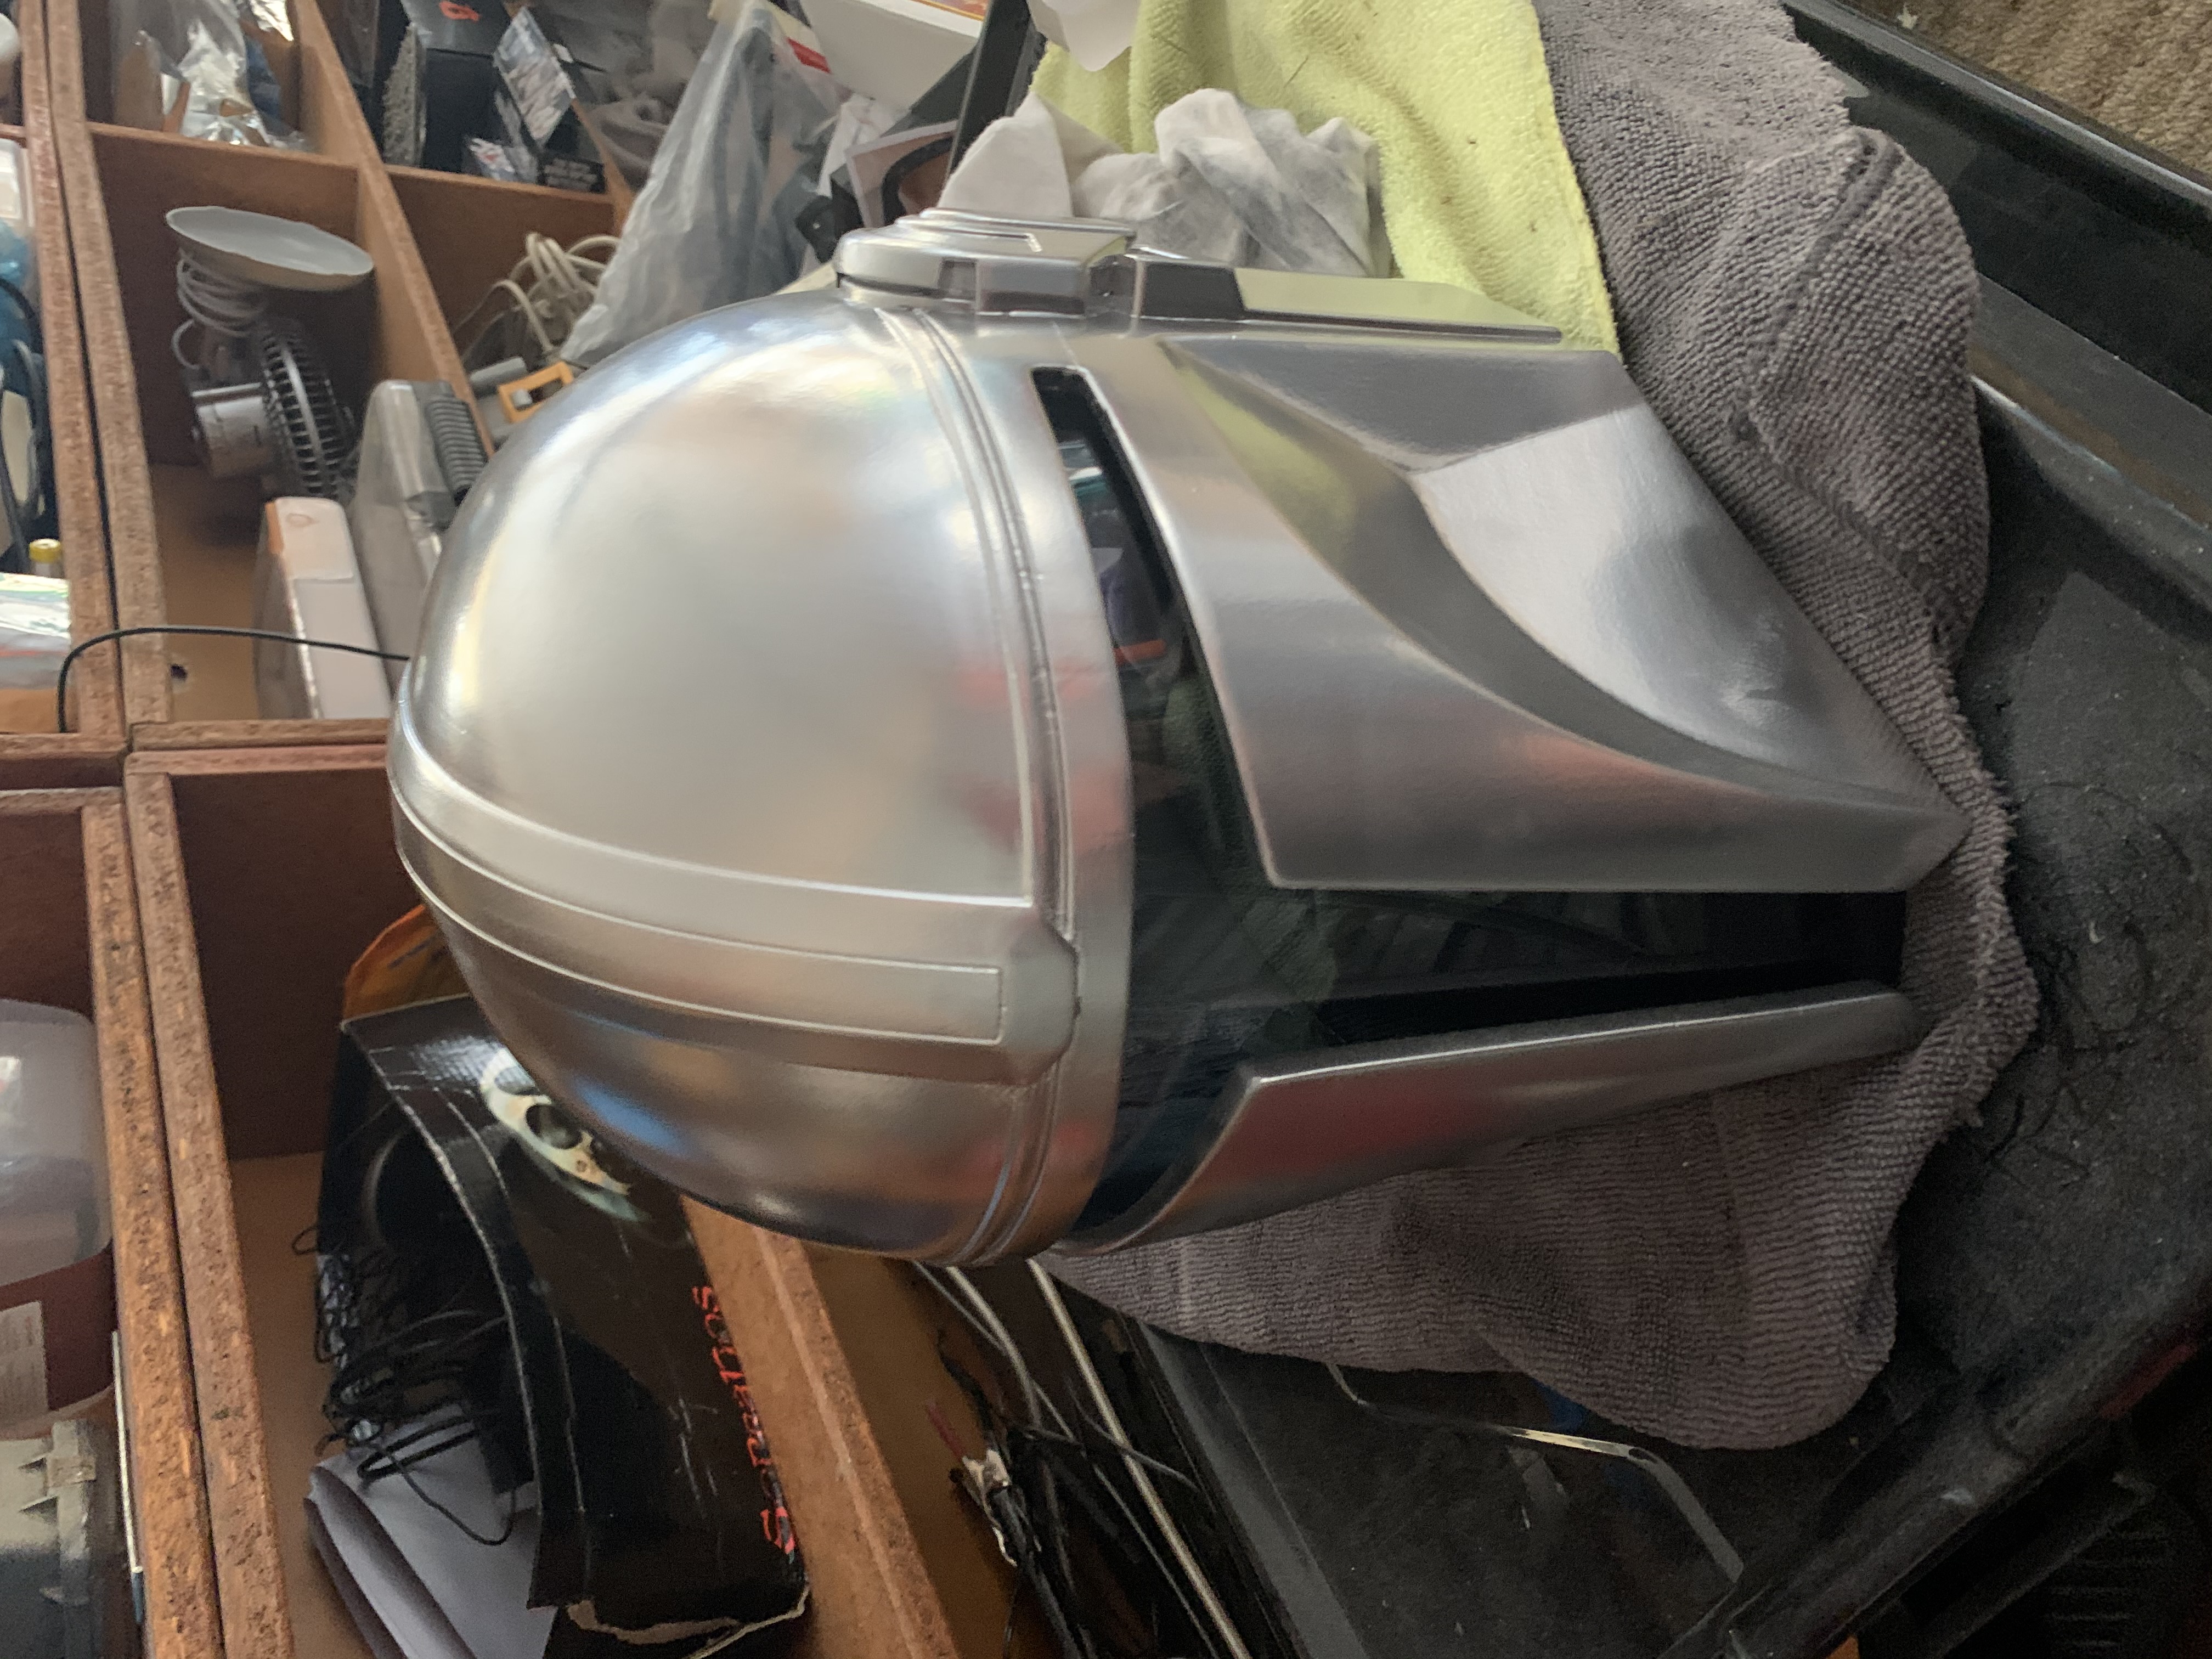
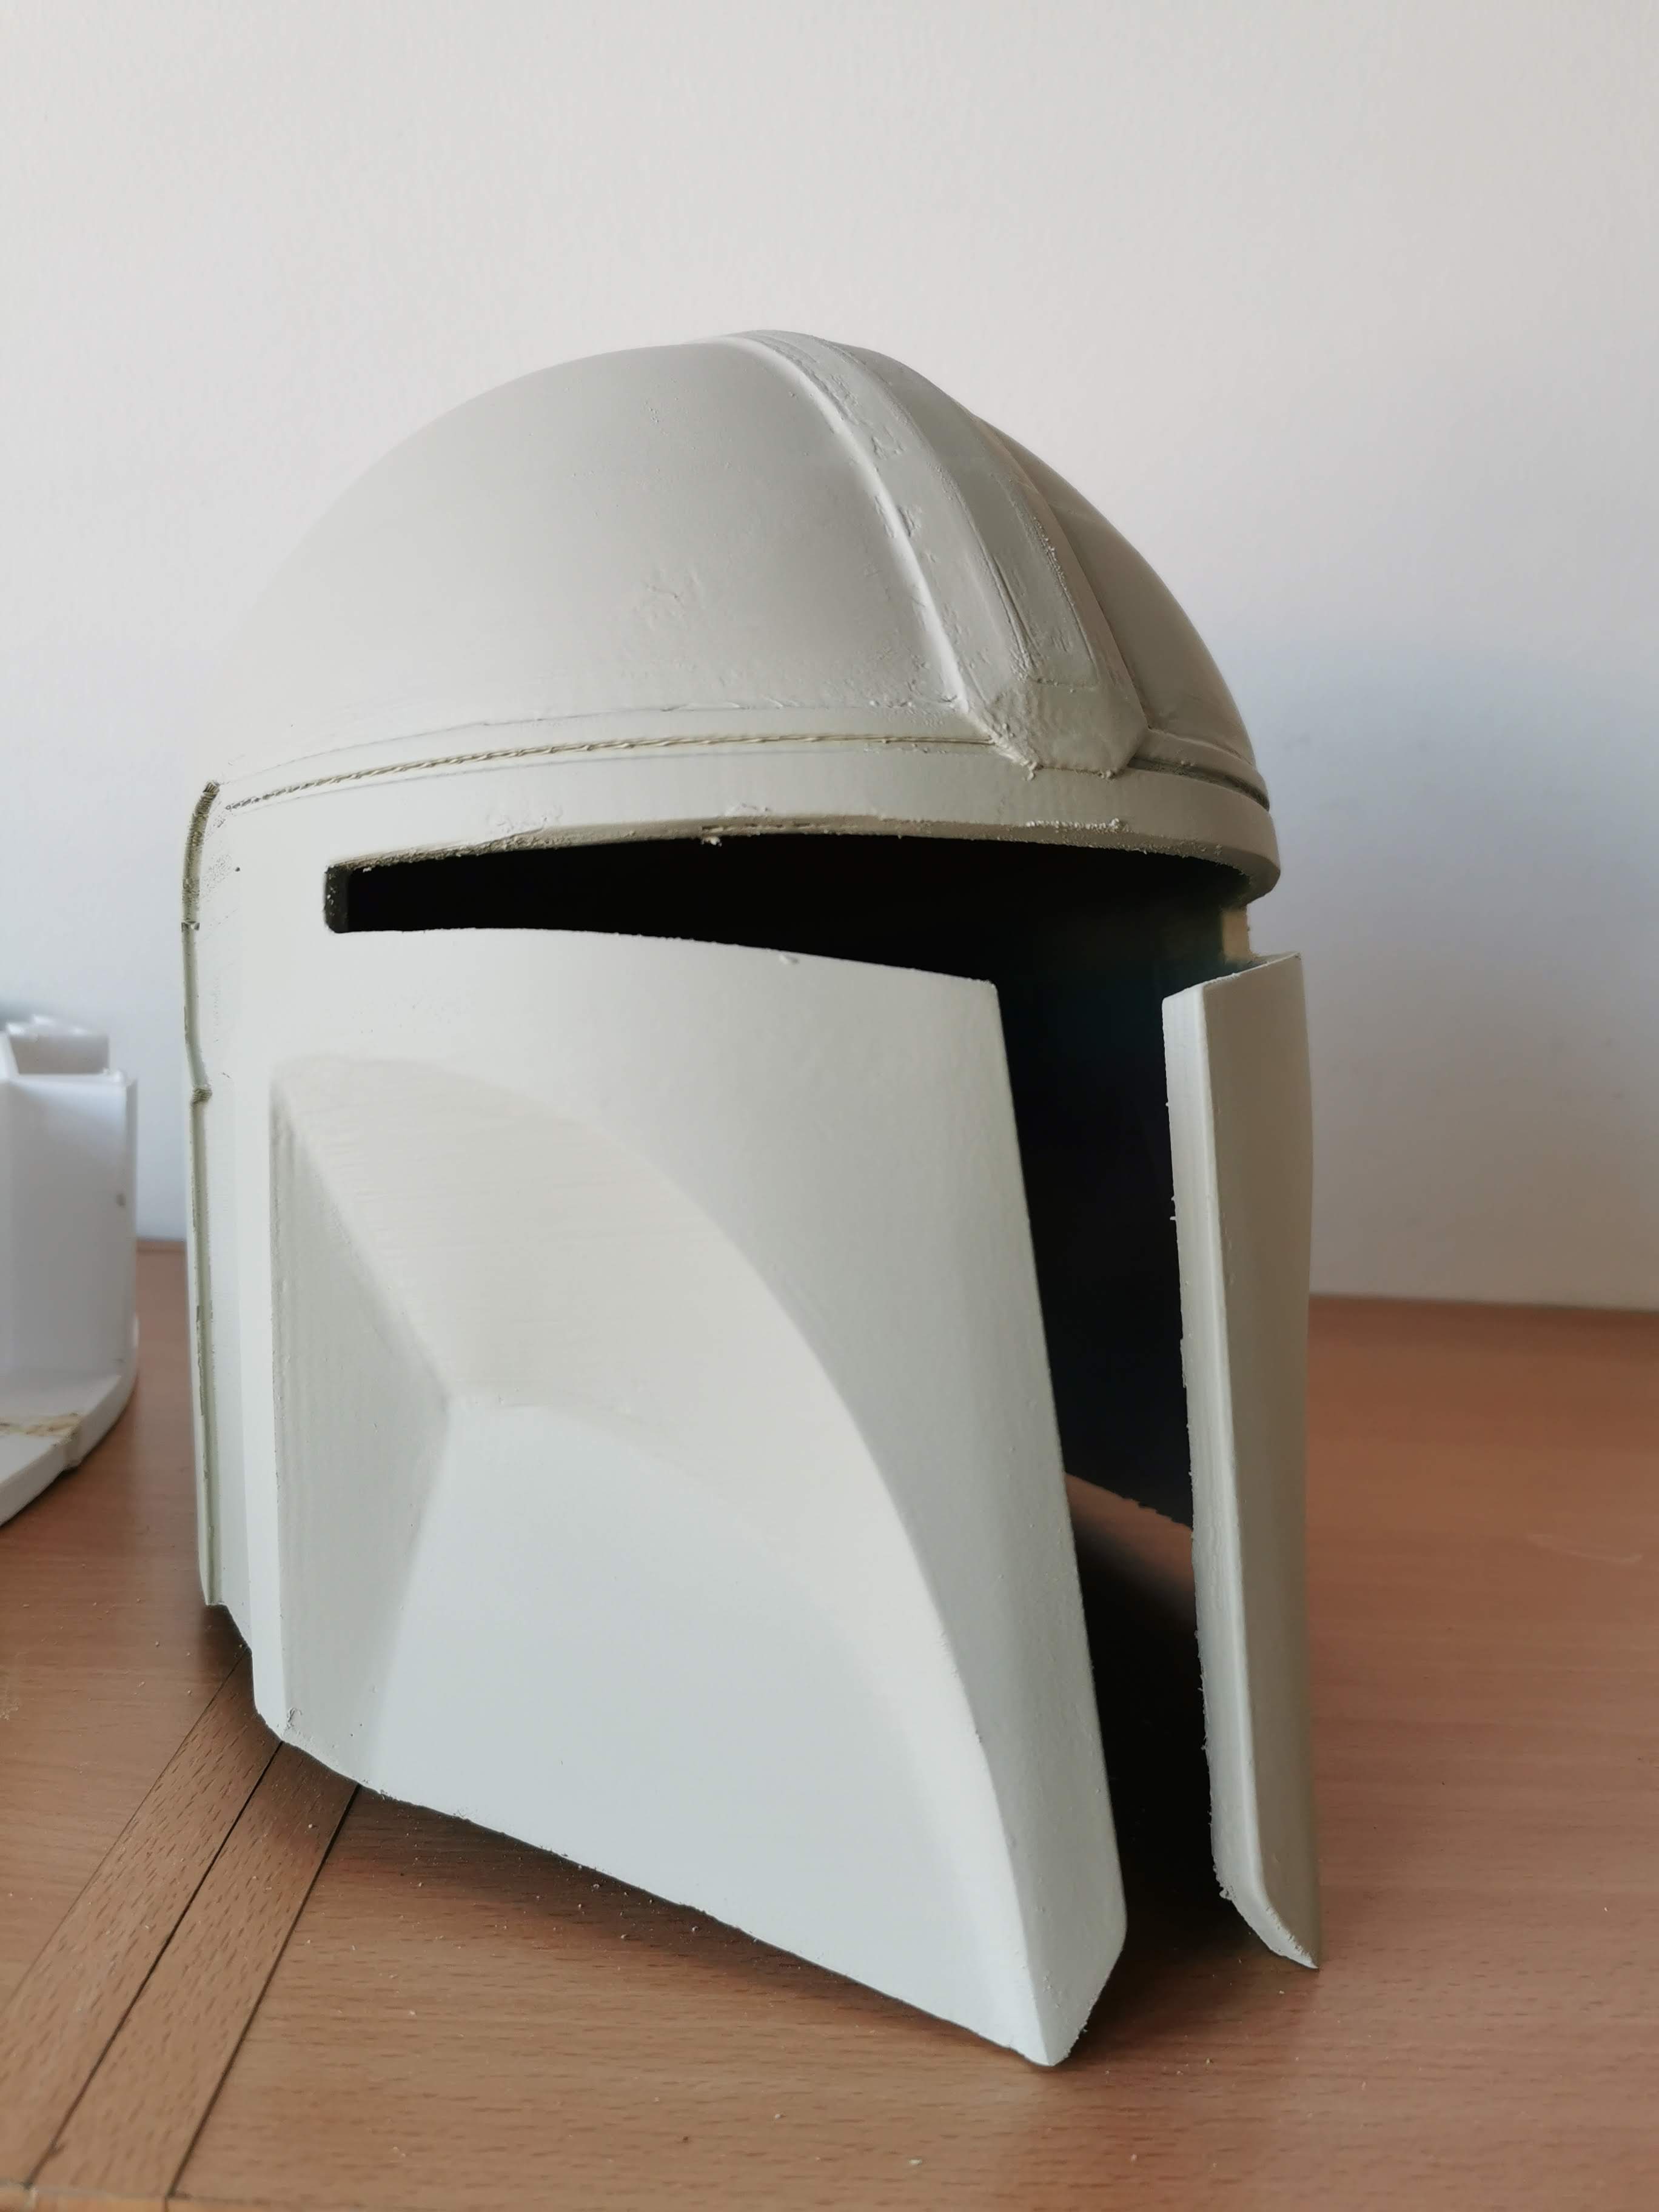
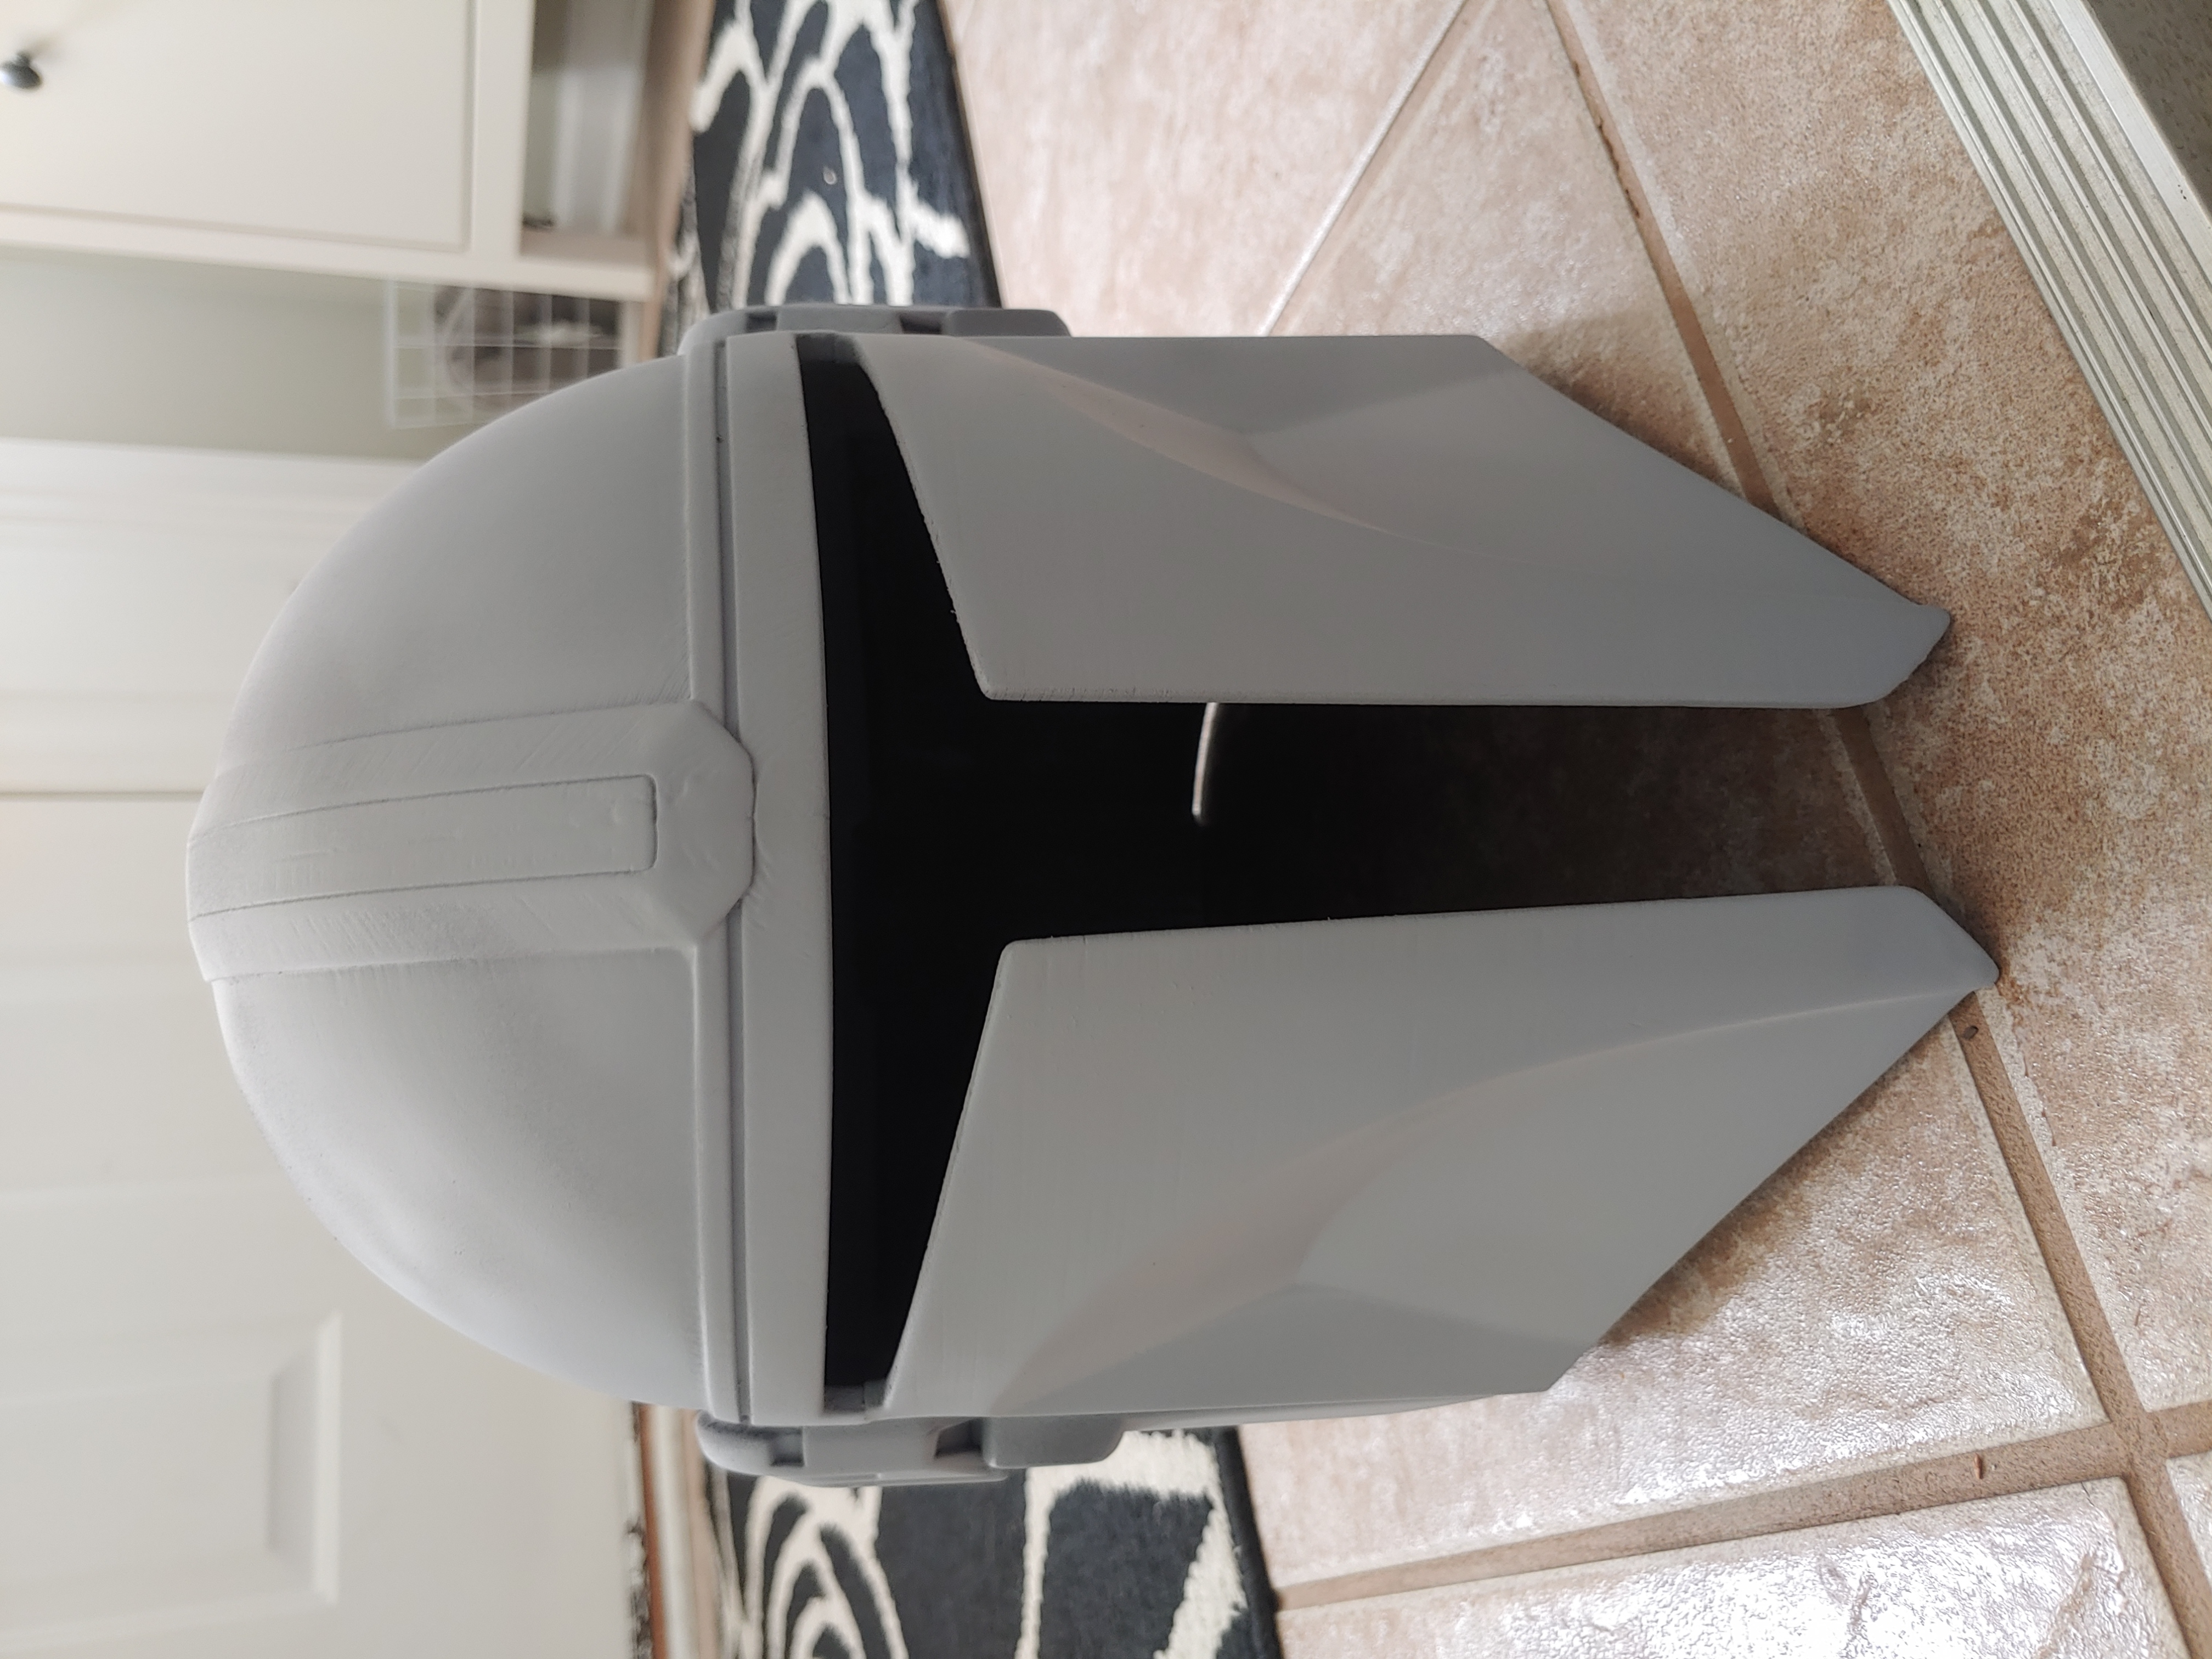
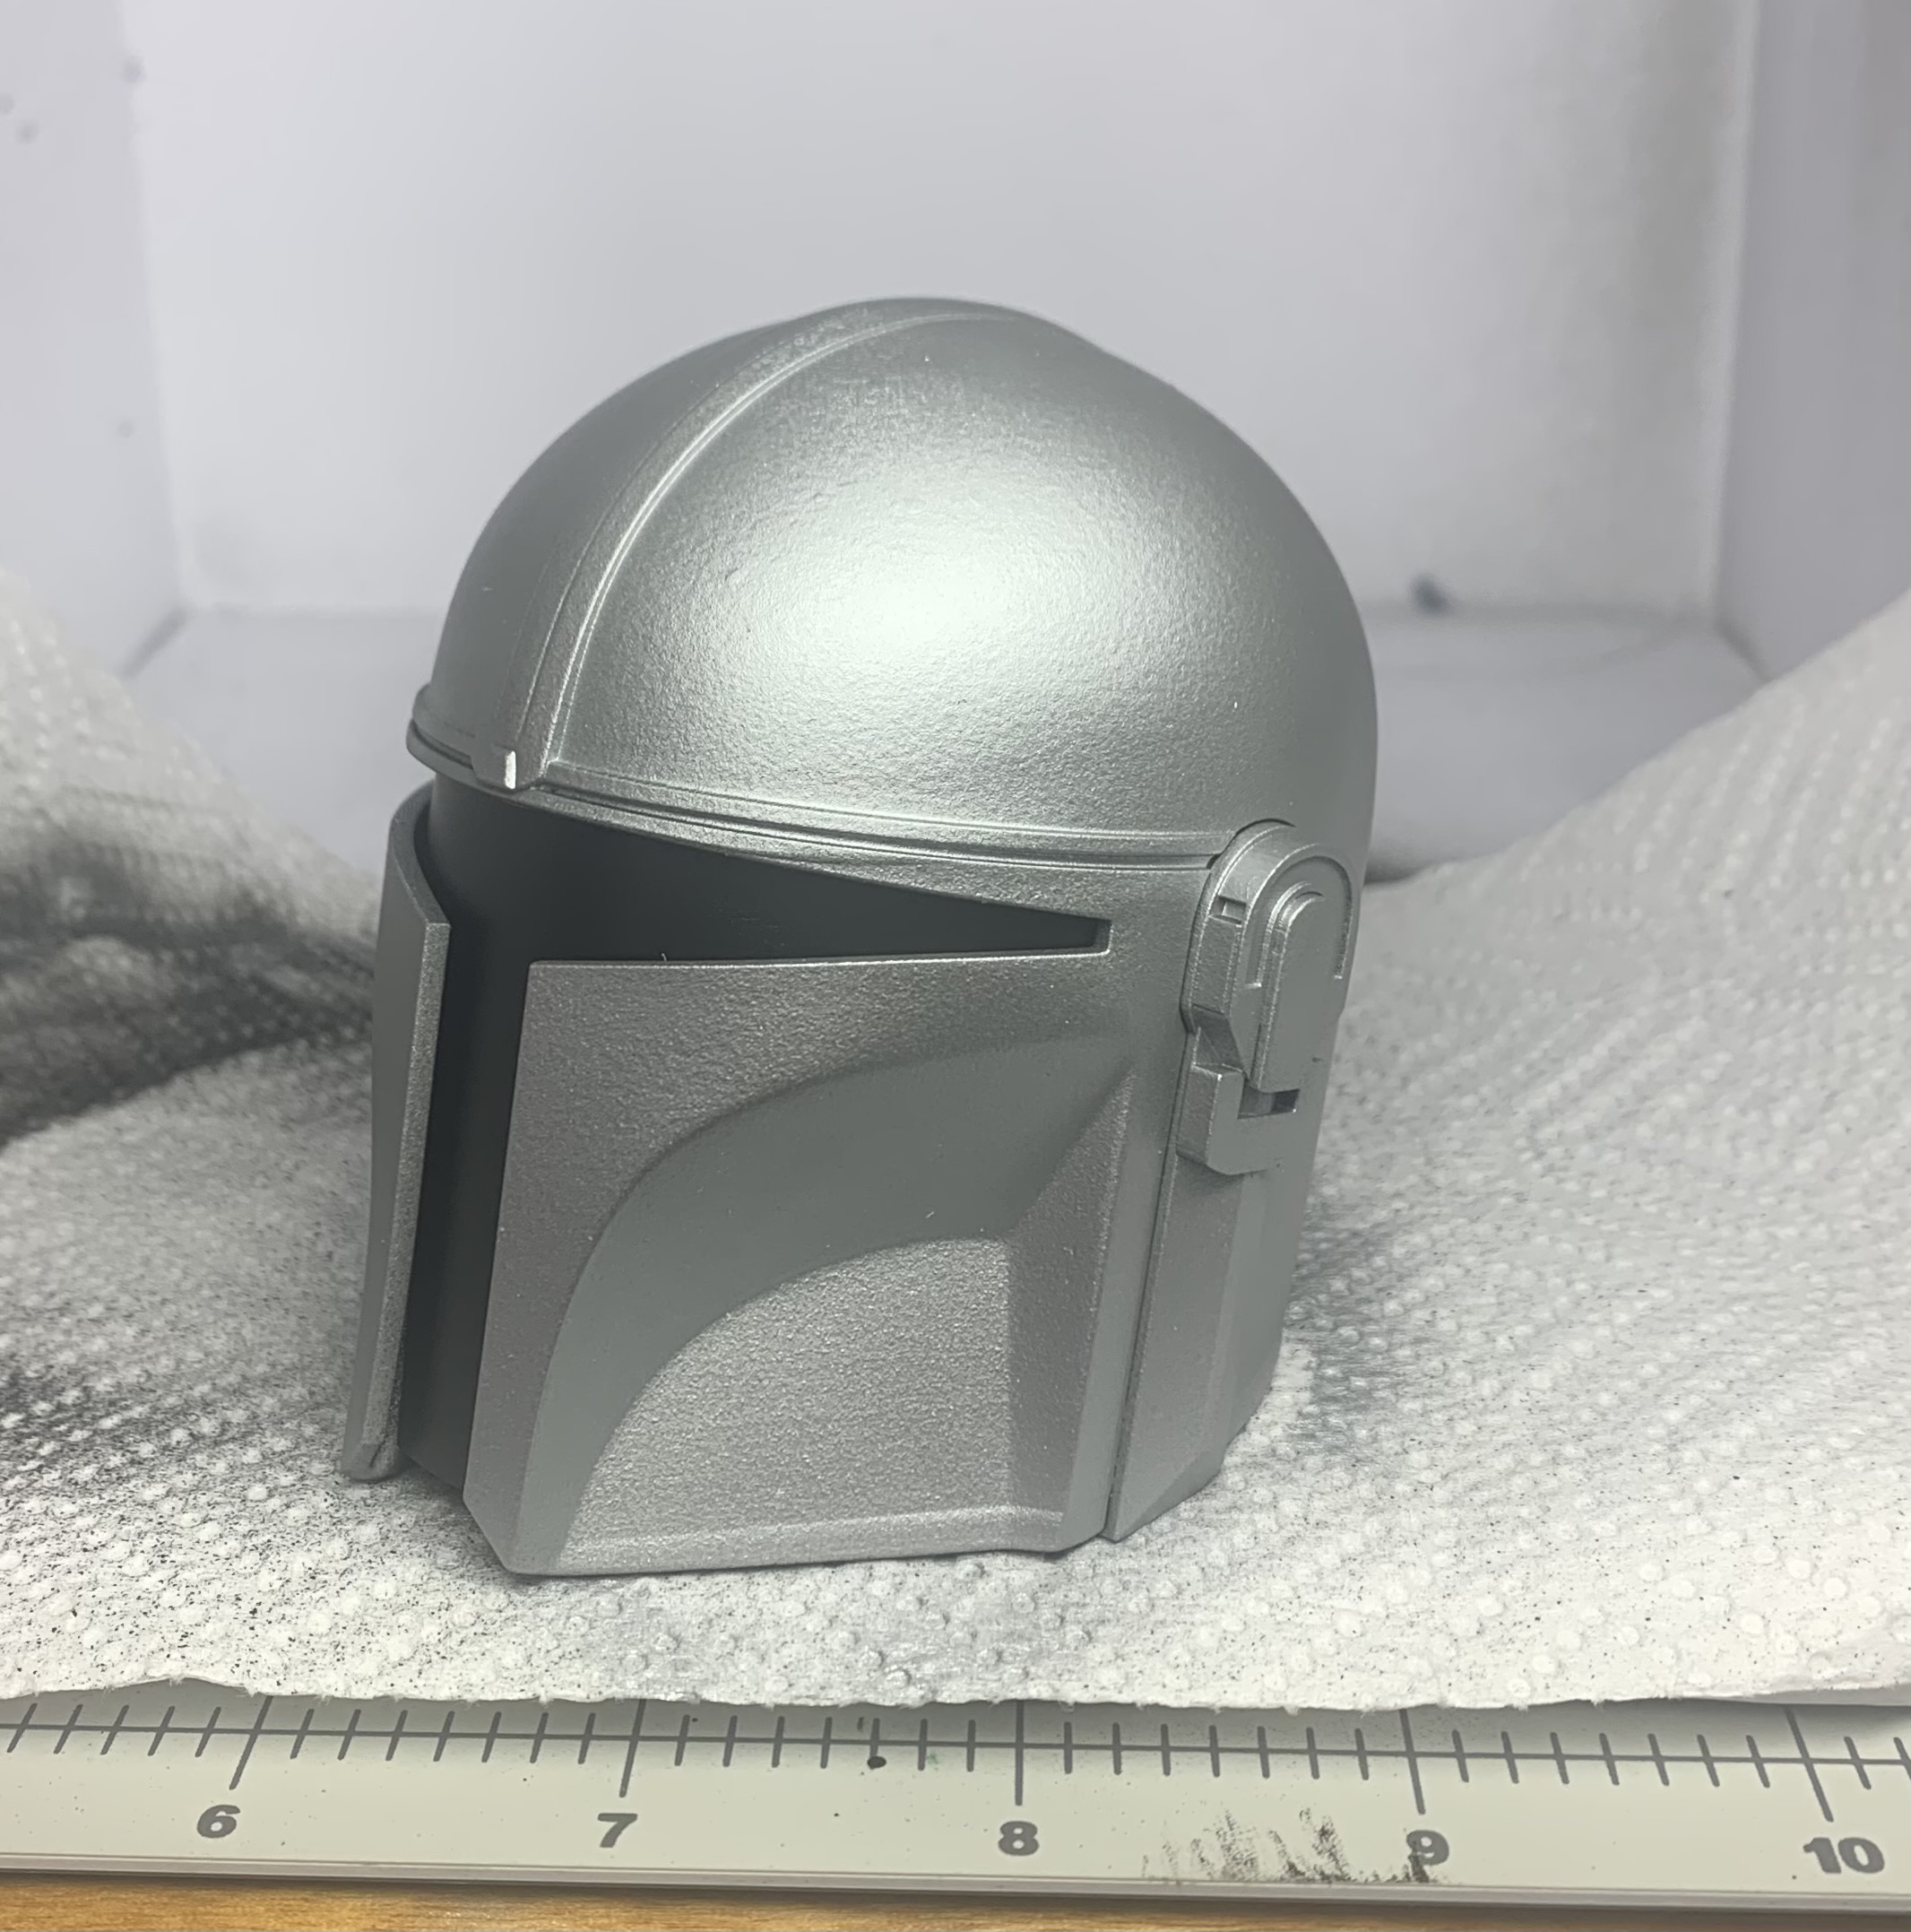
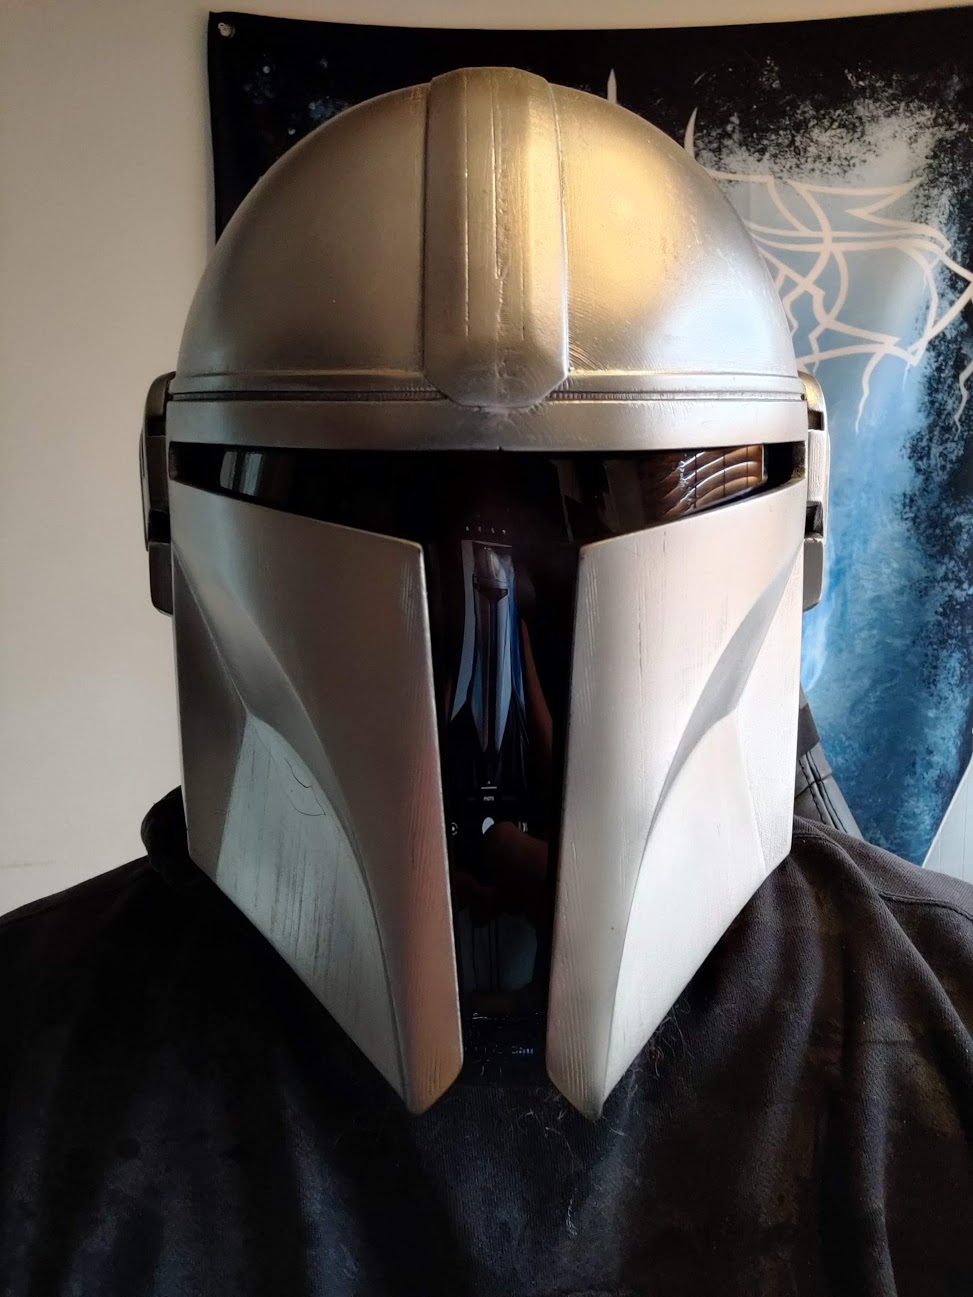
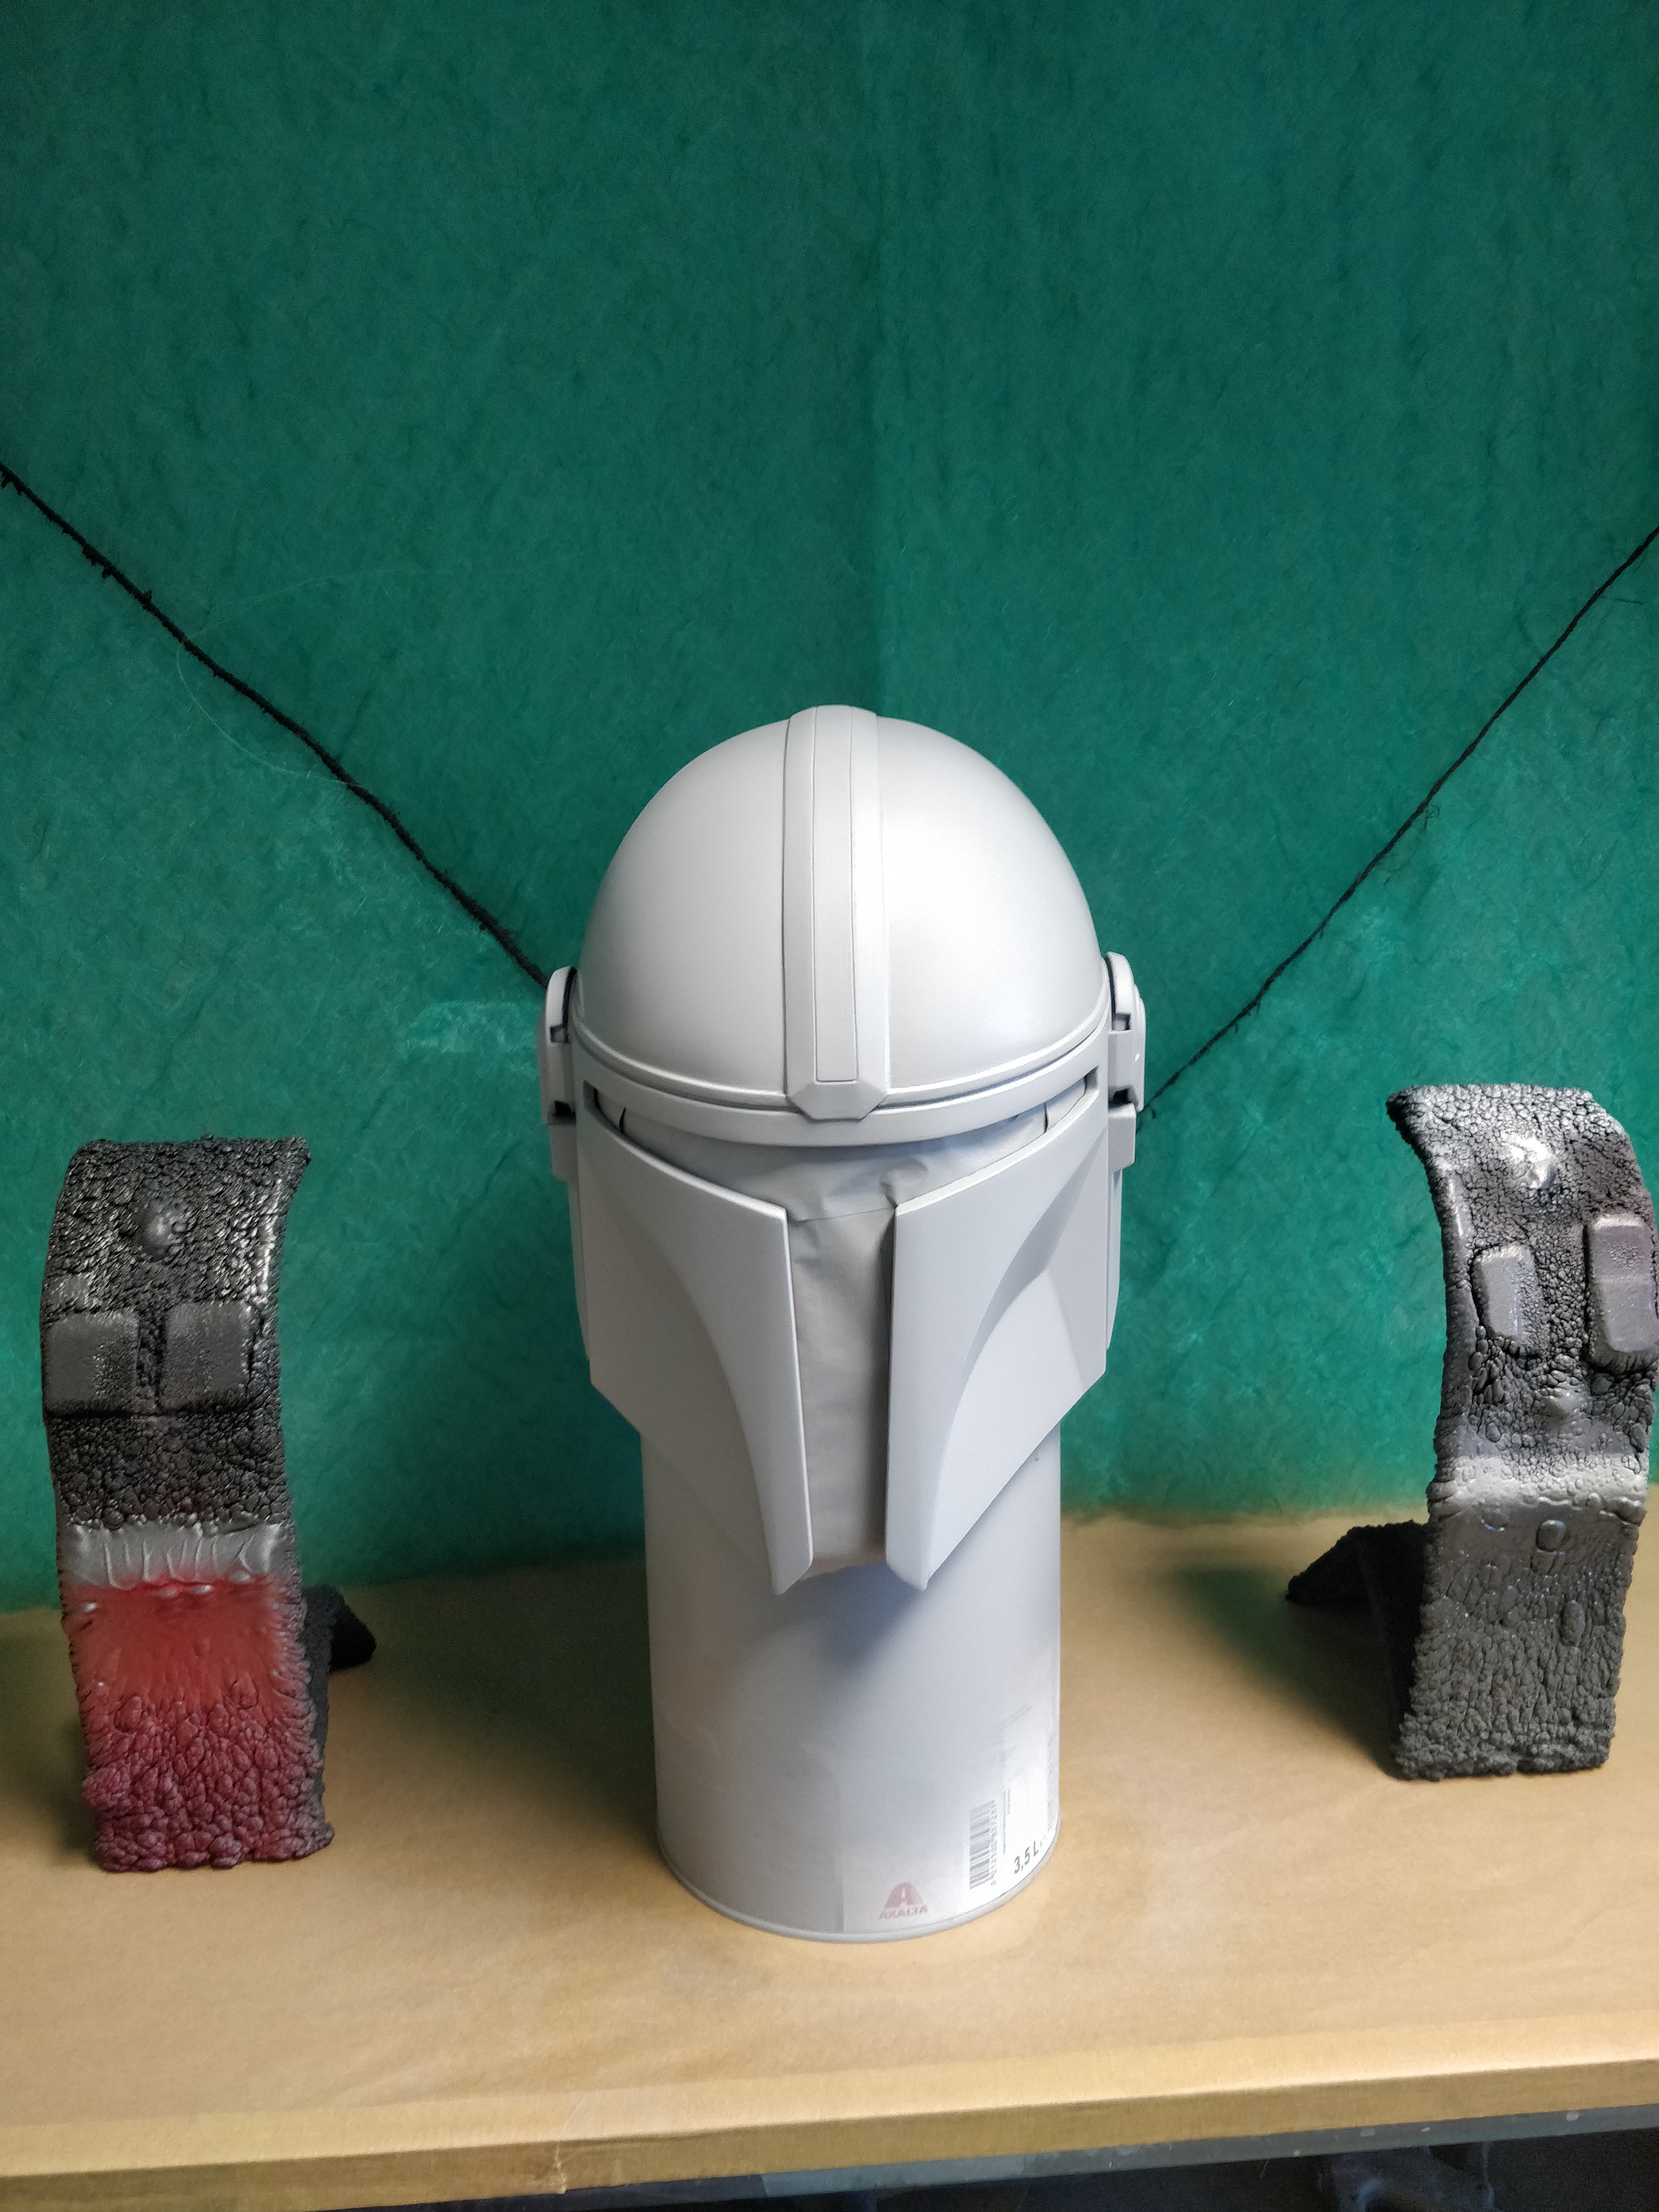
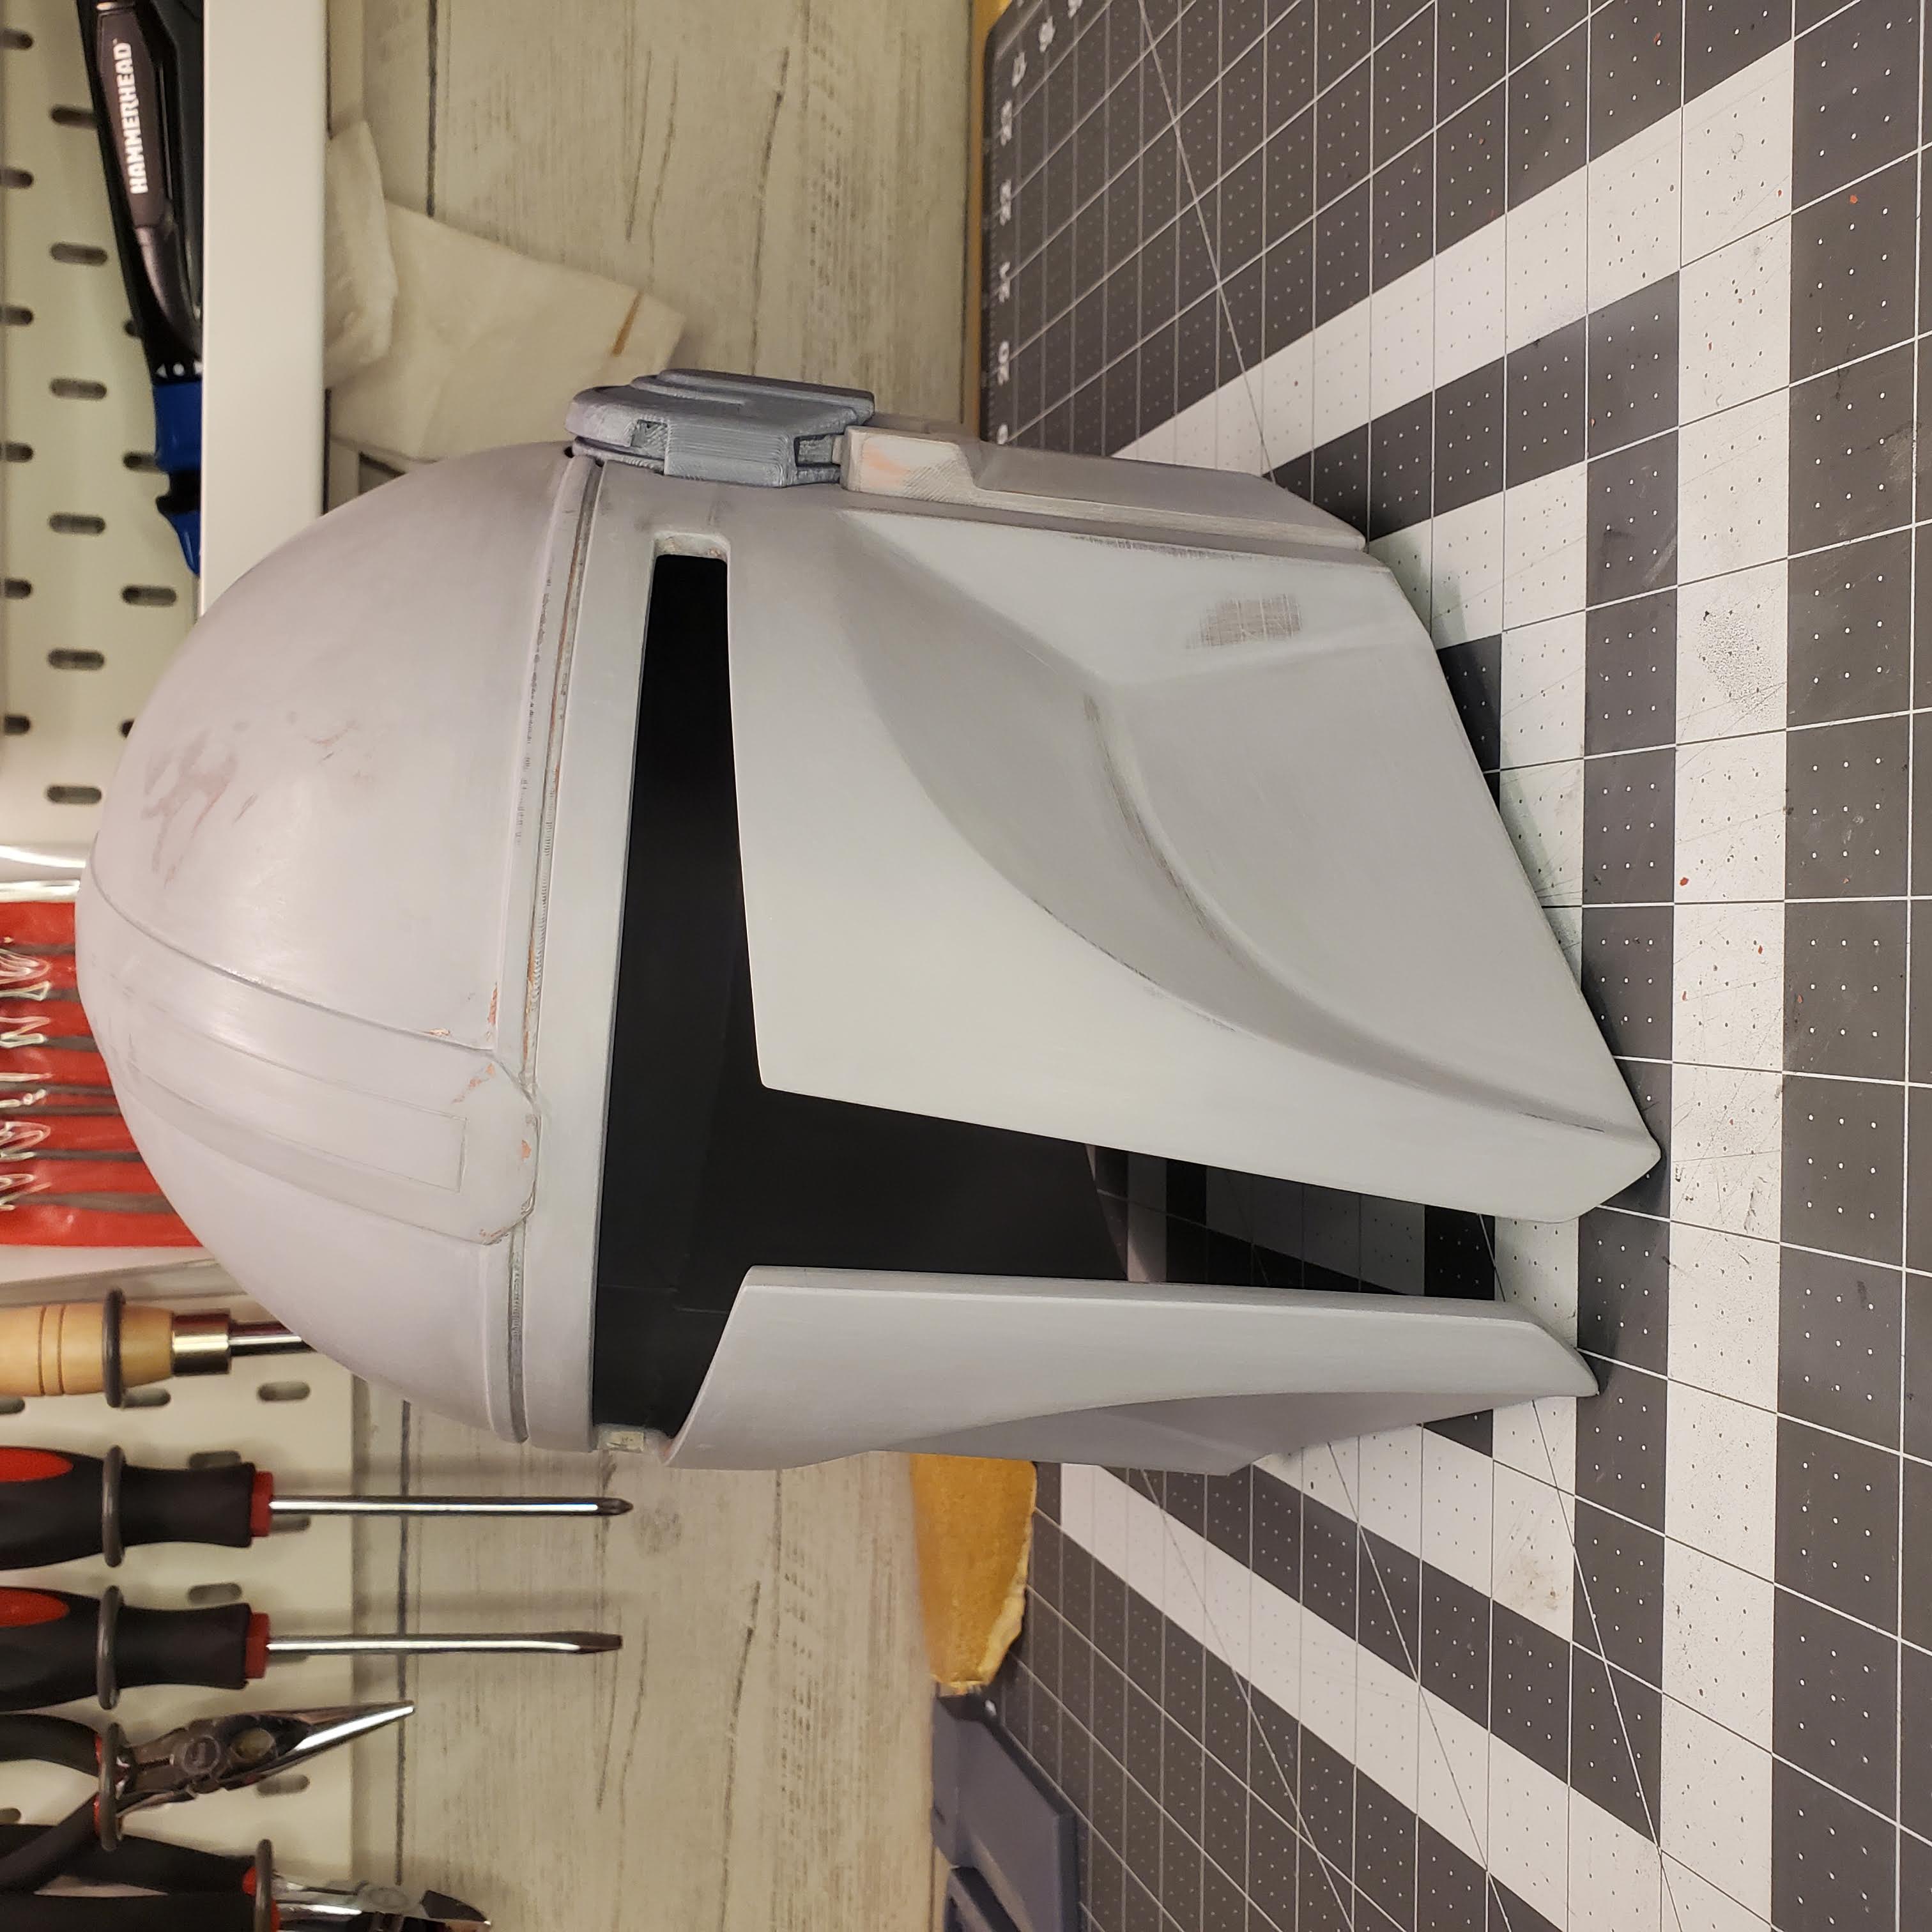
Picture with primer on and visor temporarily in place. The visor was back ordered for so long.
Huge thanks to Rob Pauza on this file. finished yesterday and very happy my paint job could be better as there are a few flaws but not going to start over
Still need to install the visor and add some details, but the print looks really nice. I’m super pleased with the file. I have a pretty large head, so I printed at 110%, and it fits great. Thanks for sharing this file.
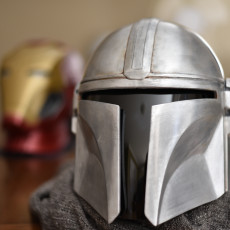
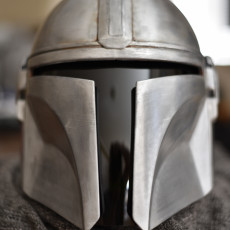
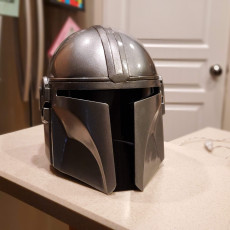
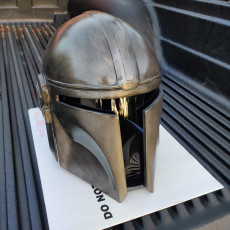
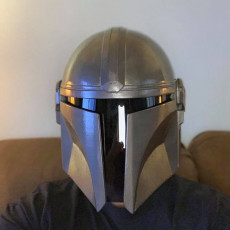
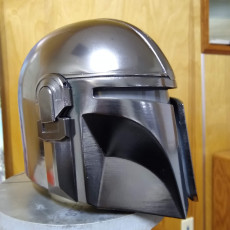
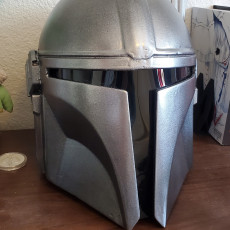
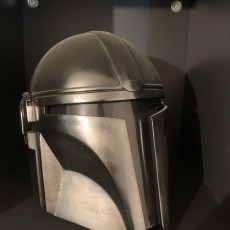
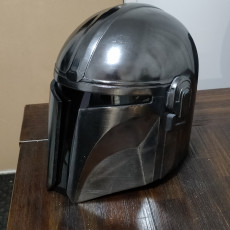
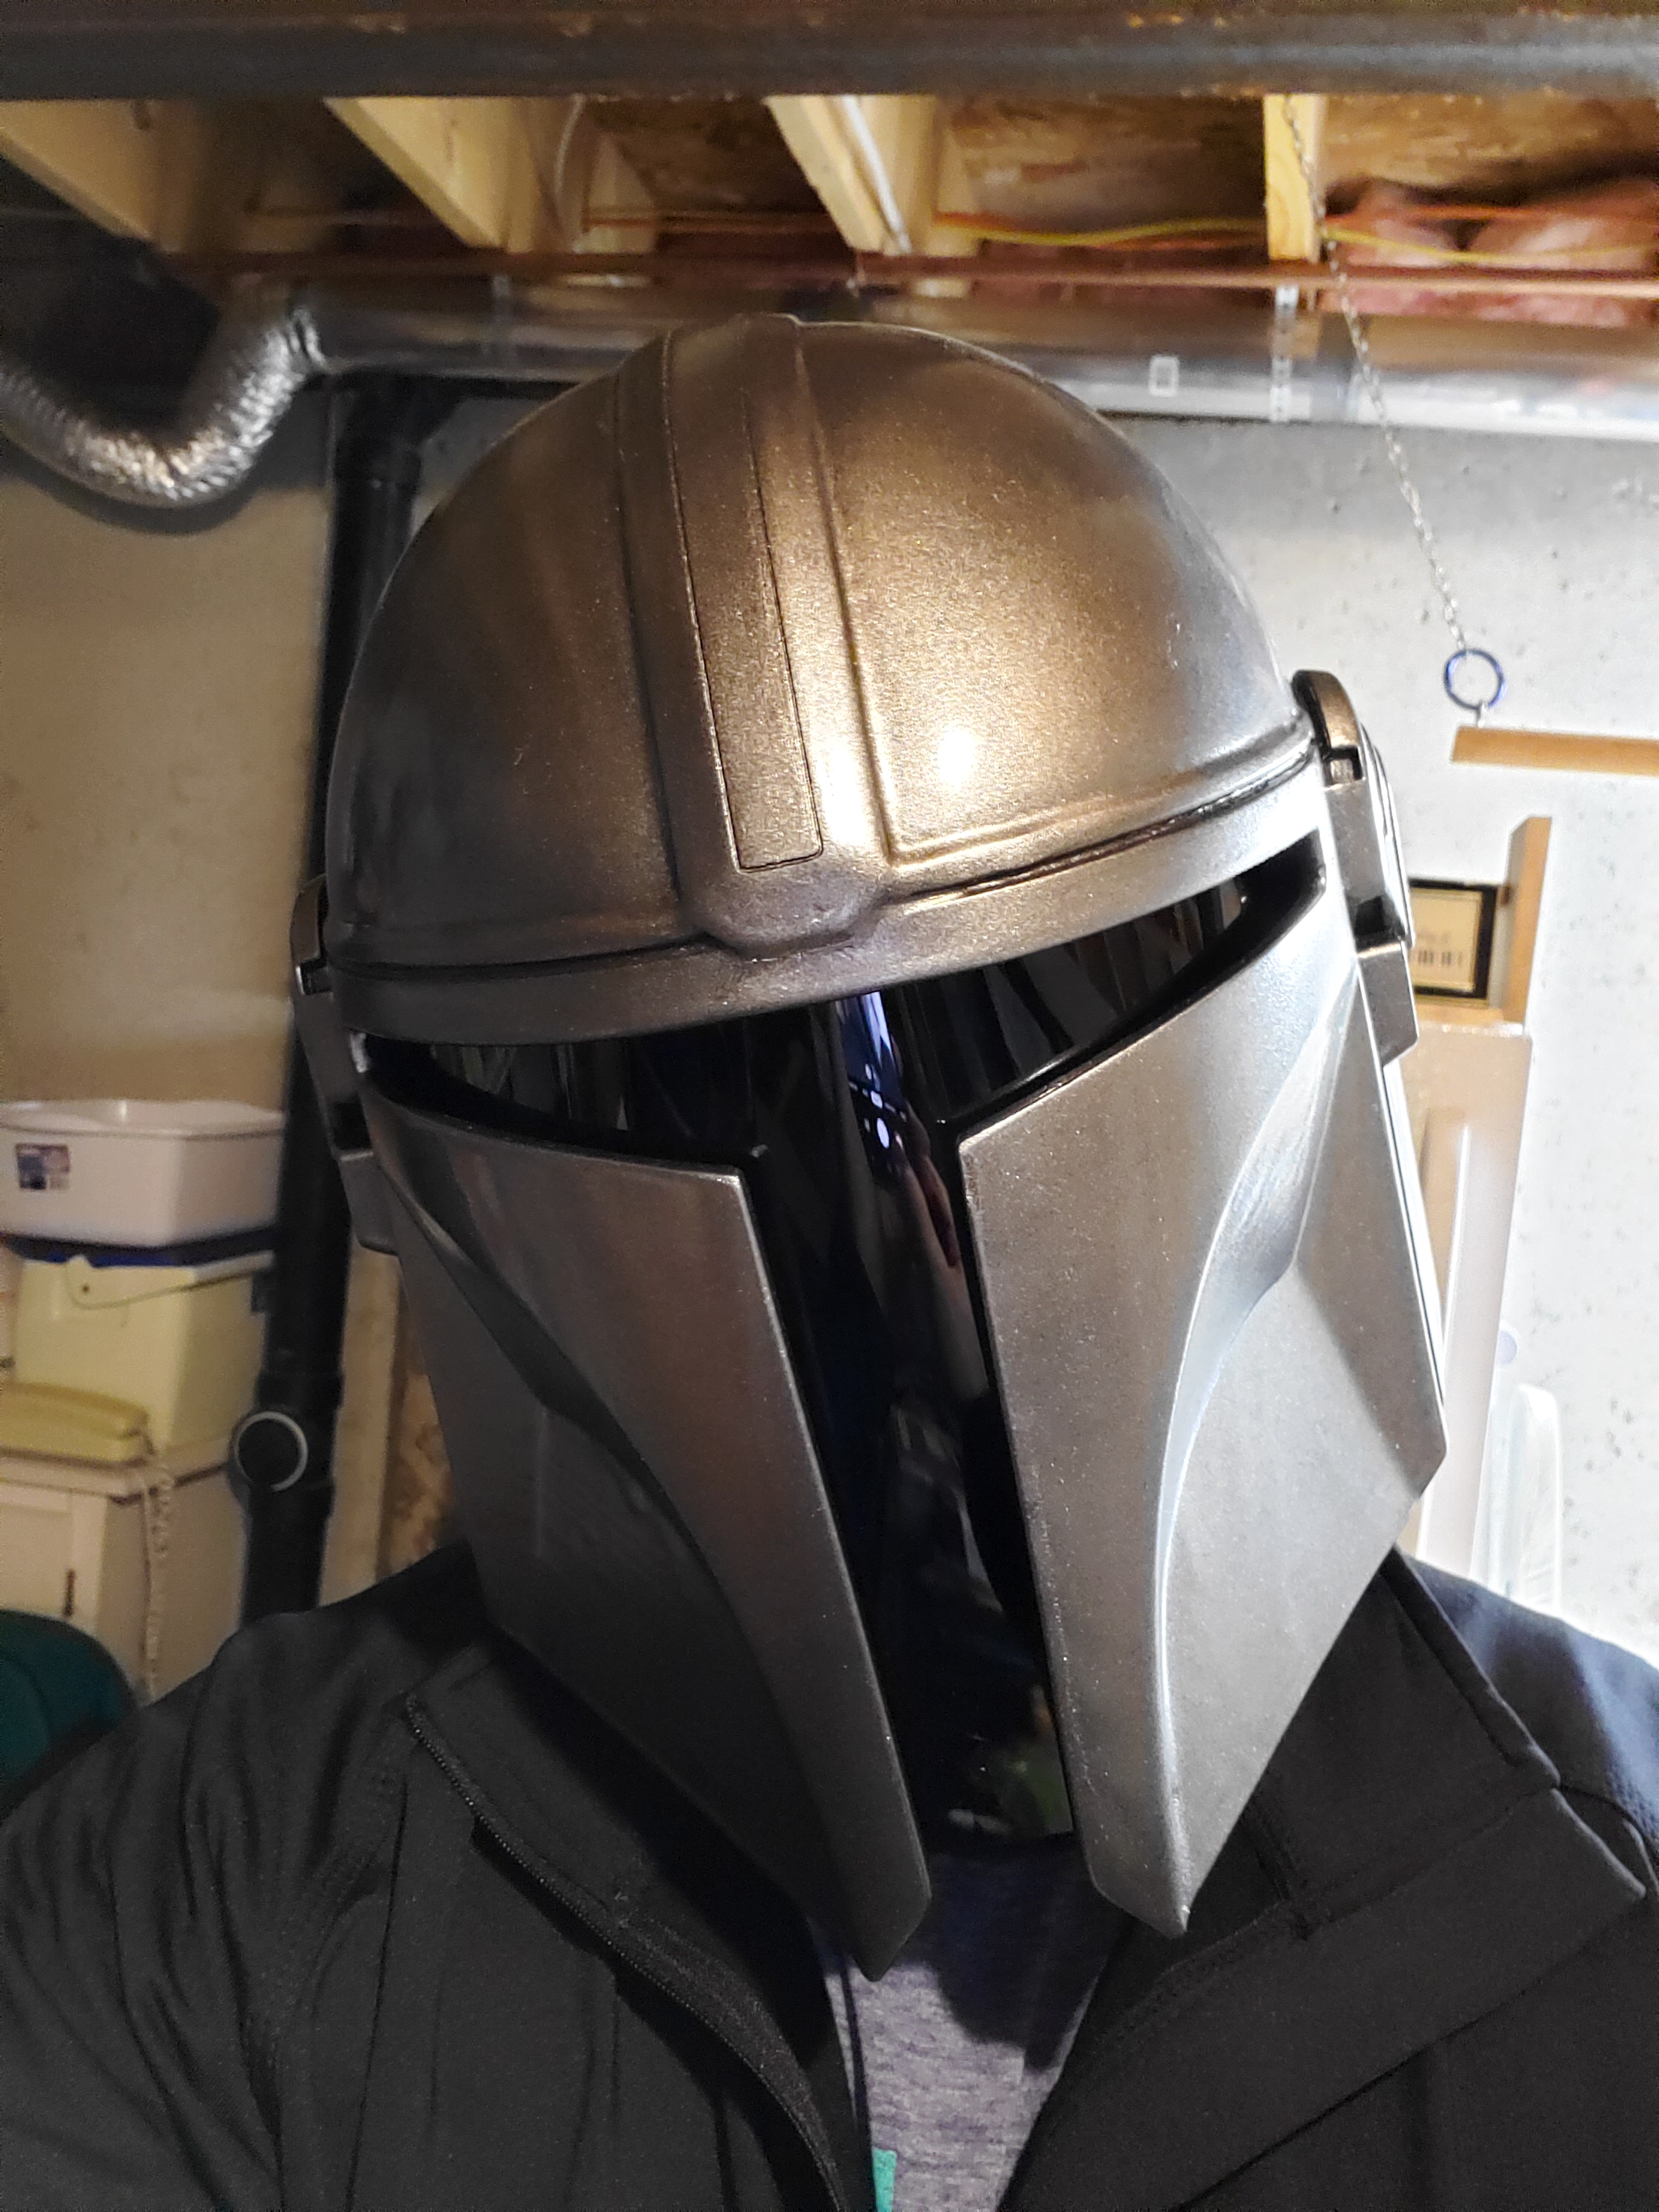
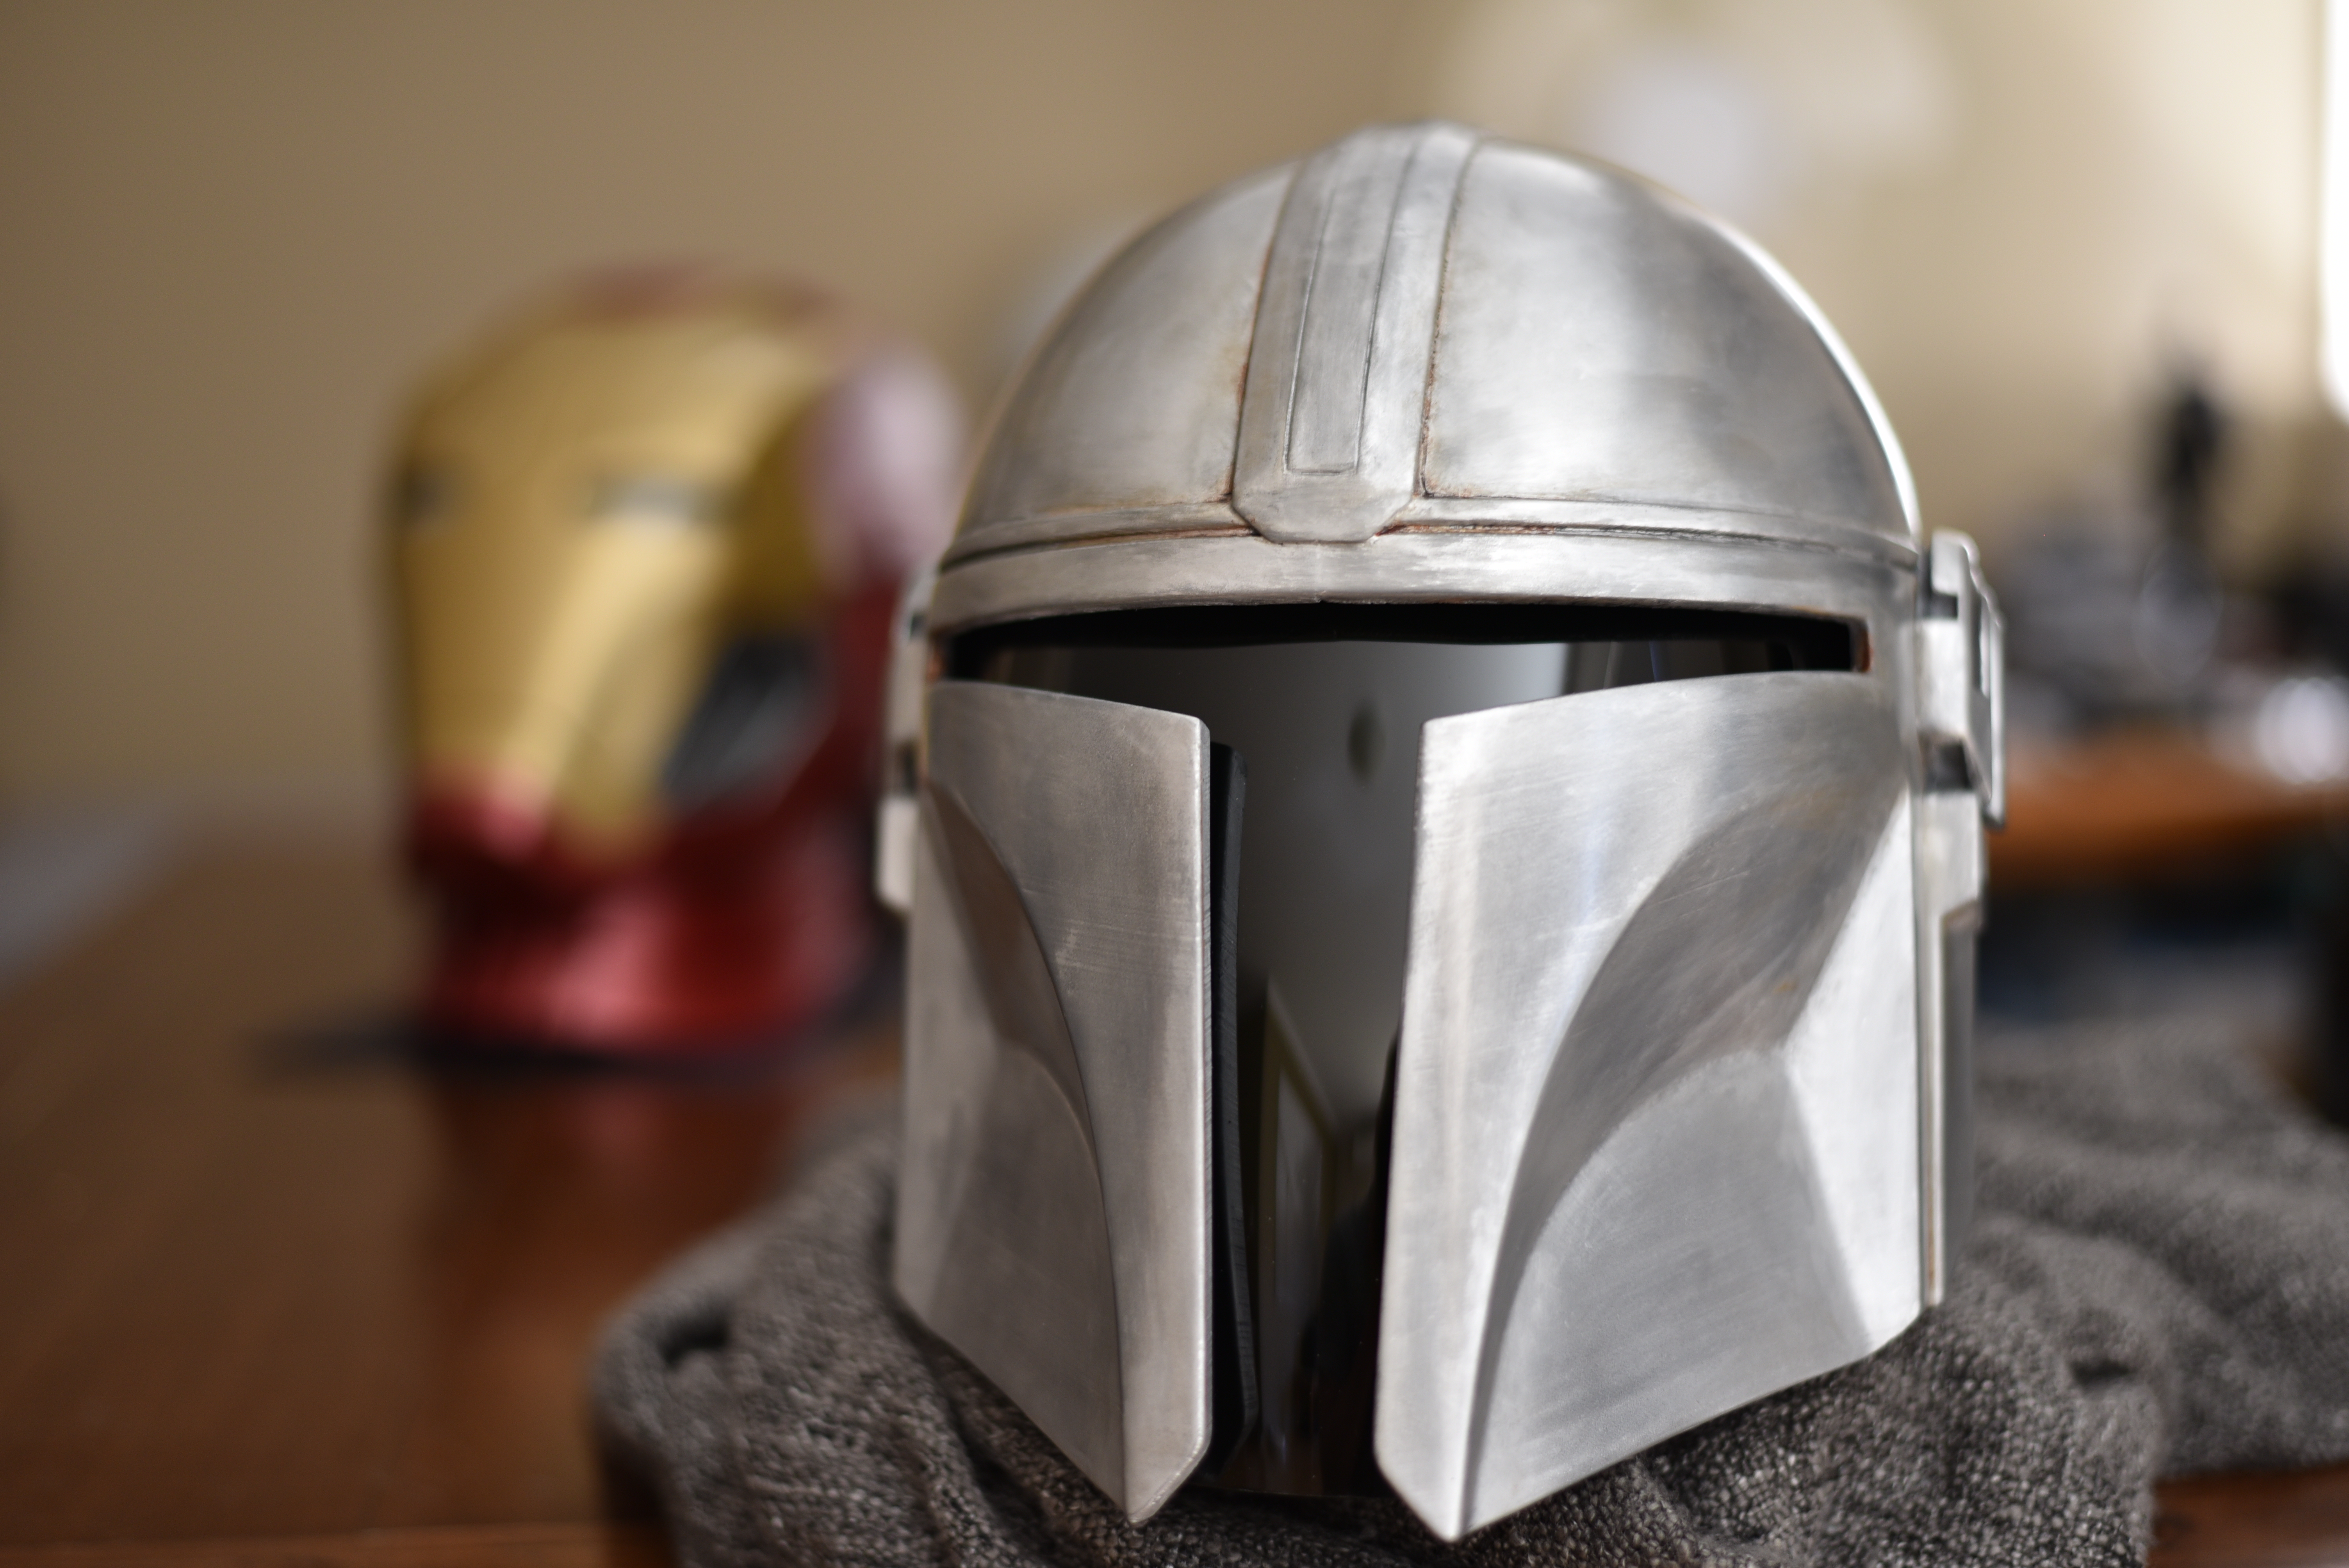
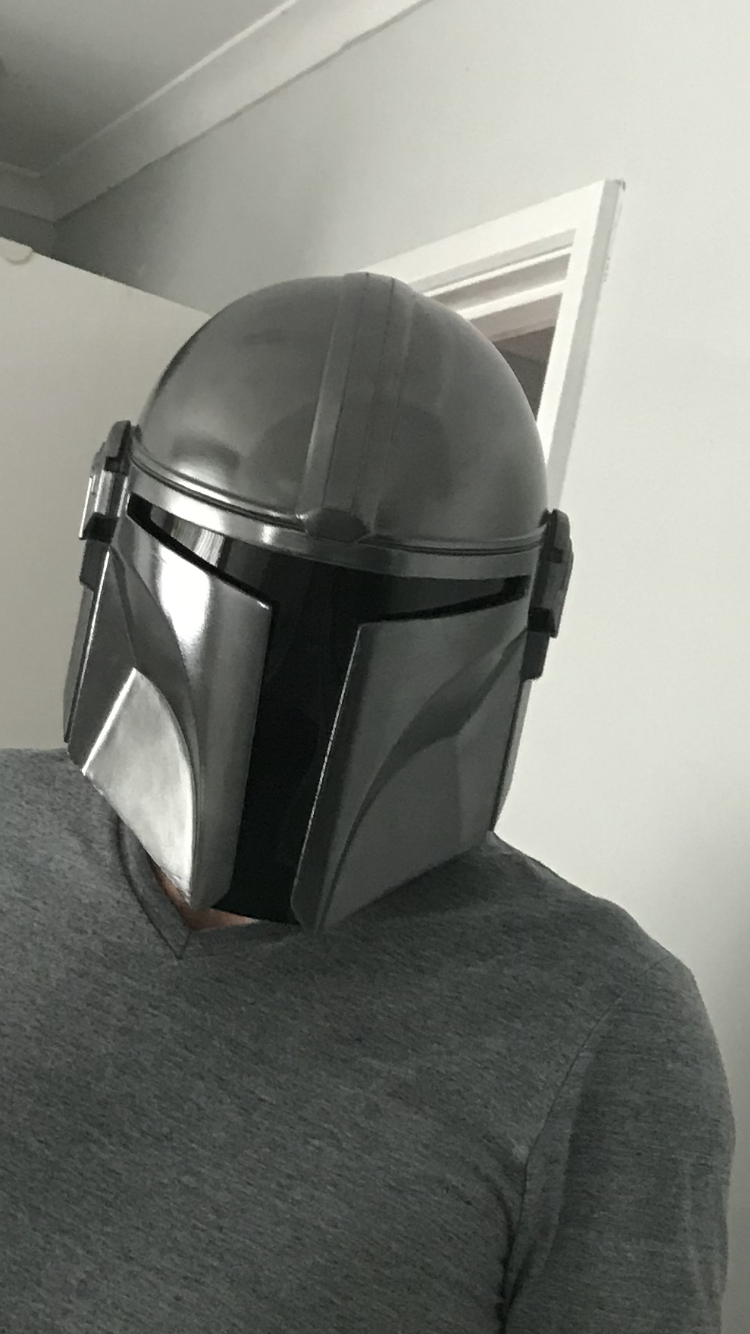
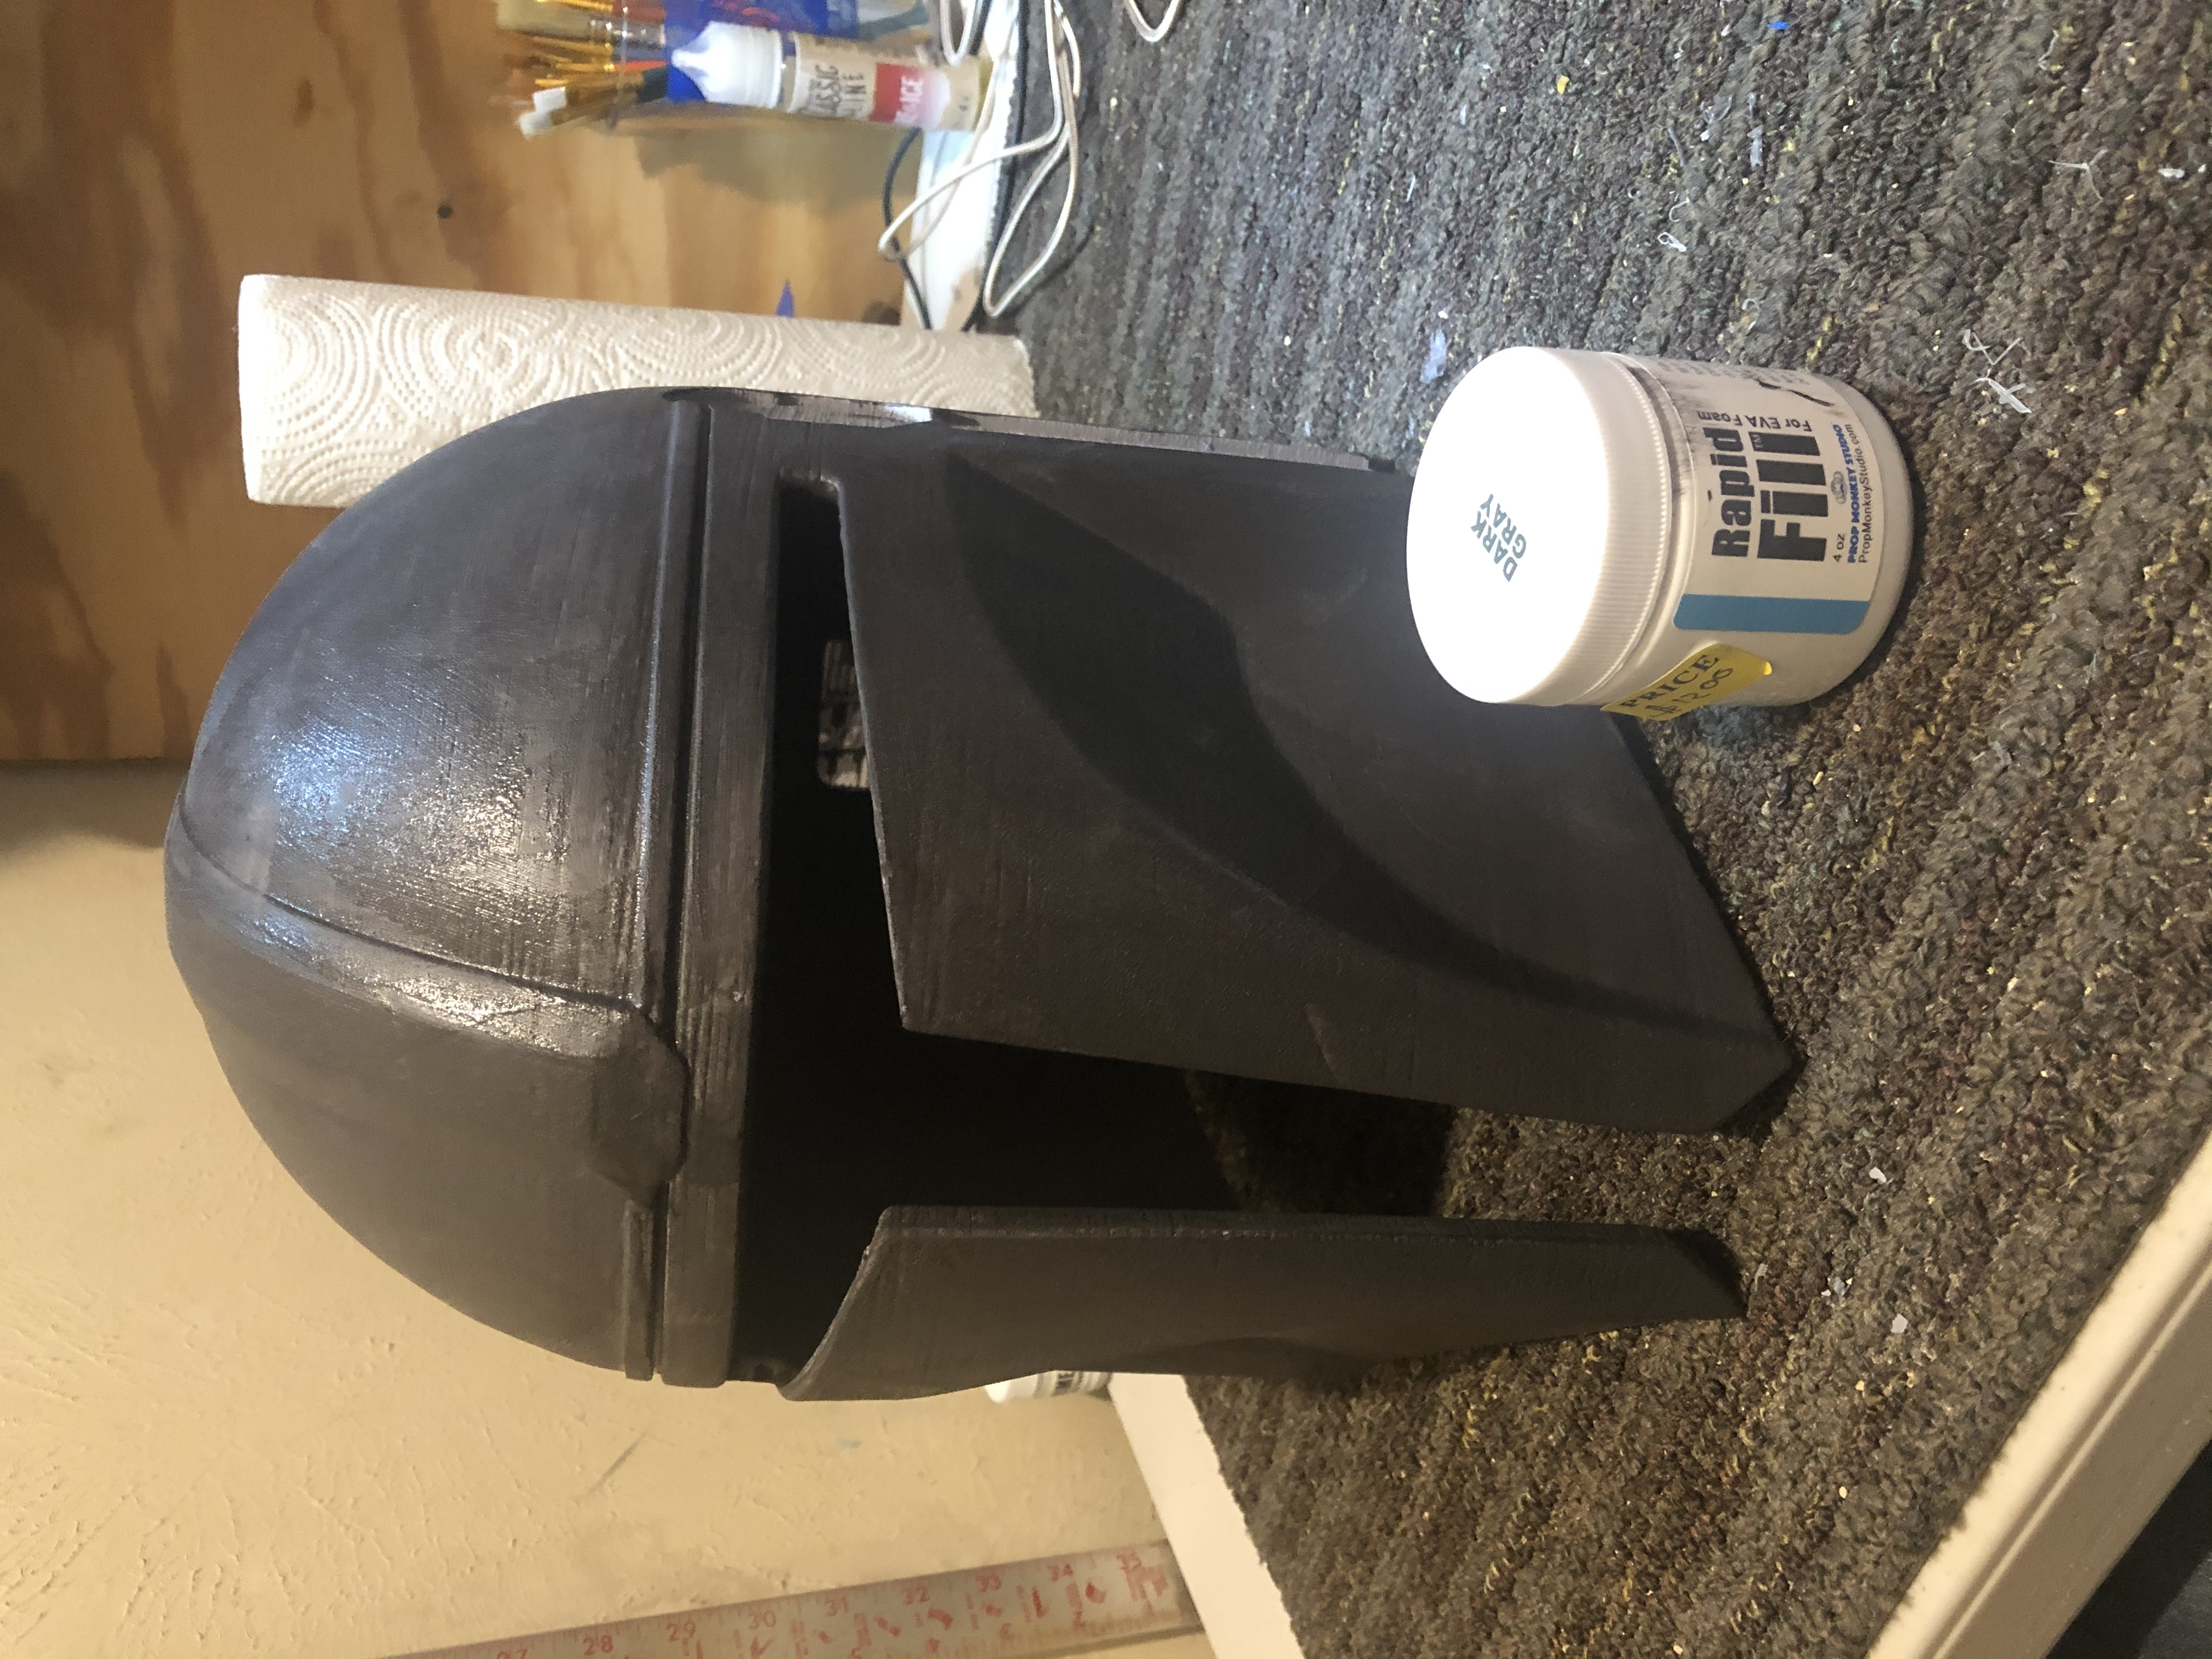
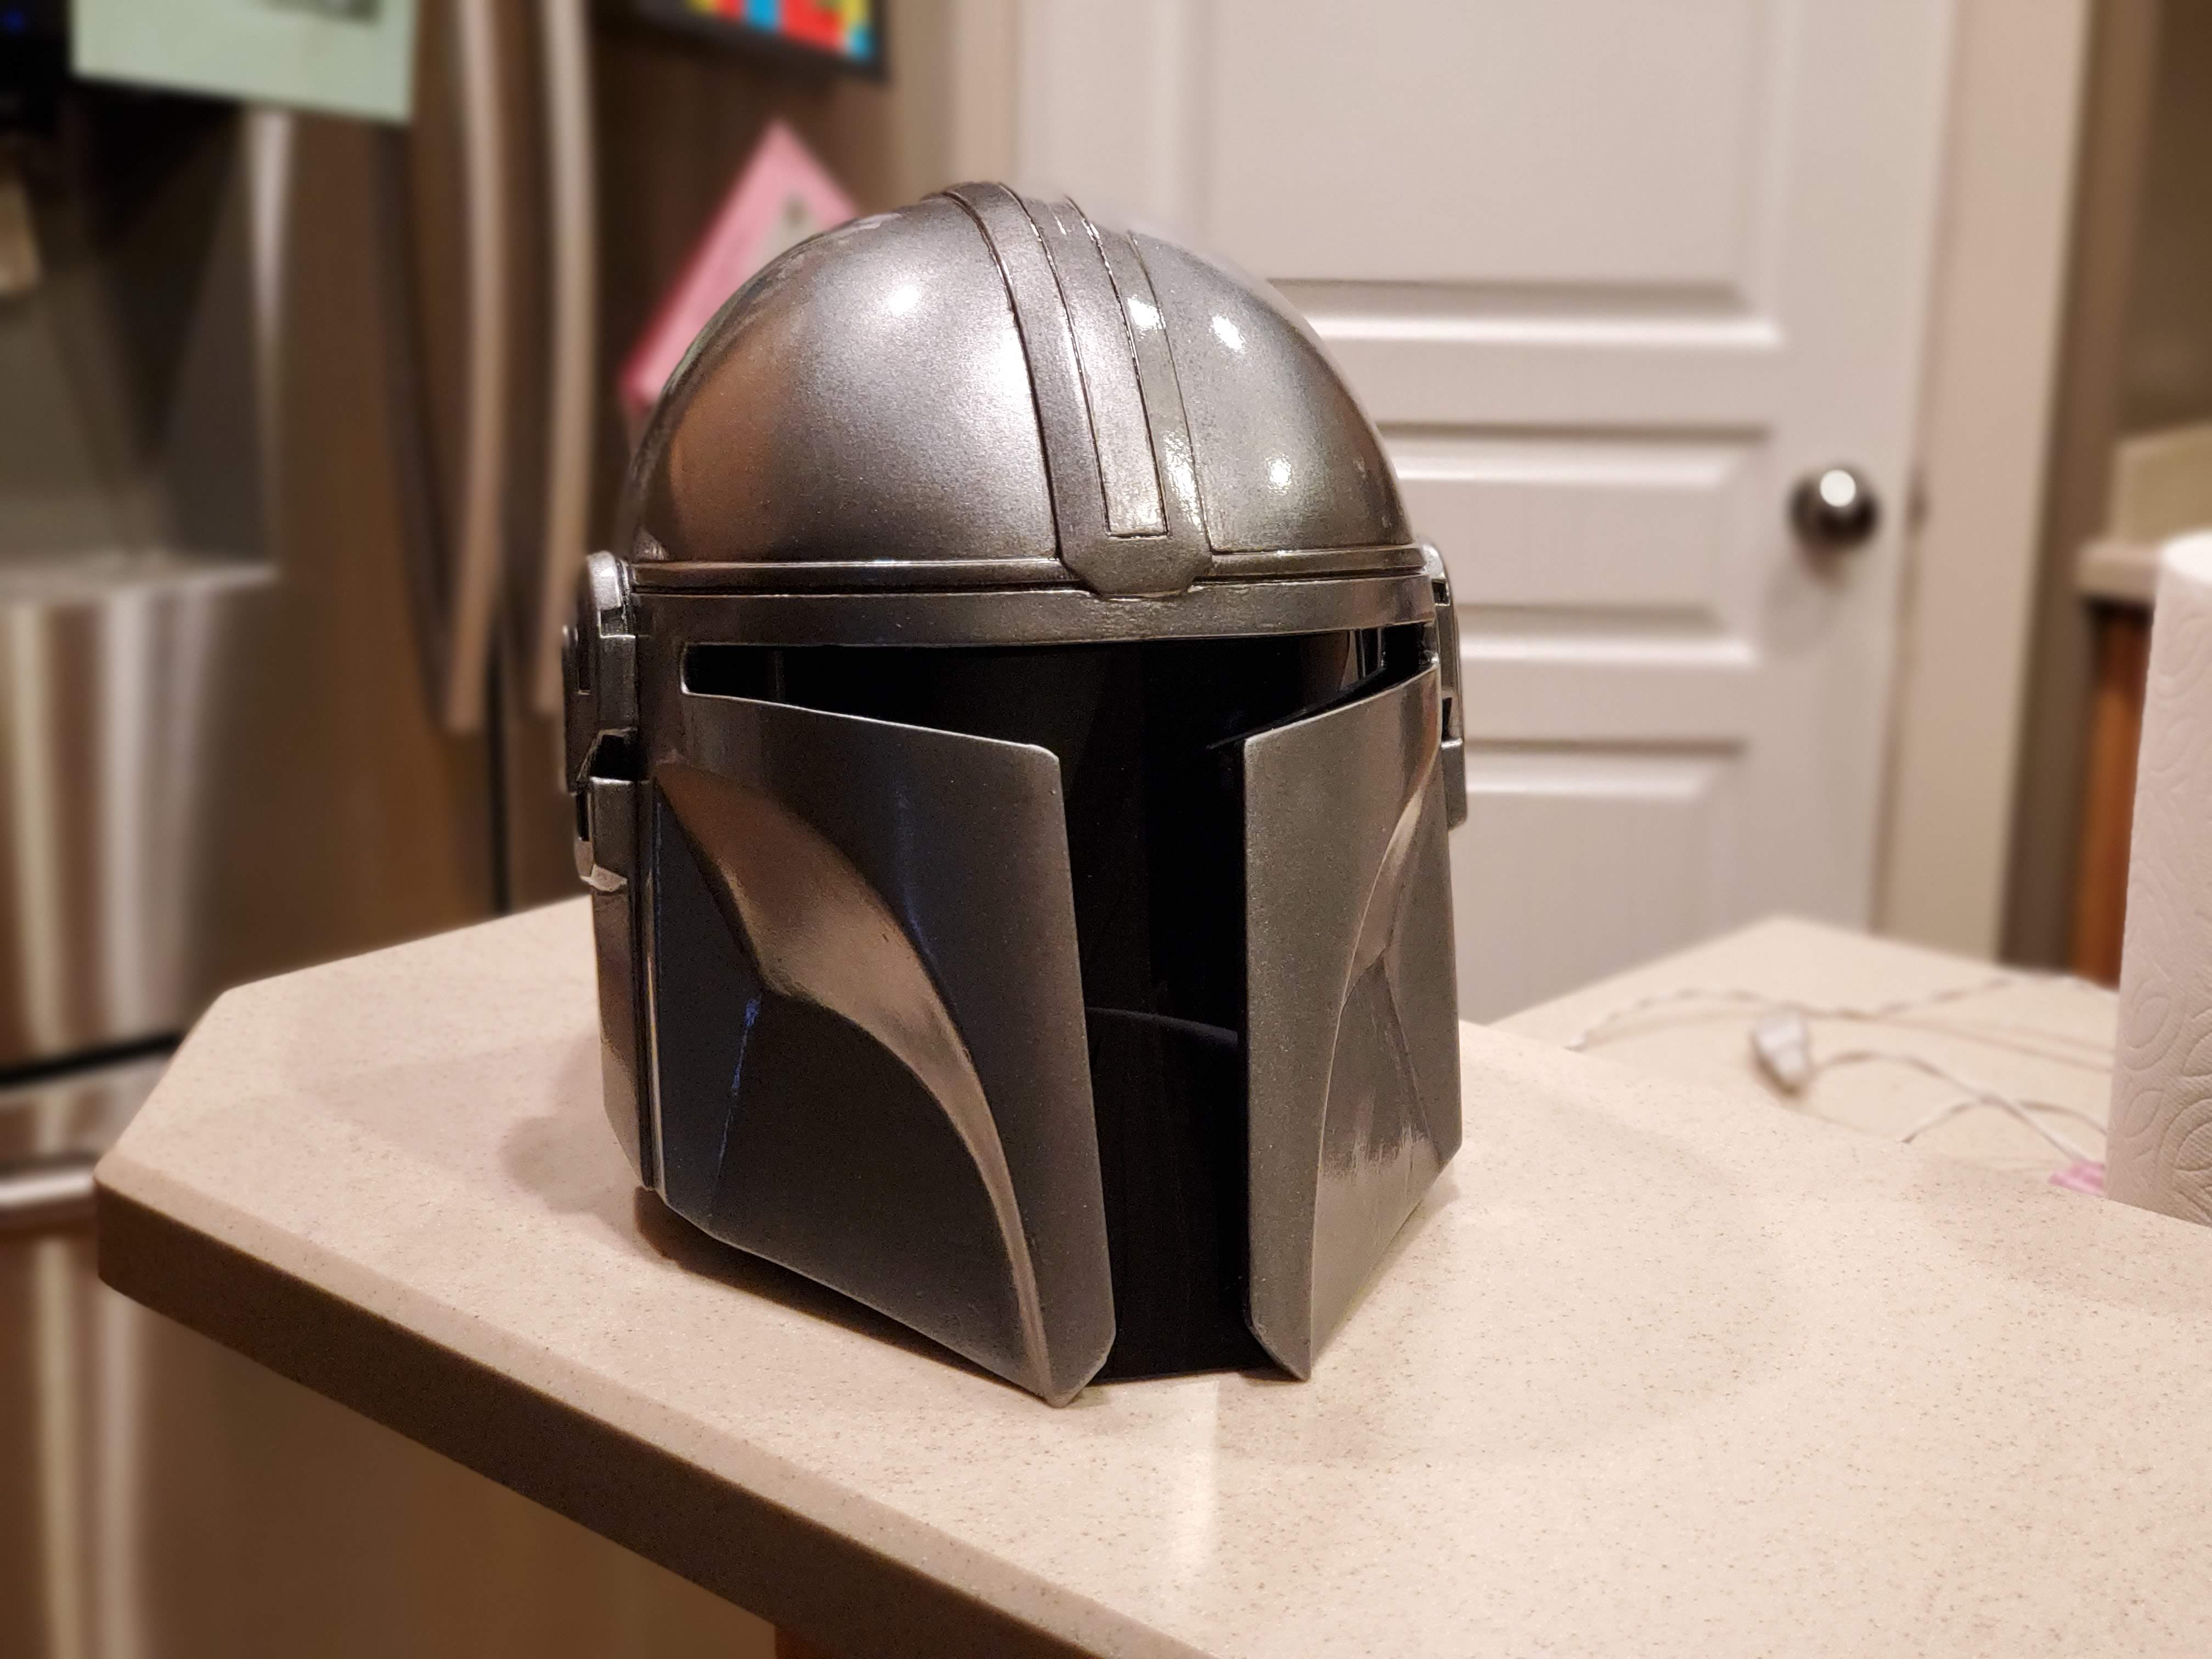
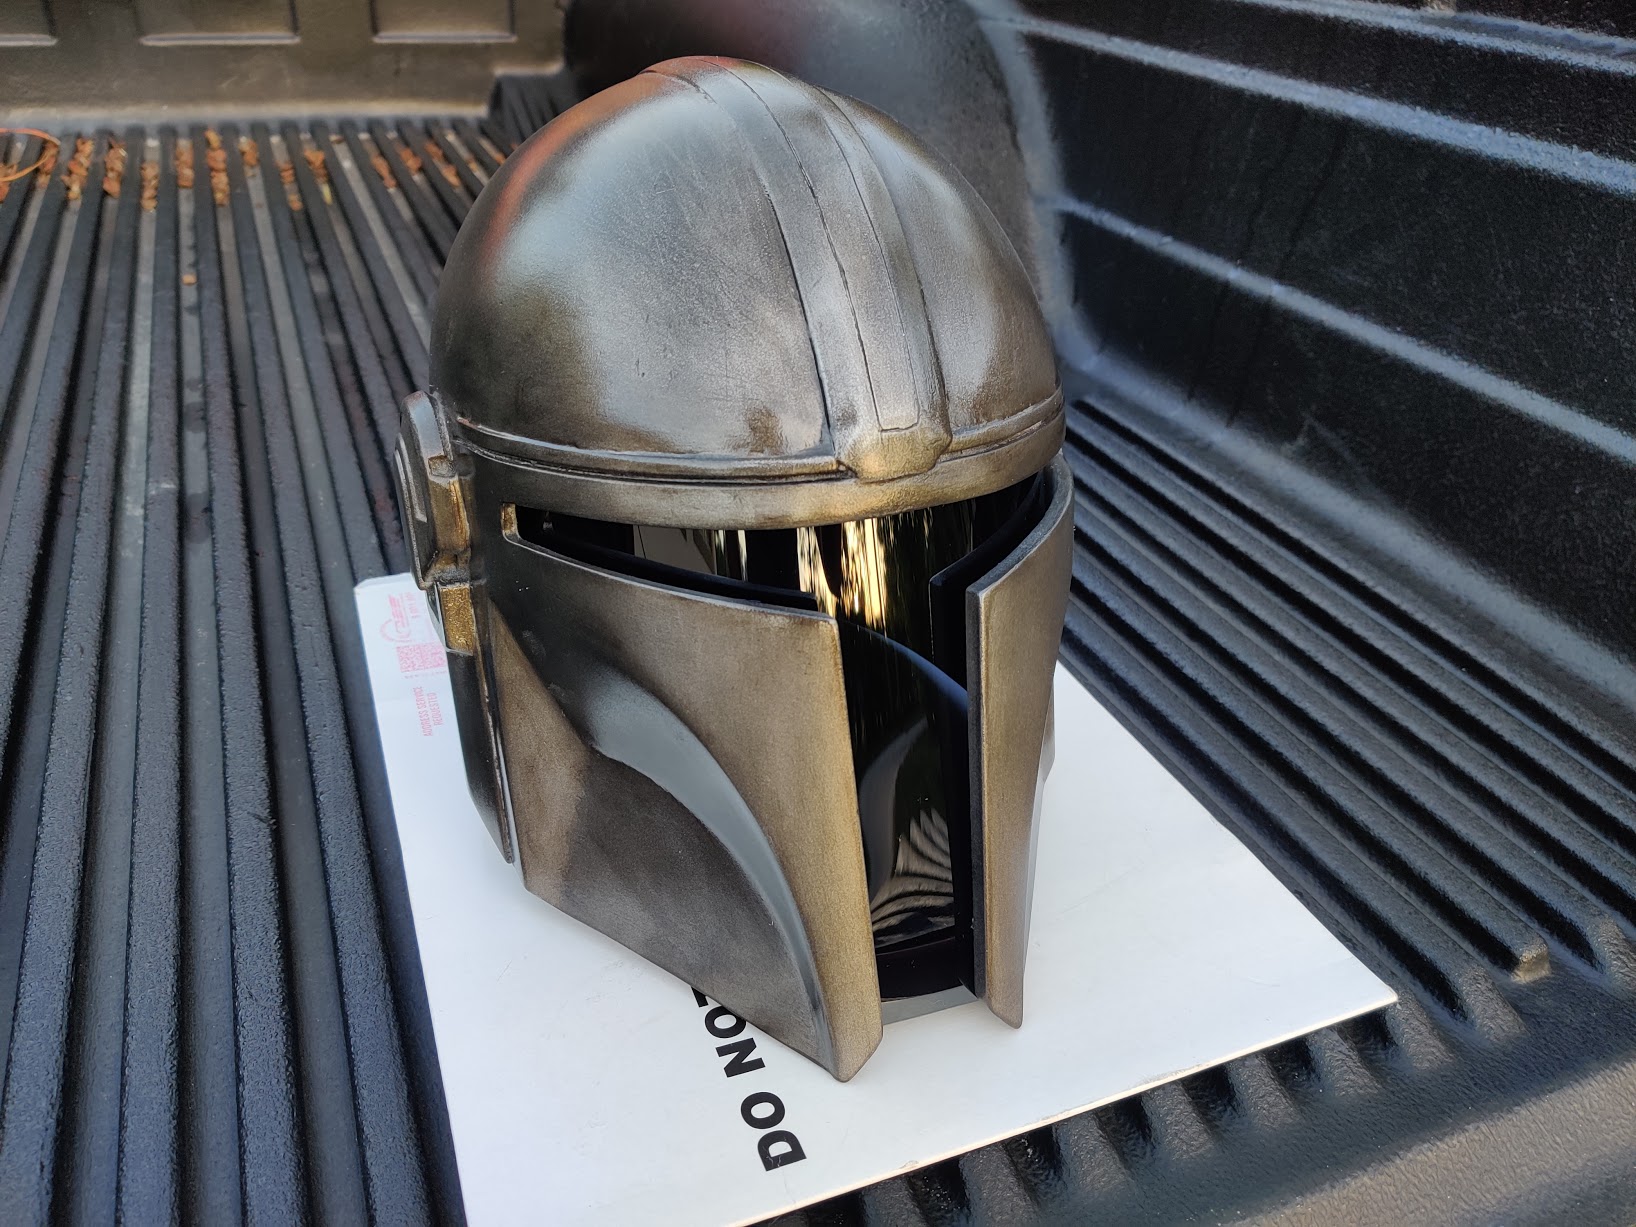
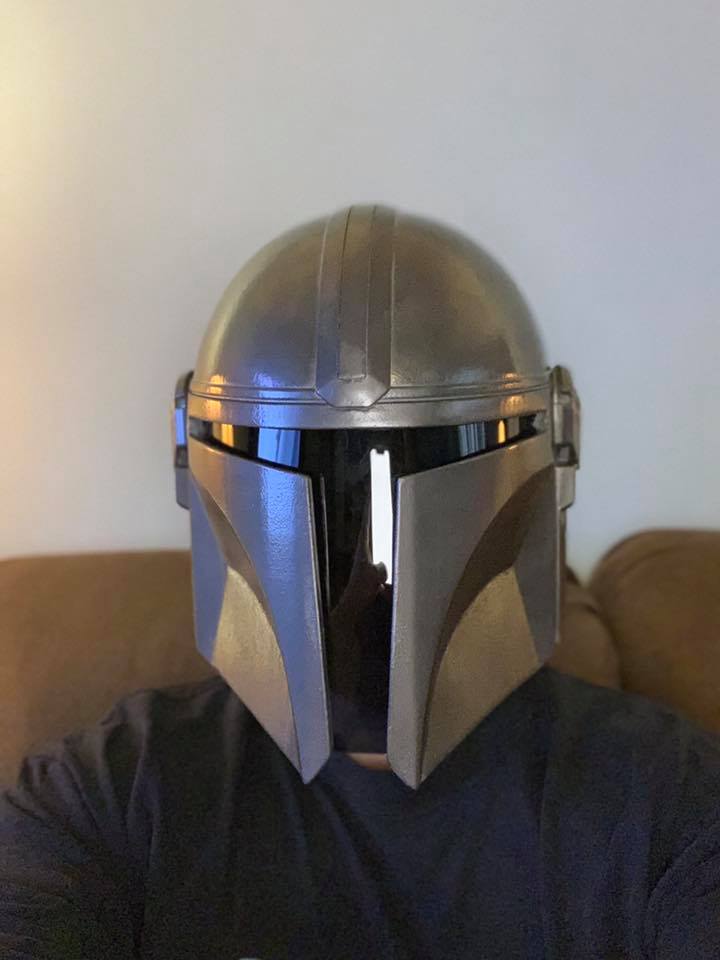
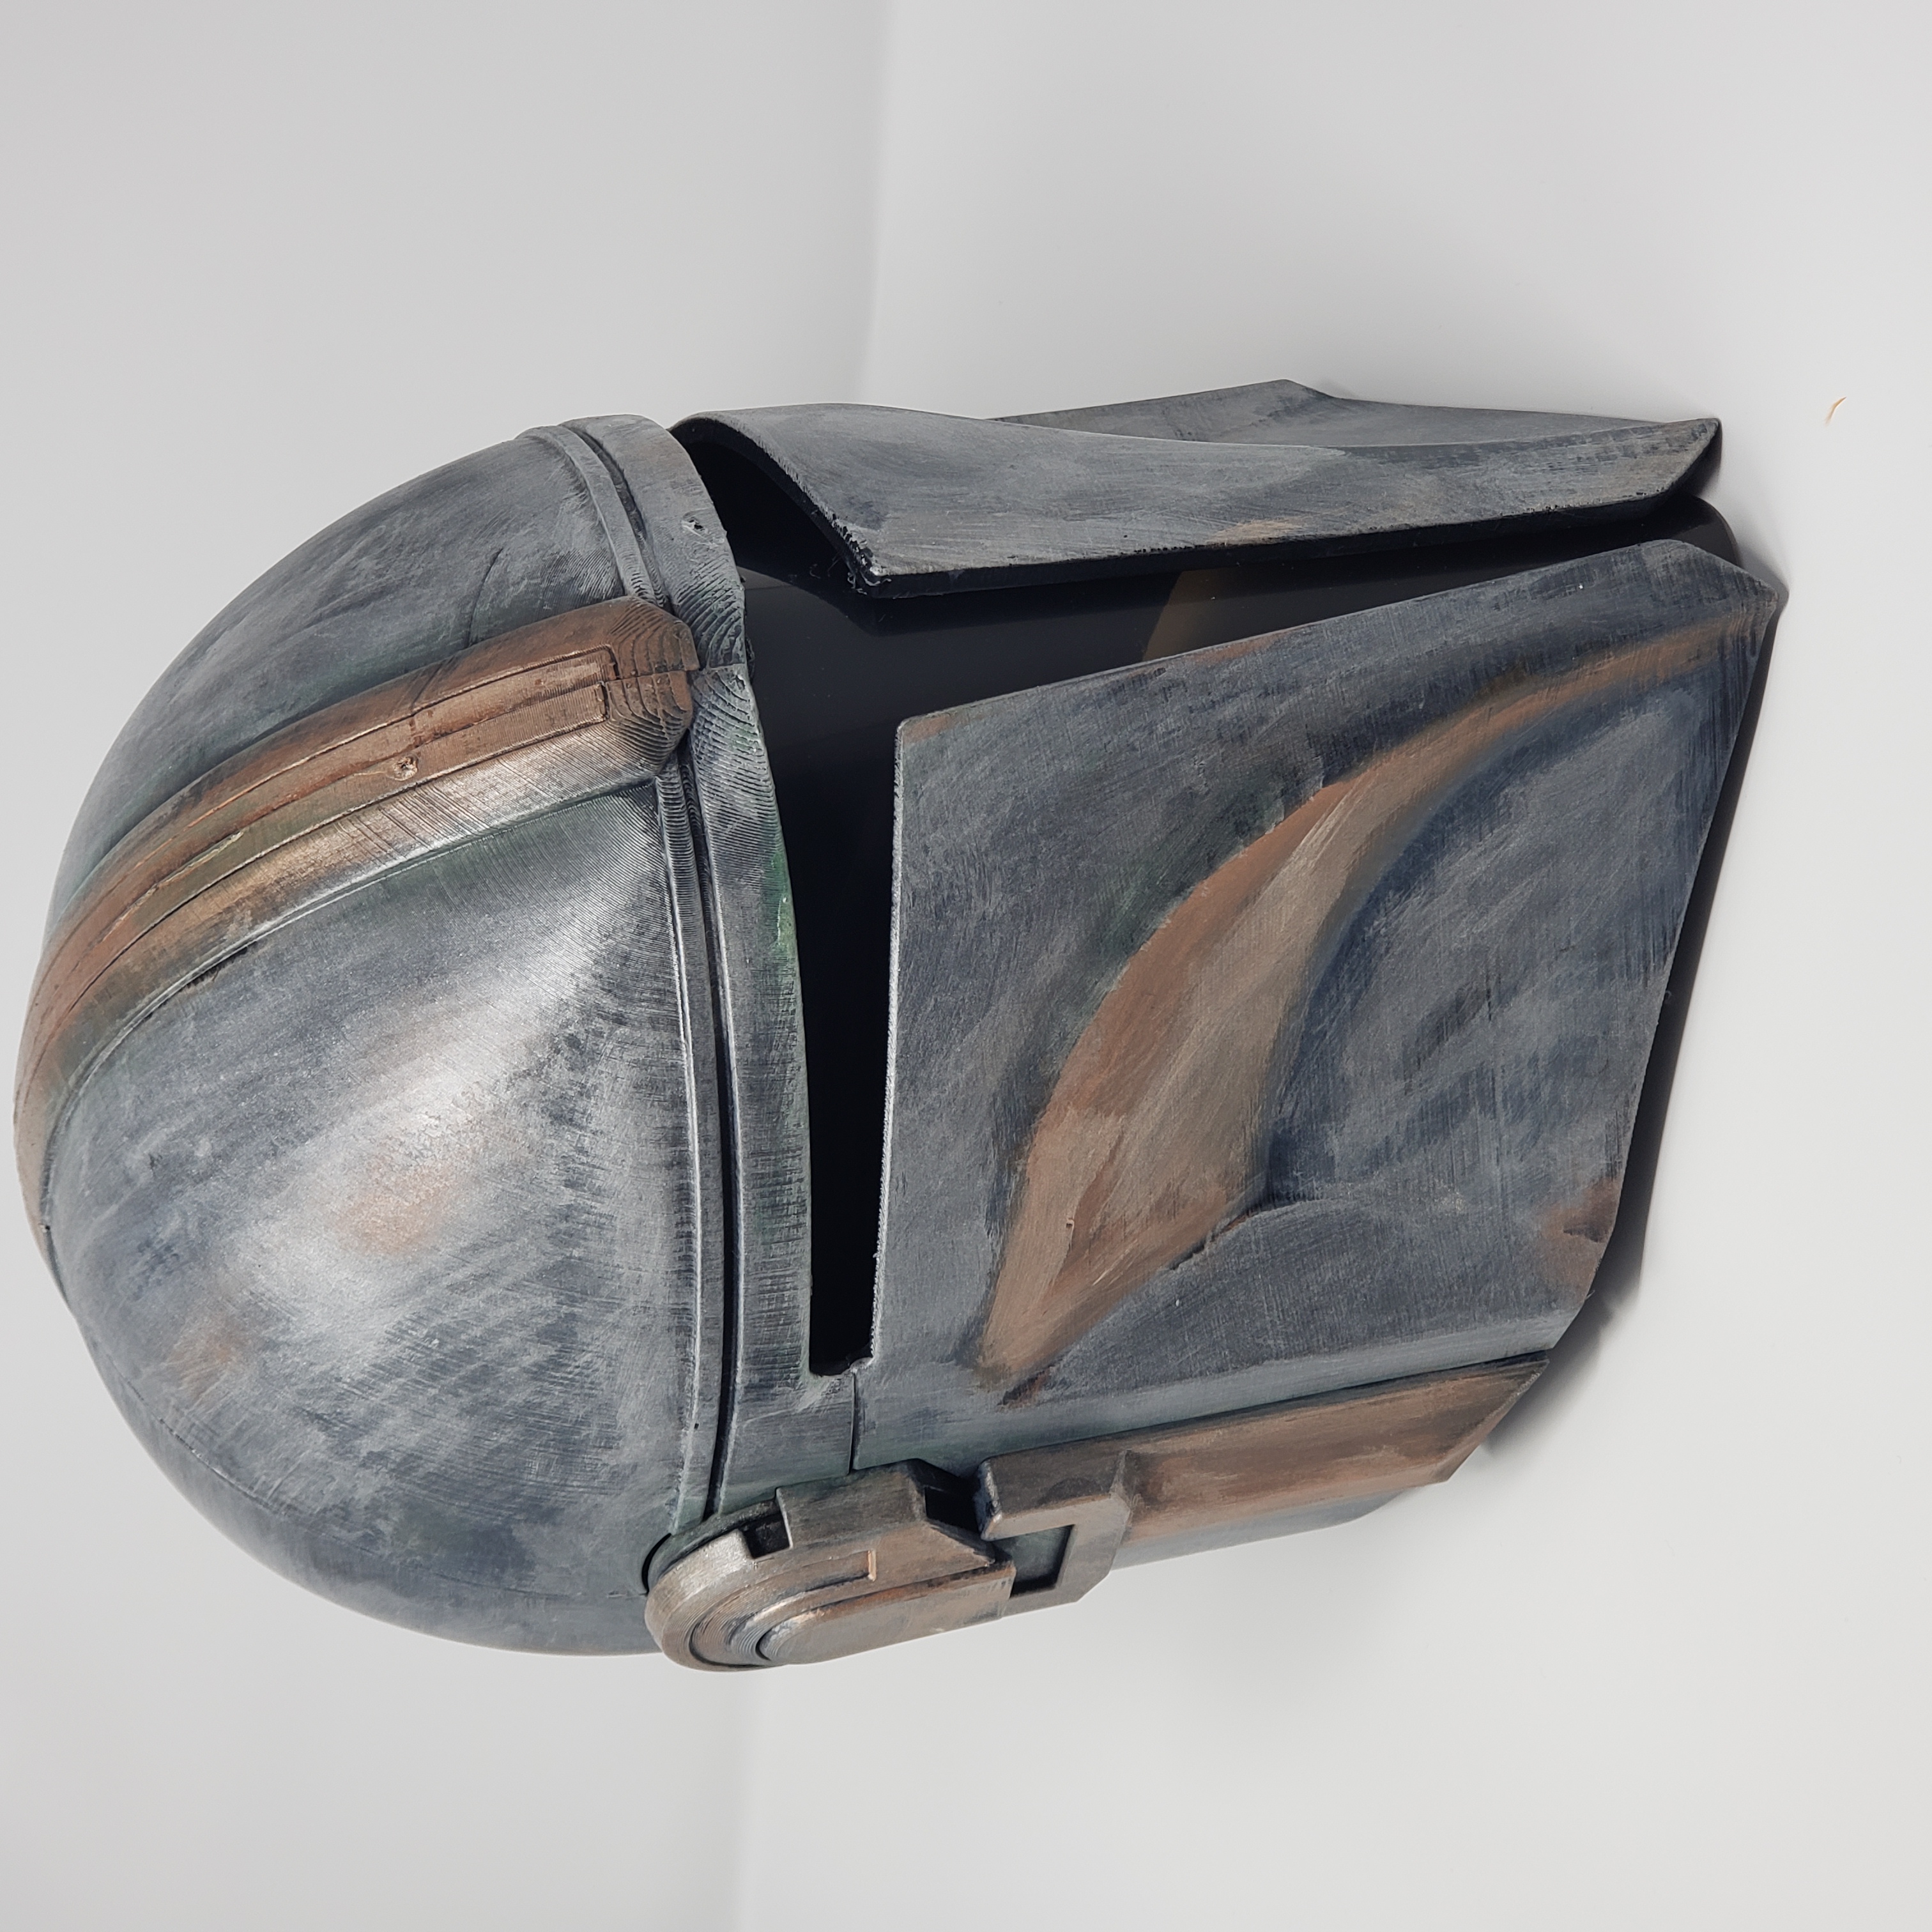
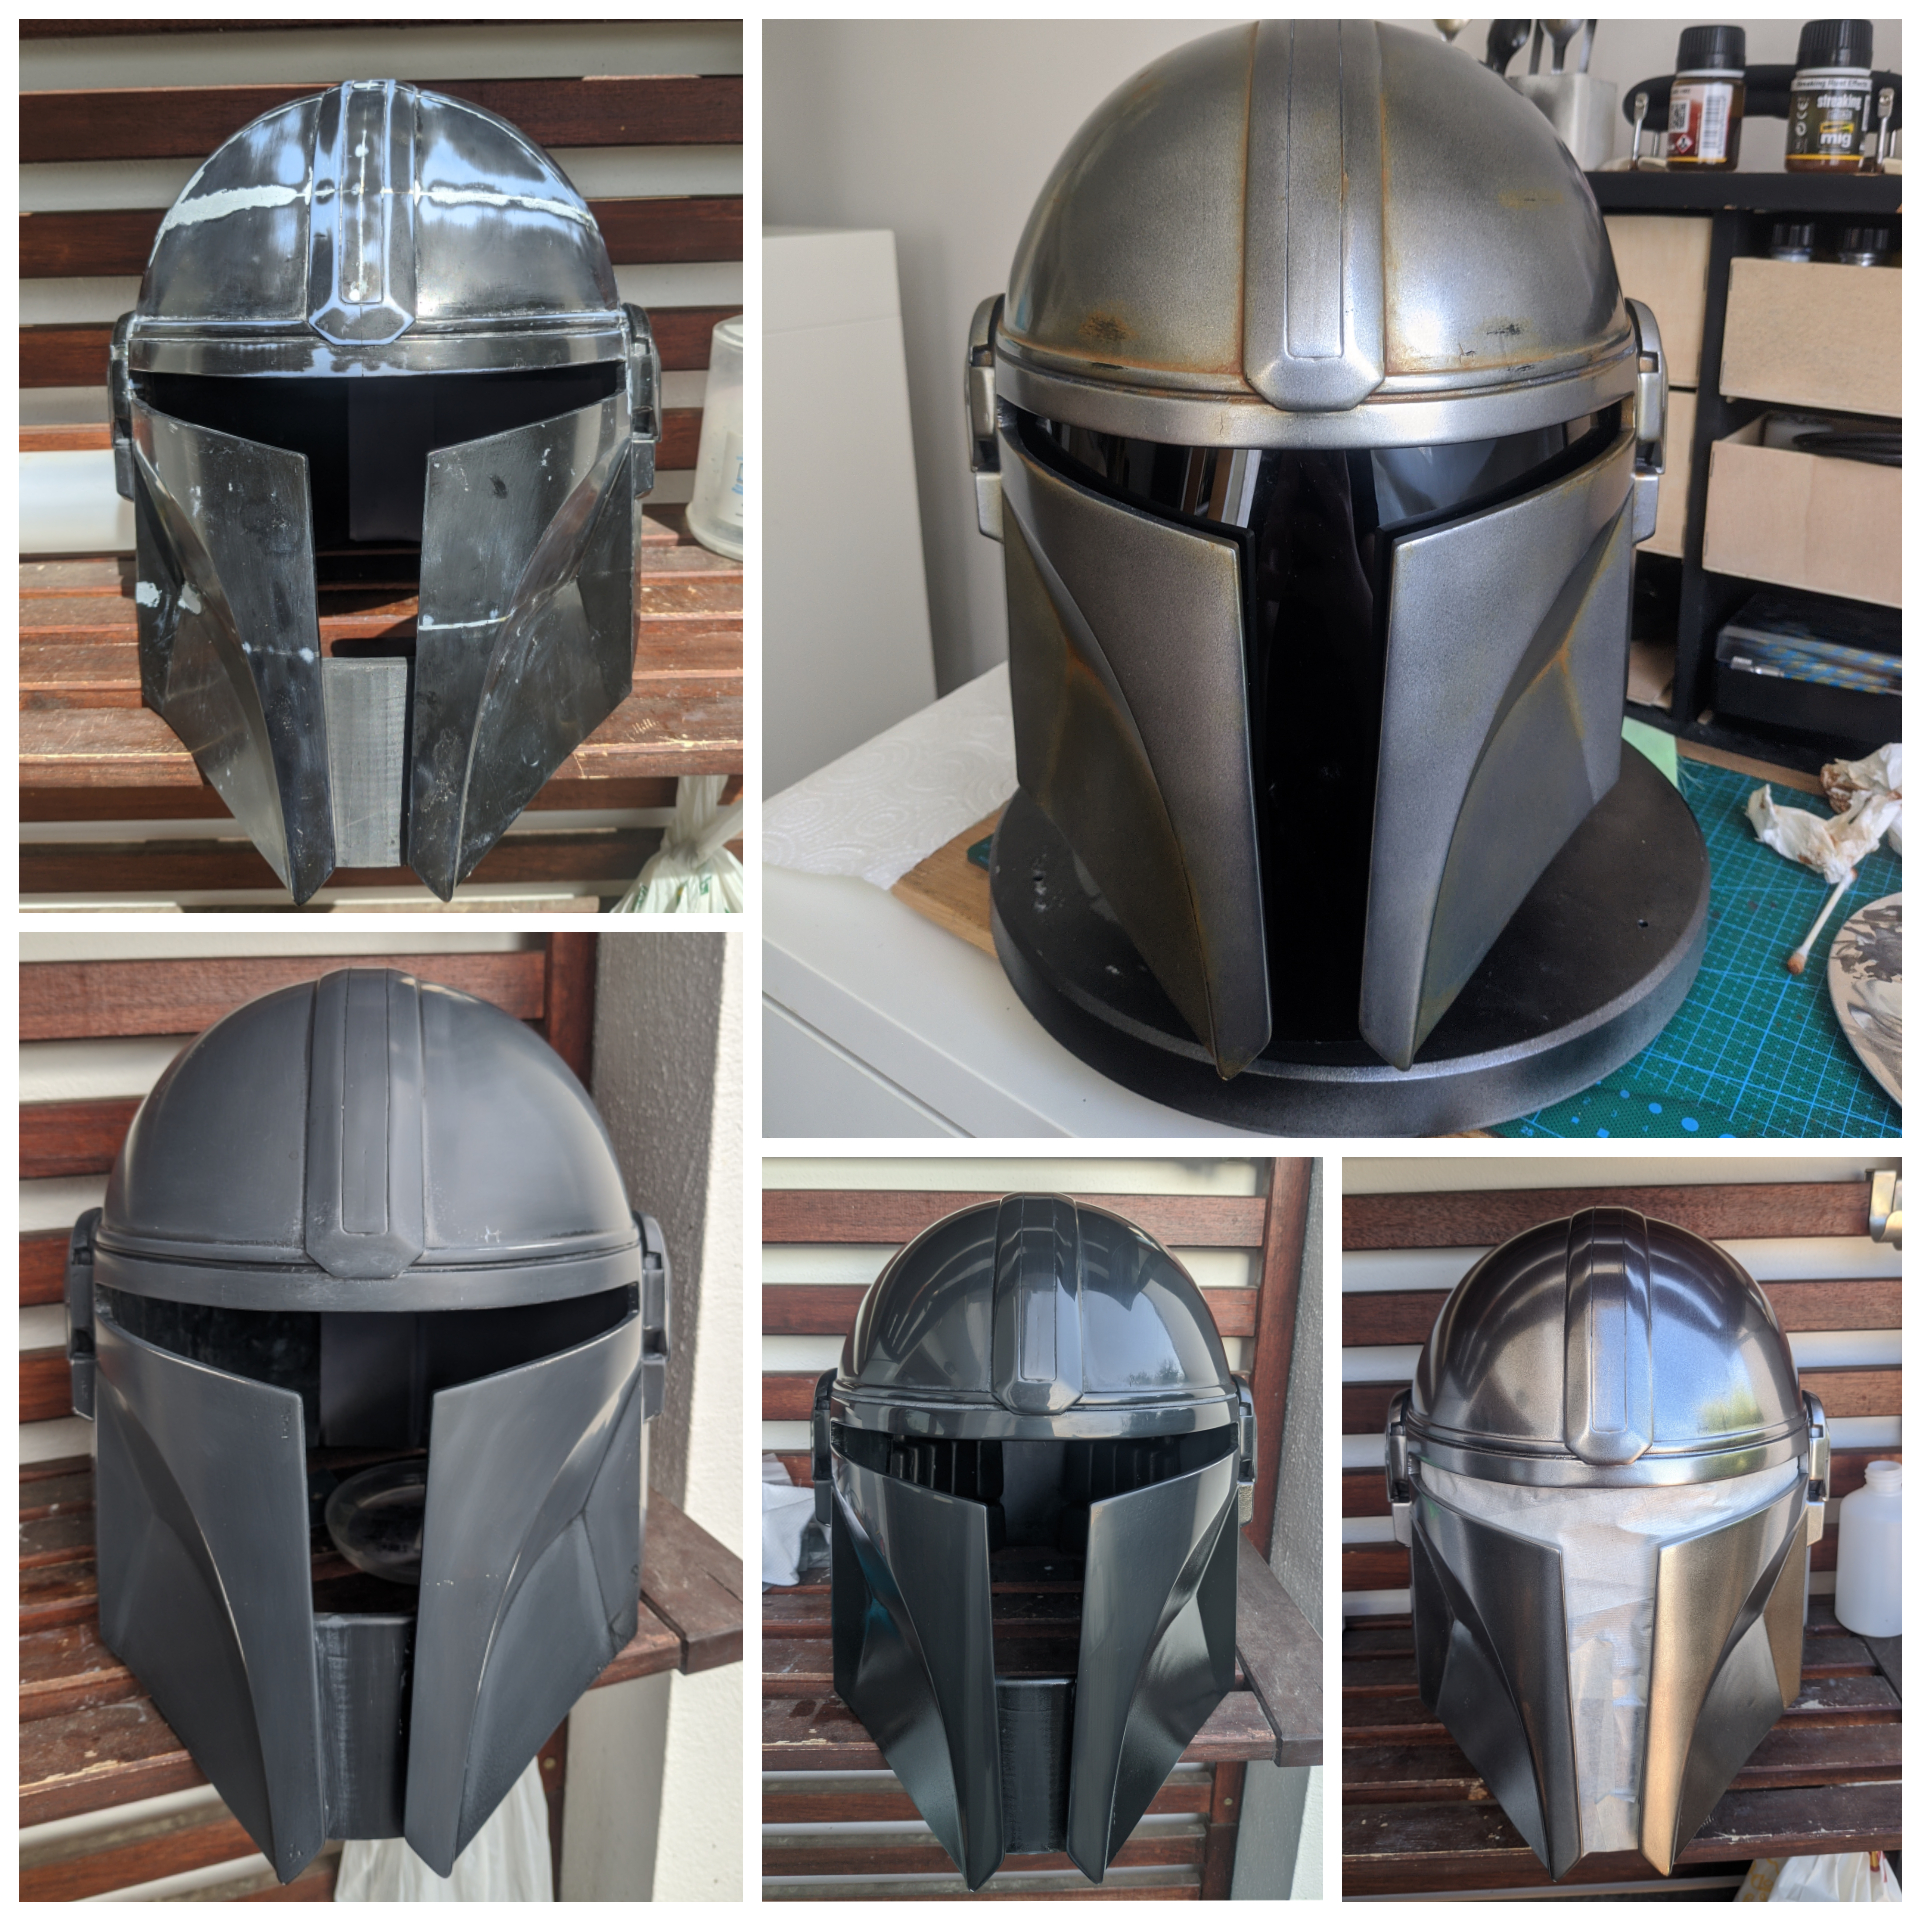
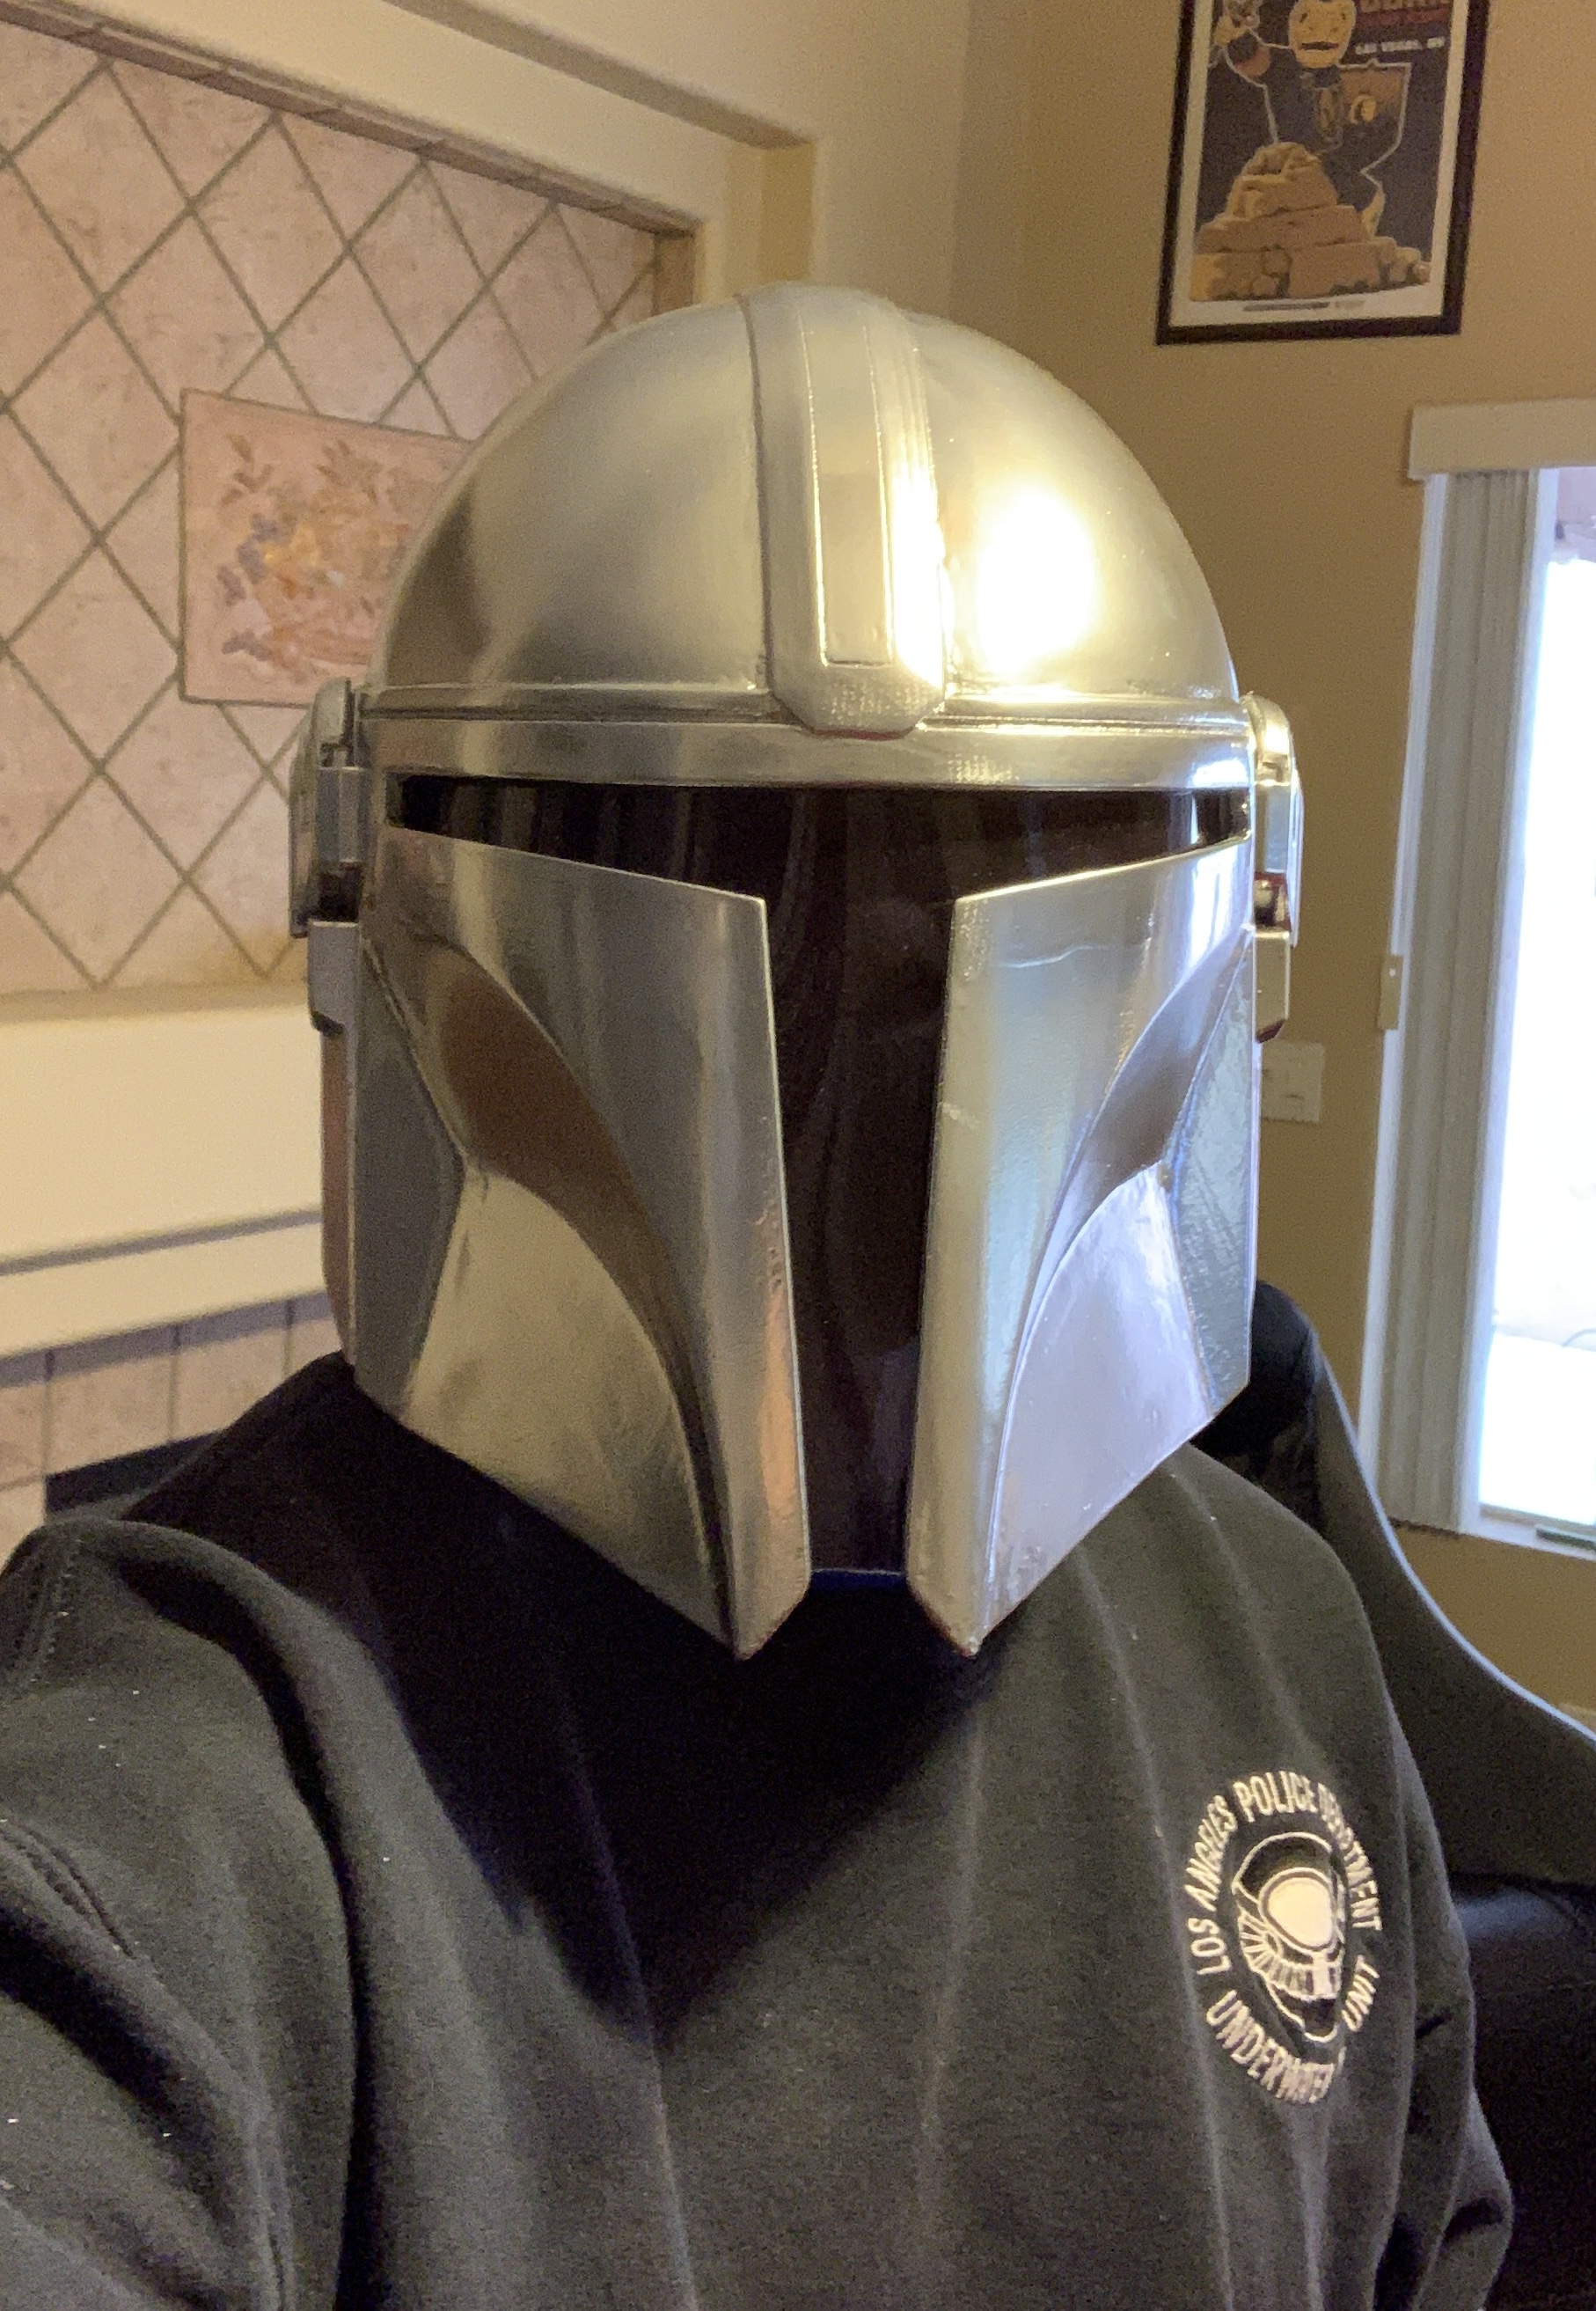
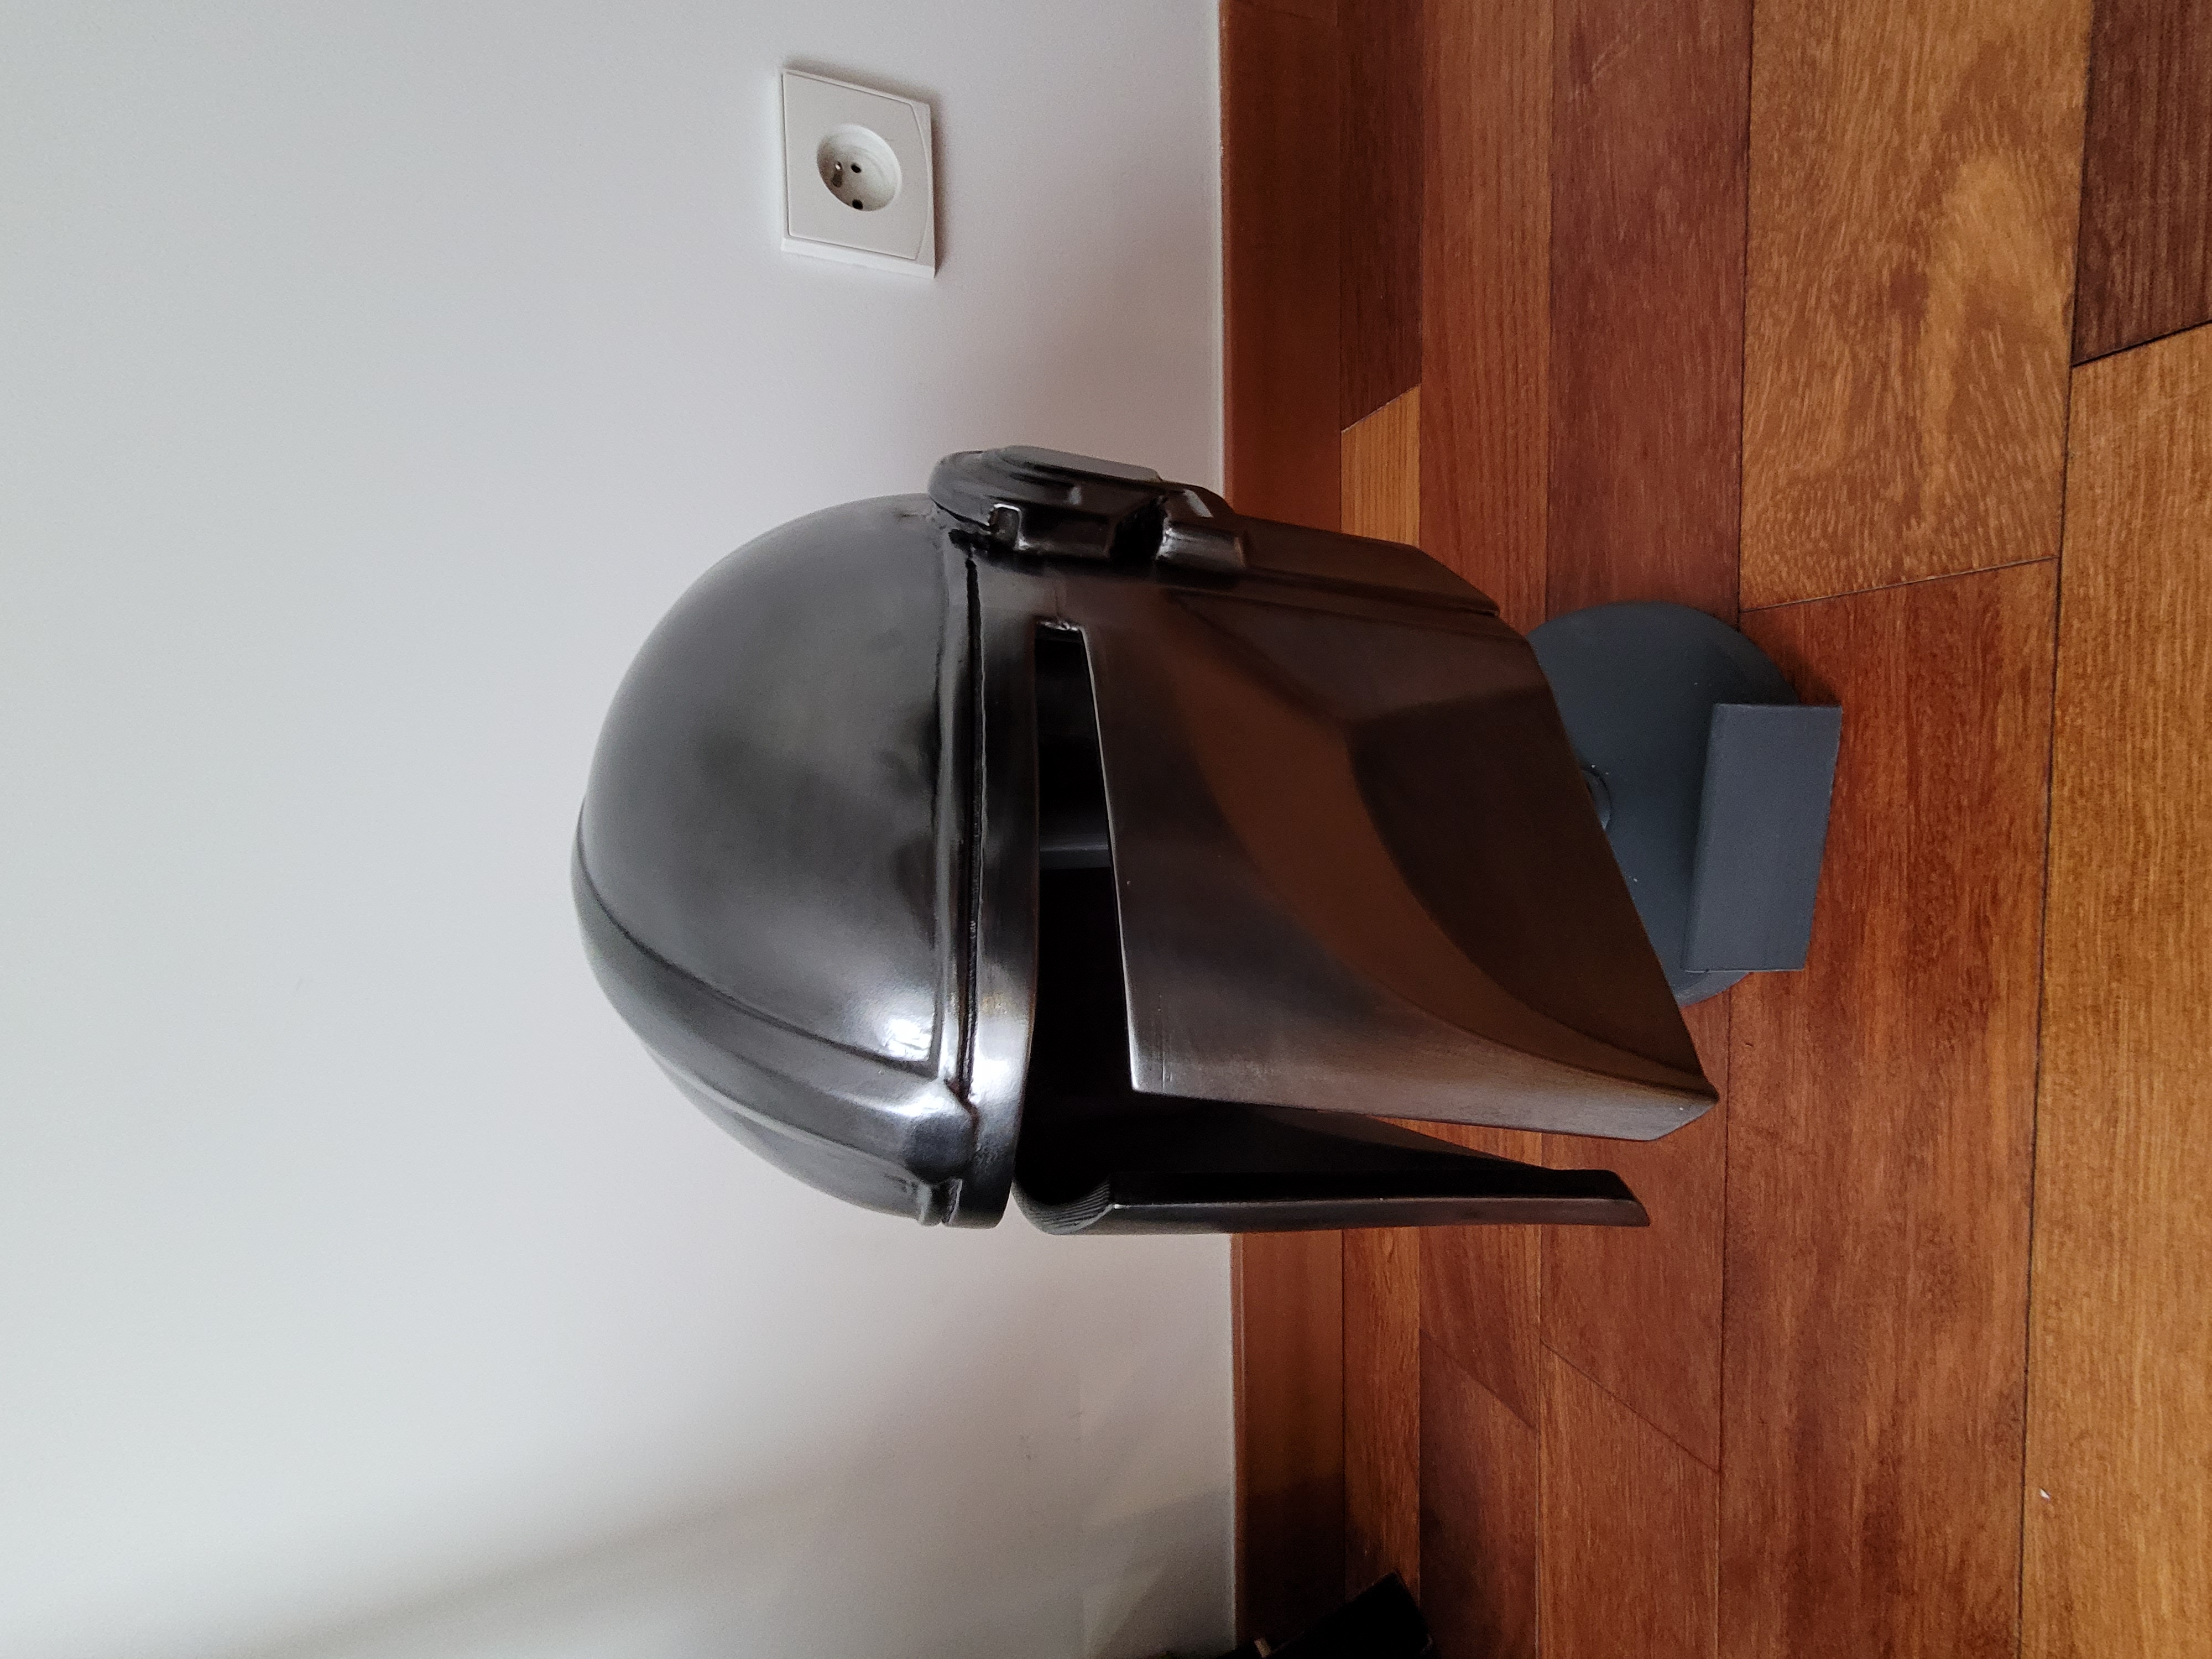
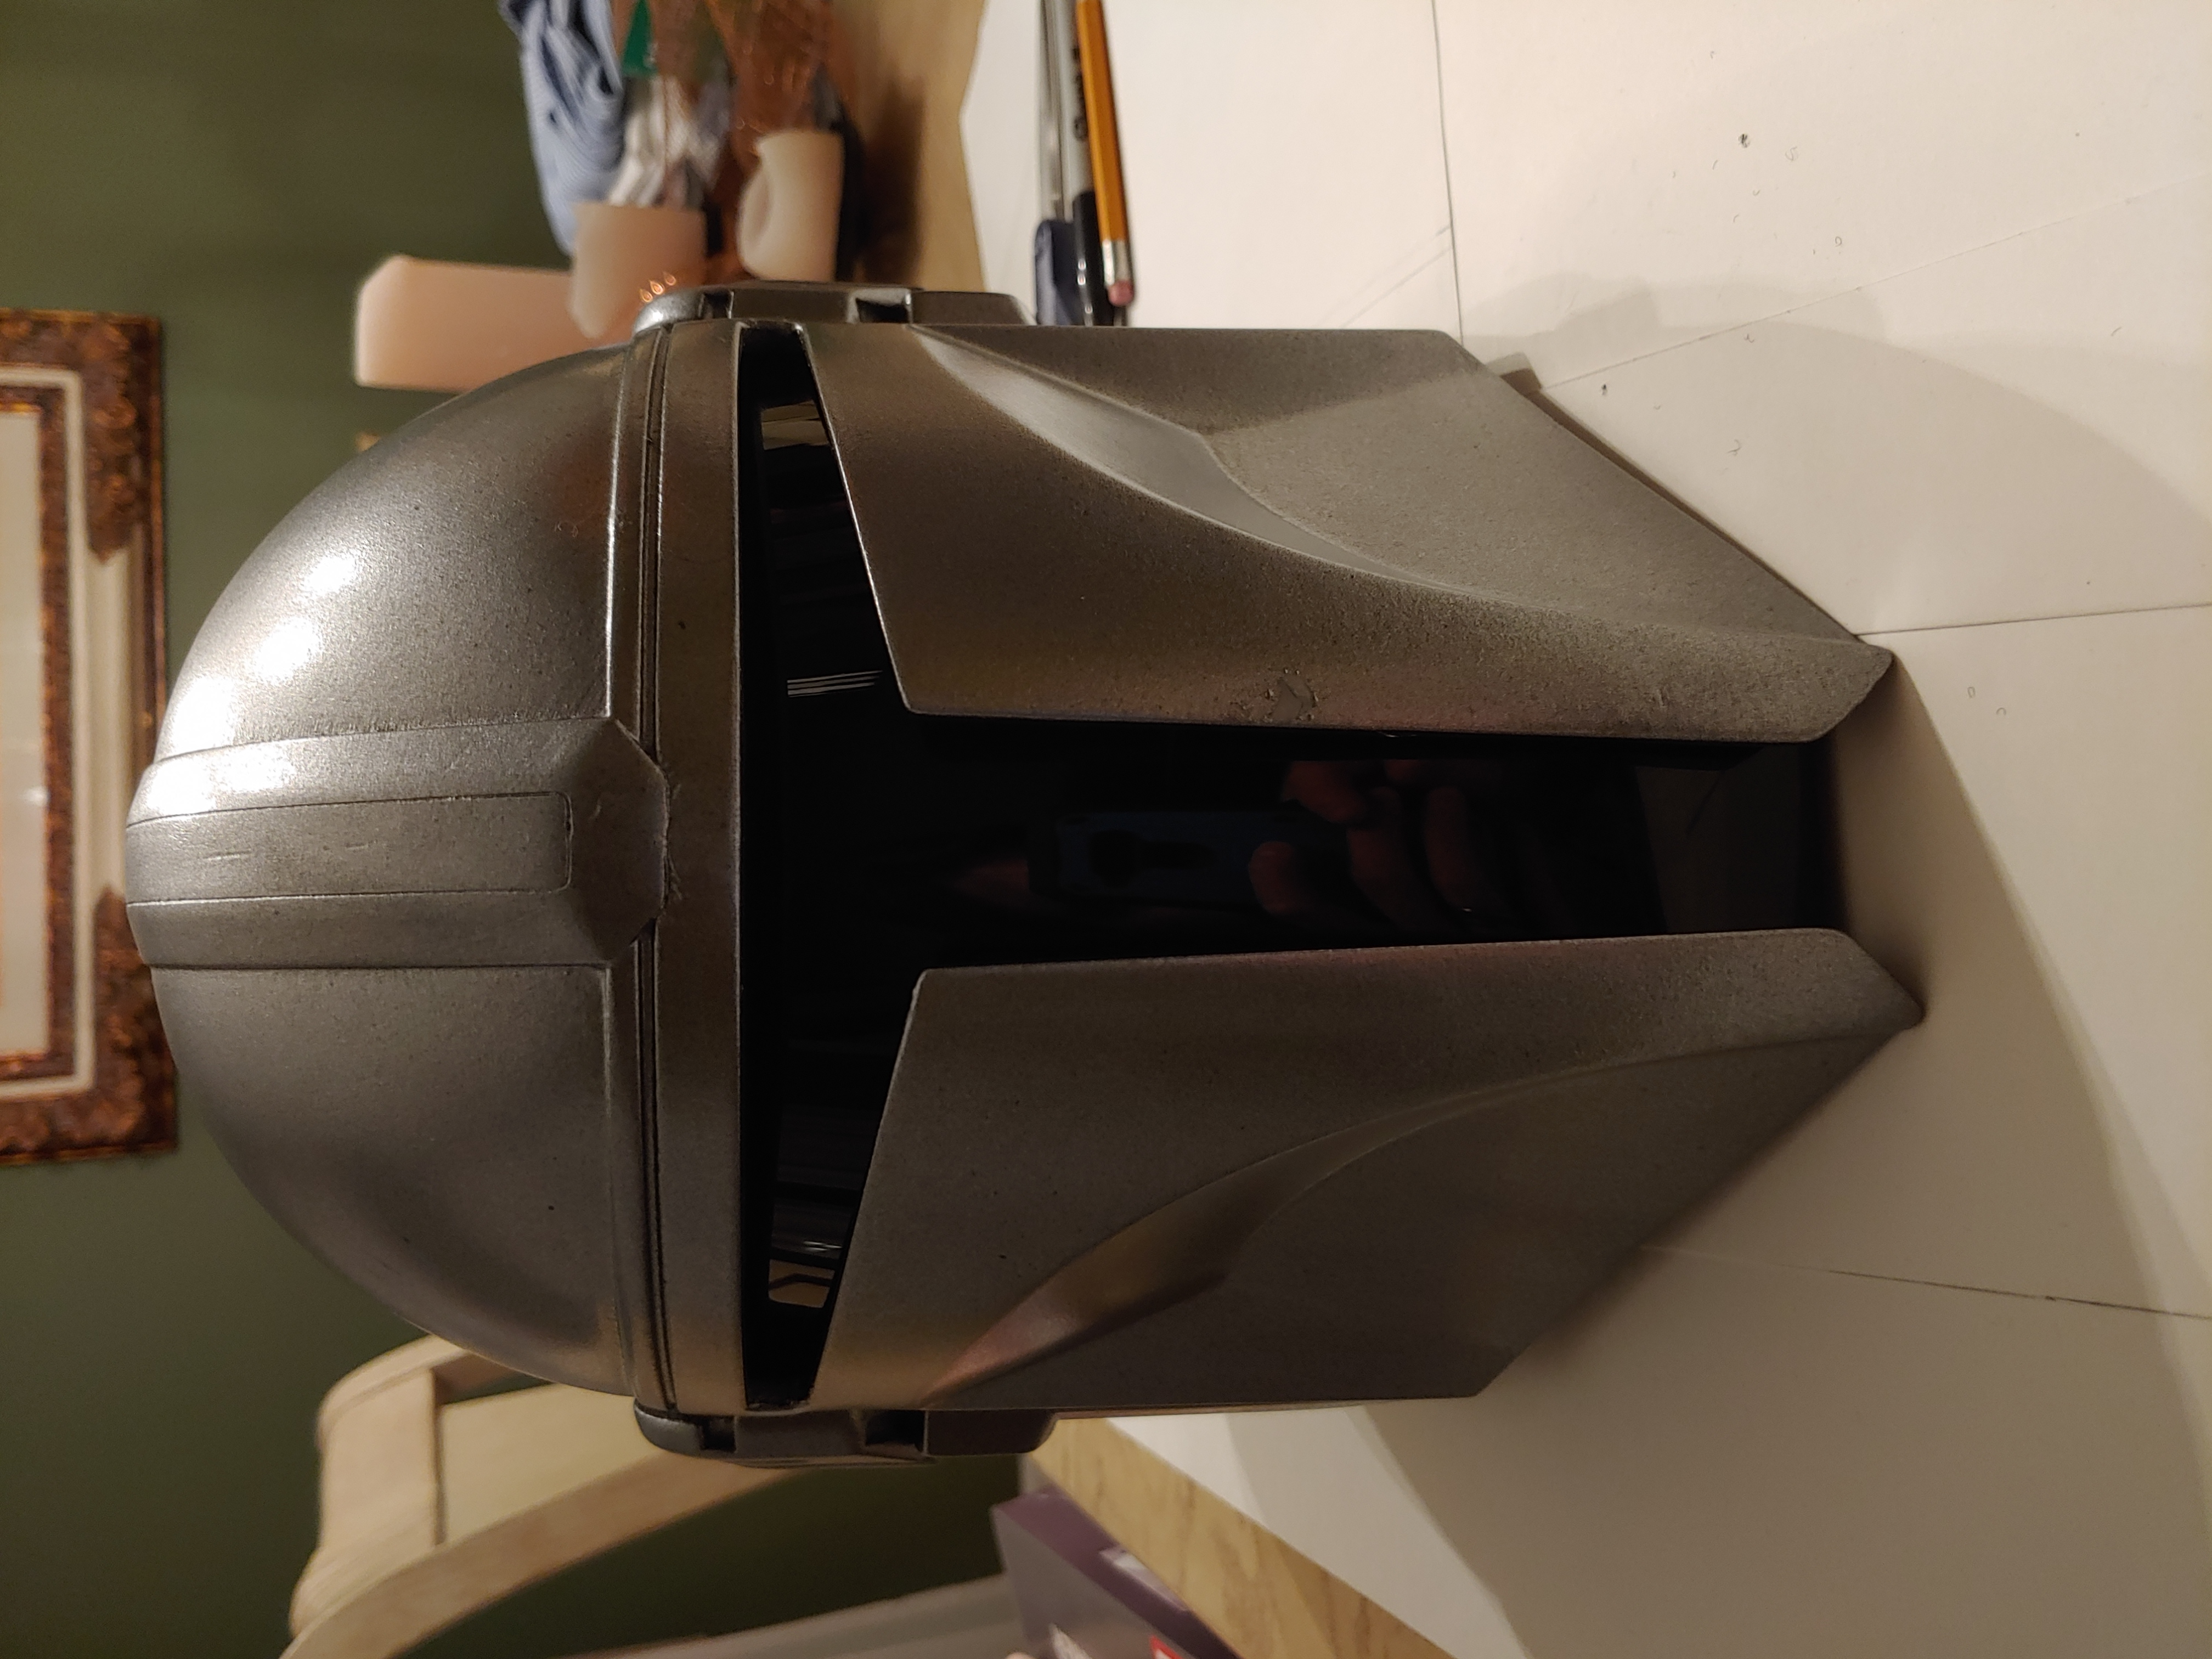
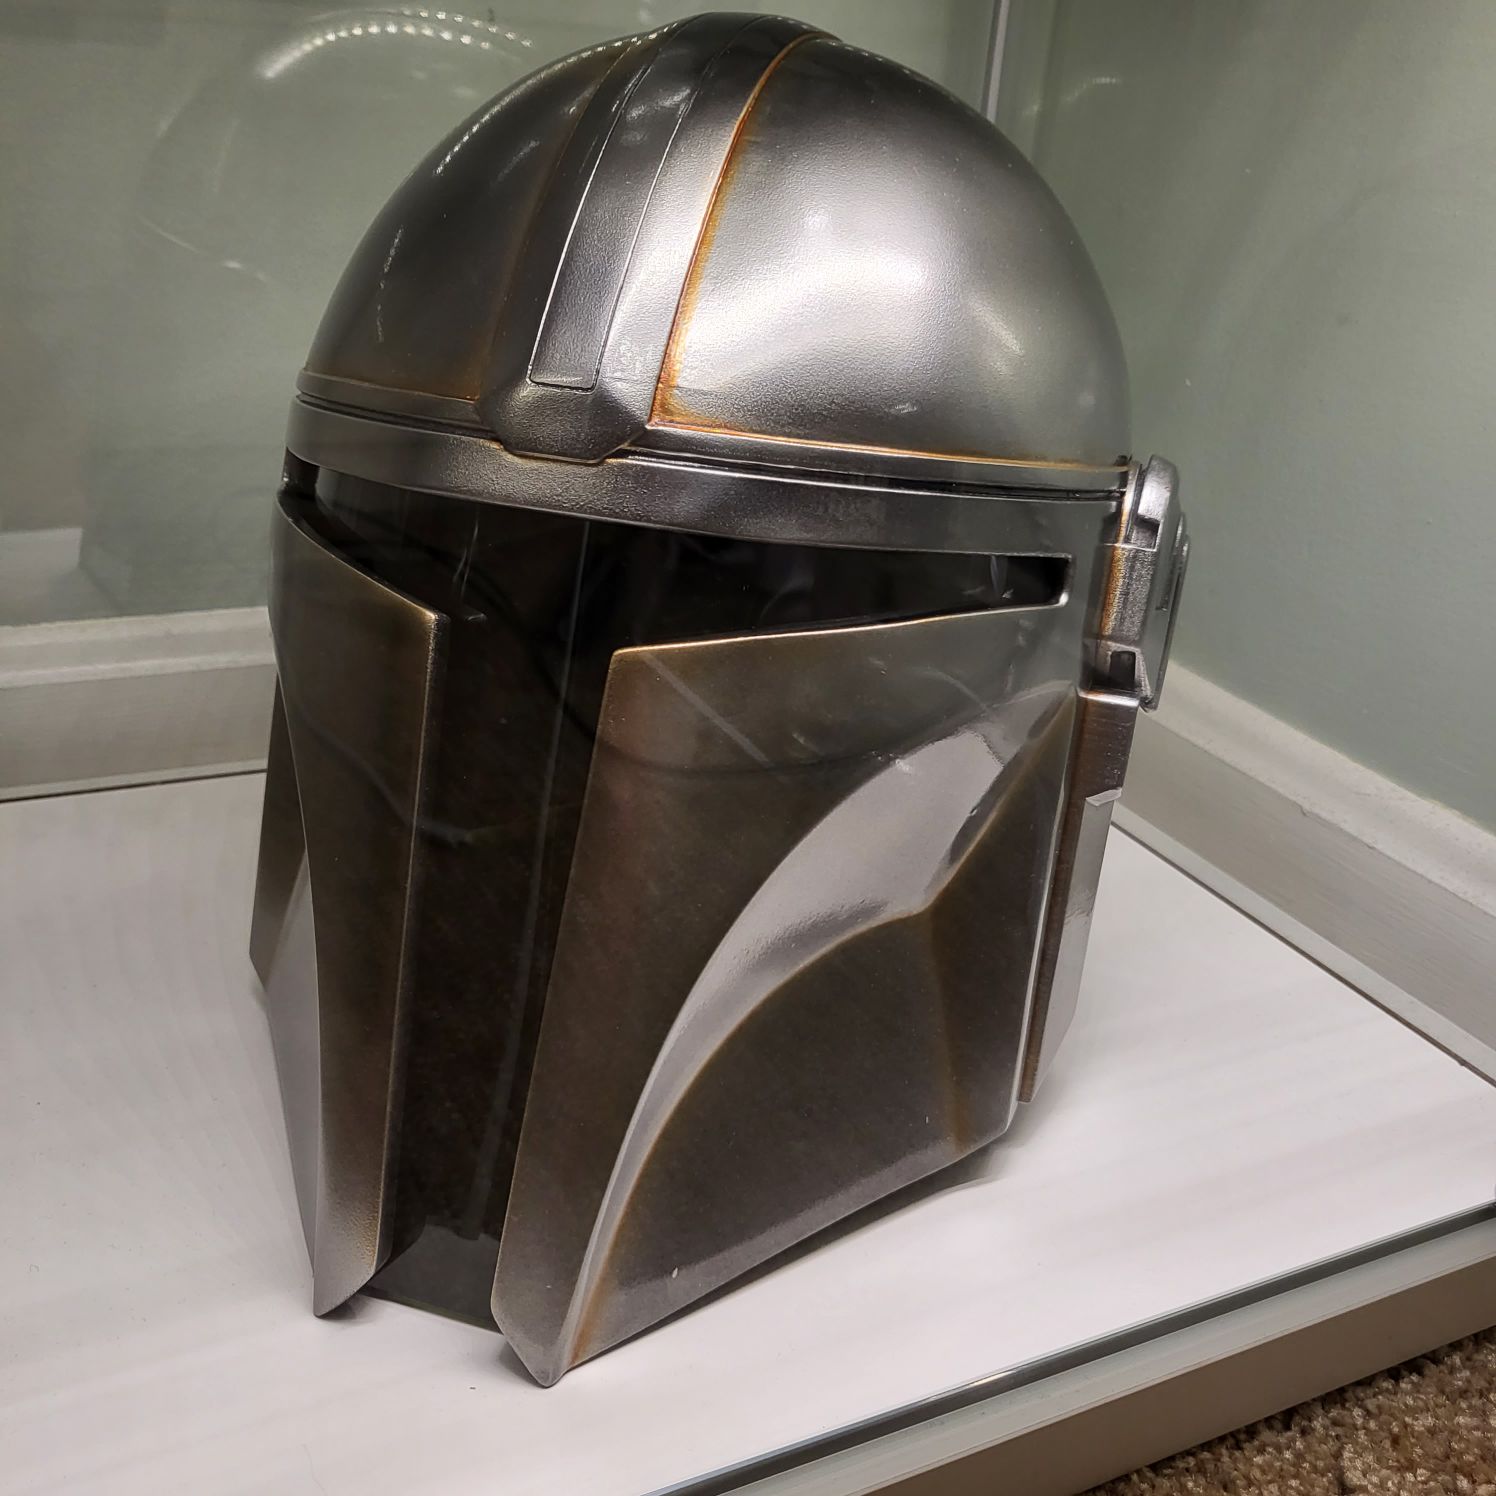
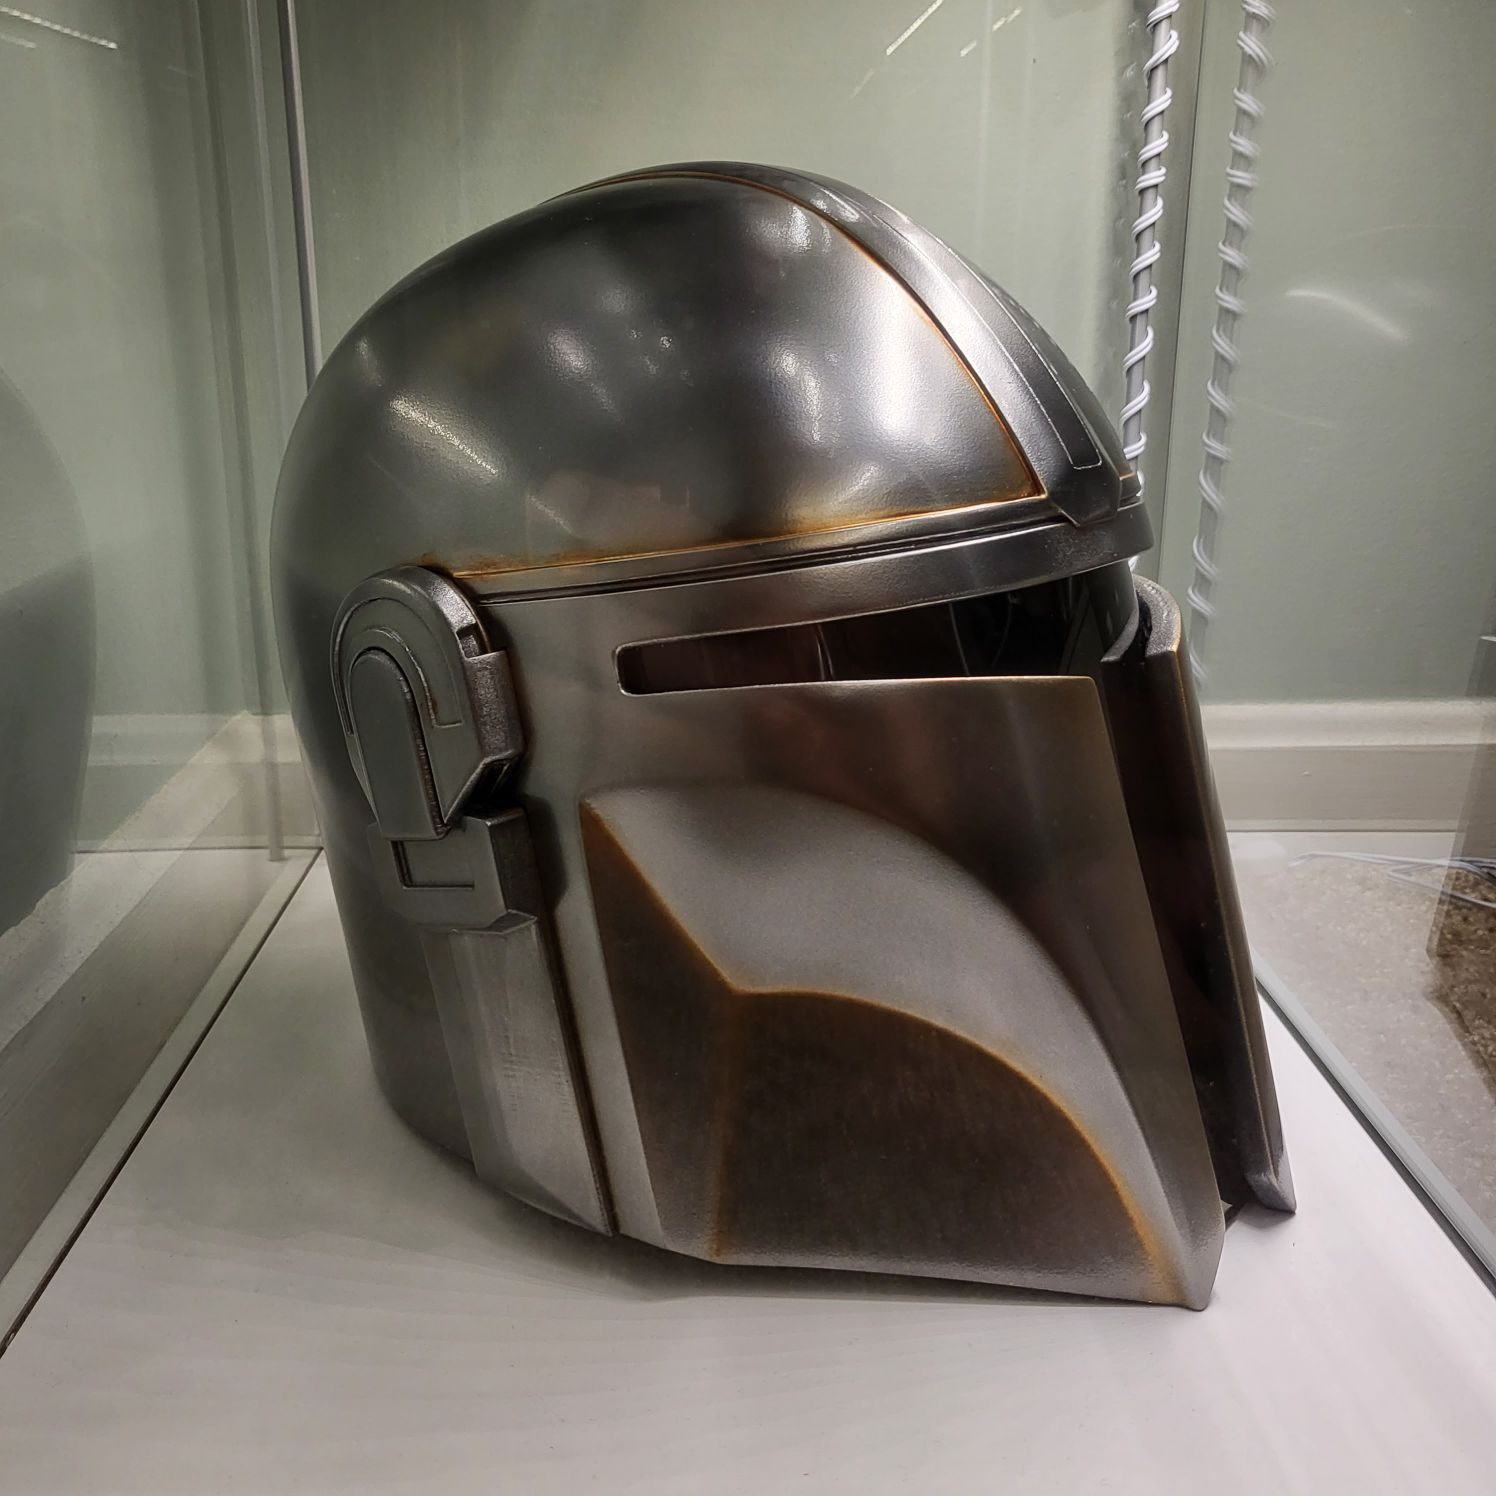
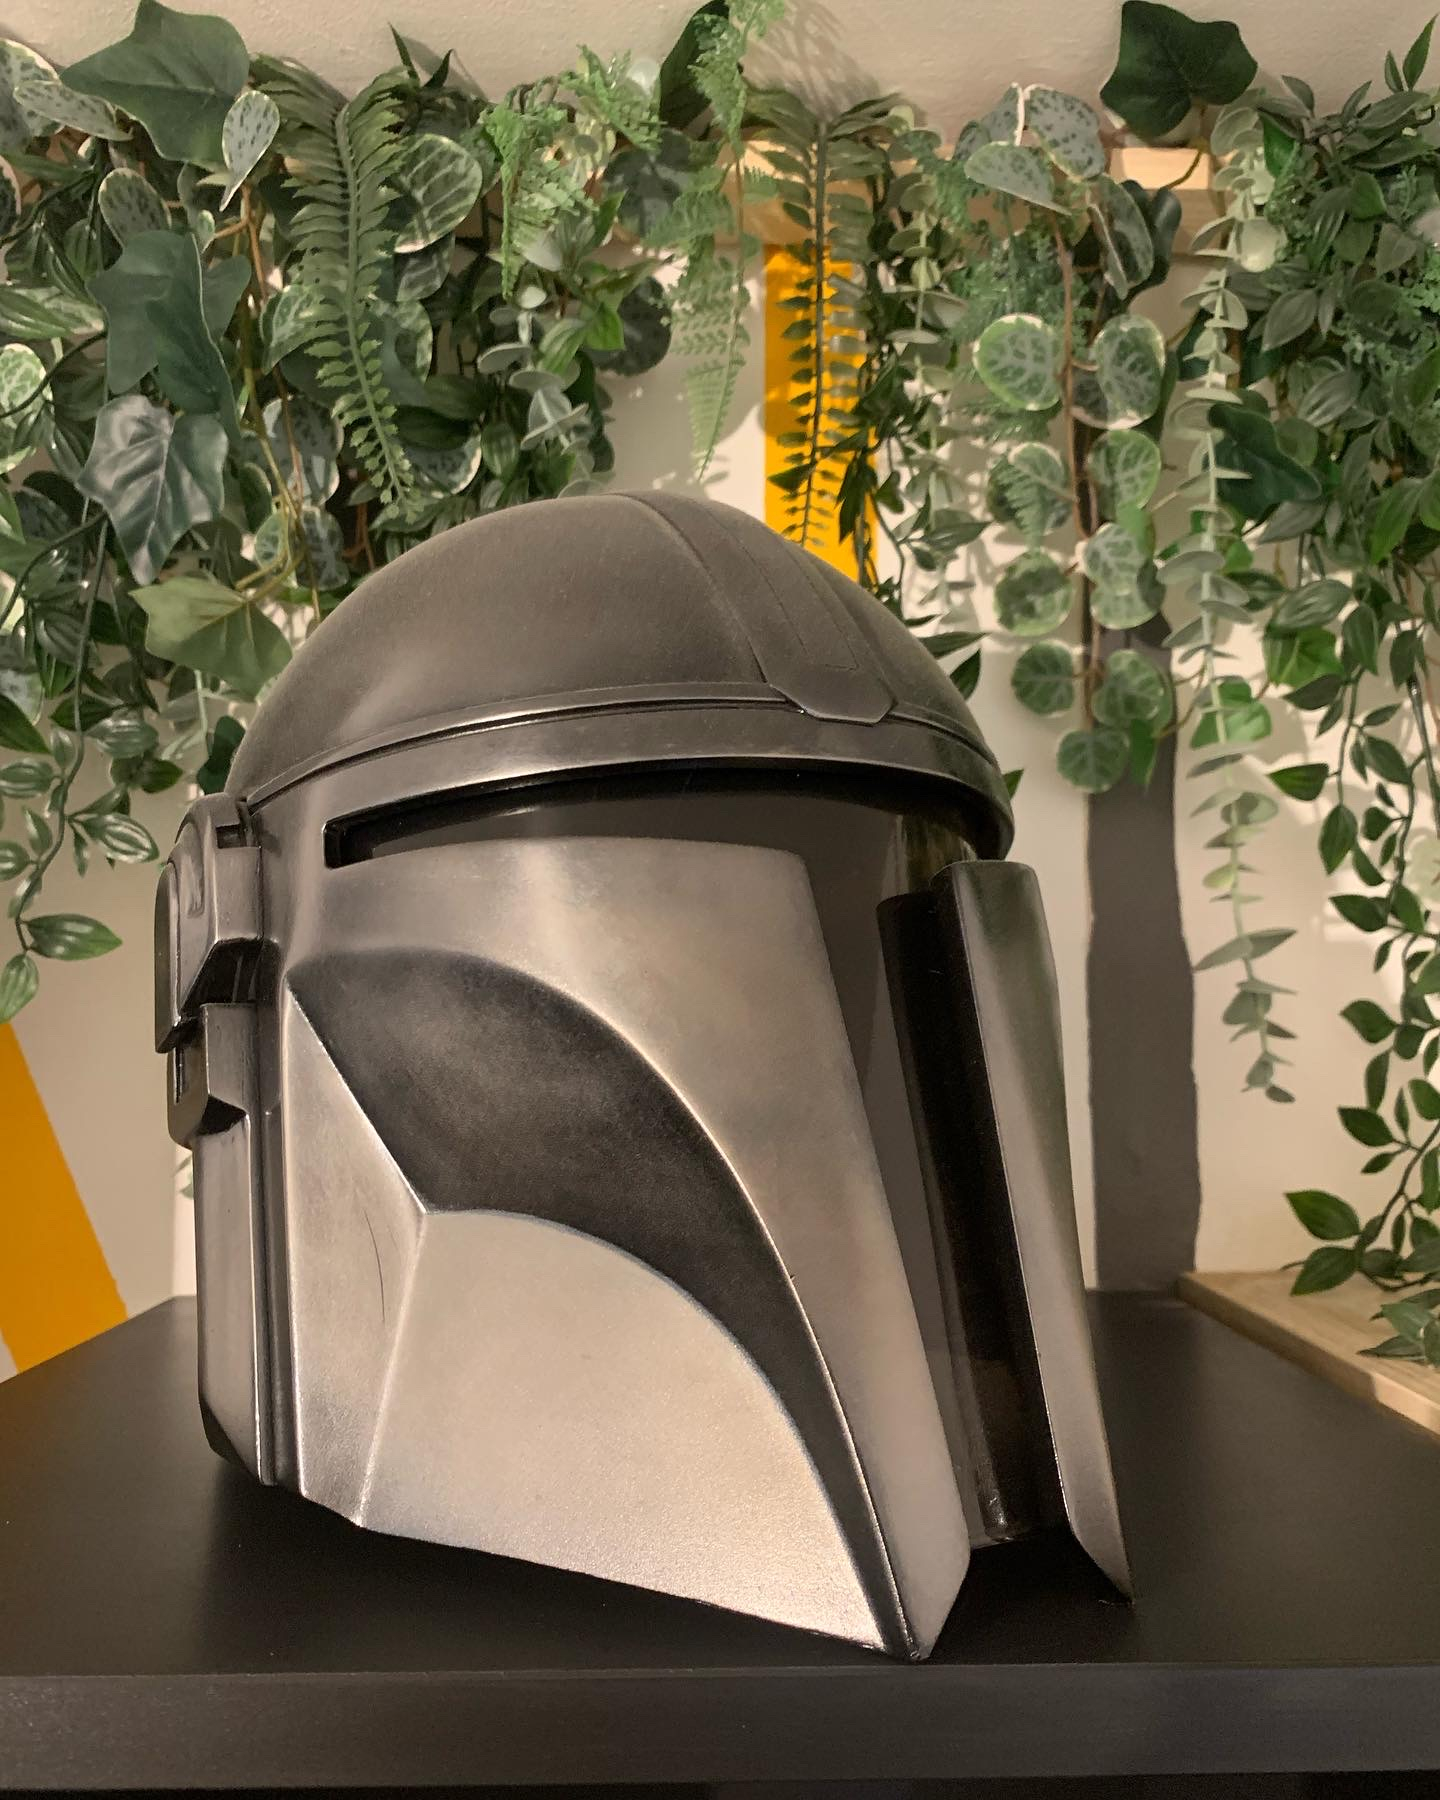
@robpauza you did a fantastic job on this model! Here is my finished version that I printed in 8 pieces on my Ender 3. I super glued the pieces together, then I JB welded the seams. Then I did an initial base of some filler primer, and then sanded and added wood filler to smooth out the seams. I did several rounds of filler primer, sanding, wood filling, sanding, and then priming. Once I had the smoothness I wanted, I used Rustoleum "Dark Steel" paint and did 3 or so coats. I then weathered it using some acrylic paint and then finished it off with a Rustoleum High Gloss clear coat. I then used a HOBART face shield, which I bought from cyberweld.com since Amazon seems to be out of them. I JB welded in some M3 screws on the inside of the helmet, and then punched out holes in the Hobart face shield where the screws would be to get the visor to keep it's bend without worrying about glue coming apart under pressure. It turned out great, thanks @robpauza !!
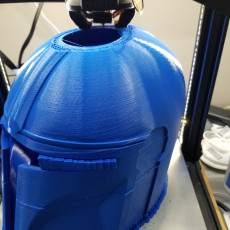
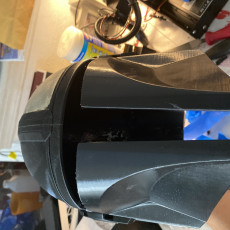
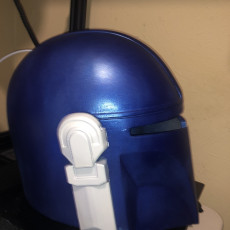
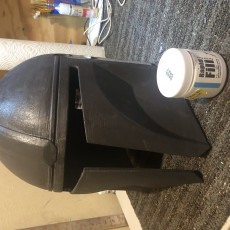
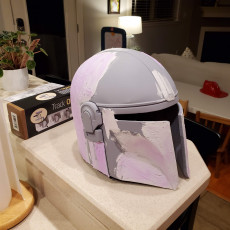
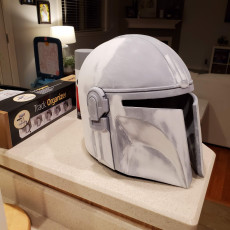
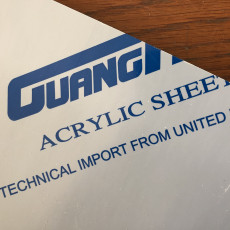
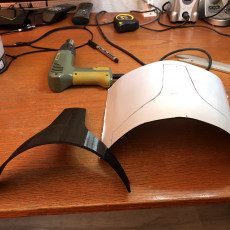
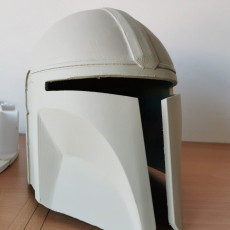
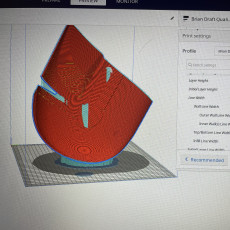
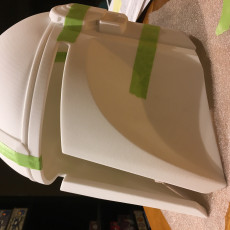
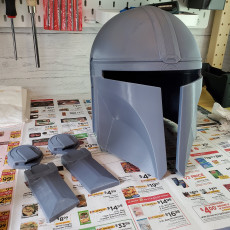
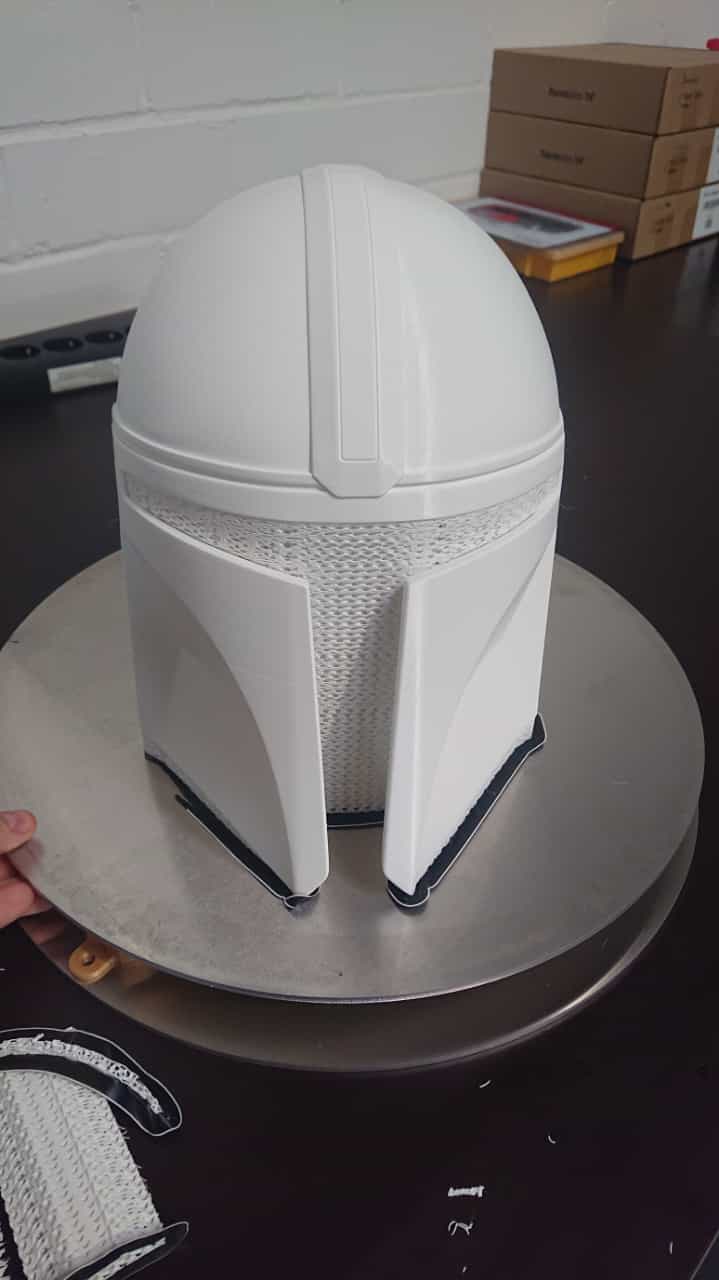
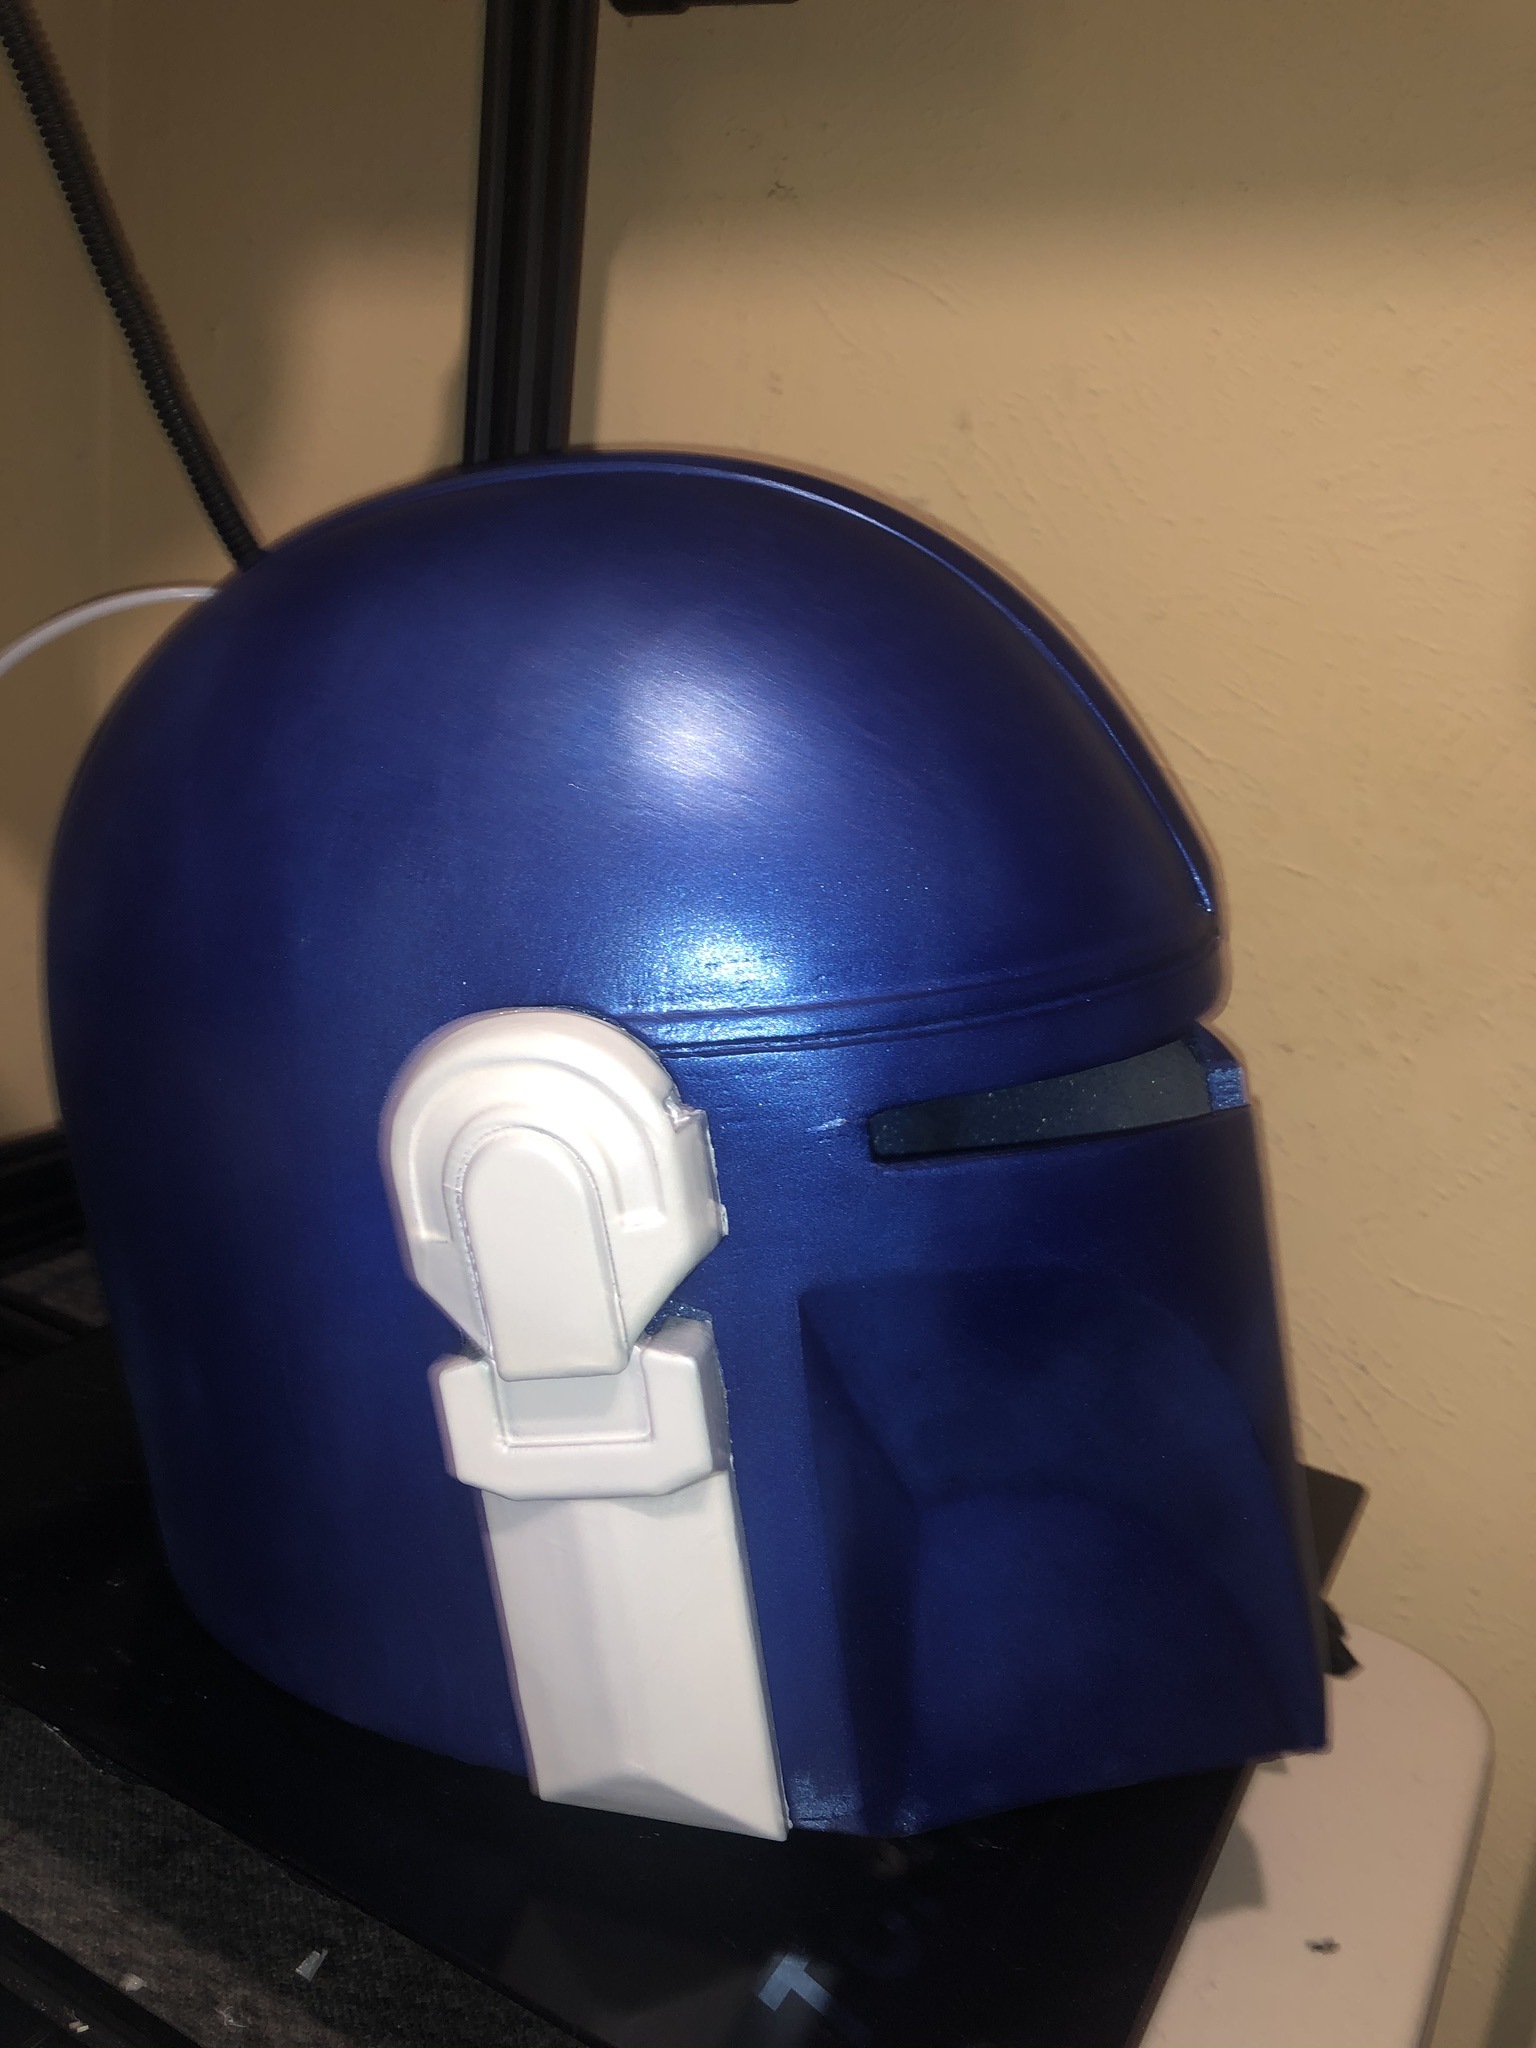
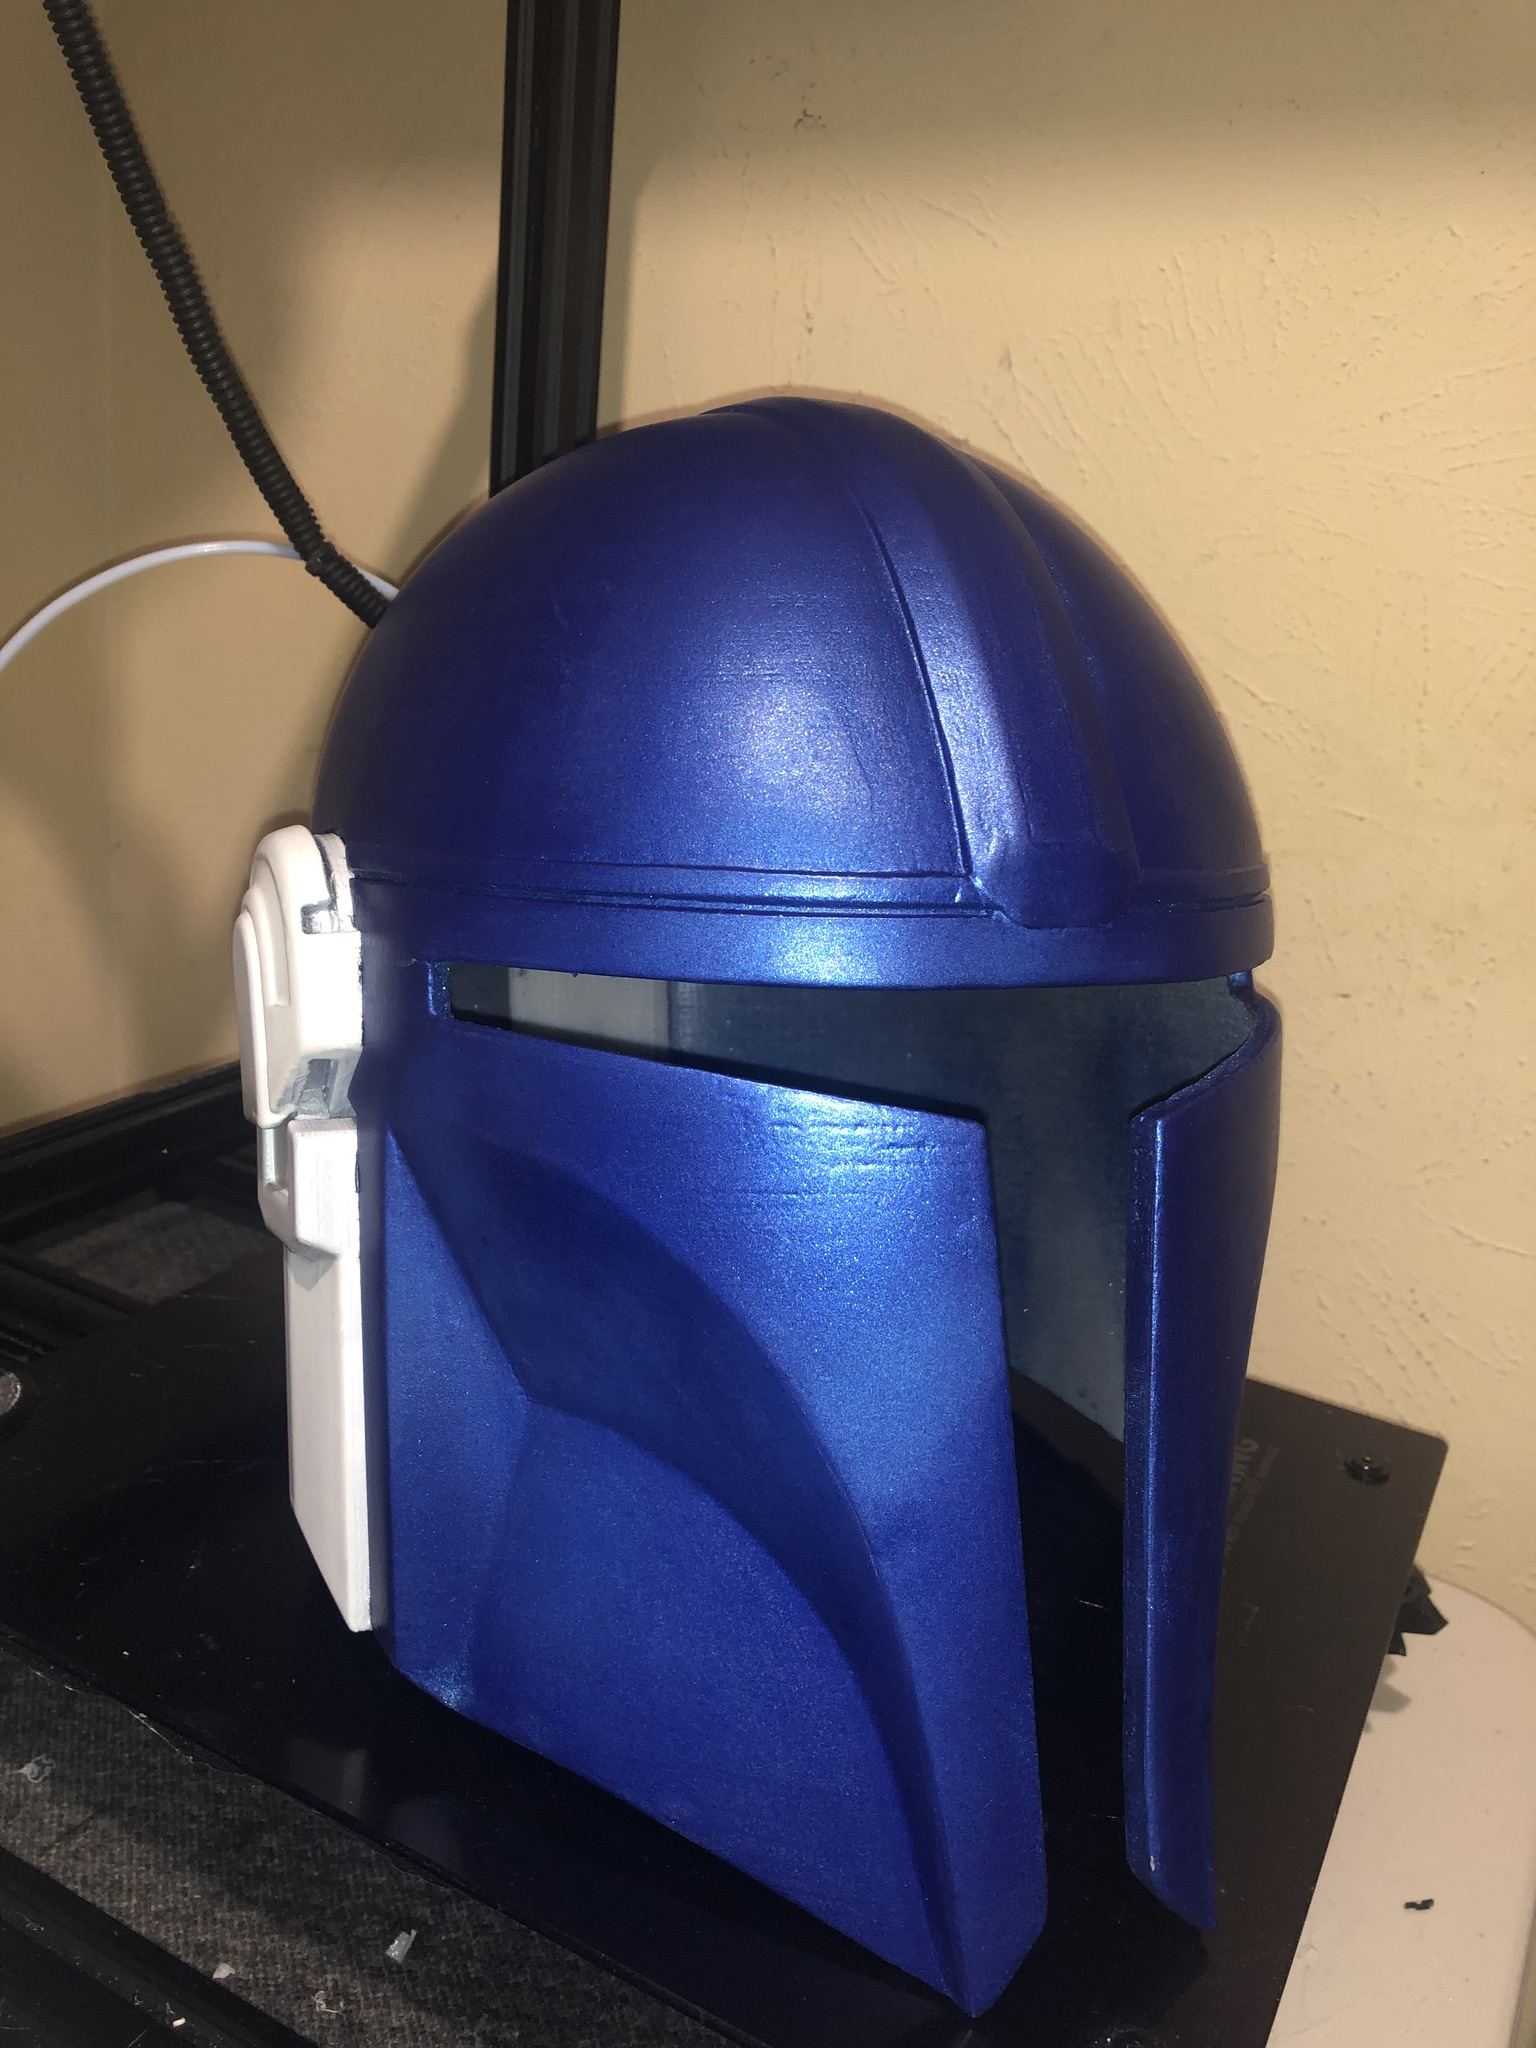
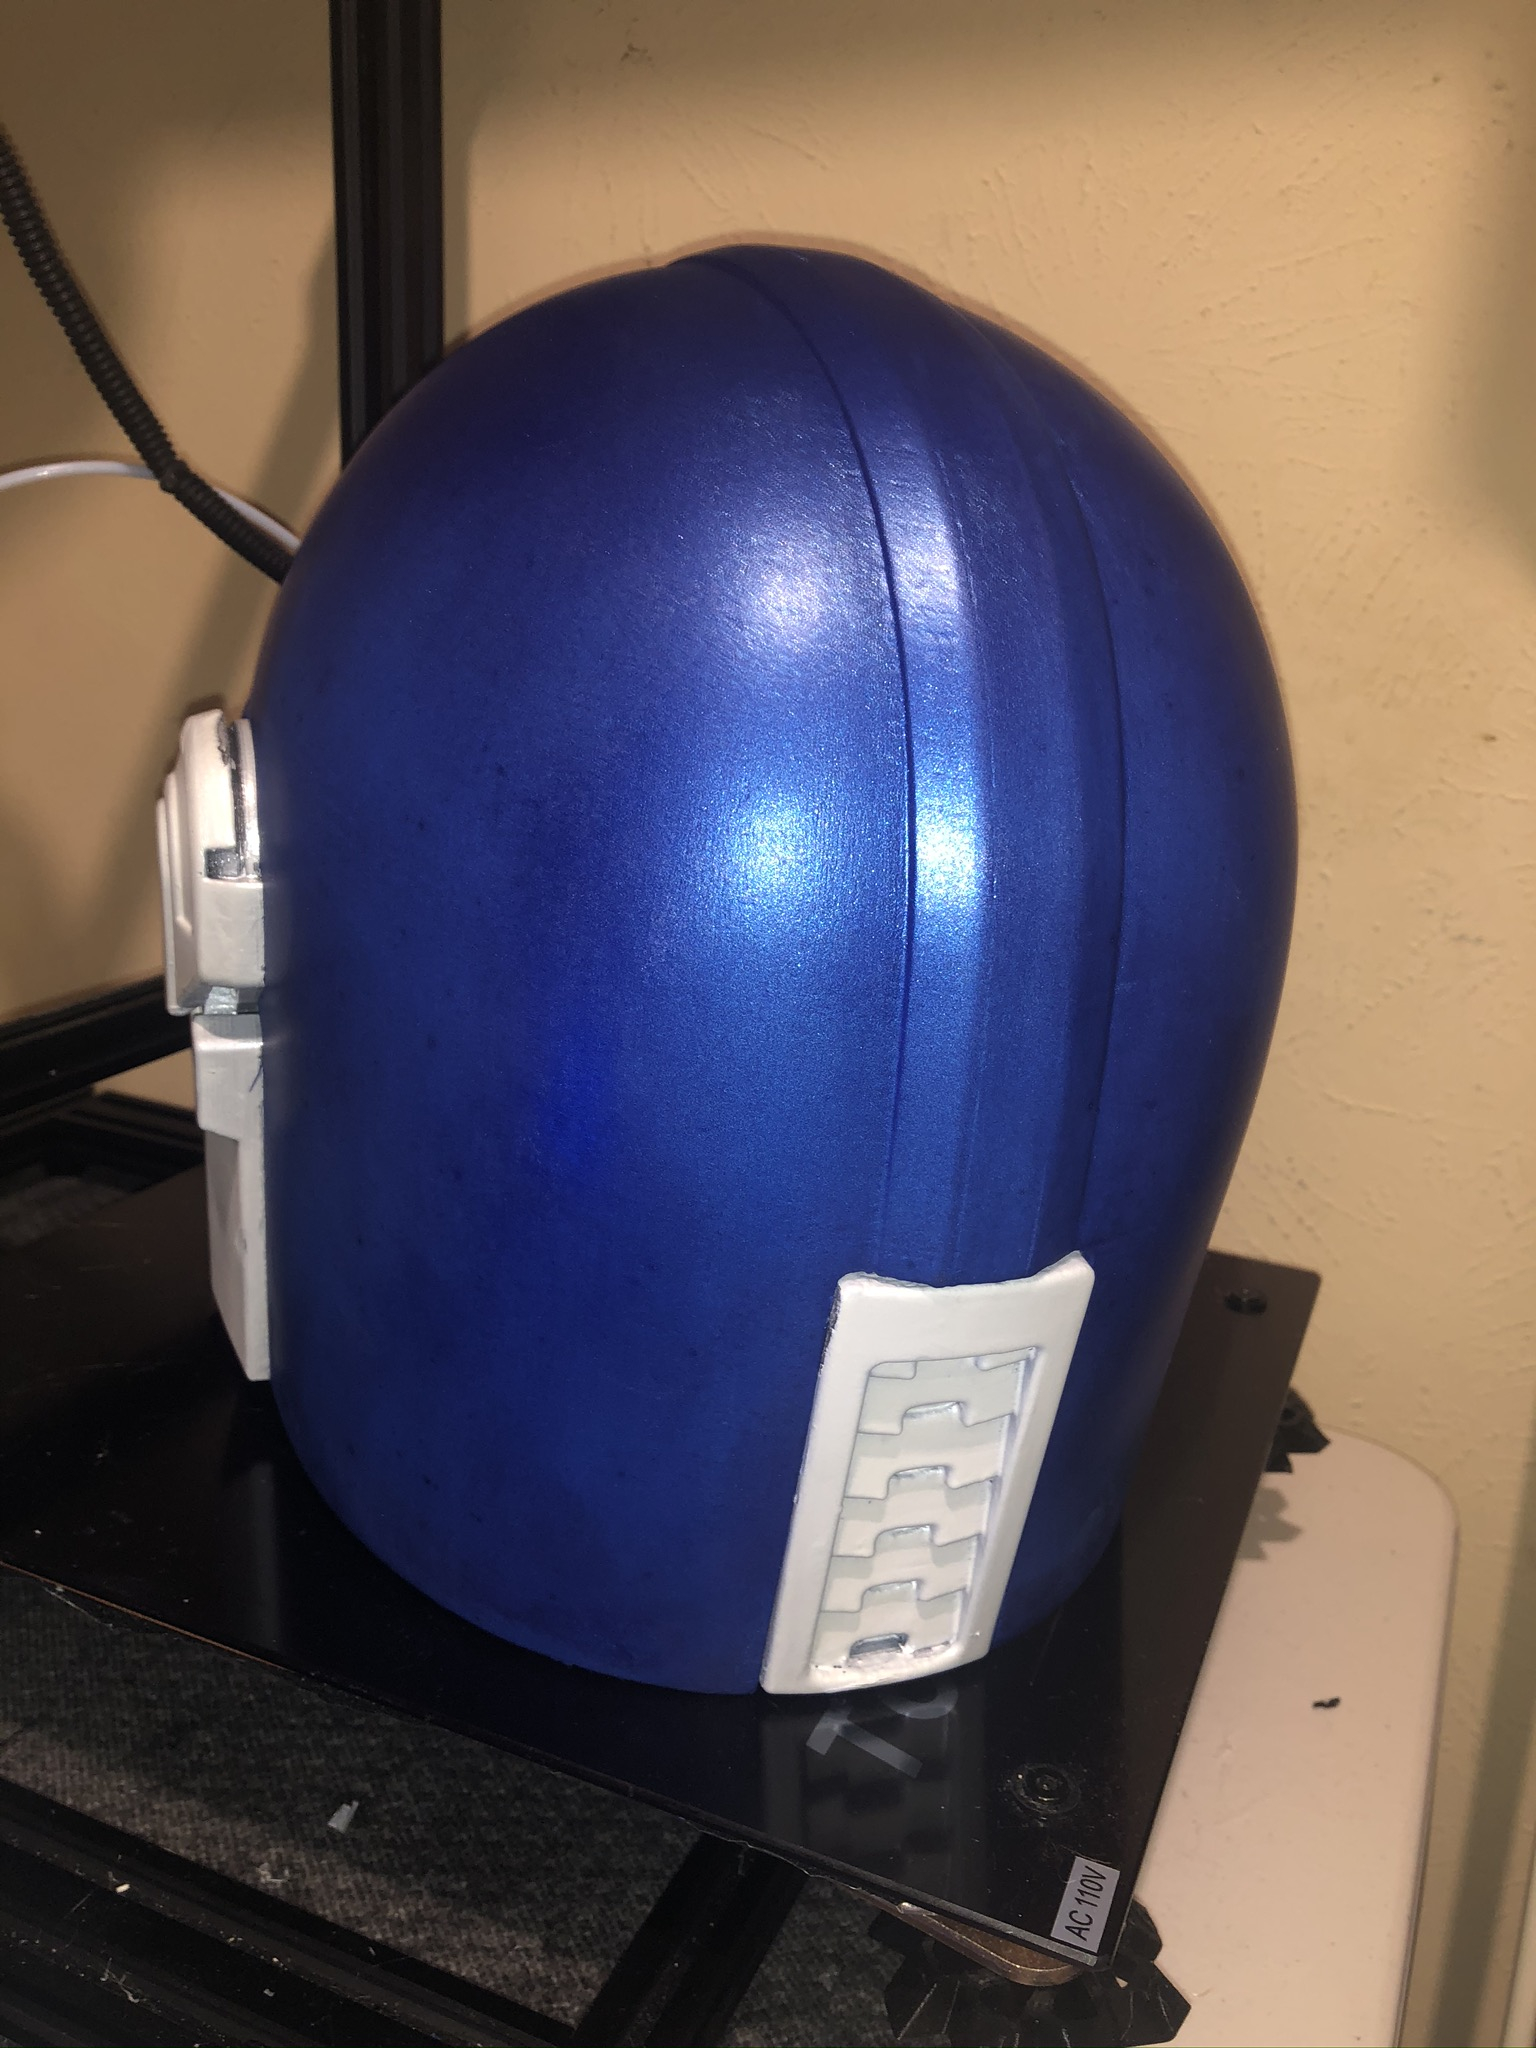
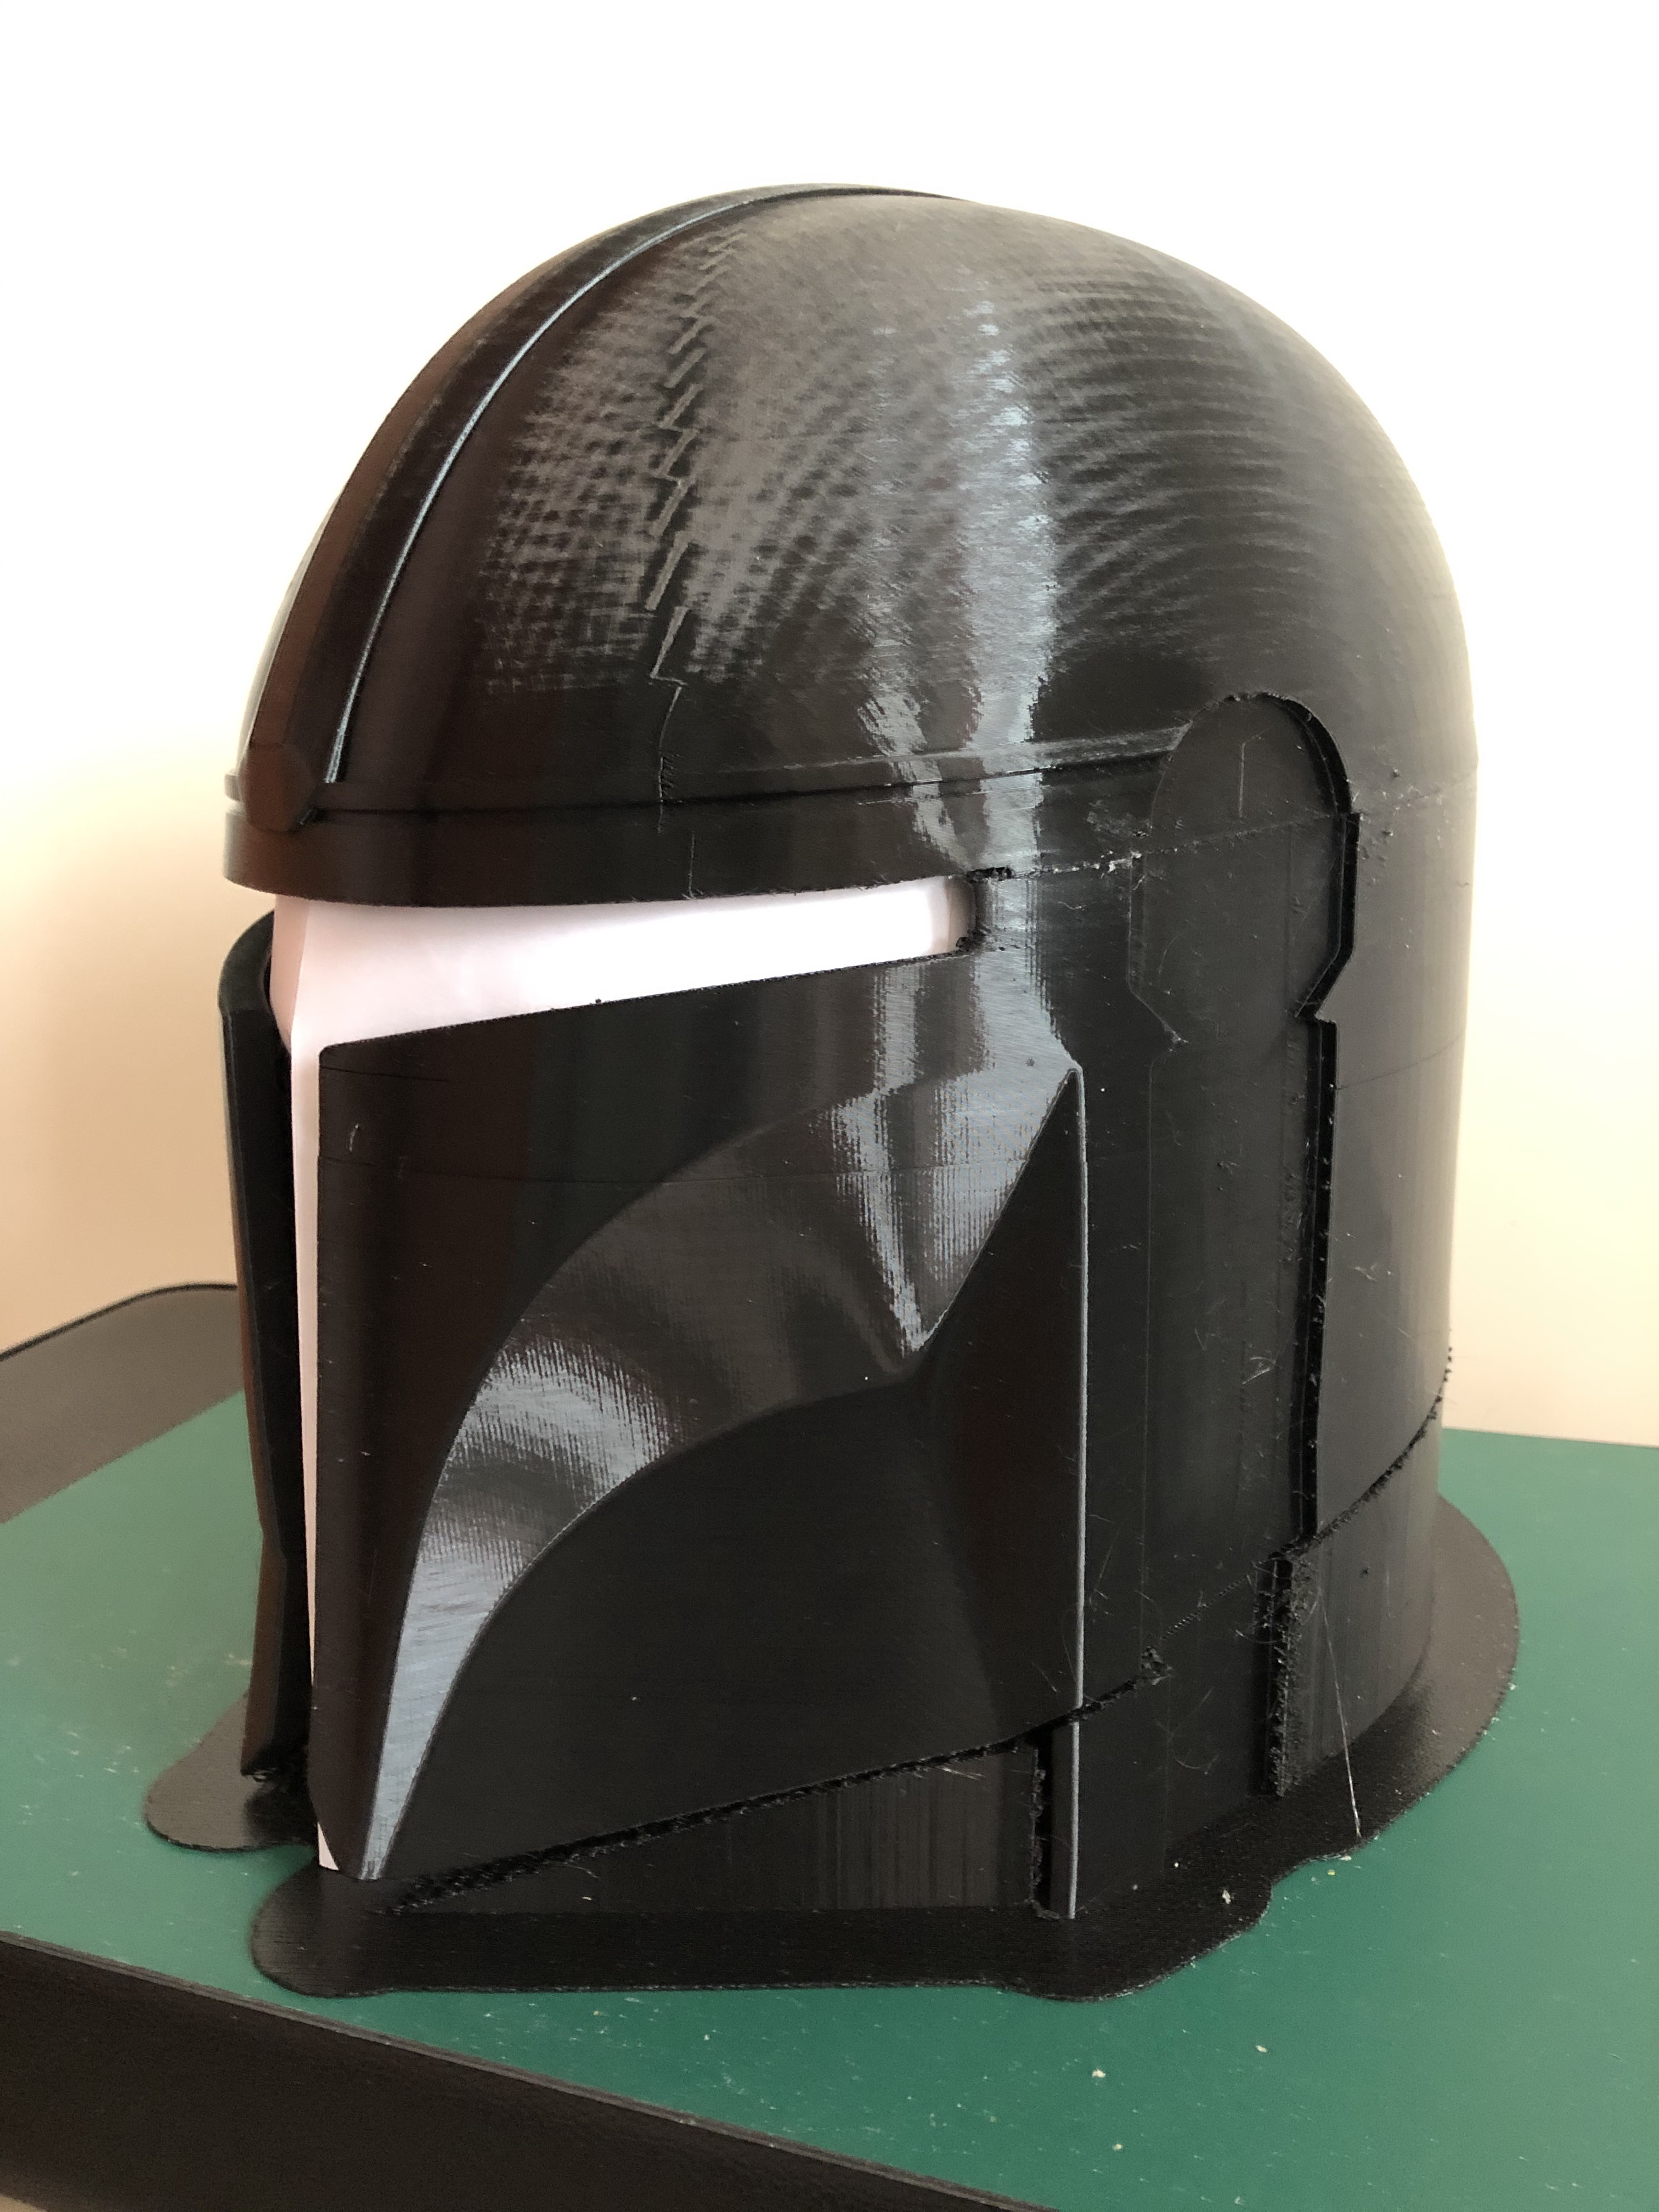
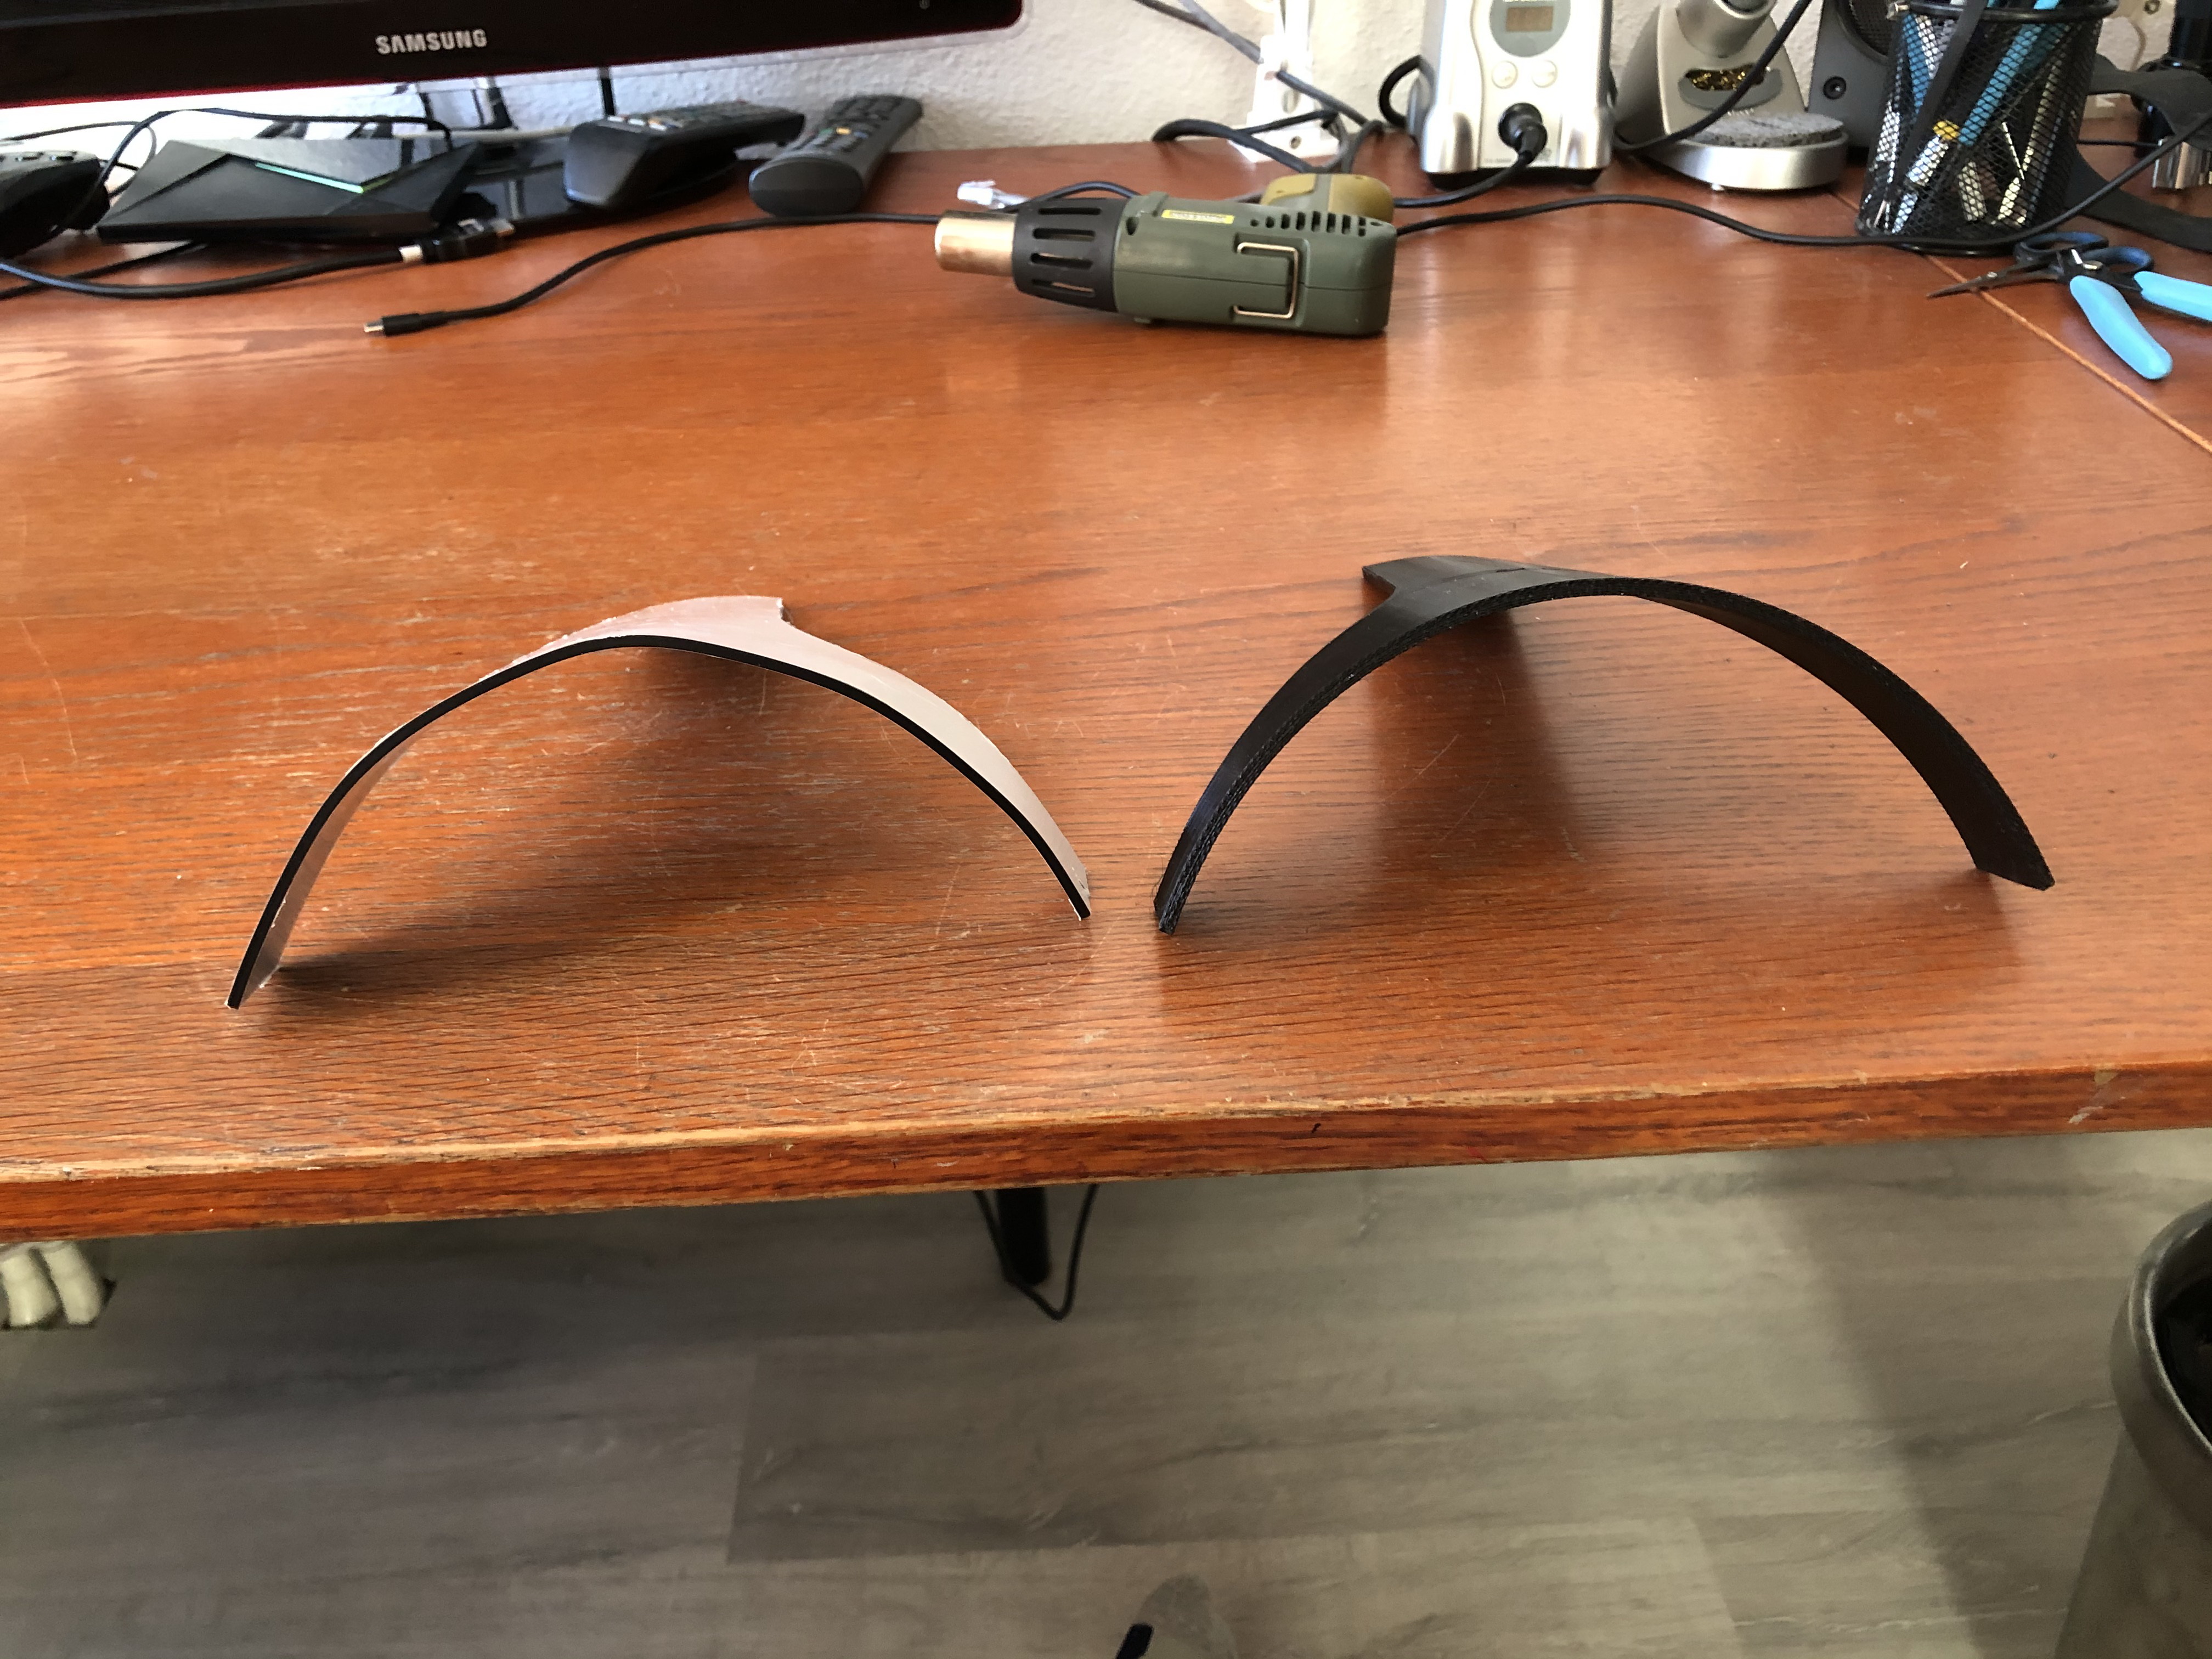
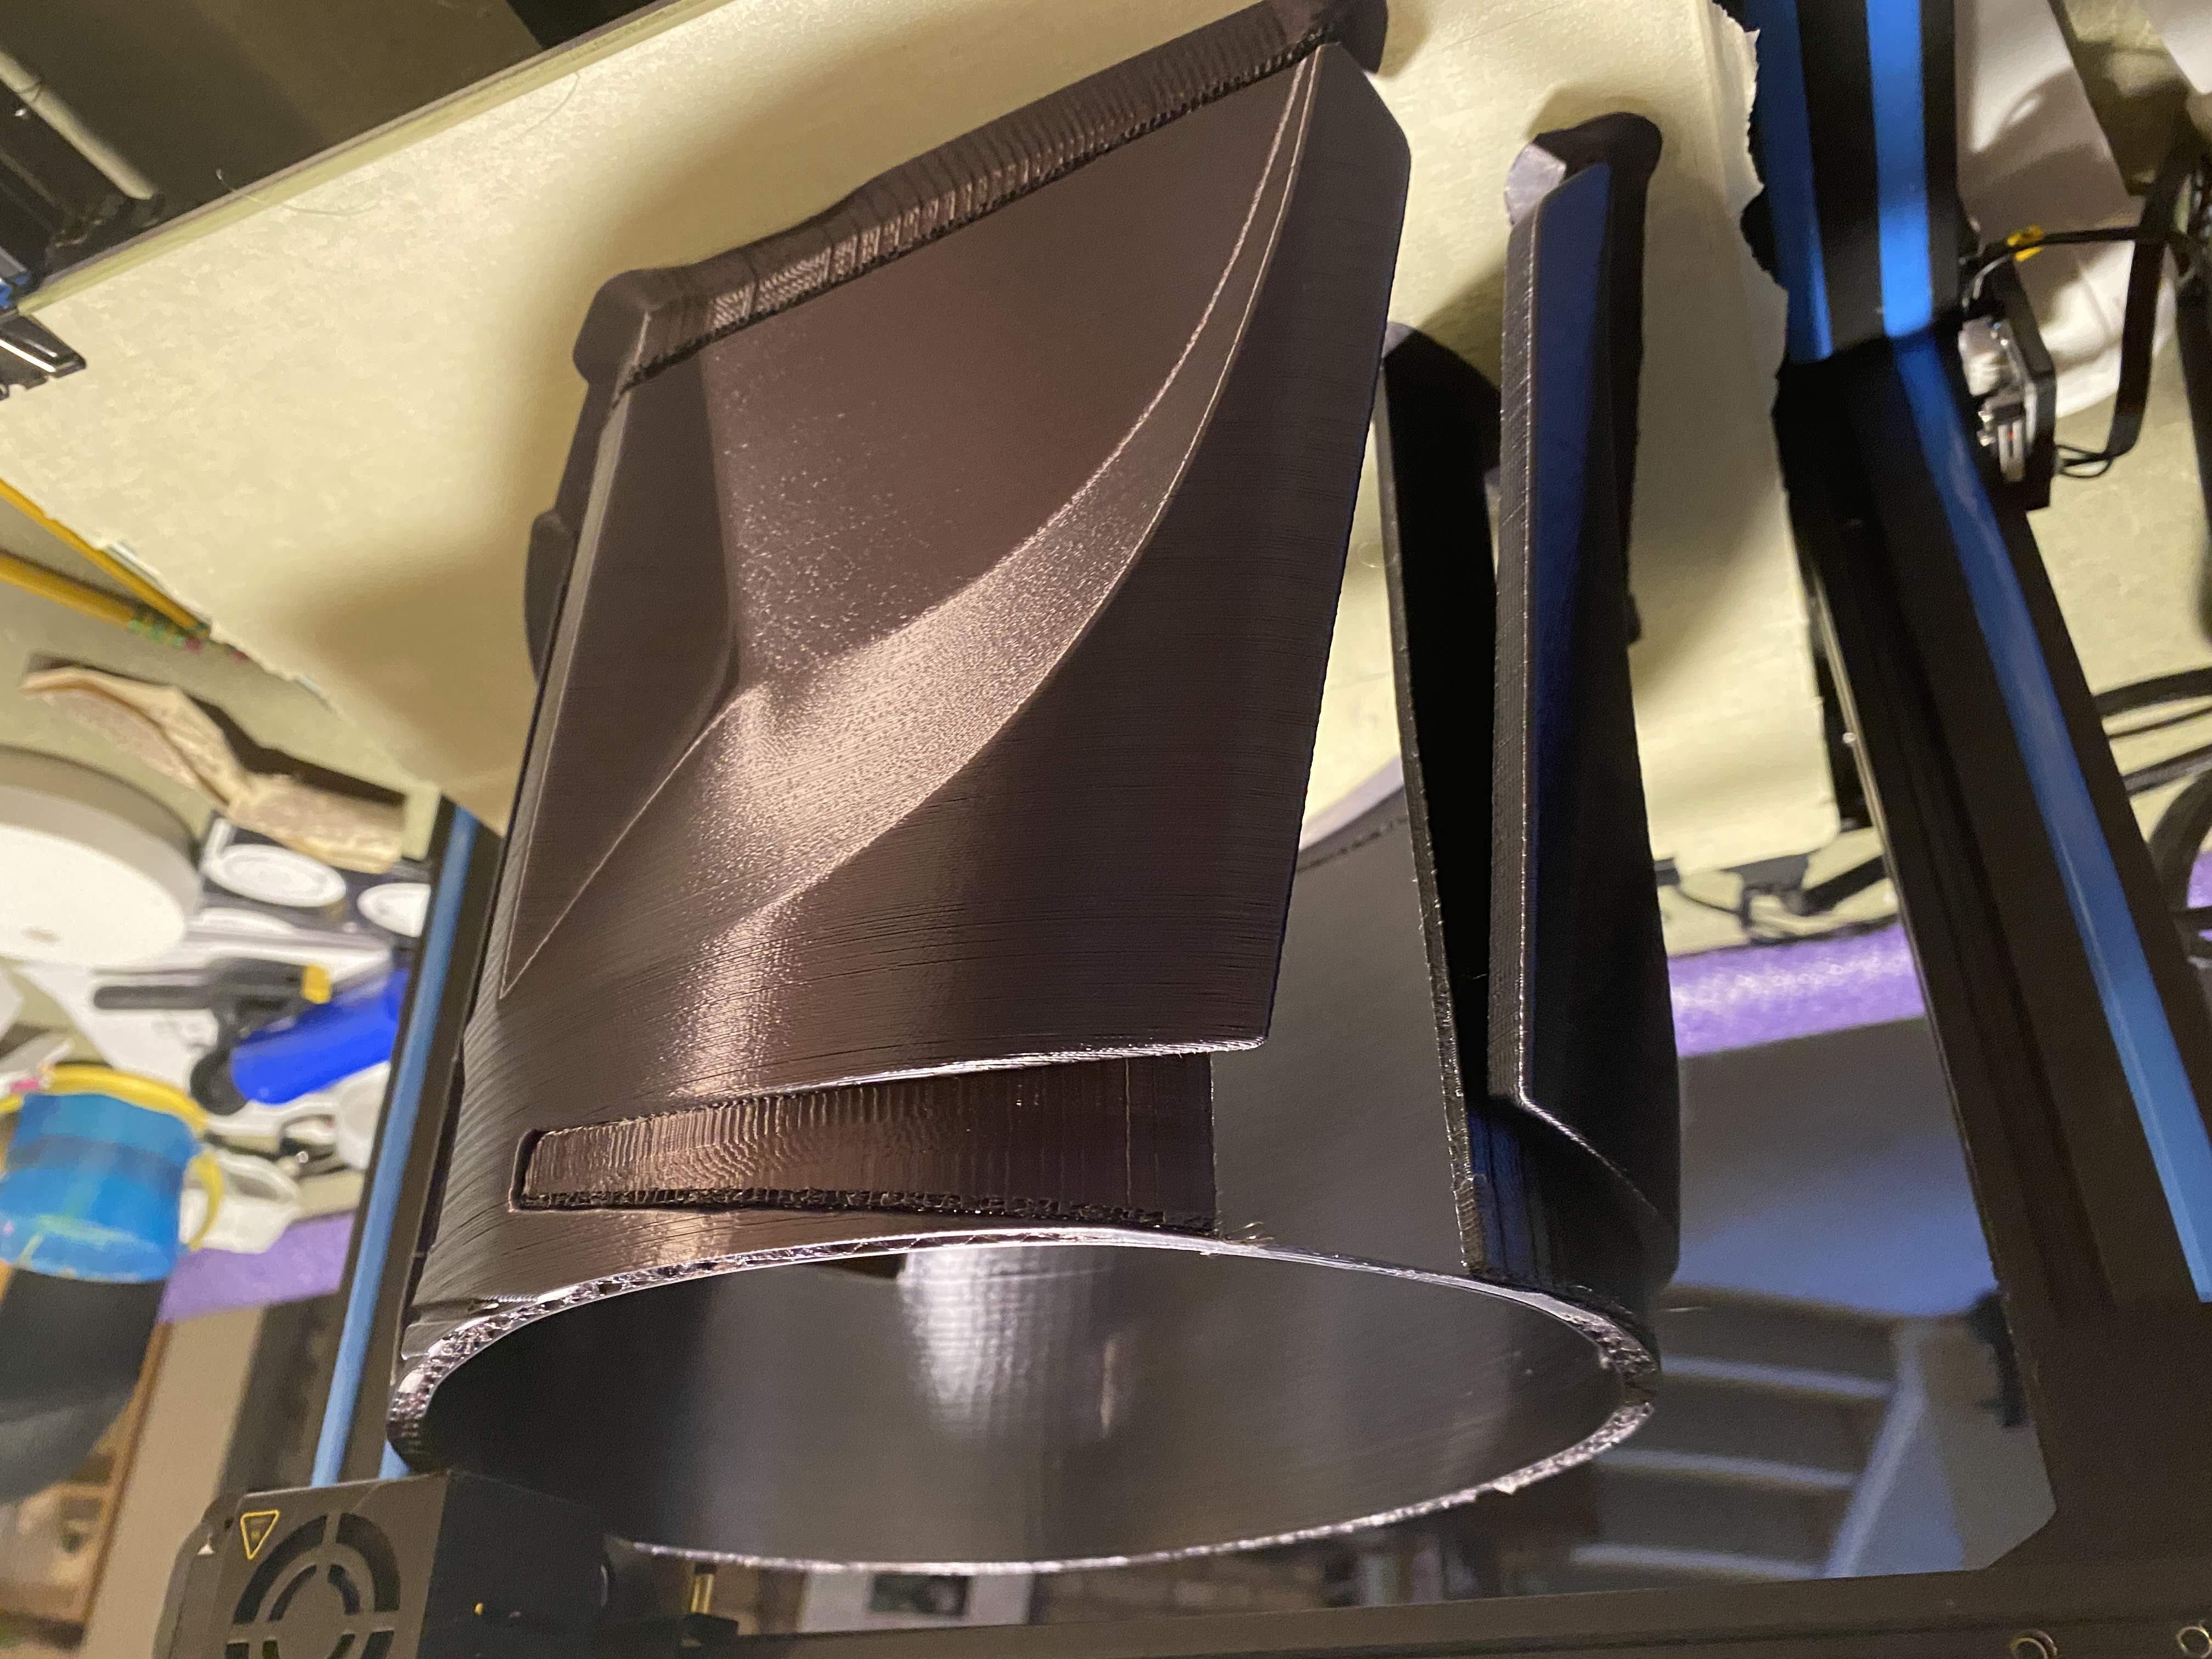
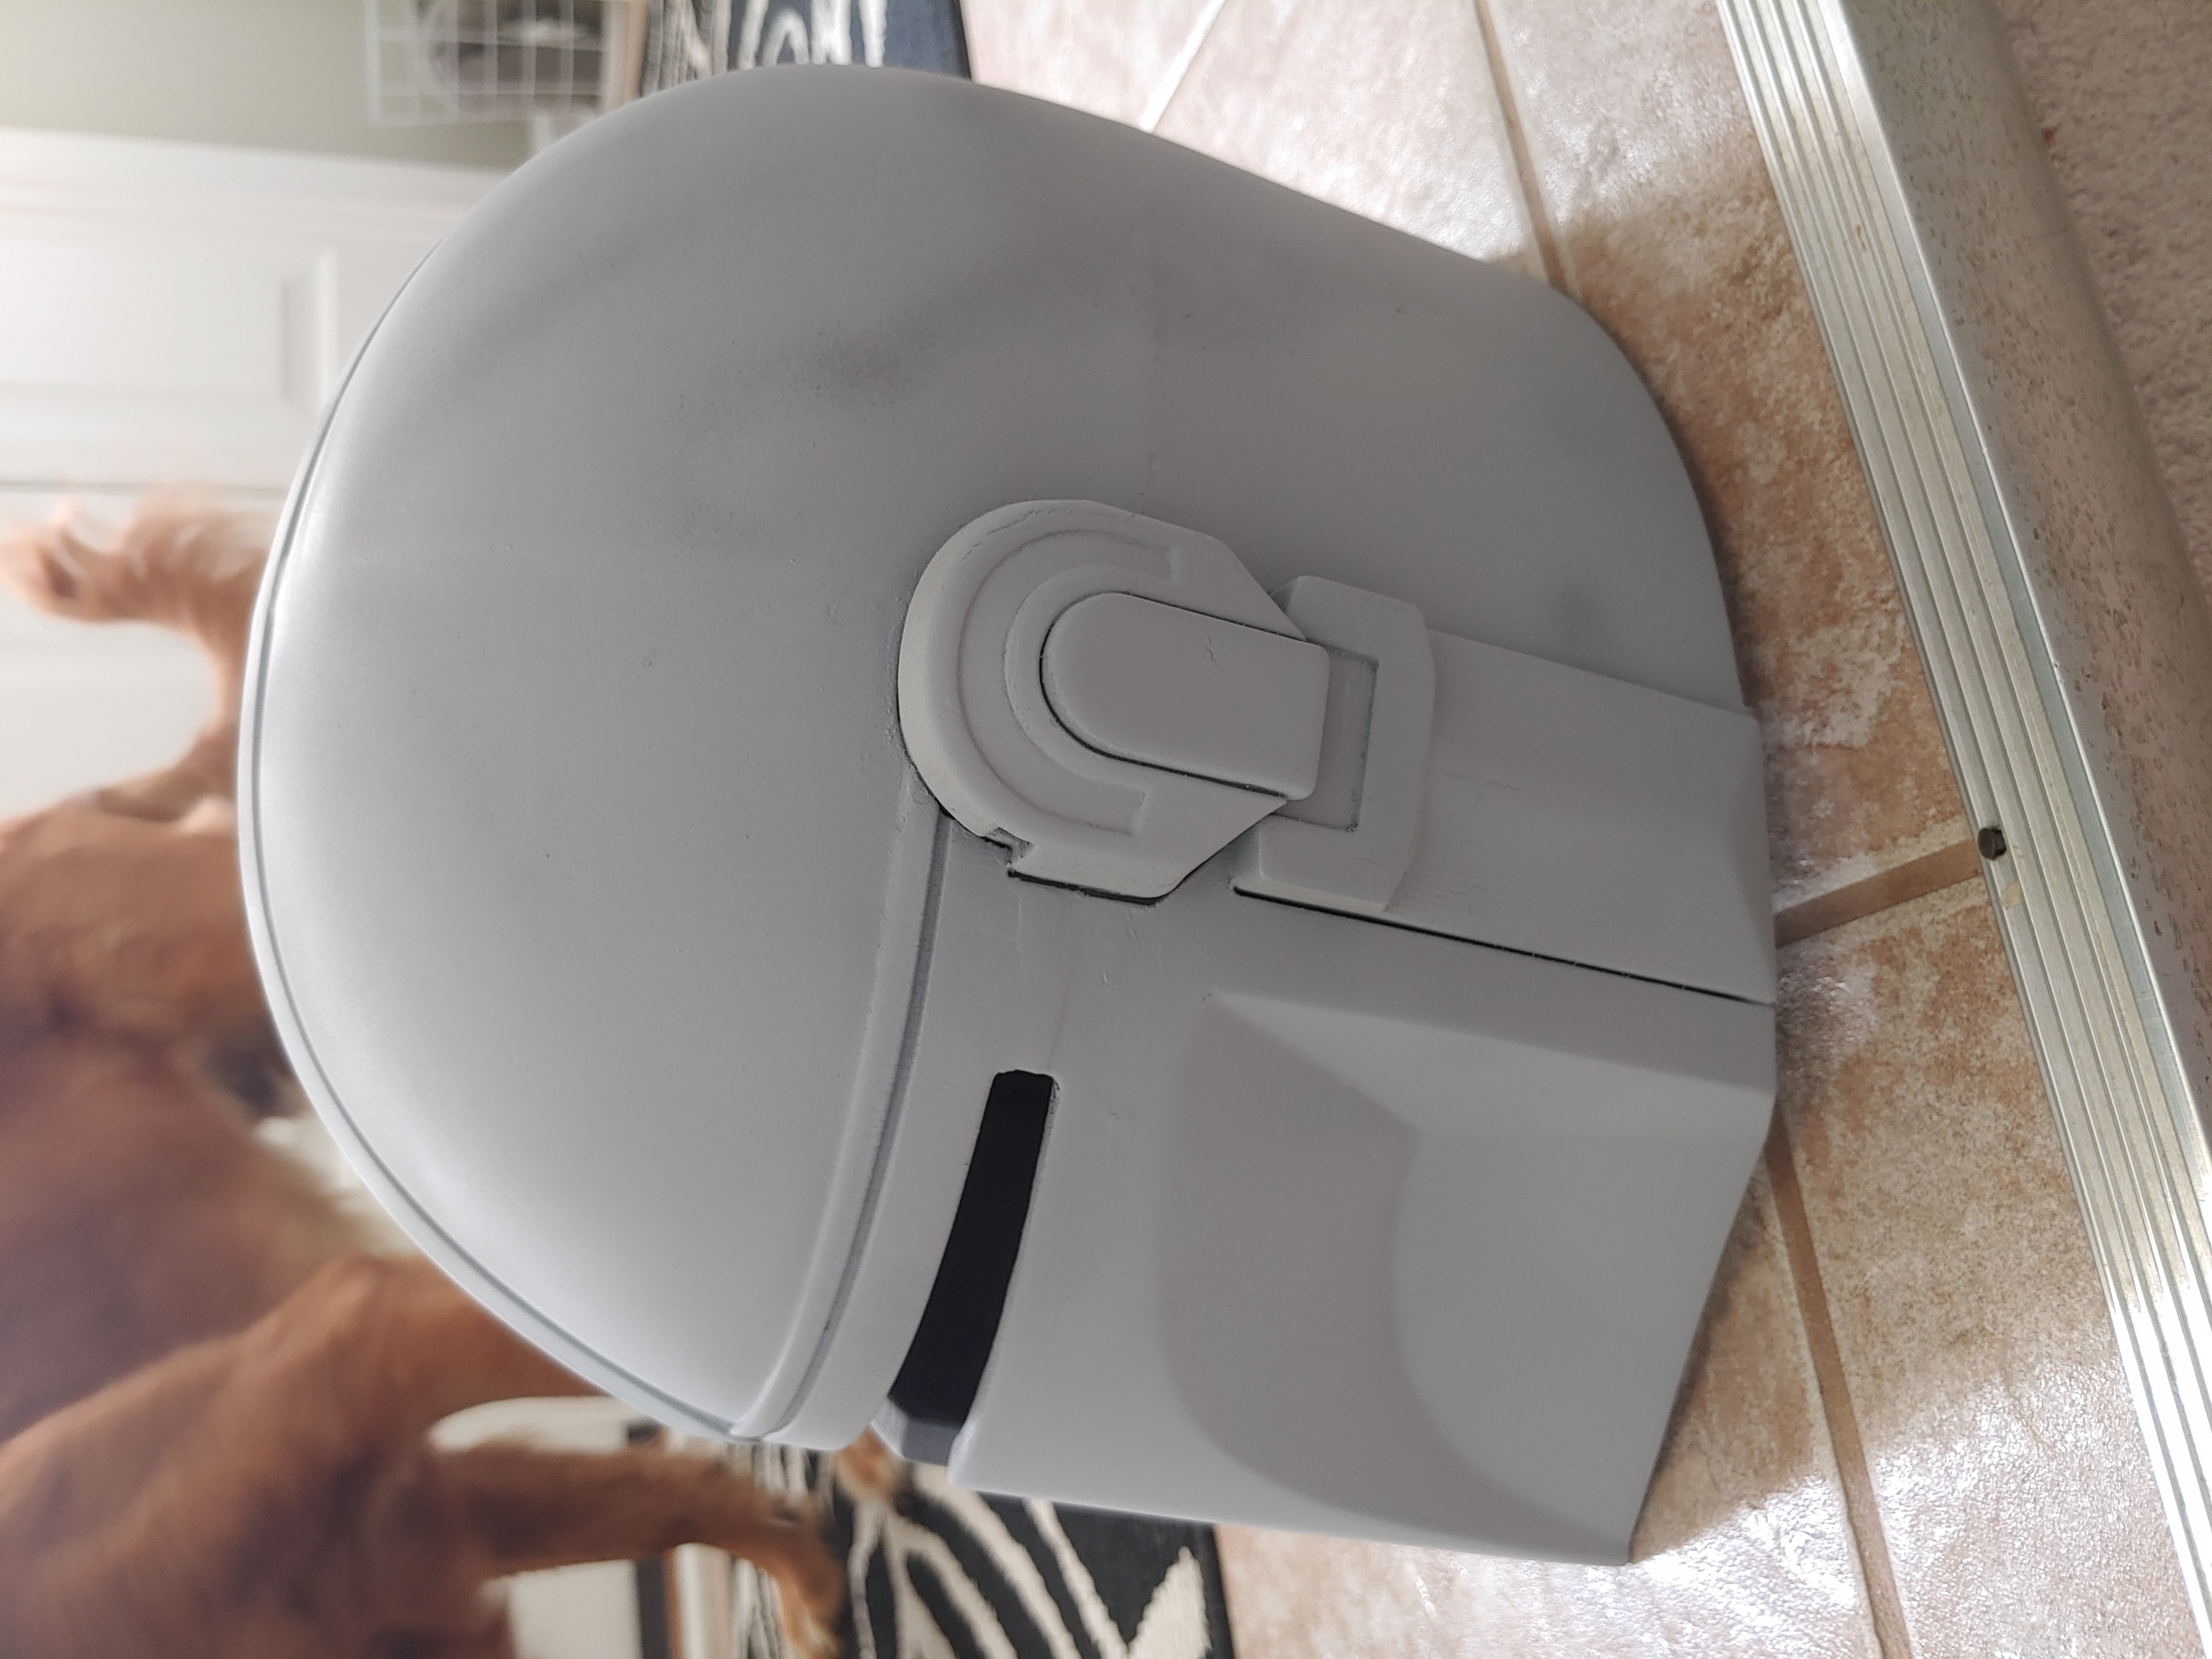
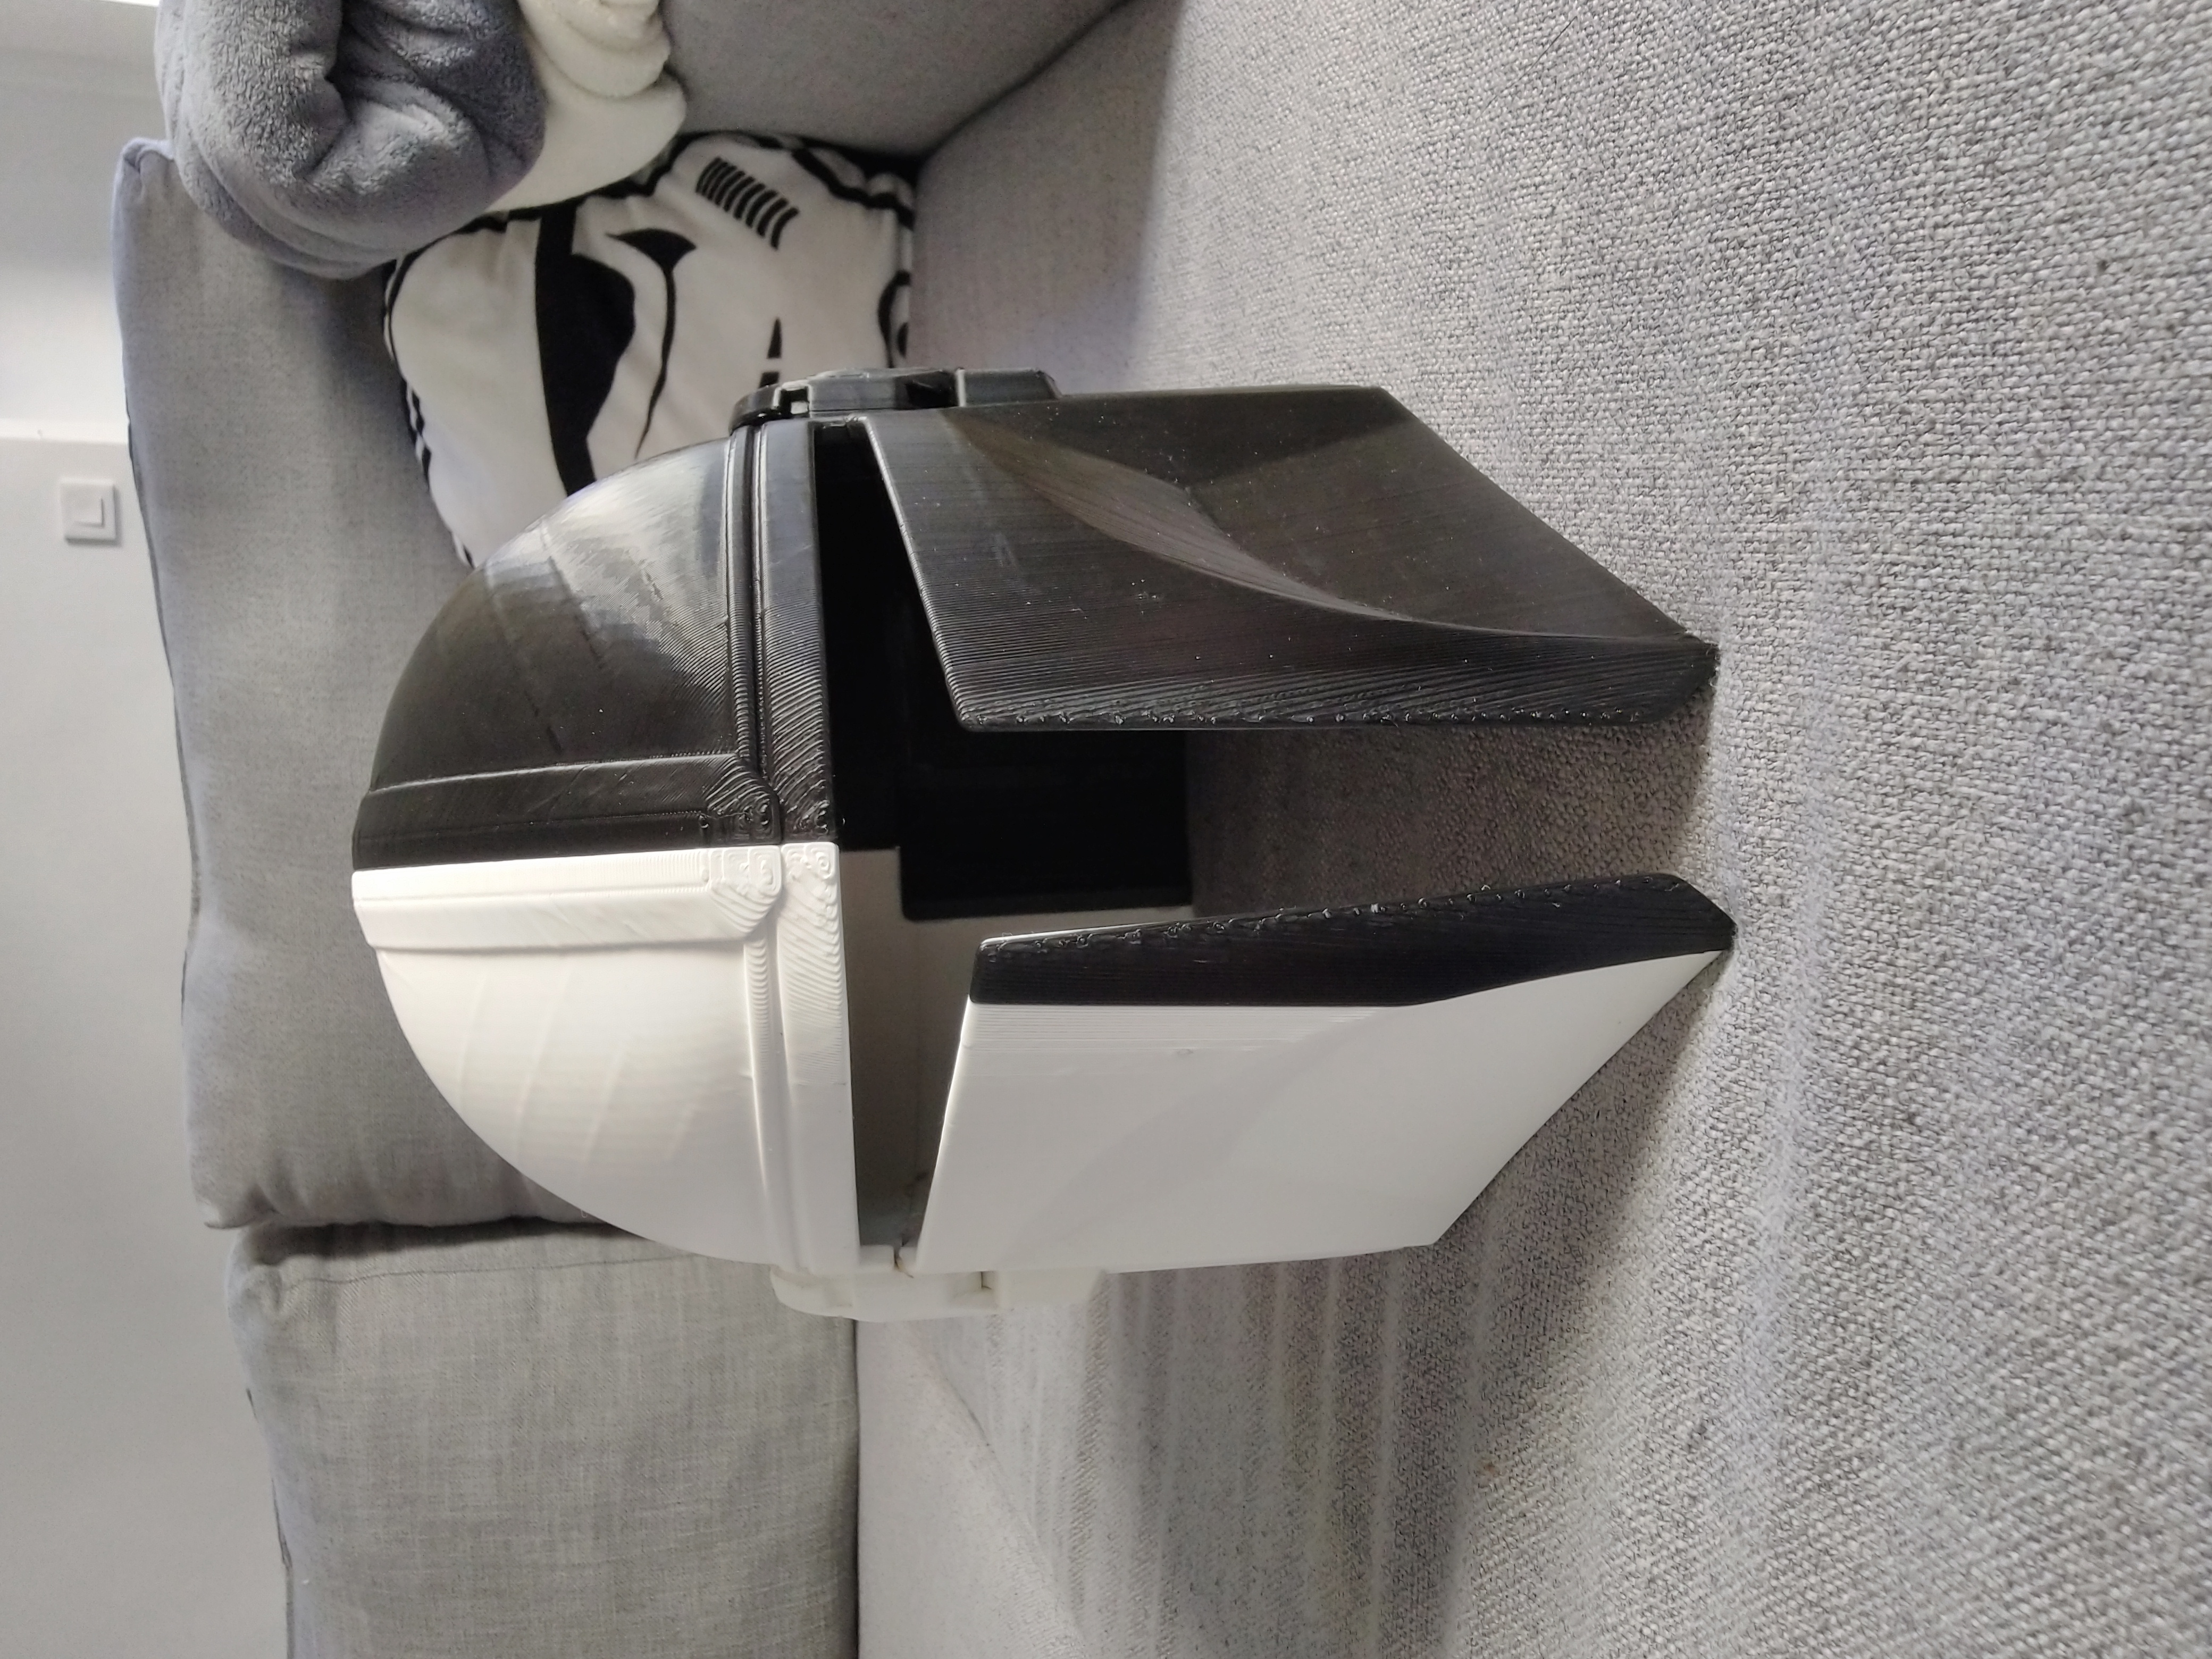
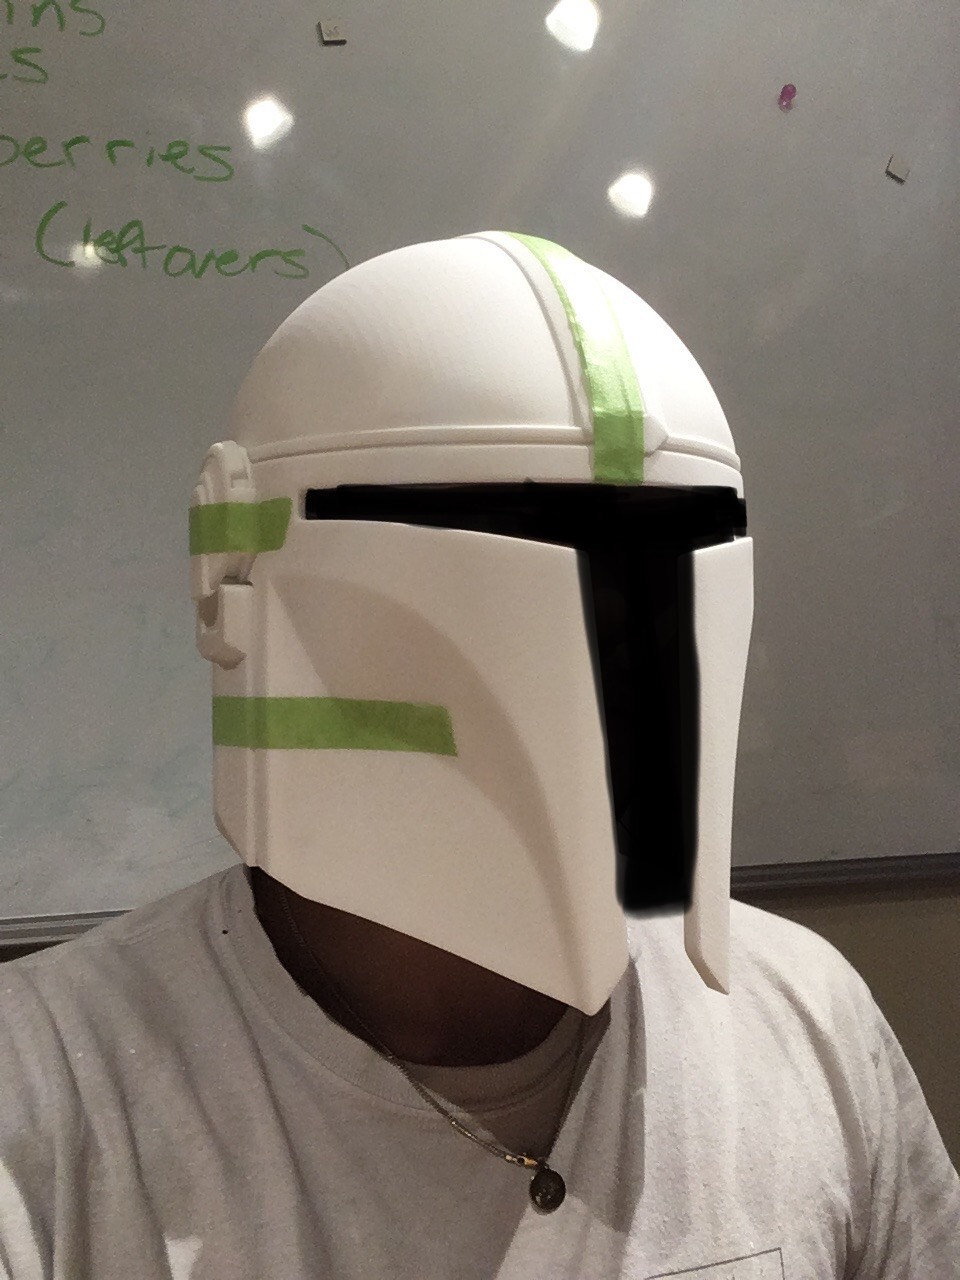
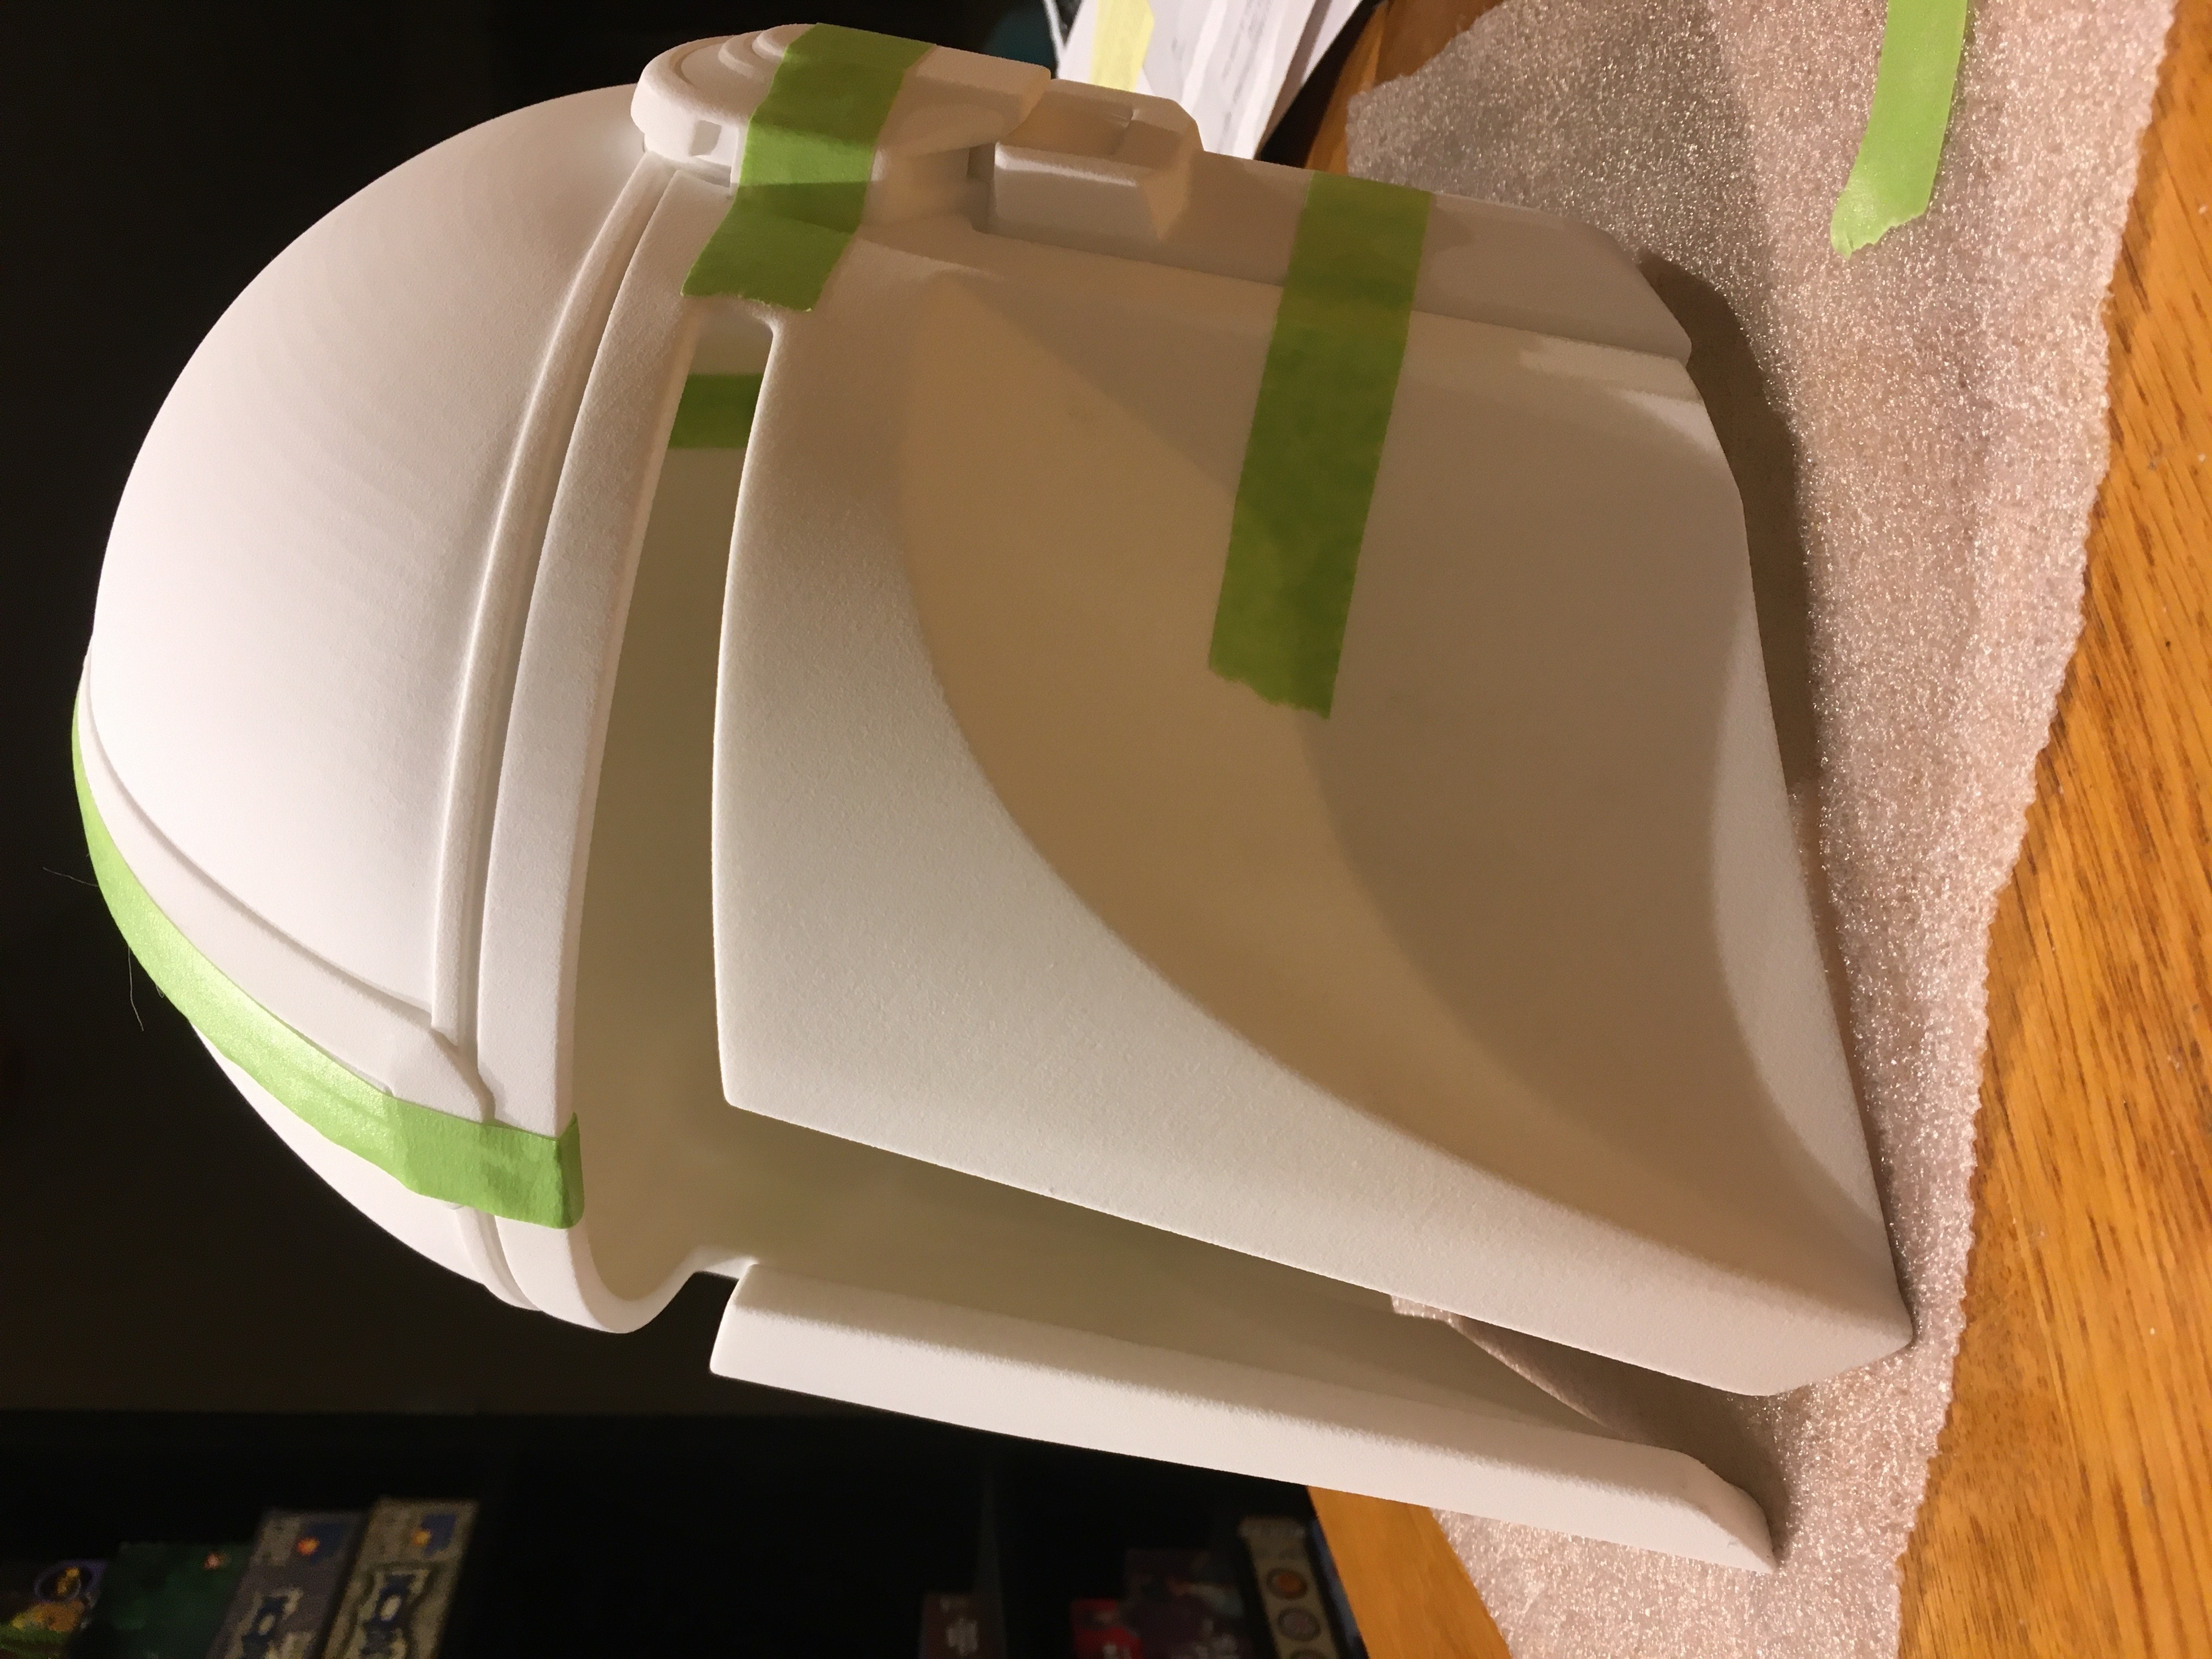
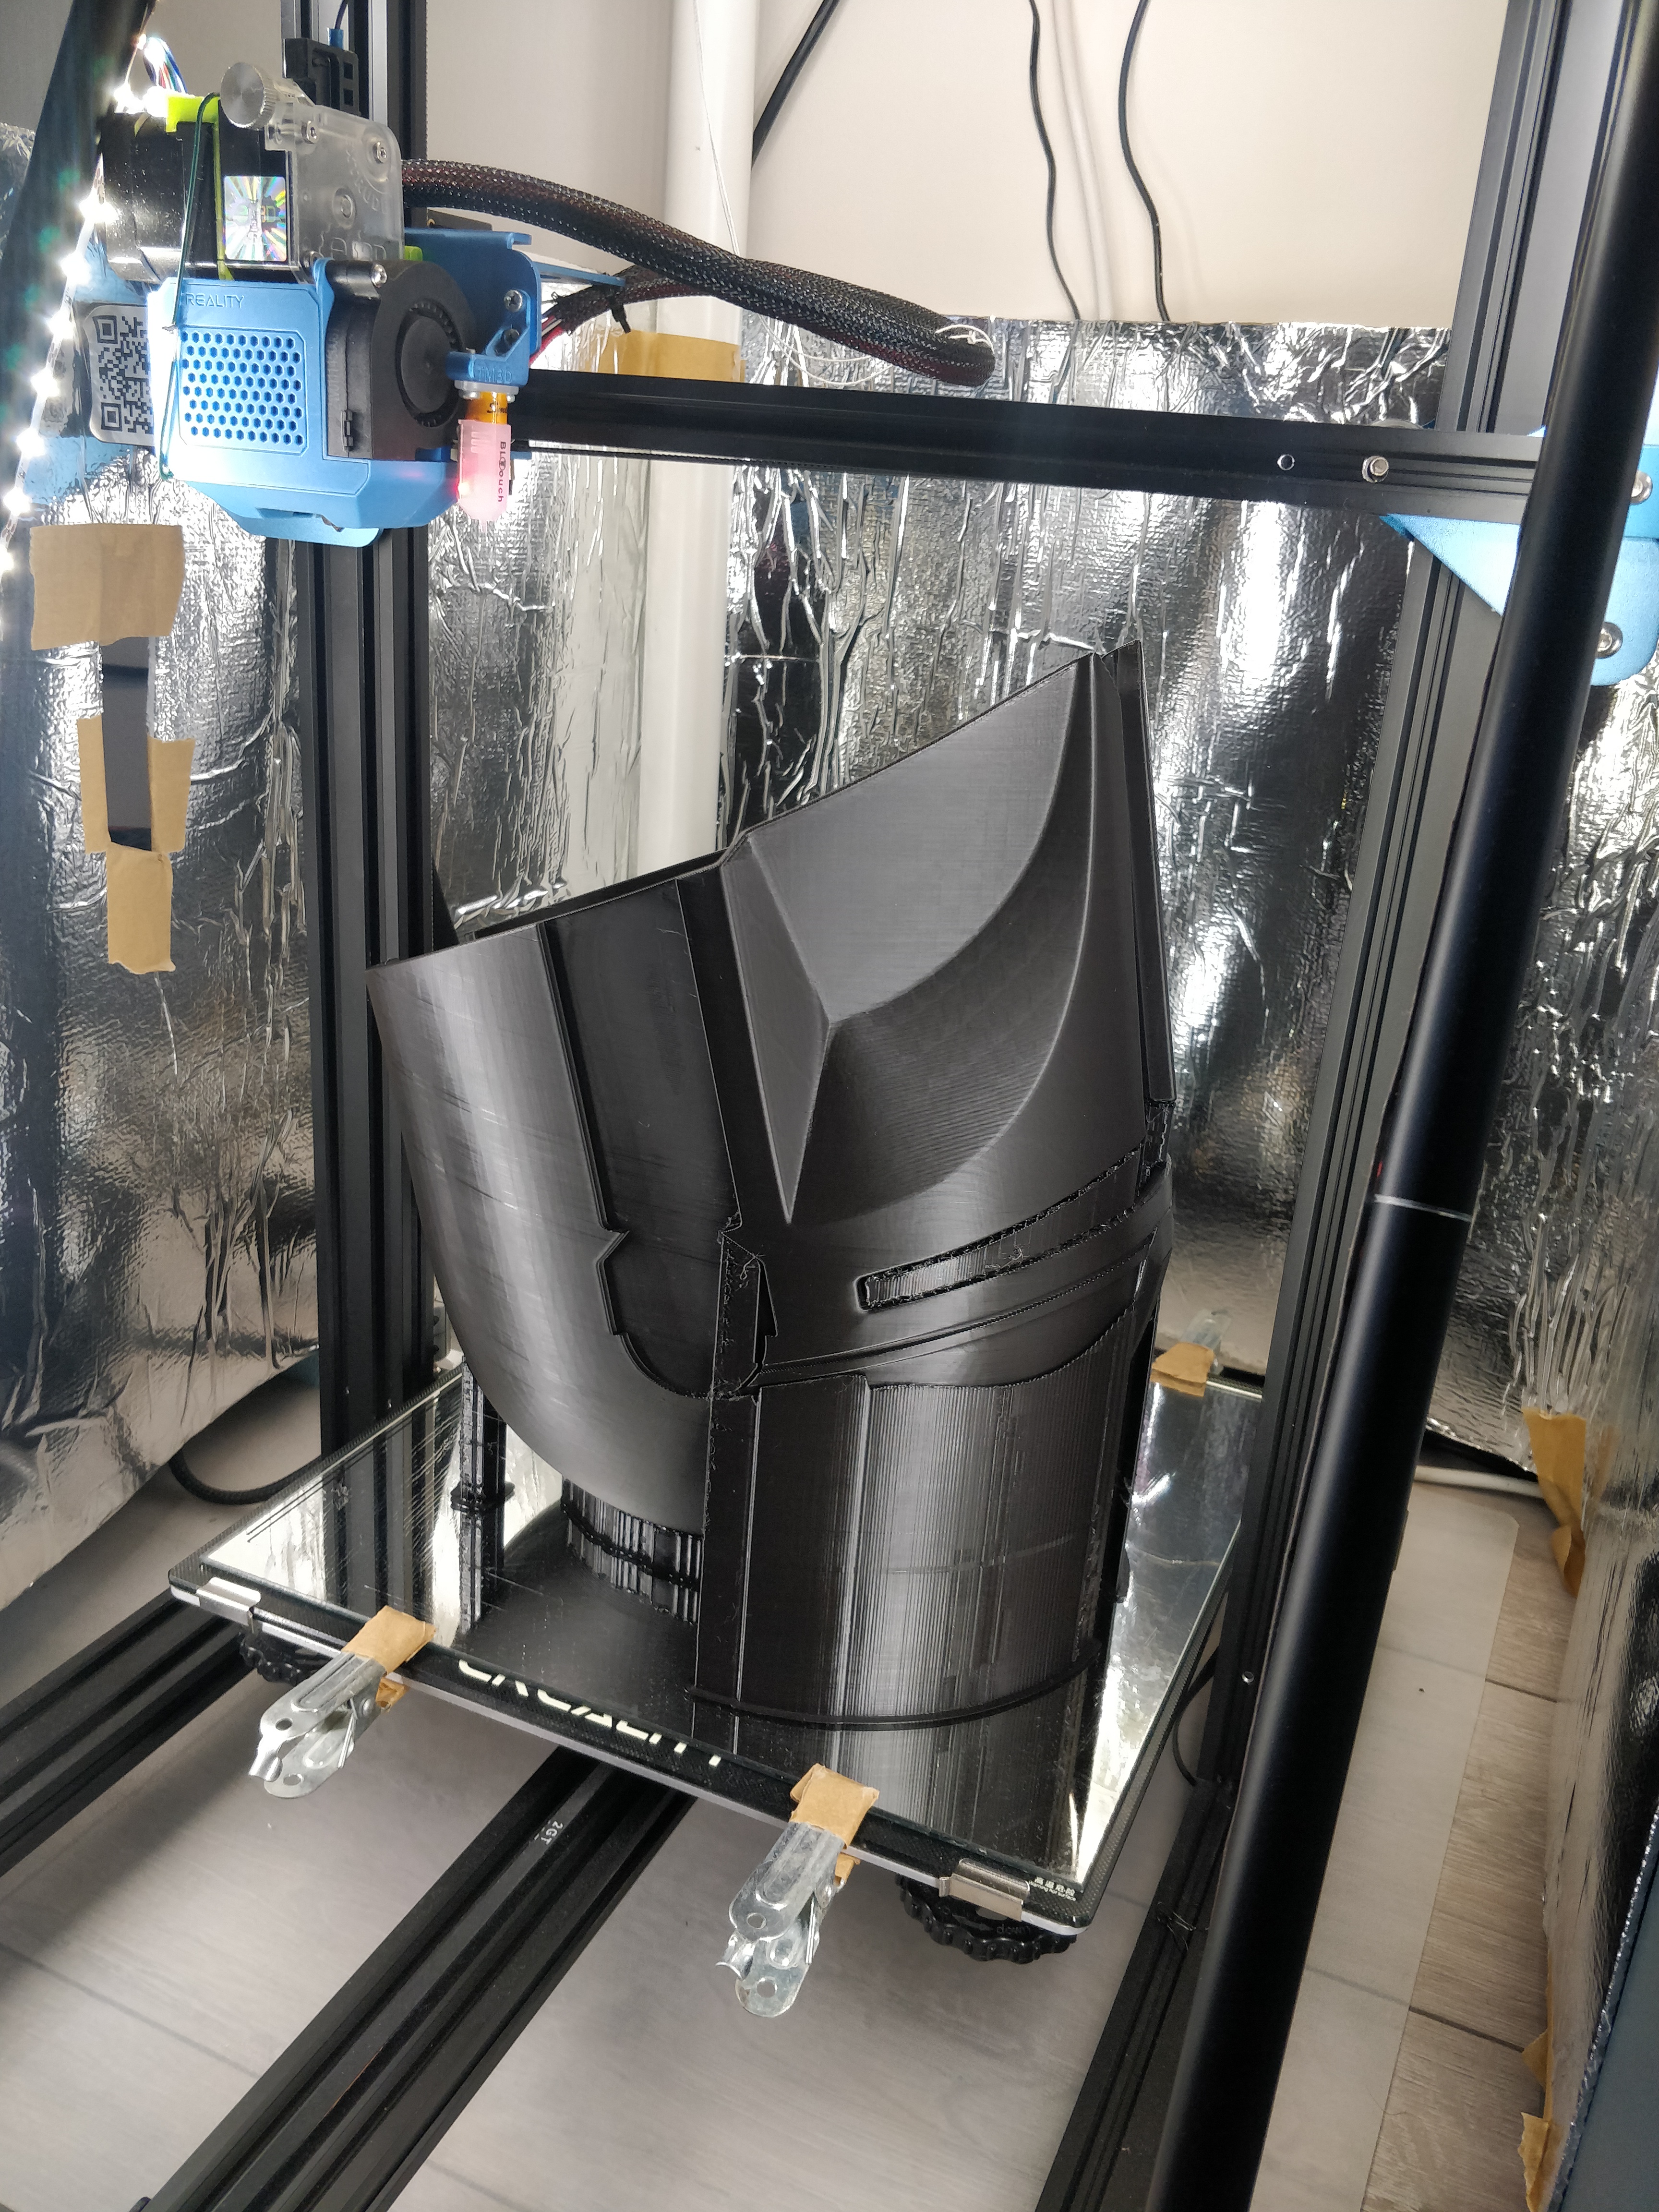
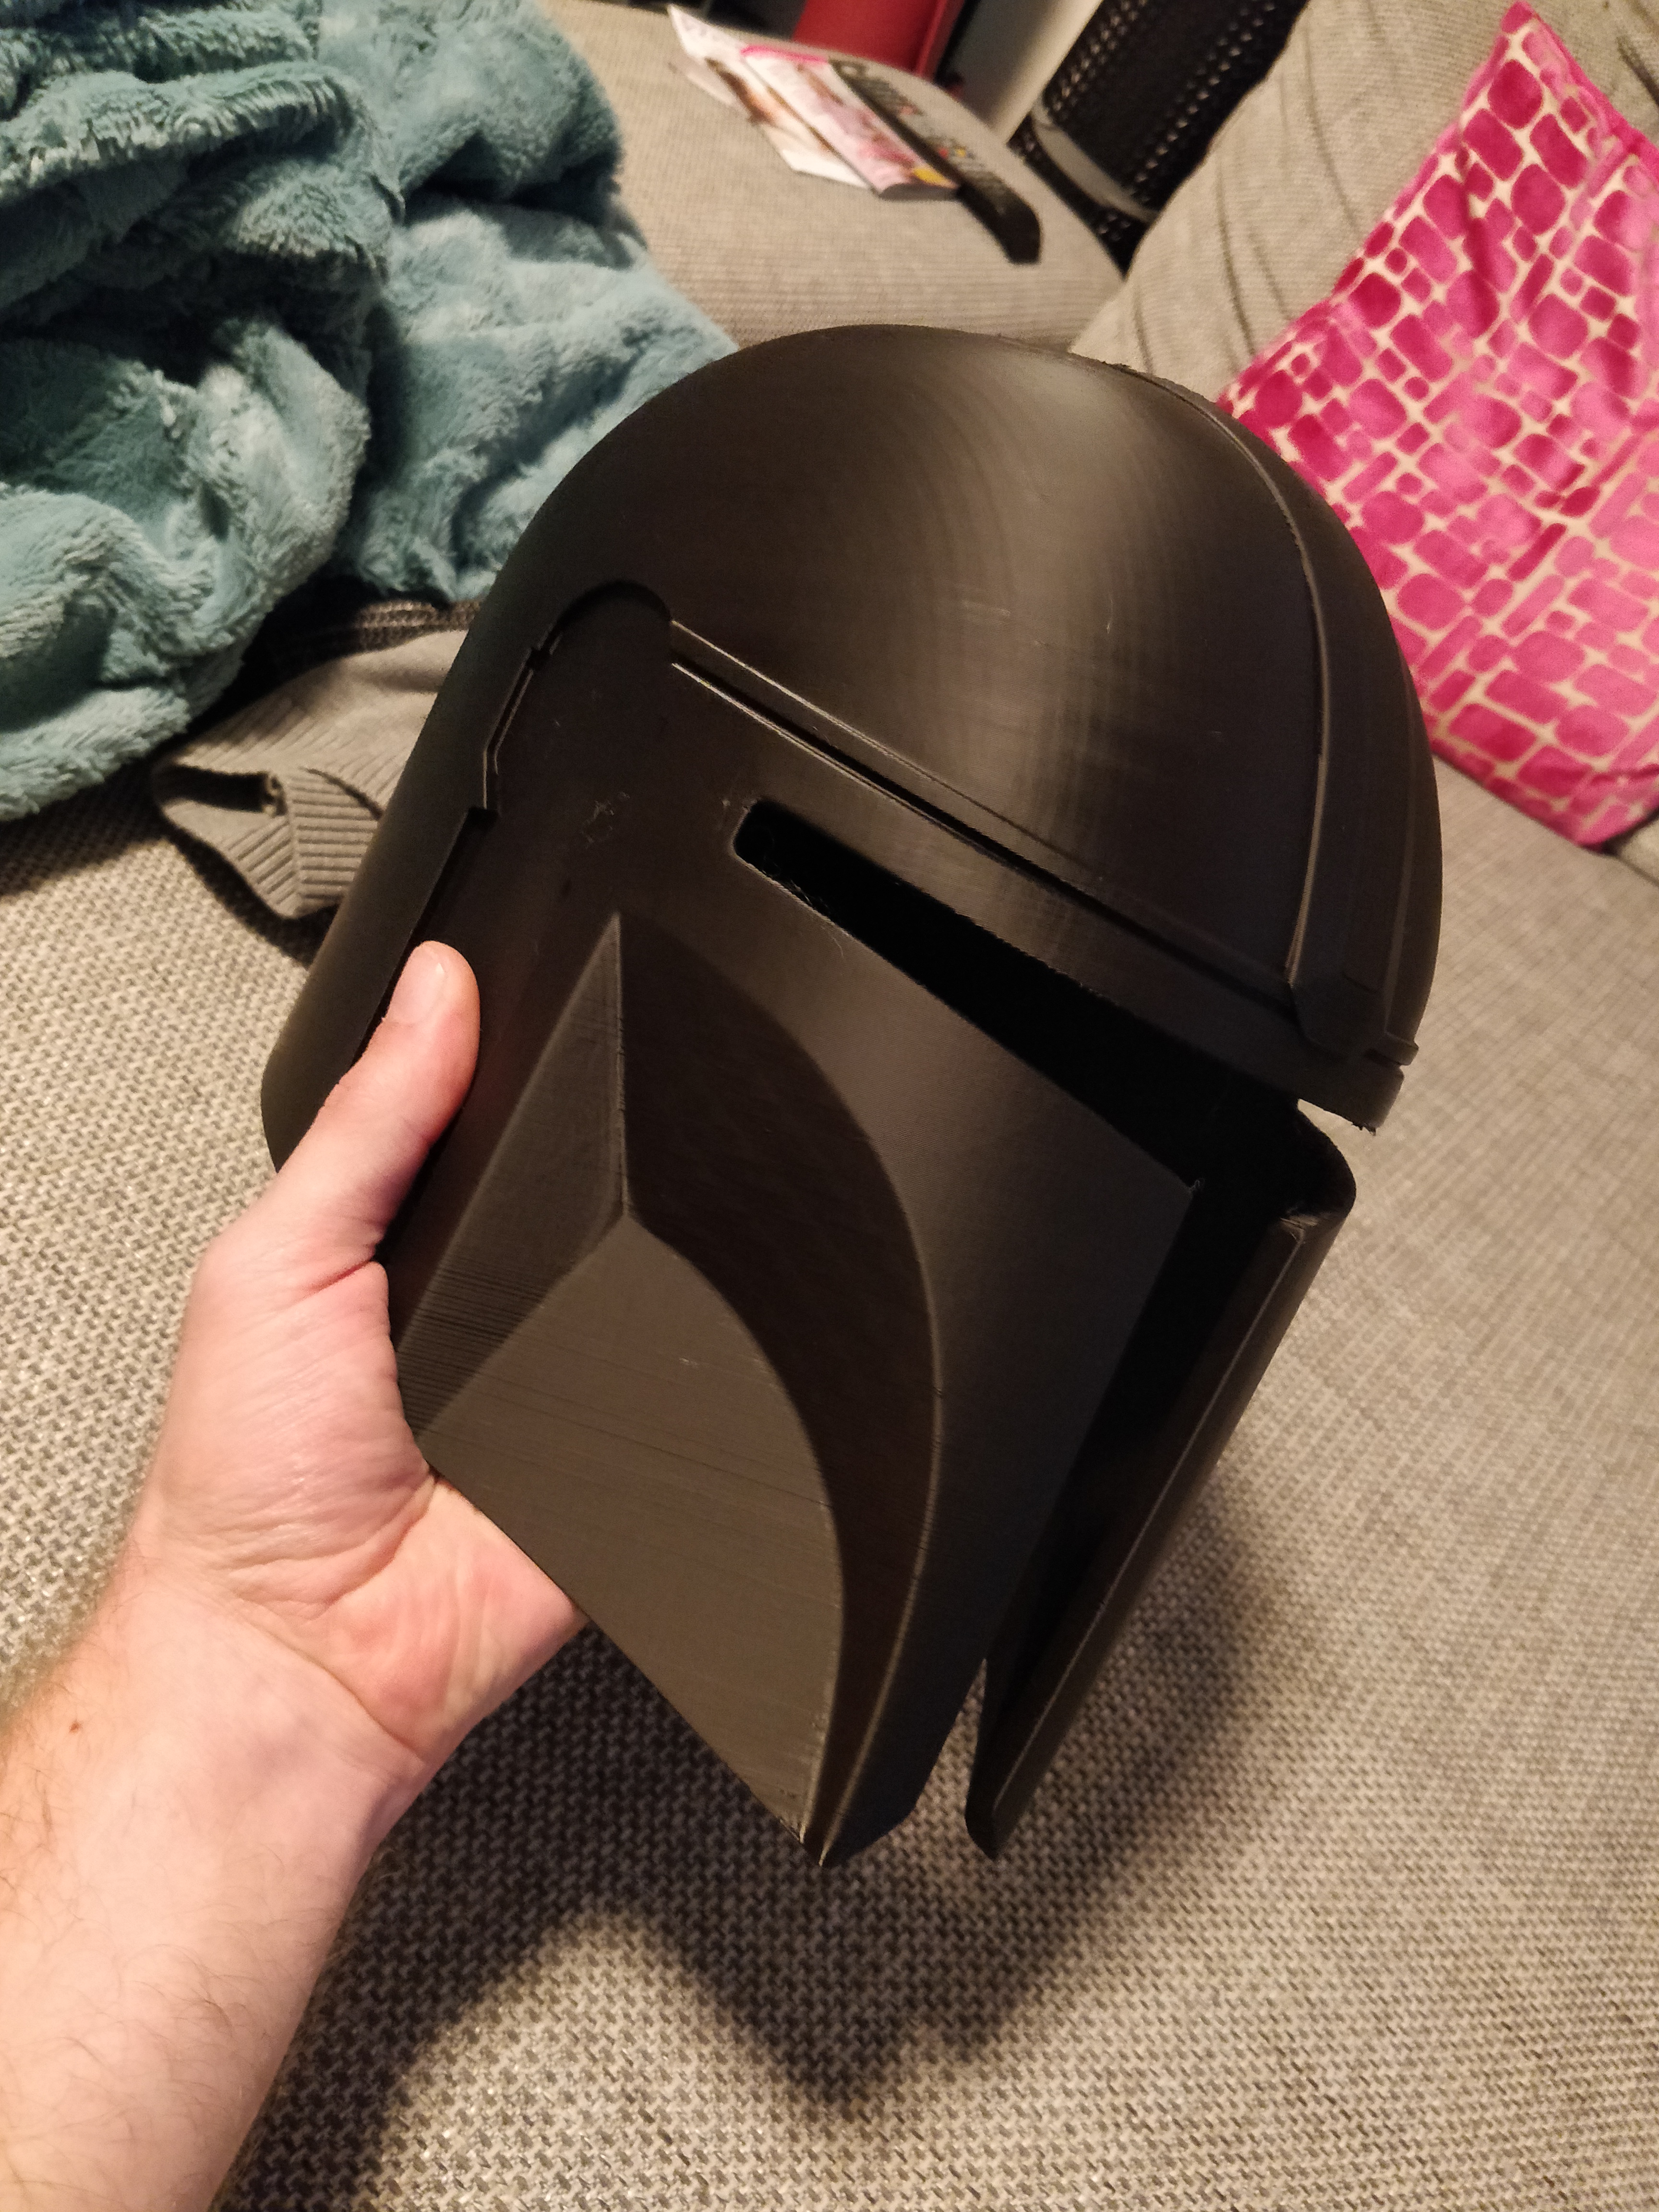
building in progress..... prined the helmet in two parts, I am actually curious whether the vent part actually is cut open. The white part is paper to trace the size, I bought a cheap welding visor in China, it should fit (after cutting)
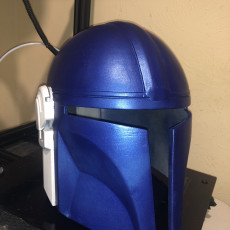
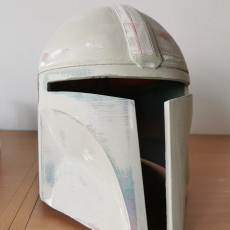
up side down...... yes it worked :-)
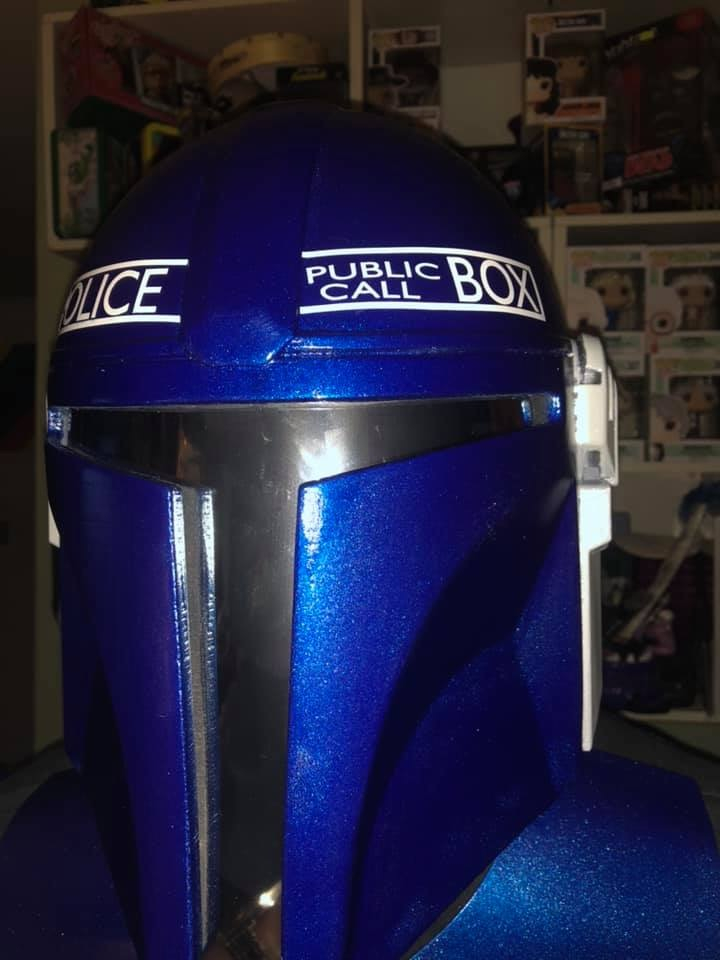
Finally got the visor installed and the text vinyl in place. I'm happy with how this turned out overall. Part of a Mando-TARDIS (or TARDalorian) build that I'll be finishing up in the next couple of weeks.
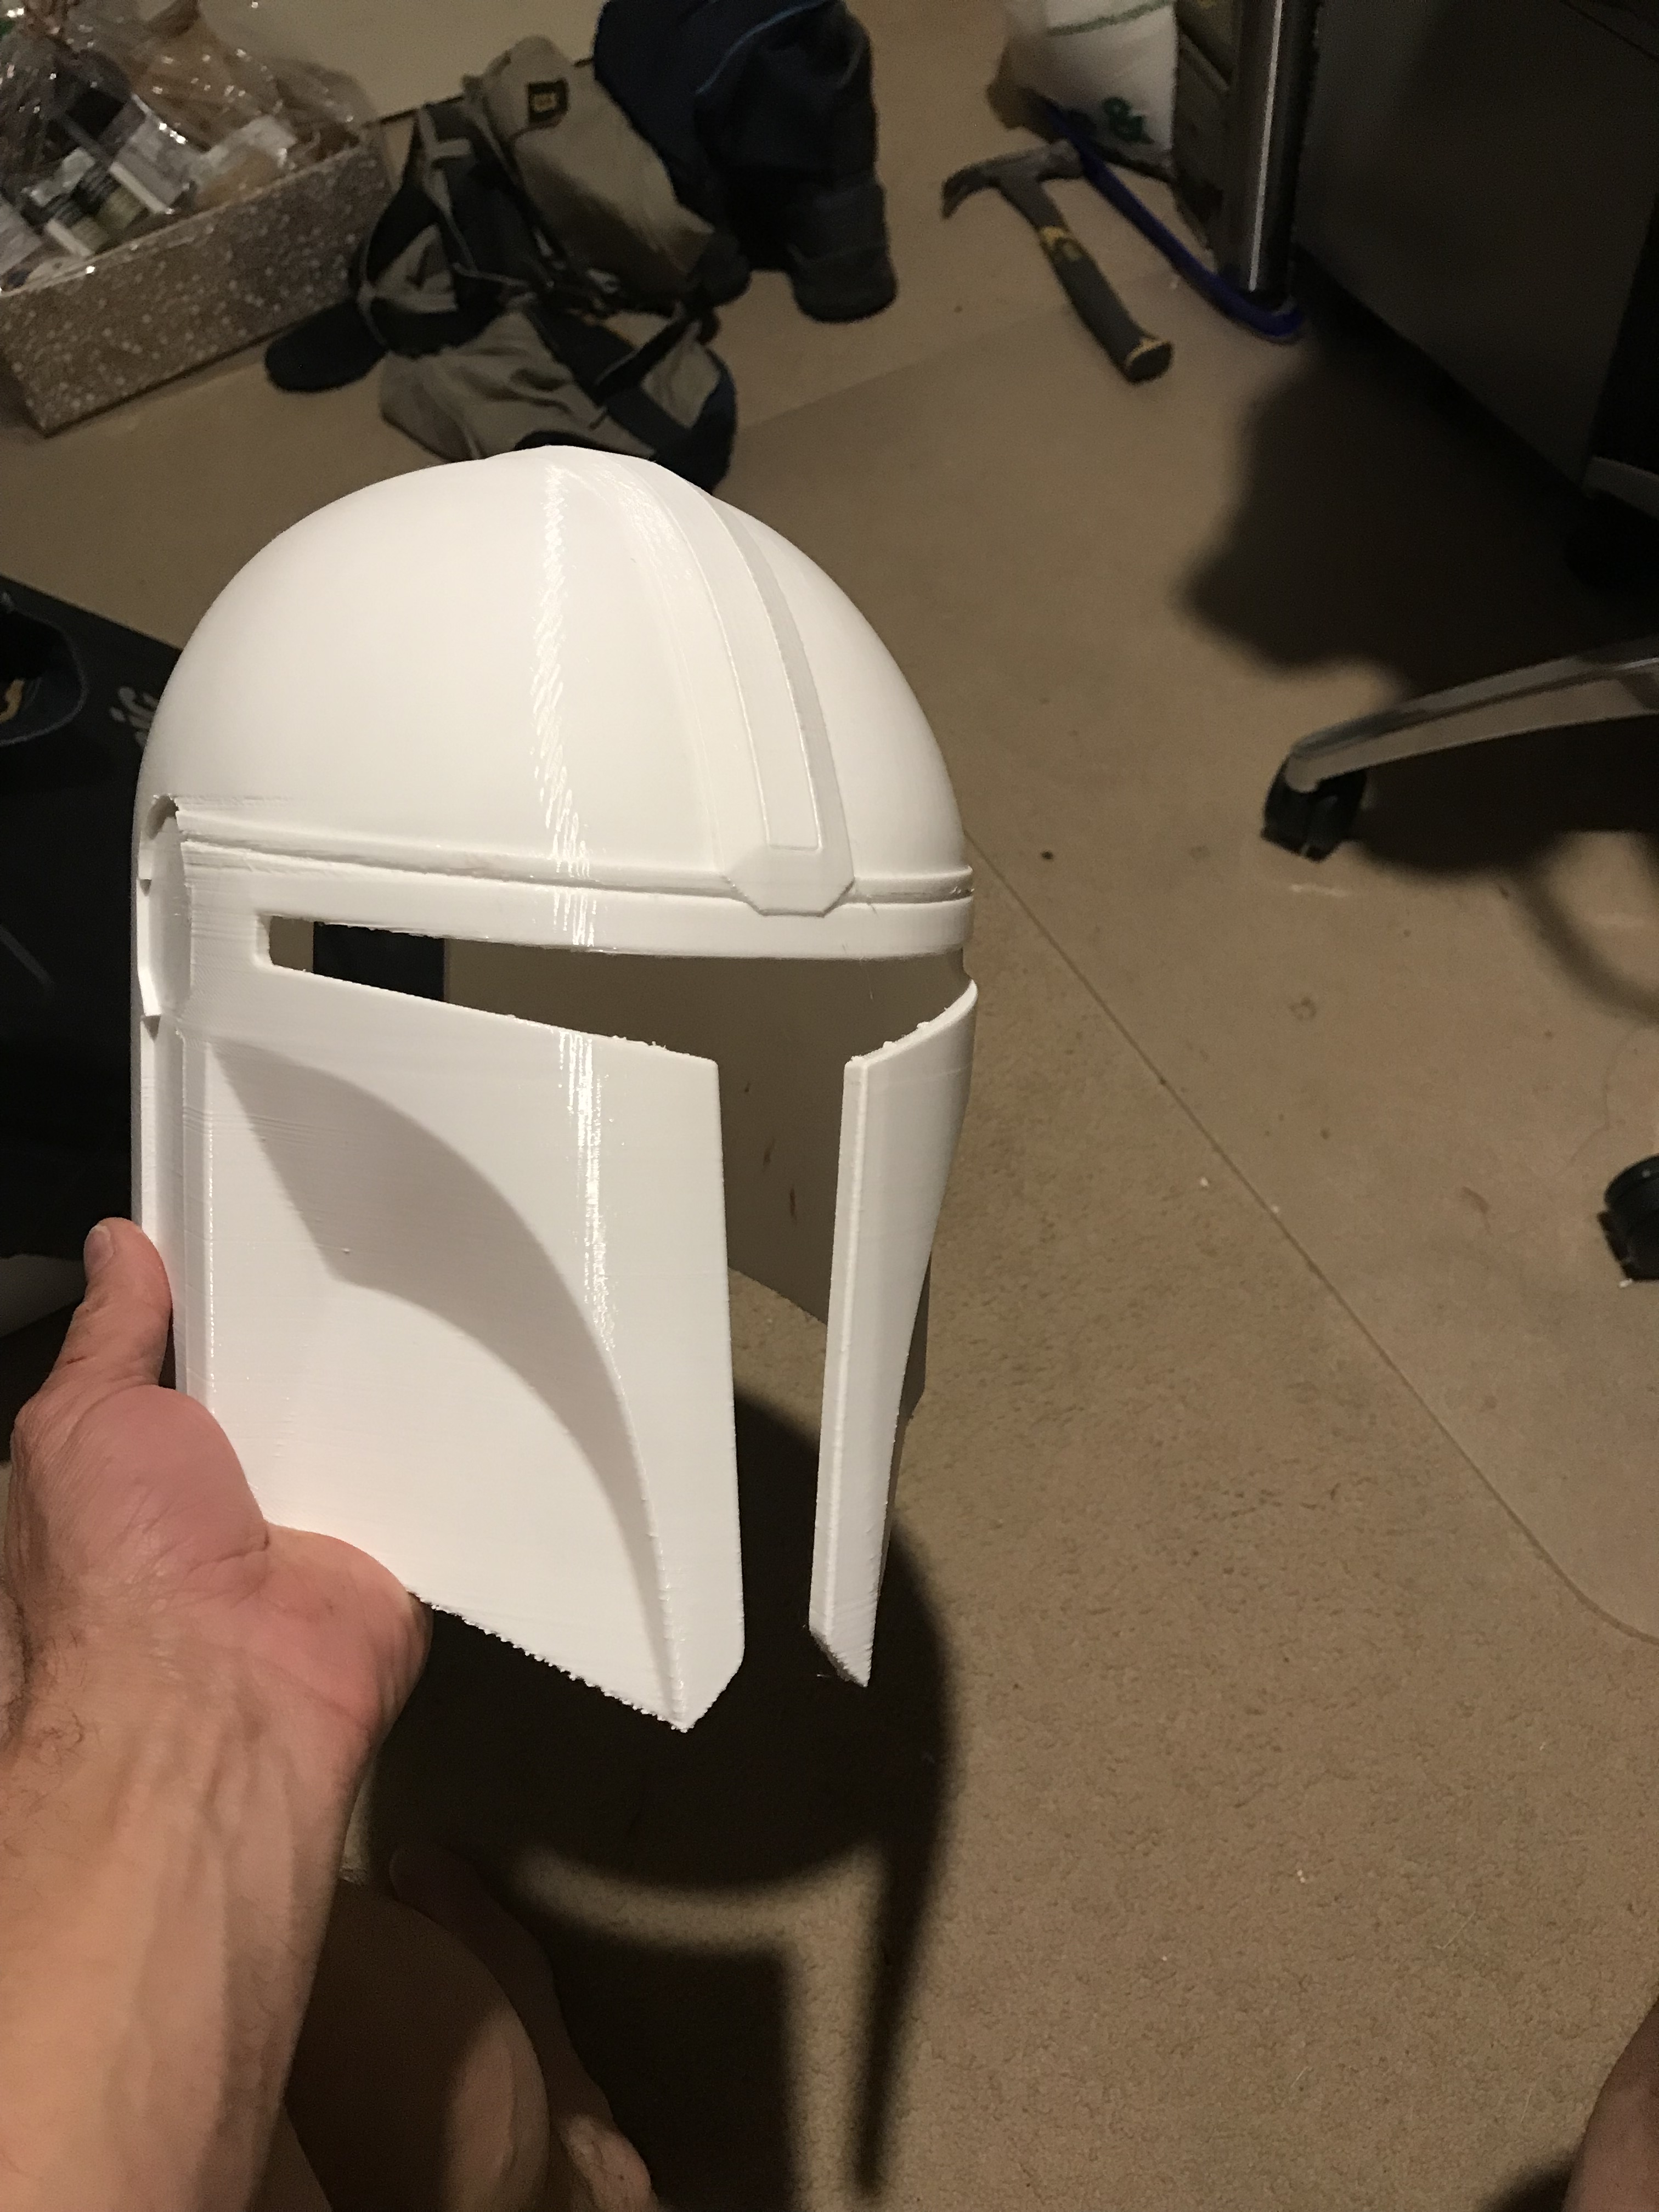
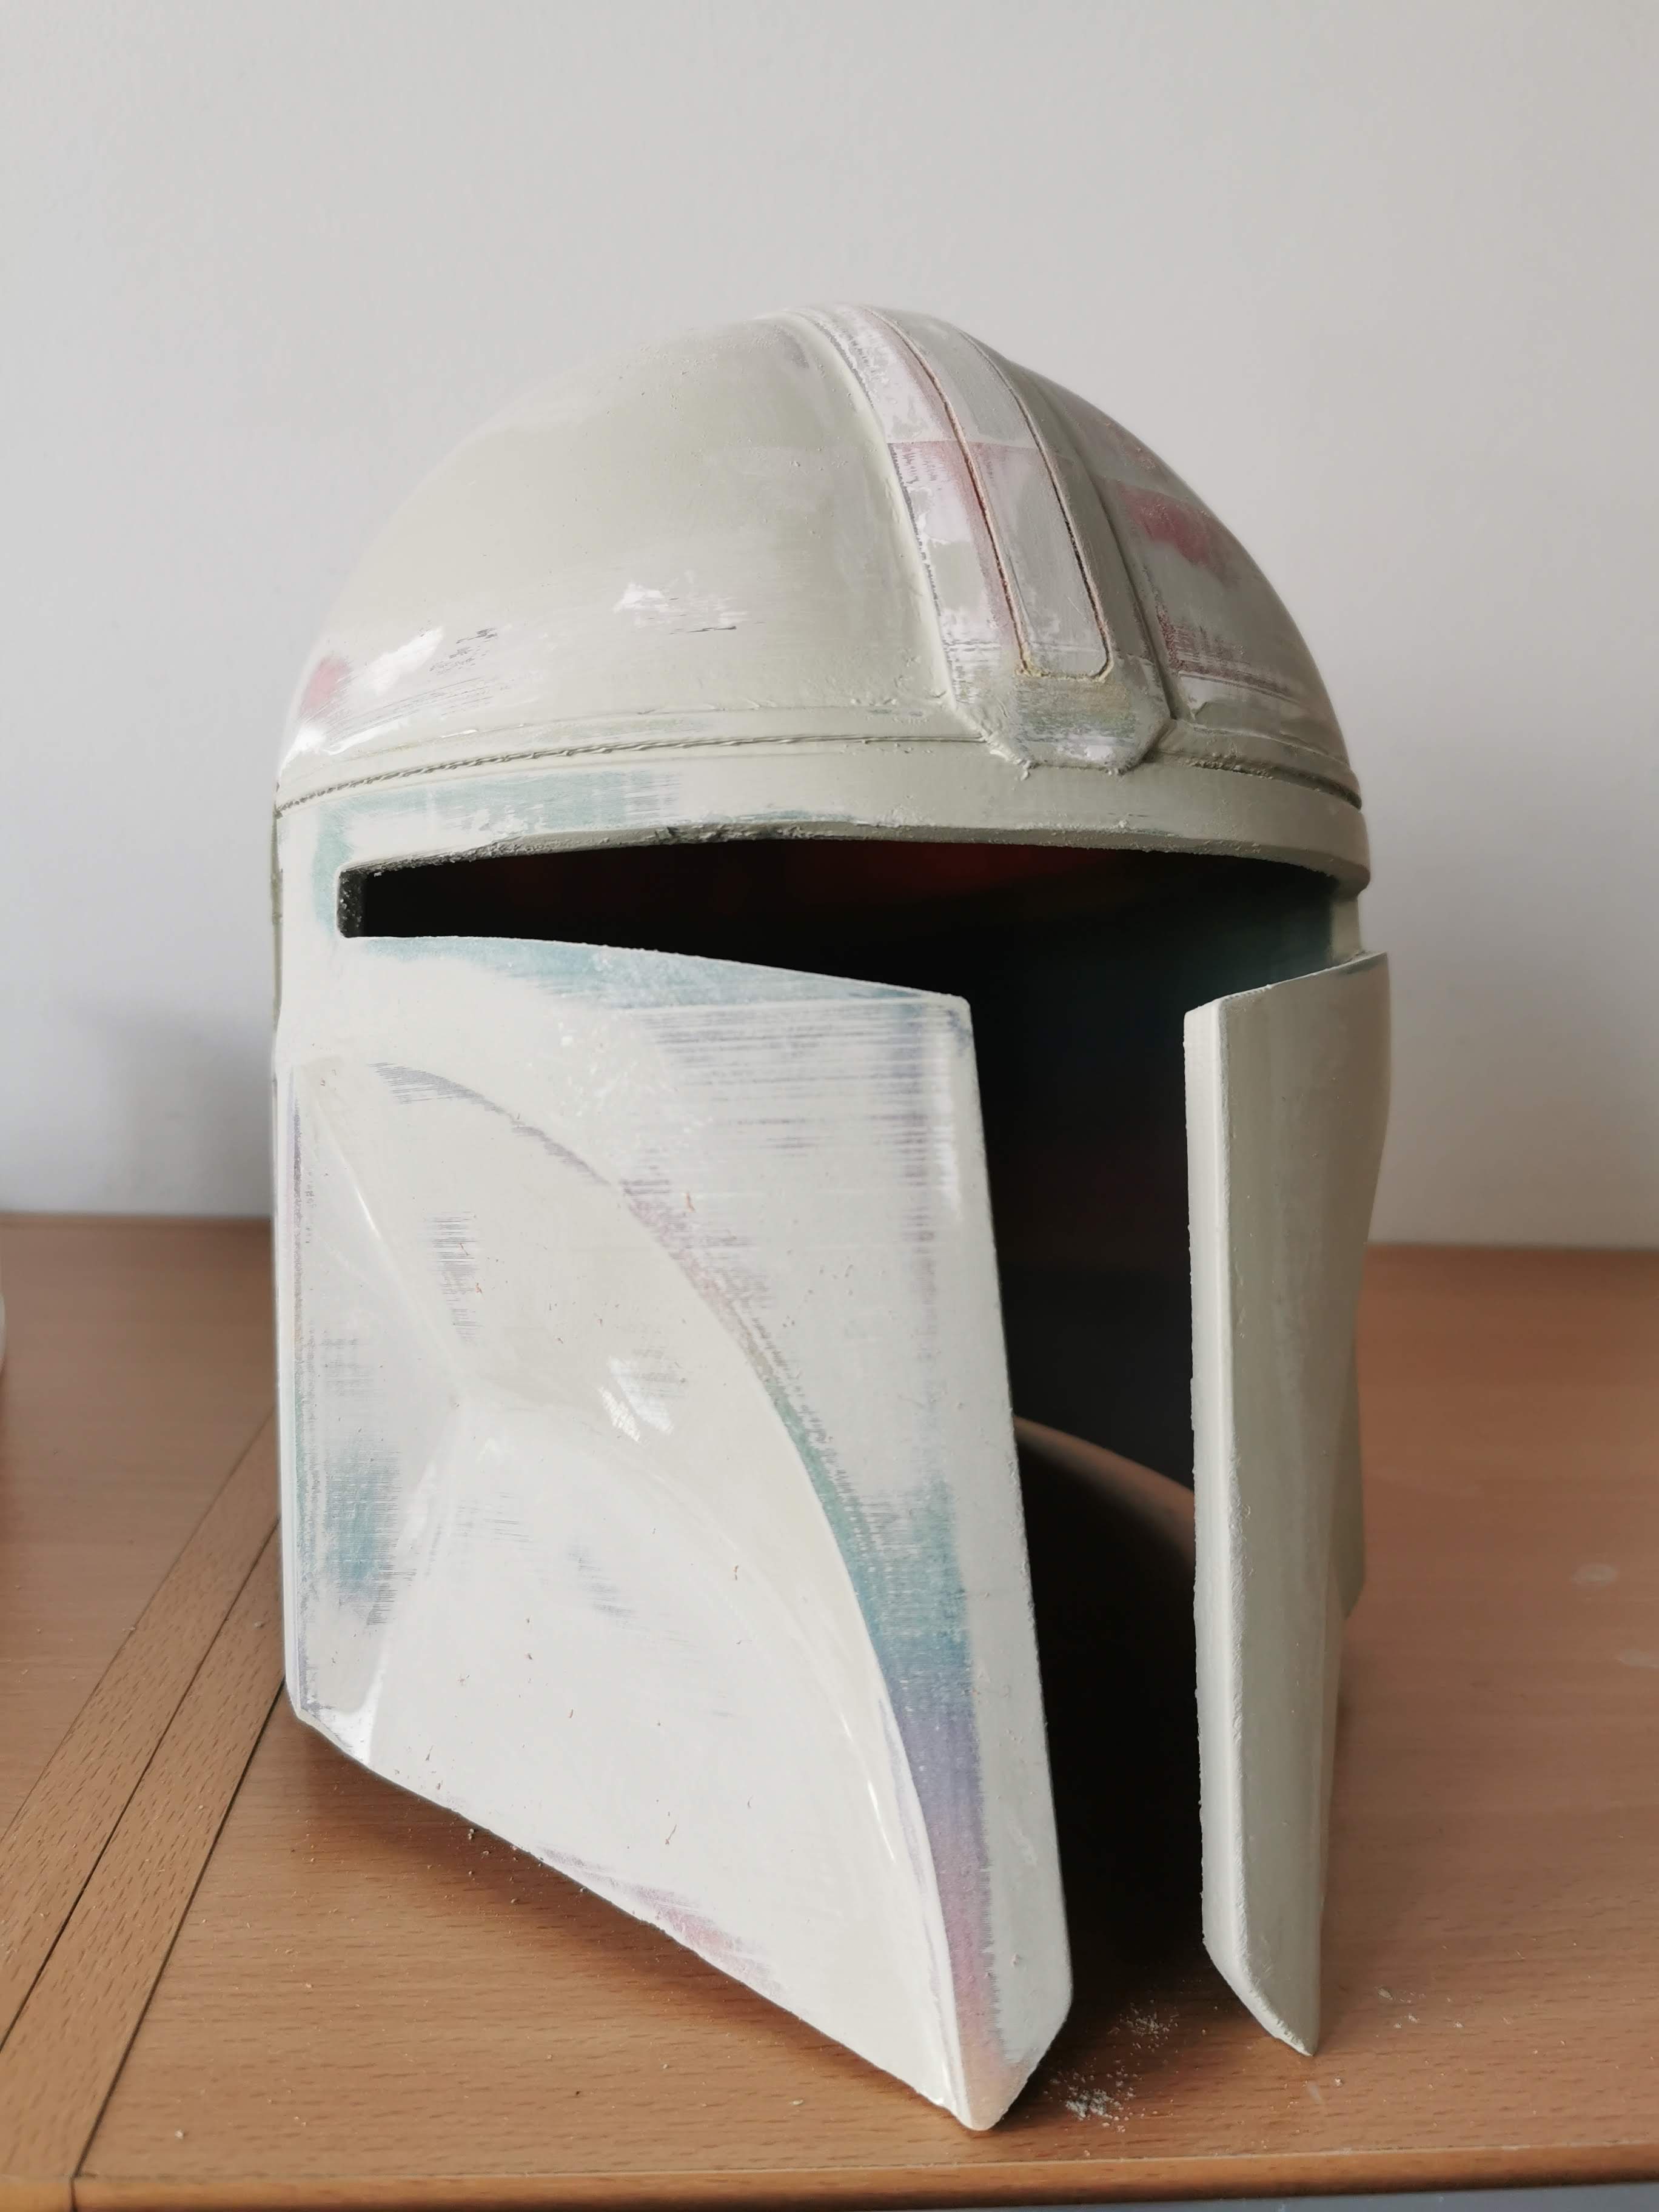
I still need to sand and paint, but here it is.
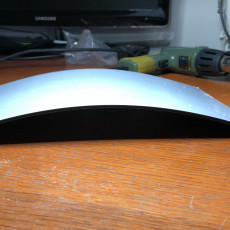
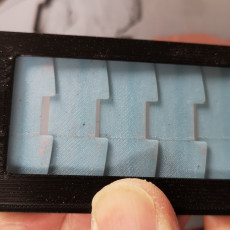
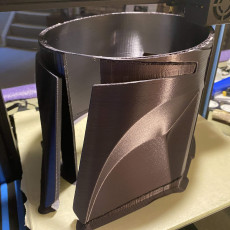
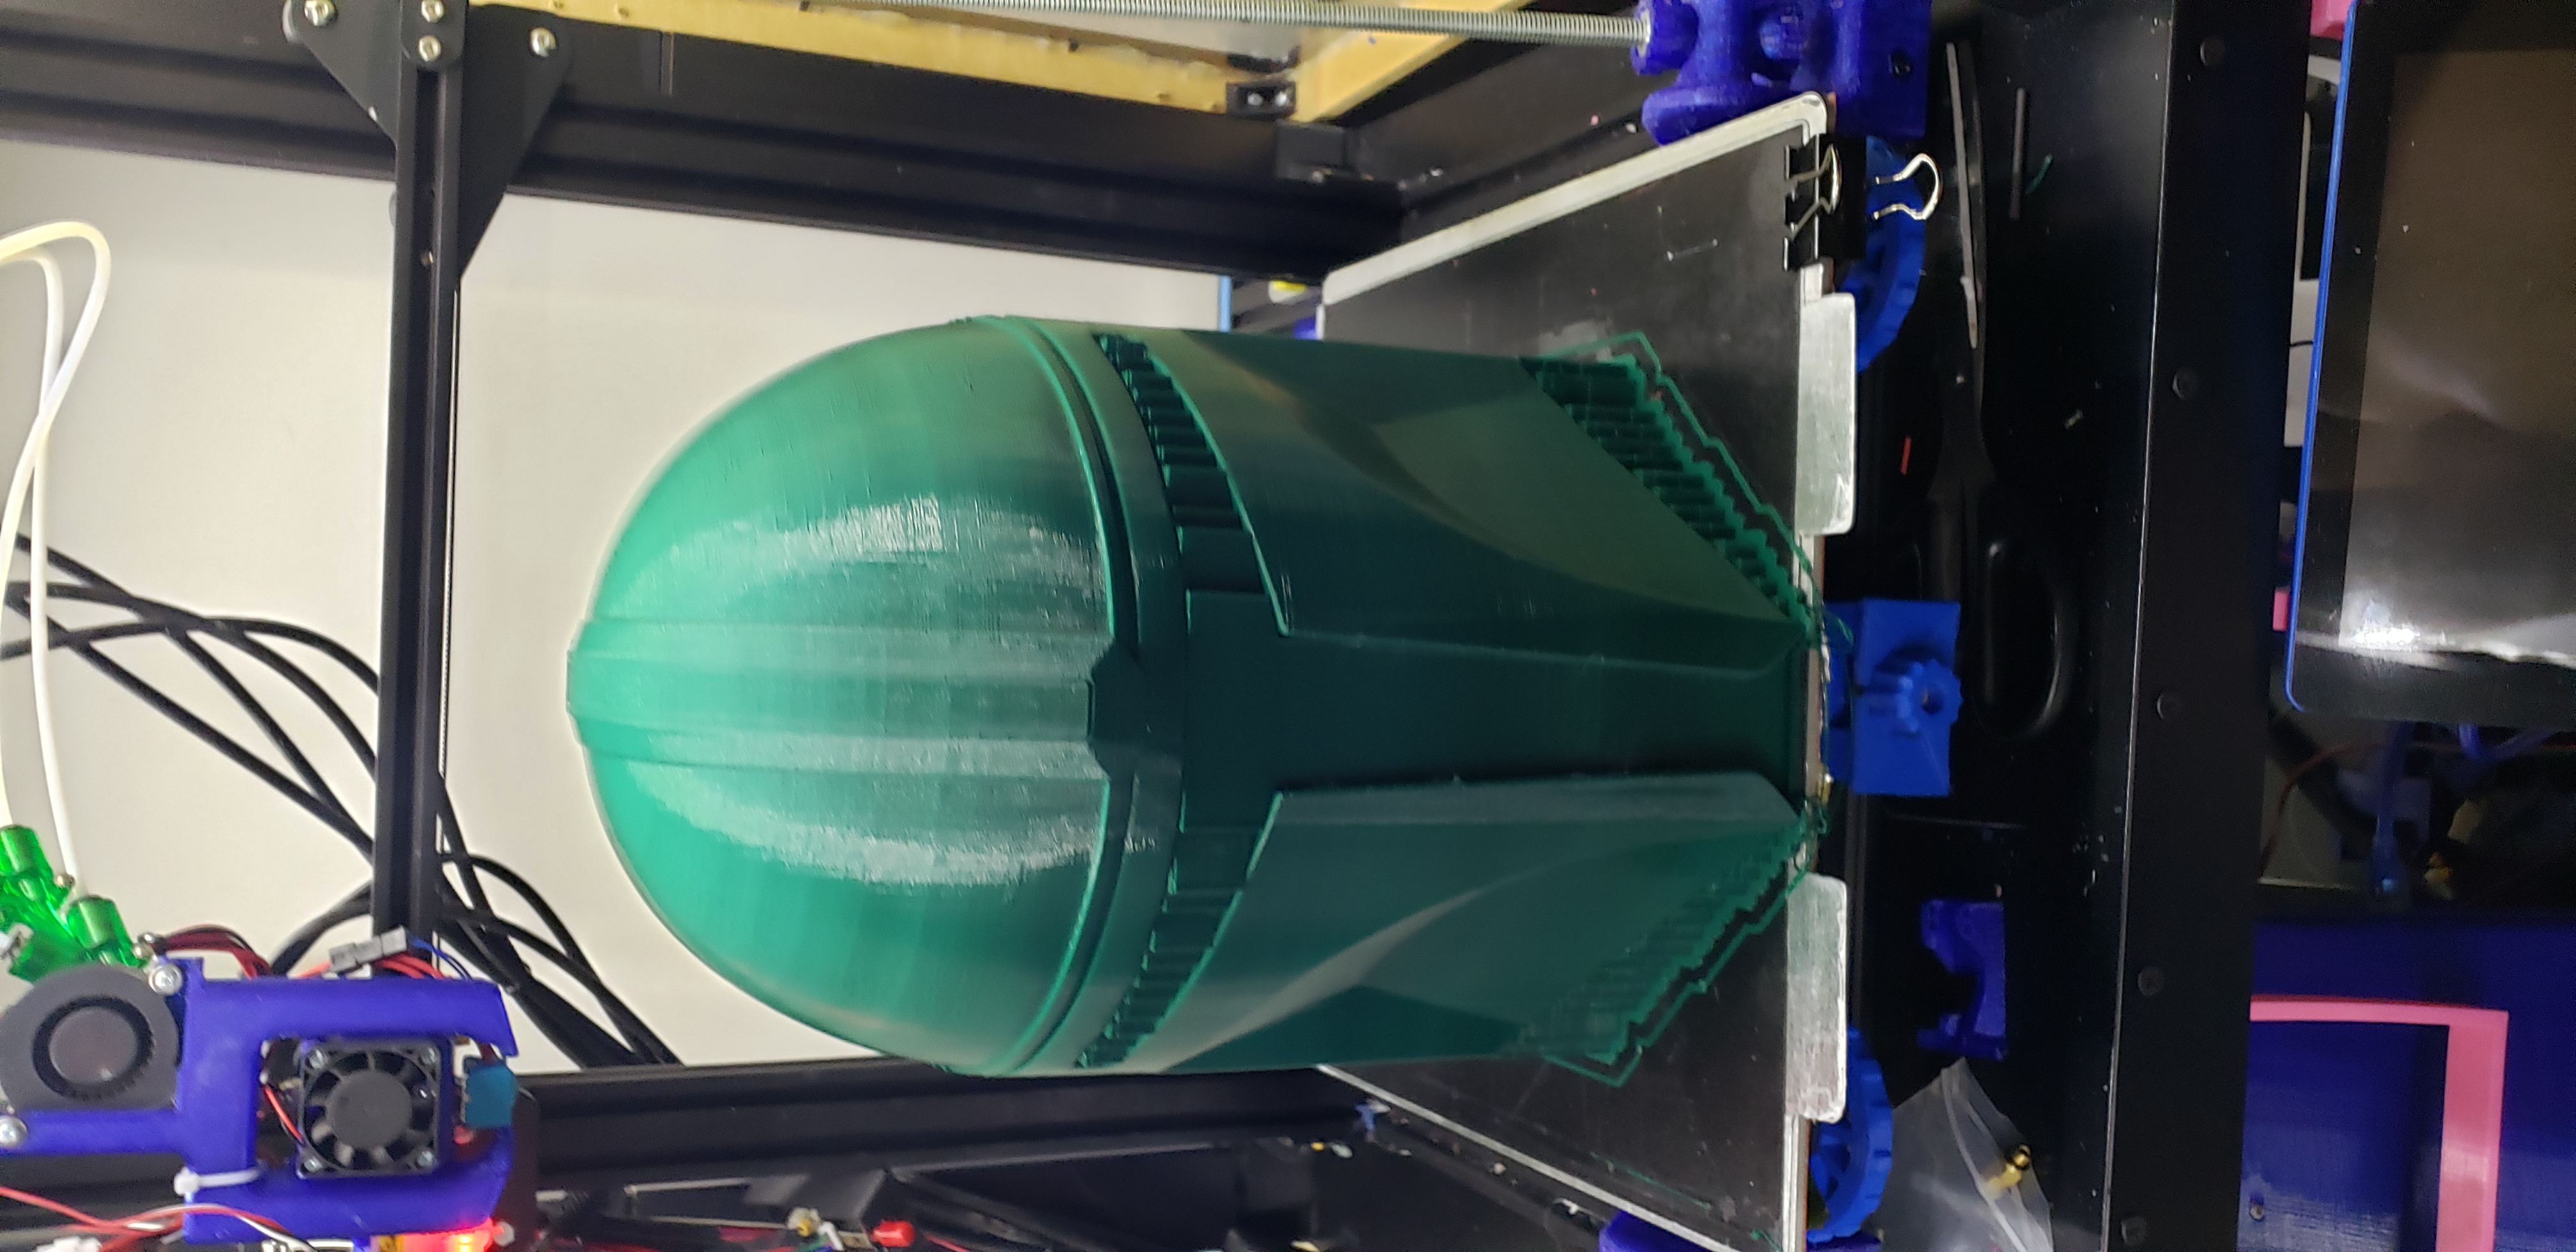
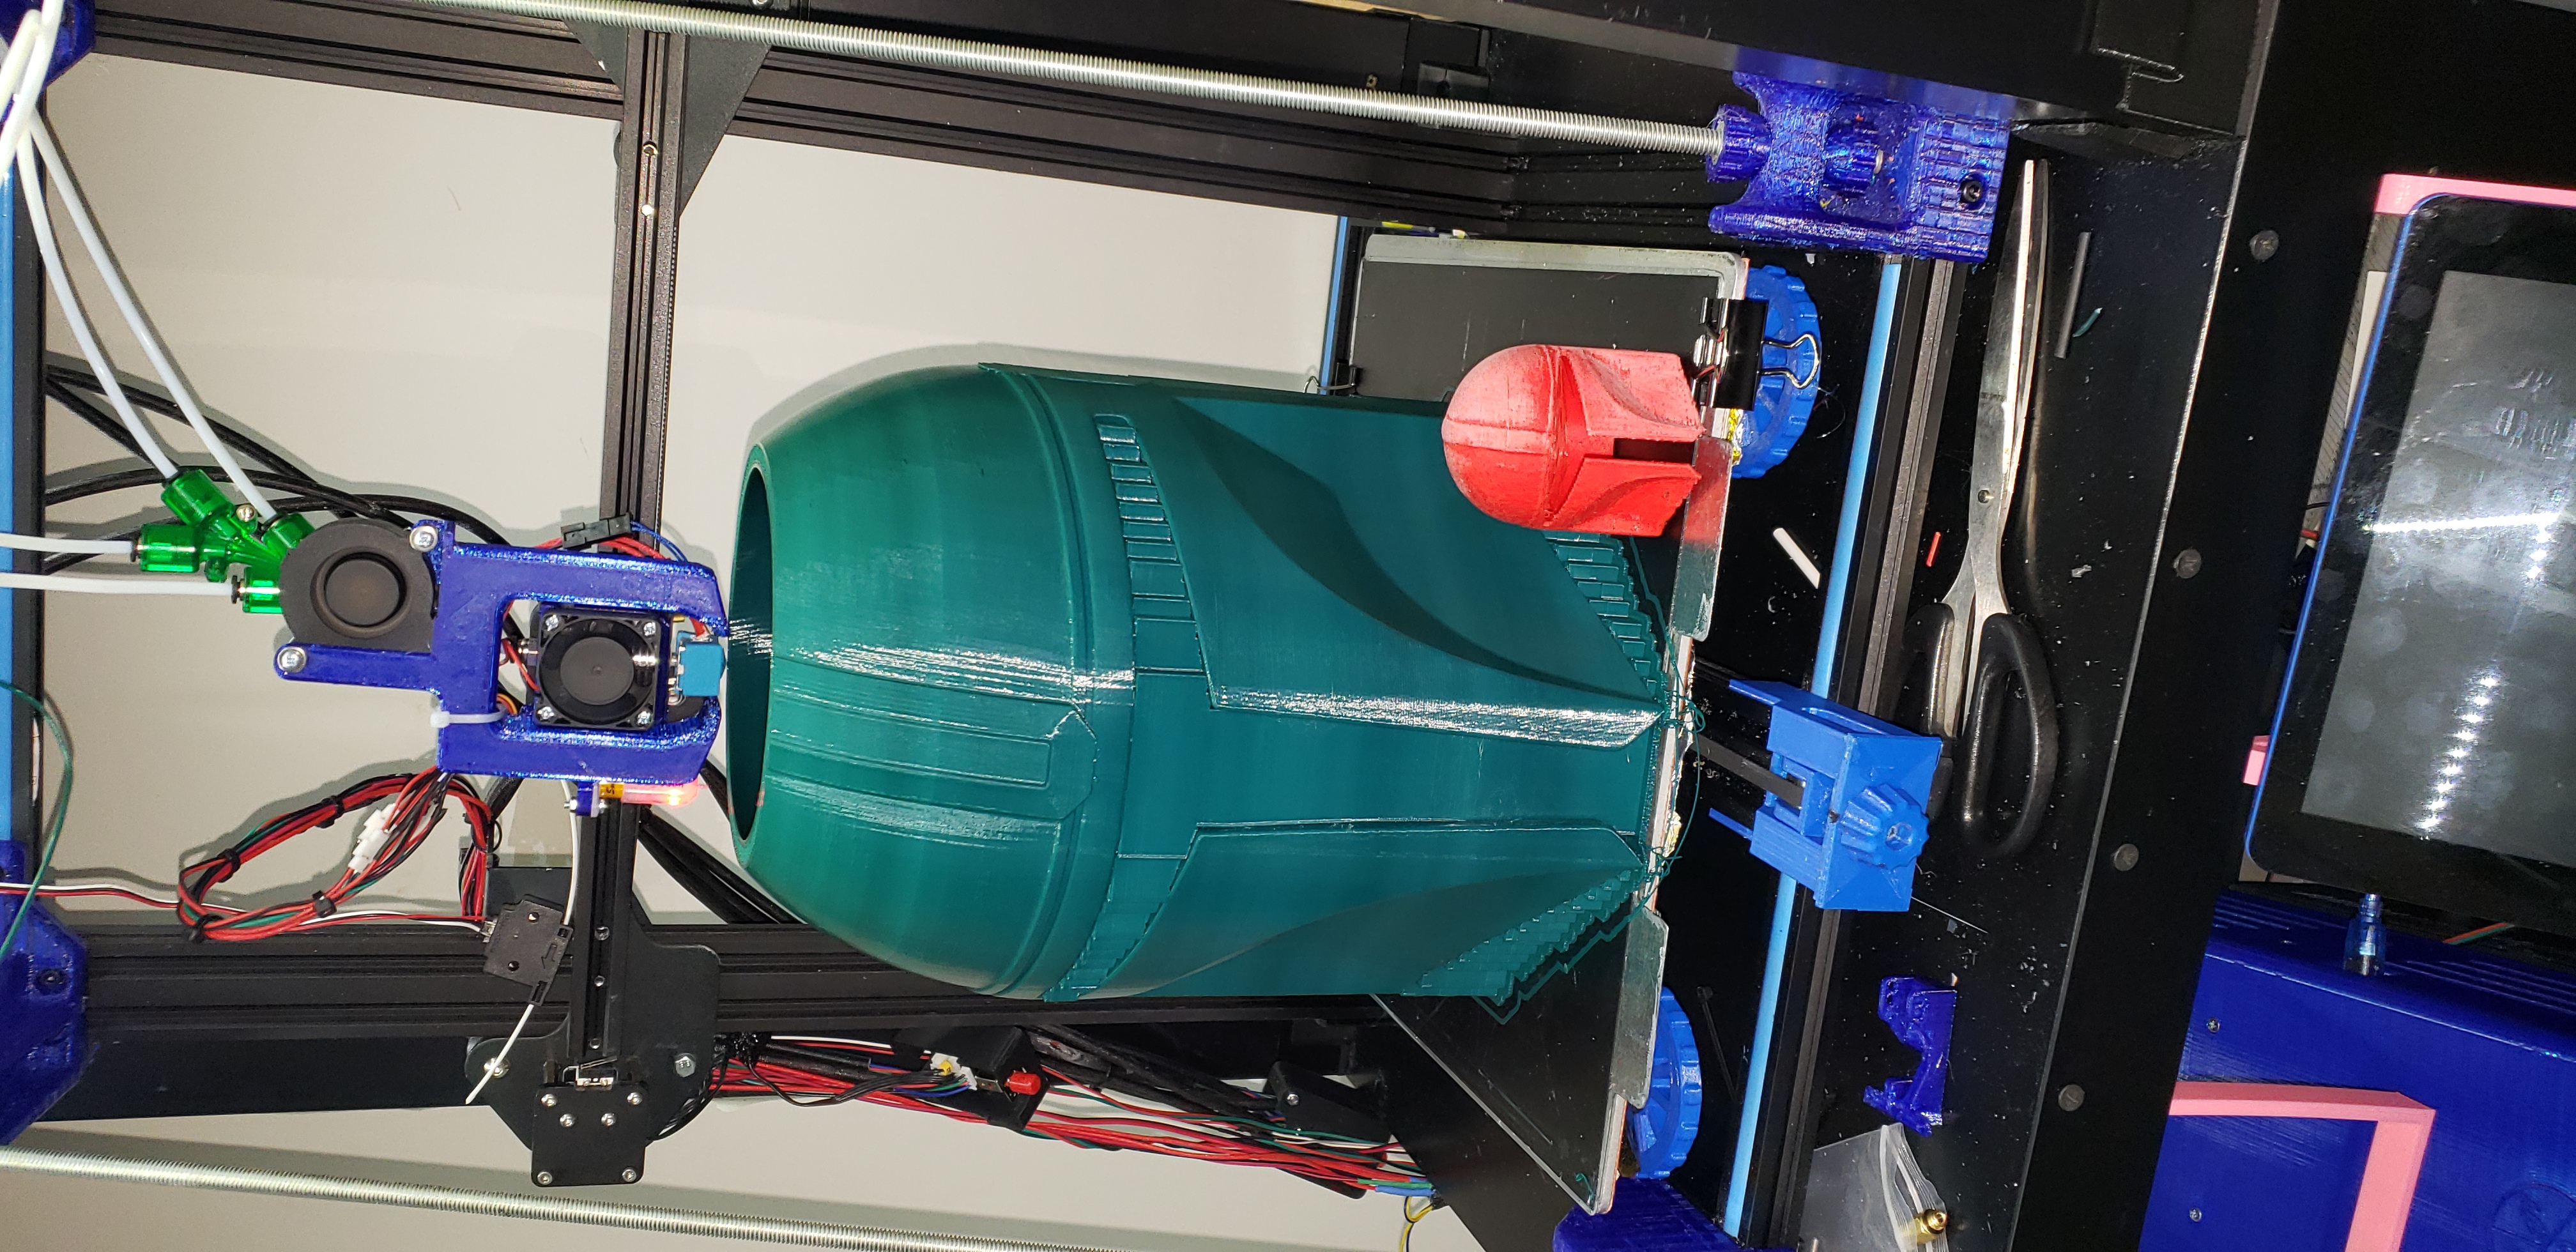
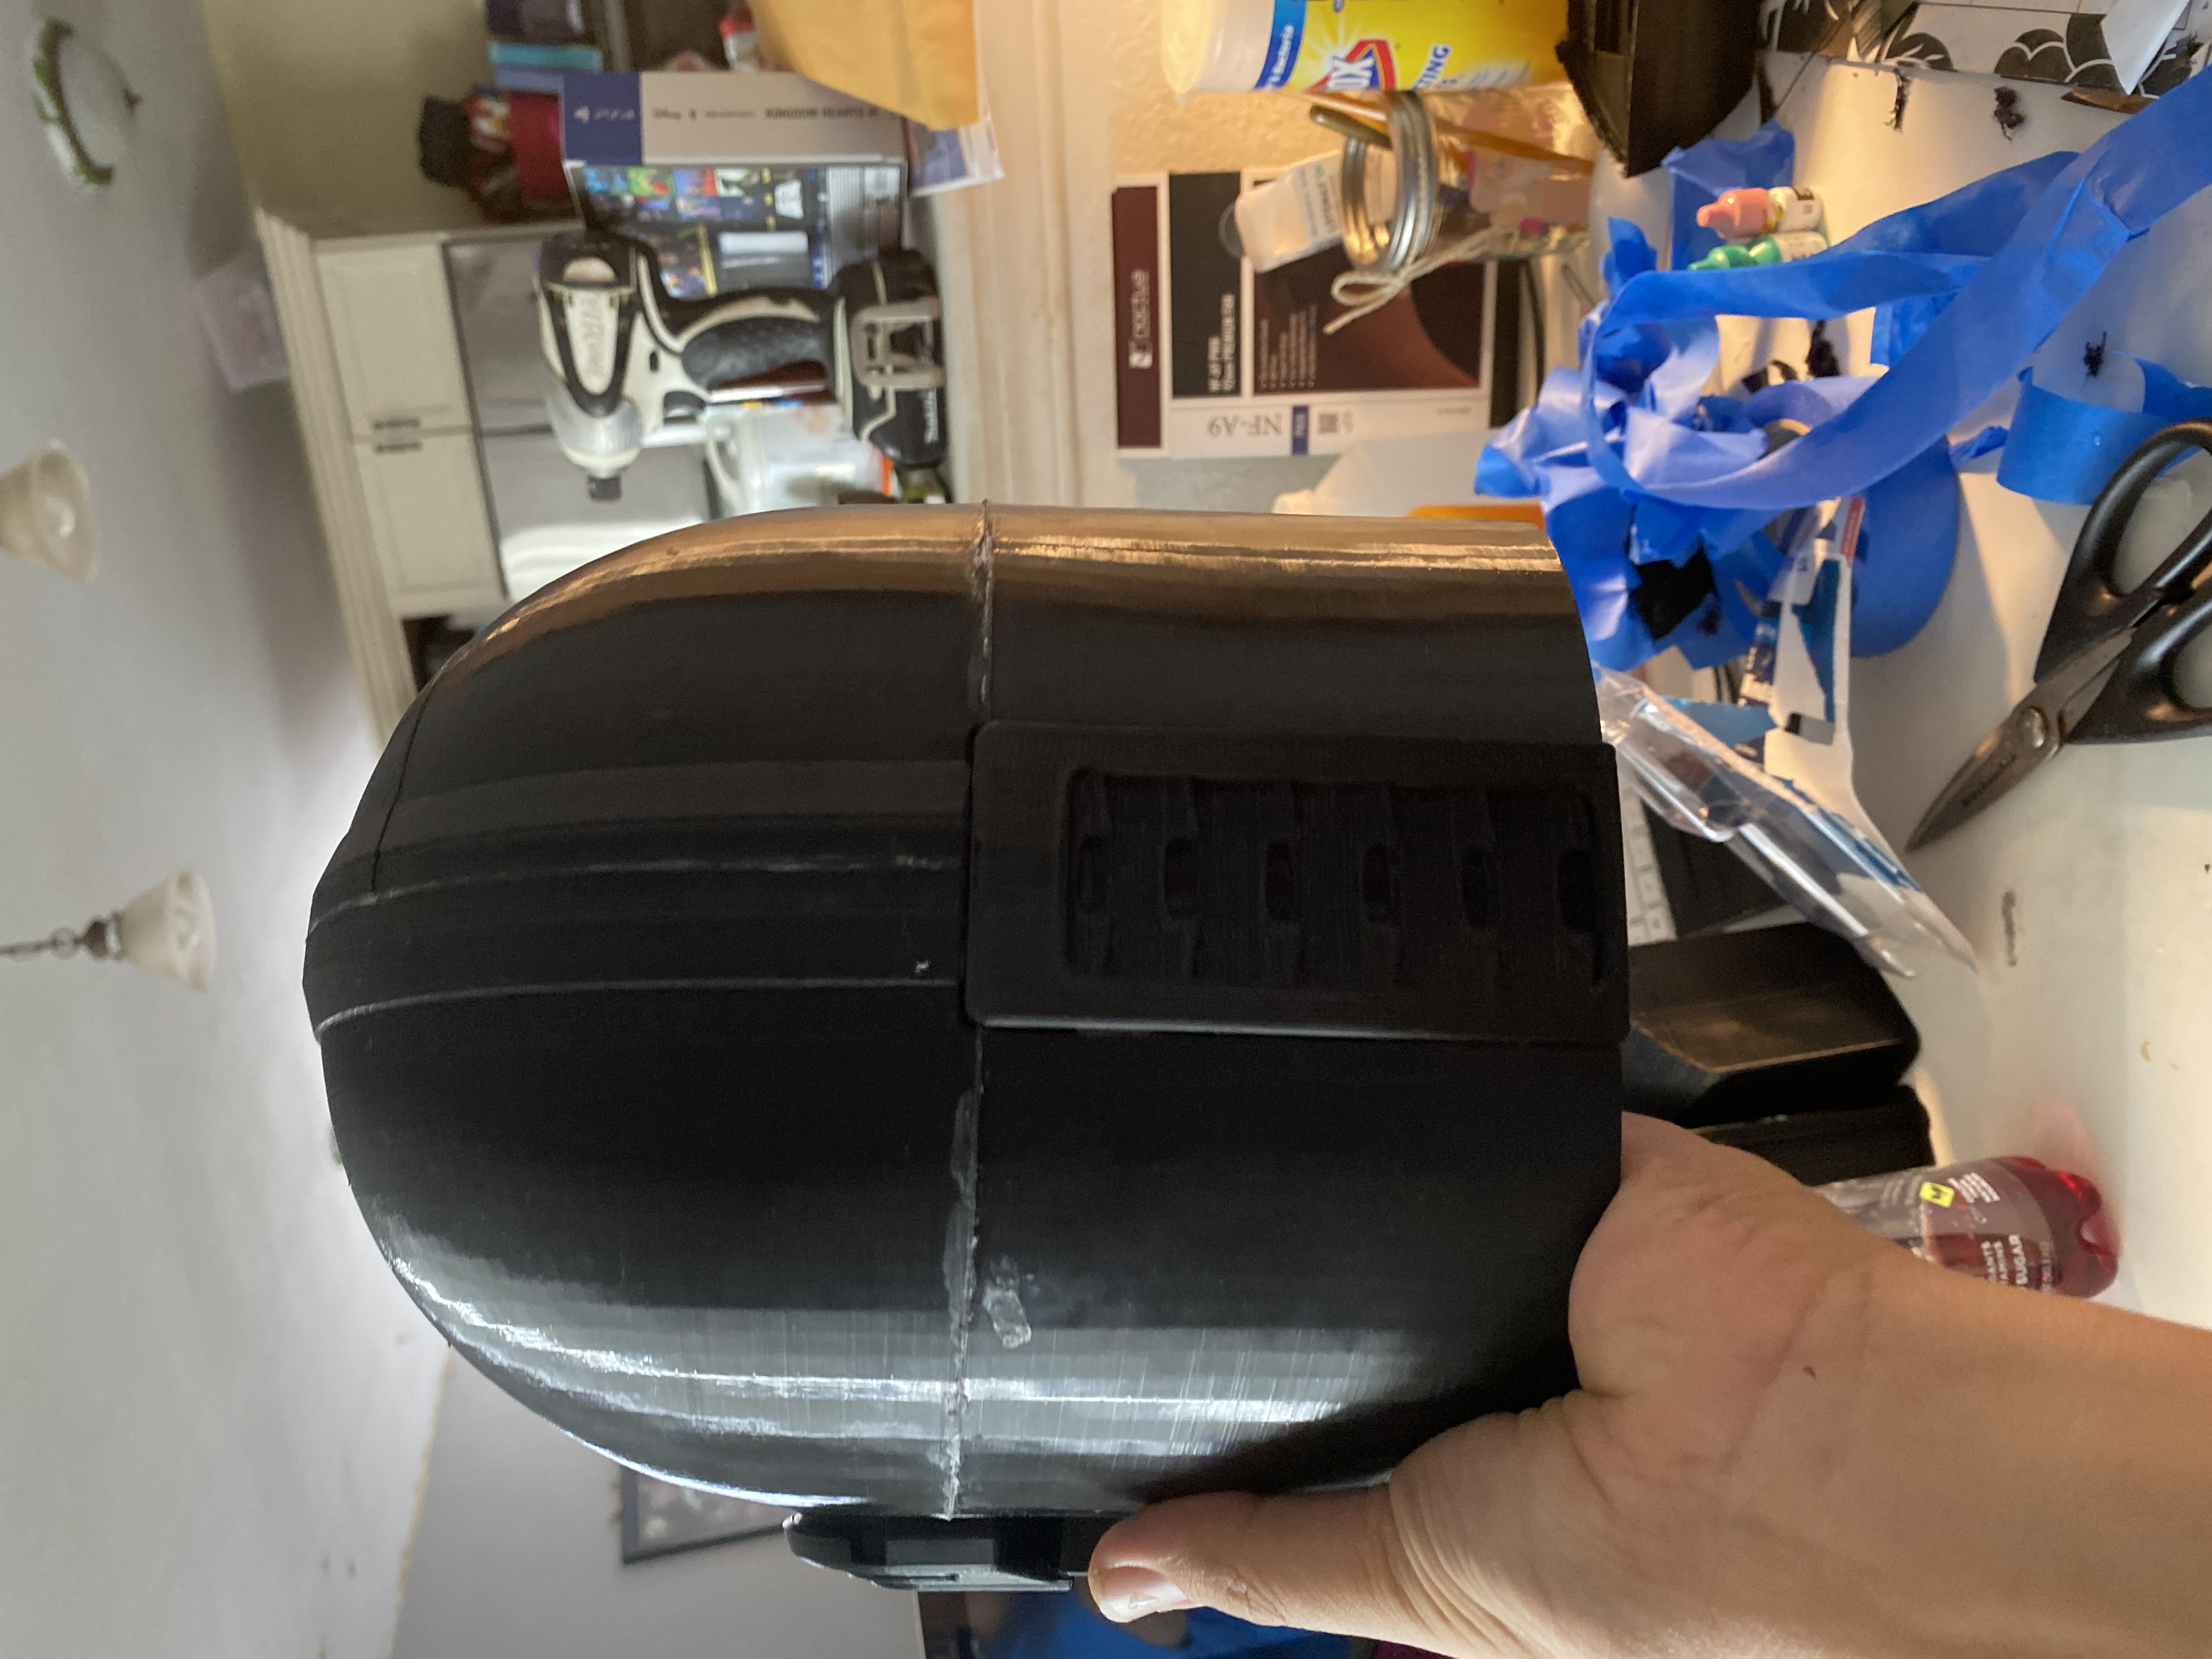
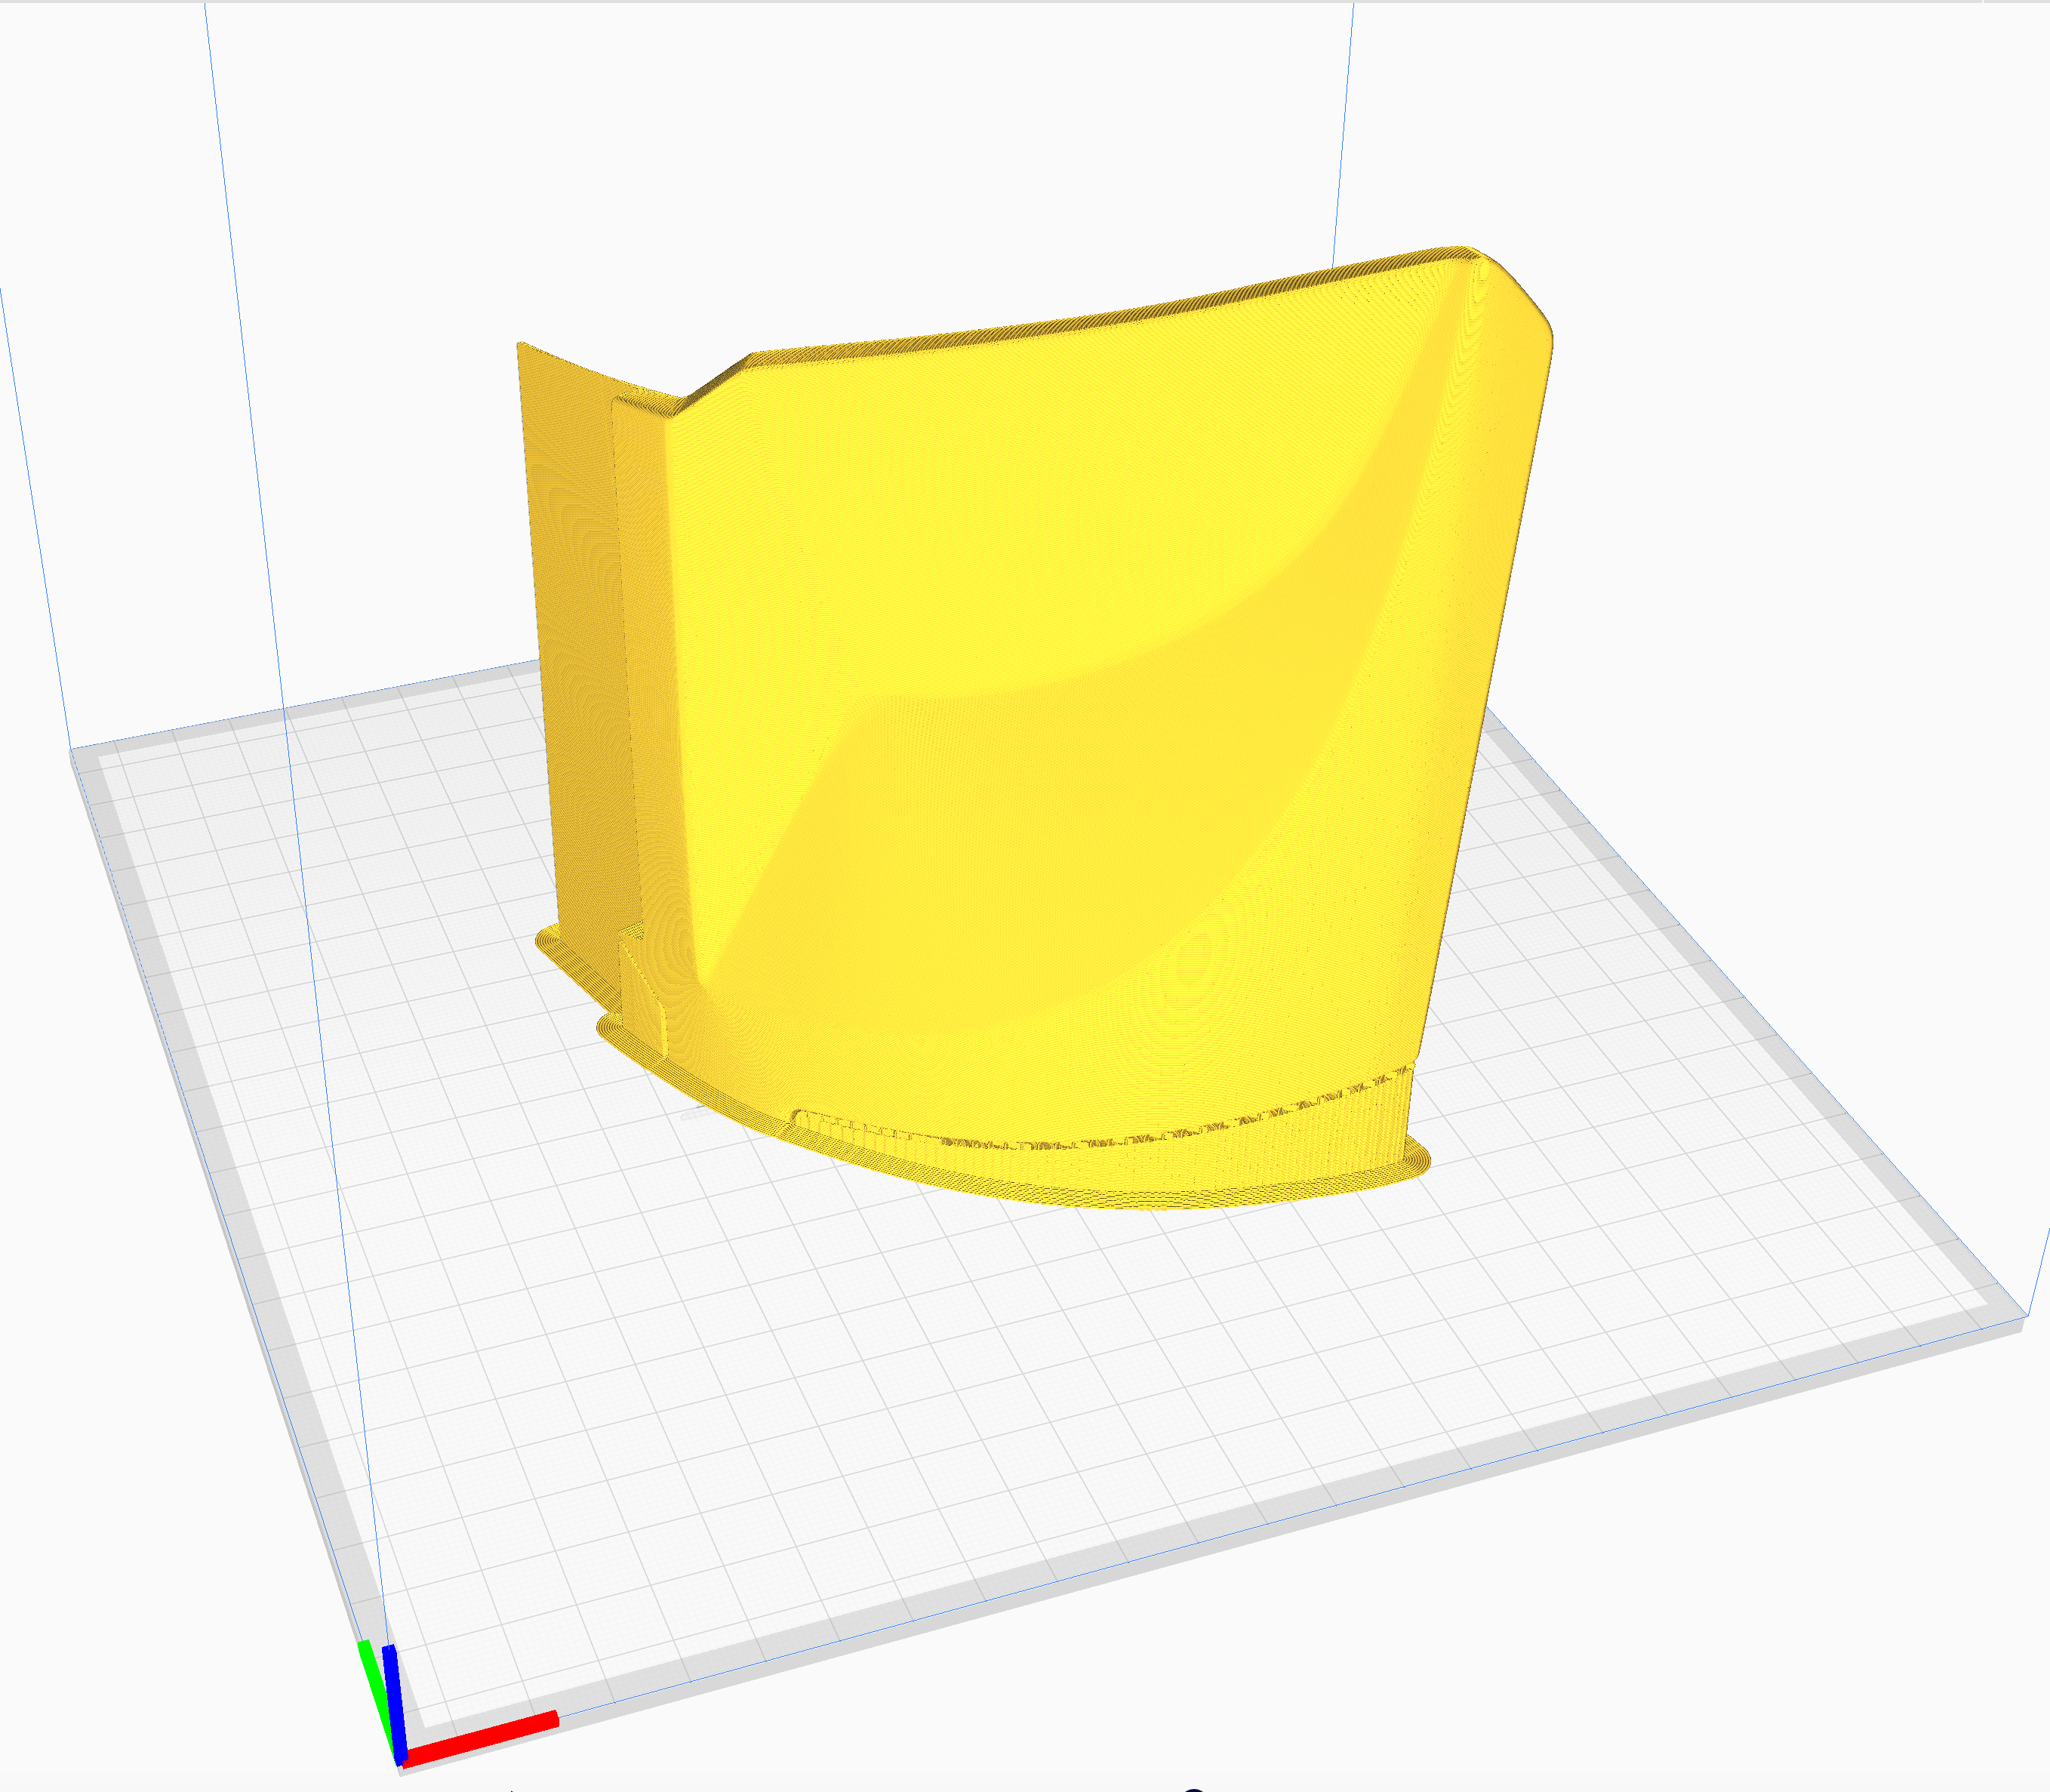
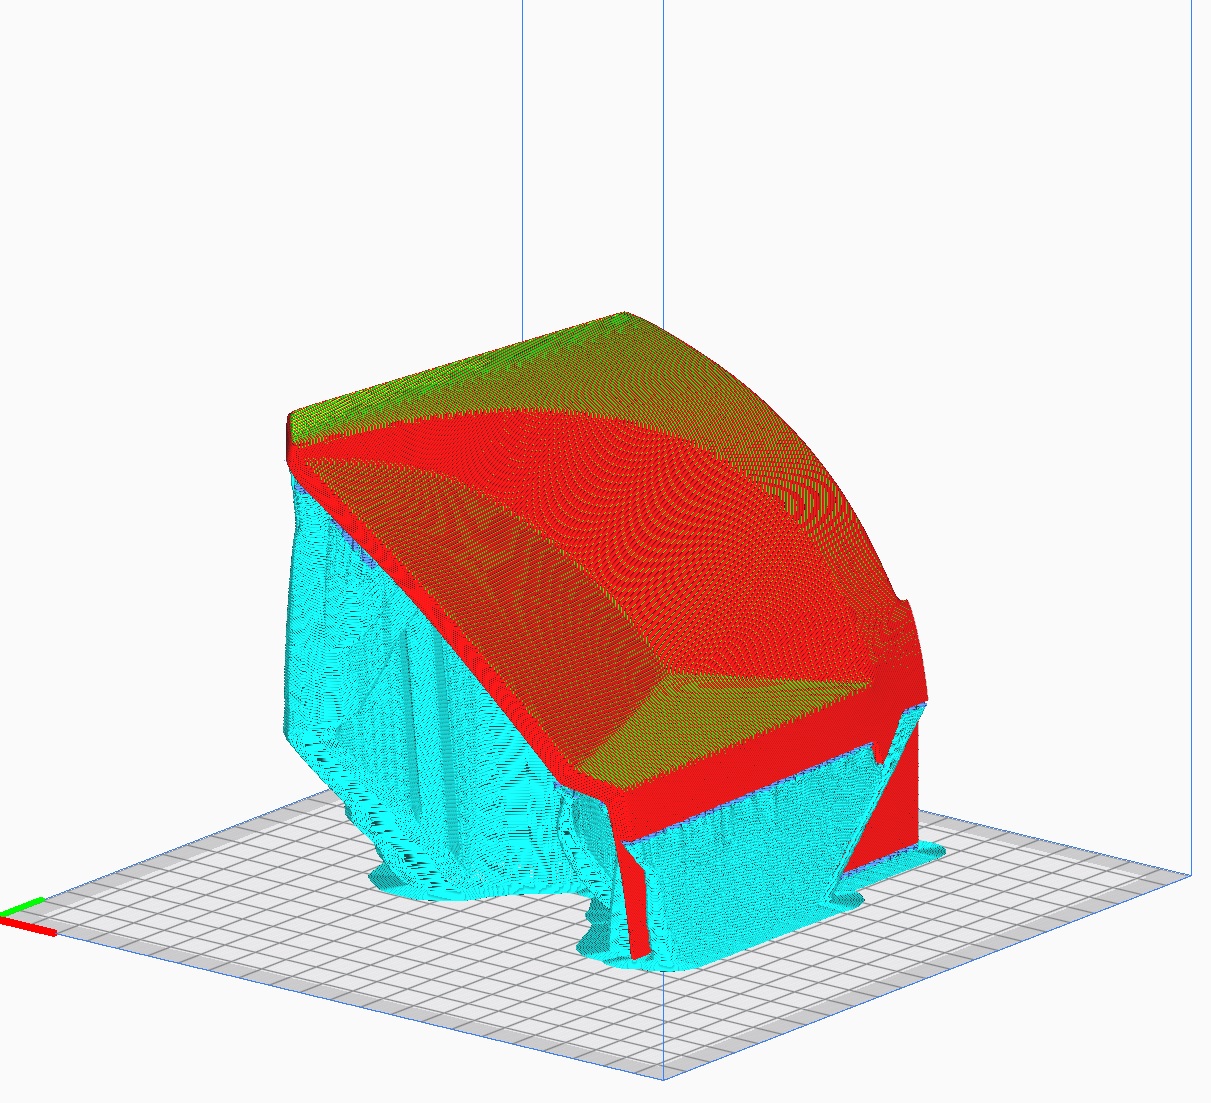
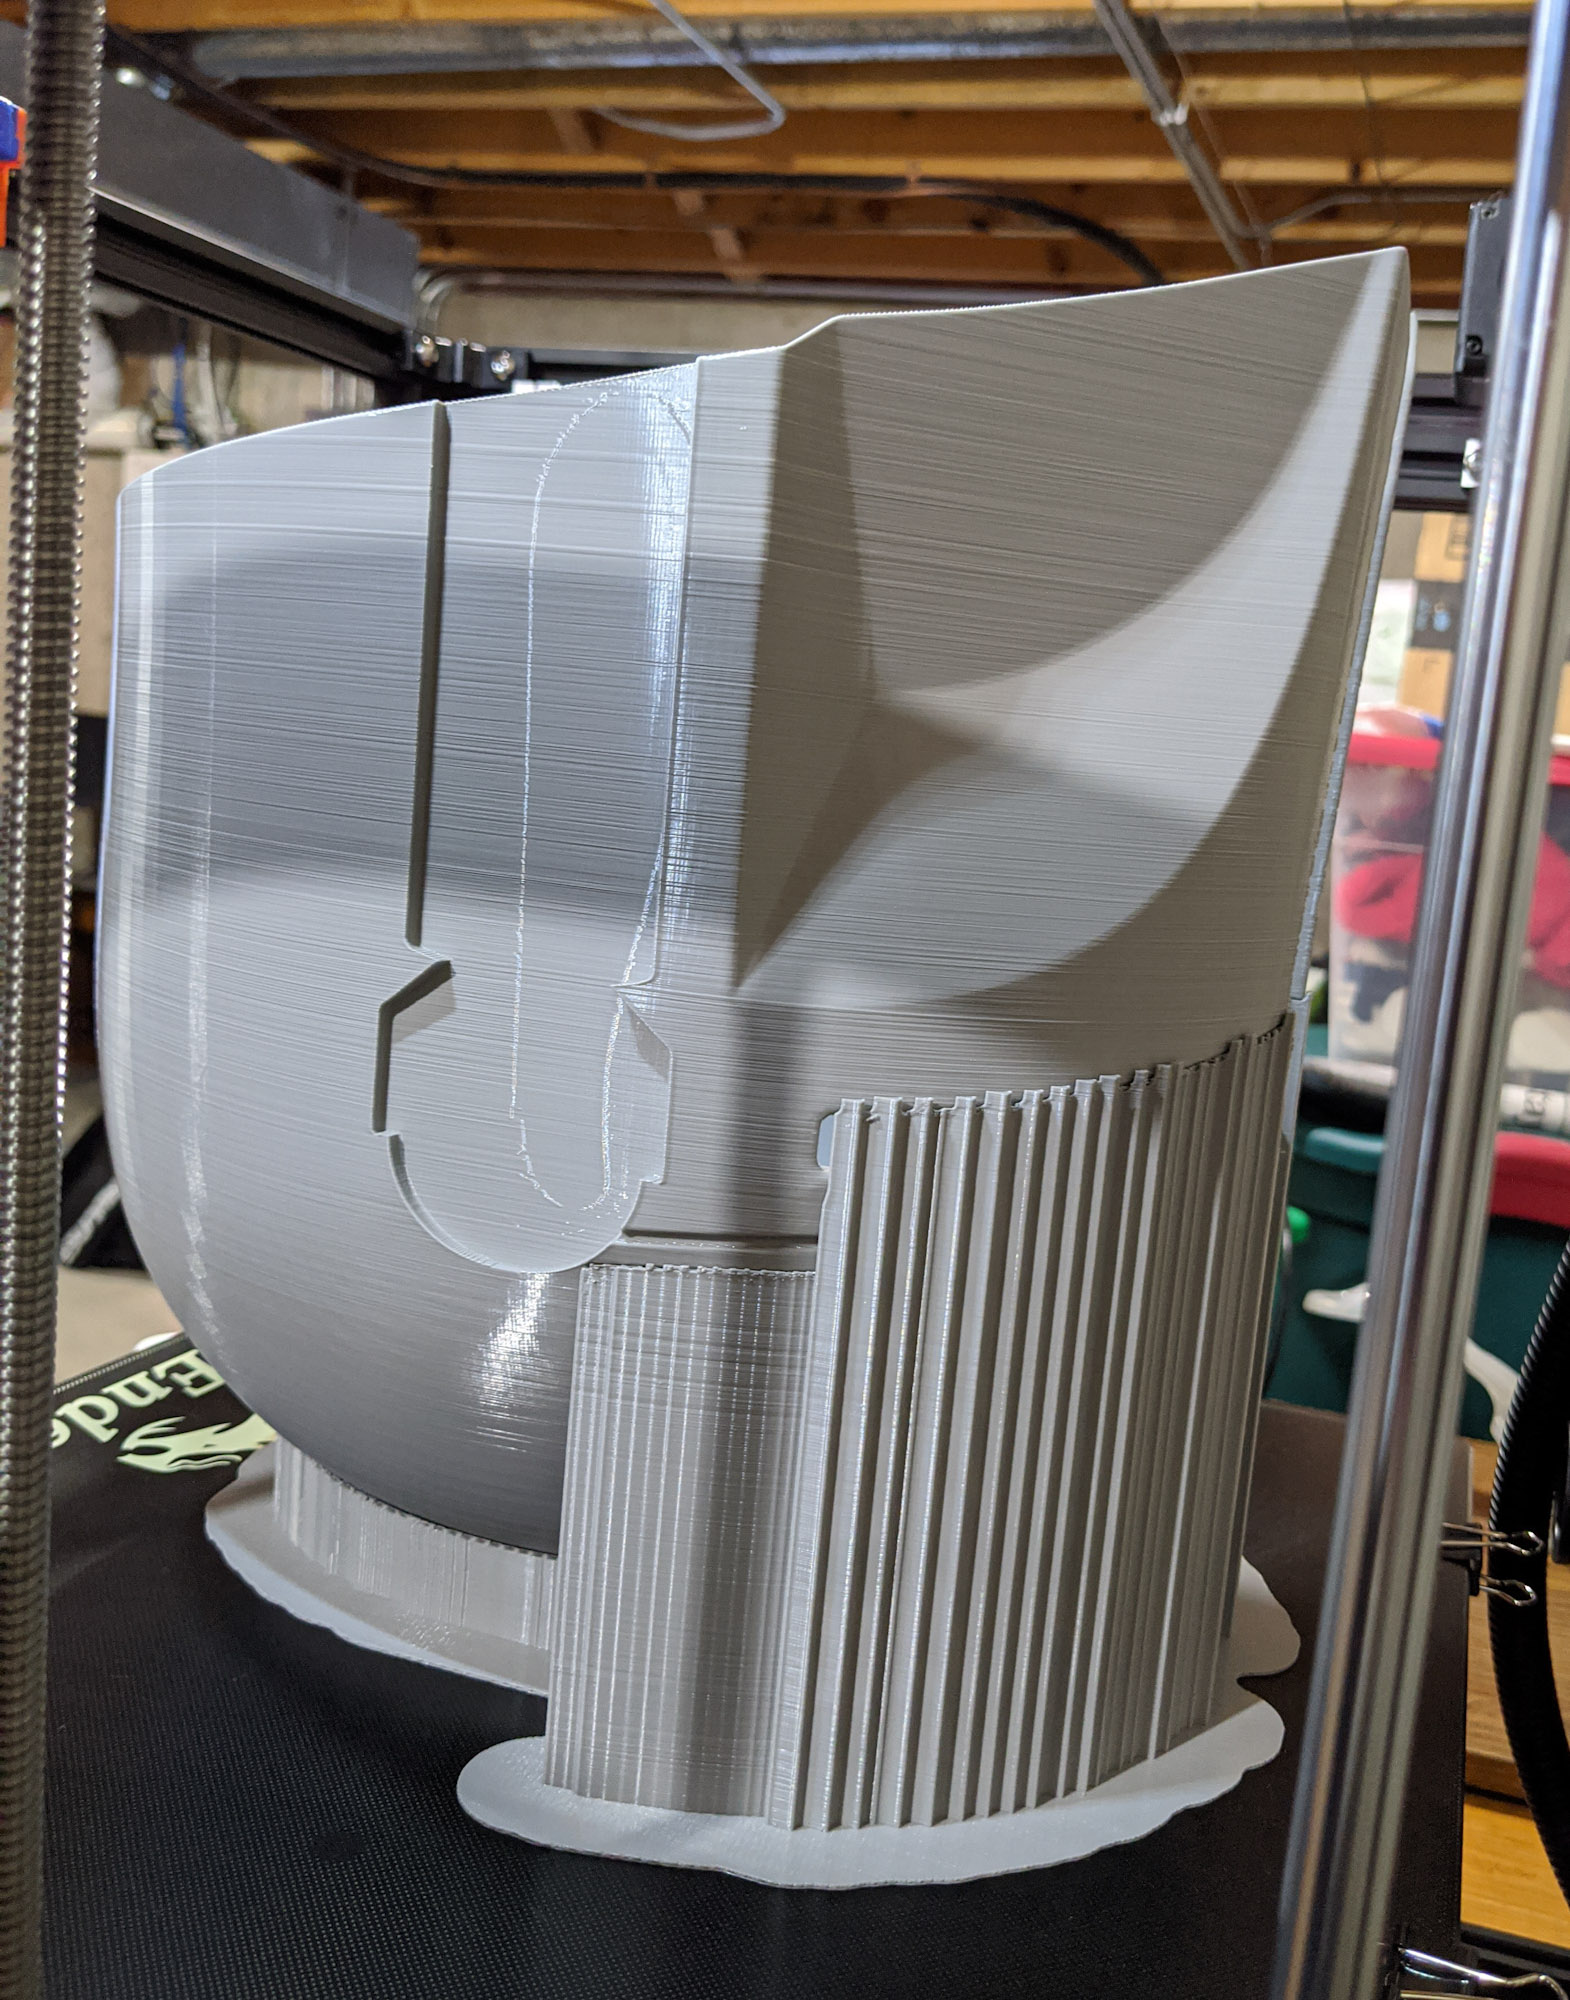
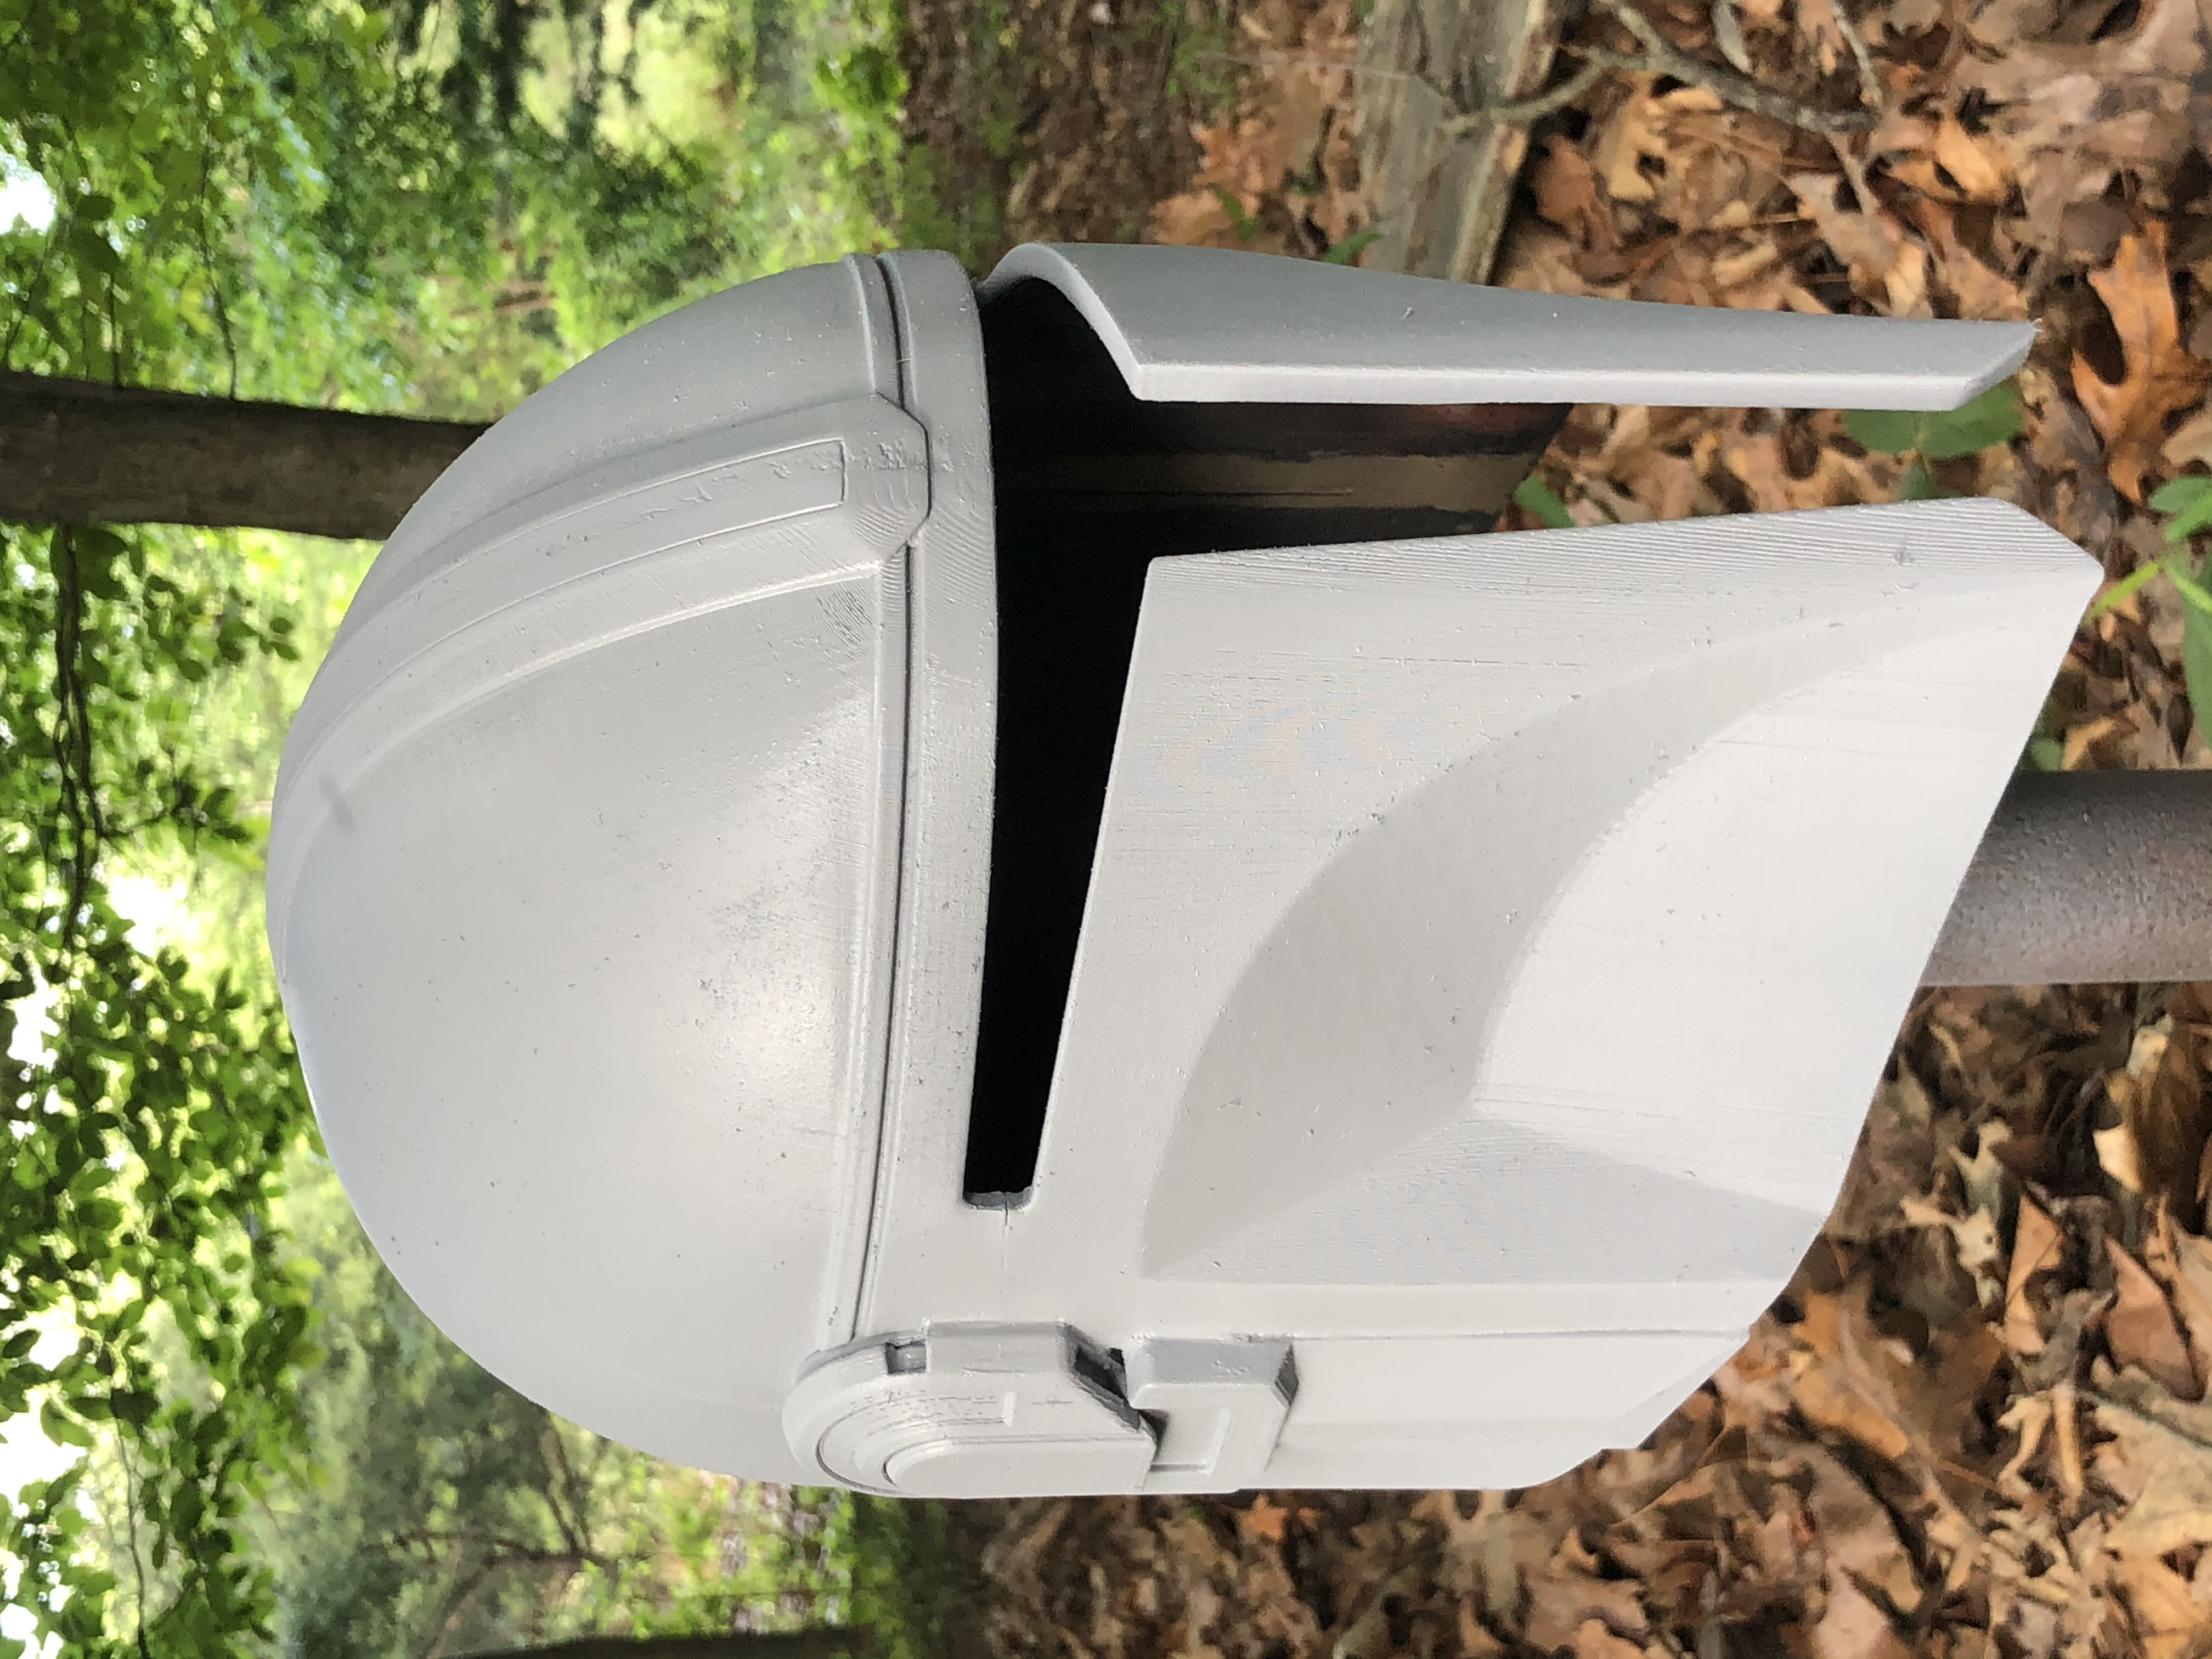
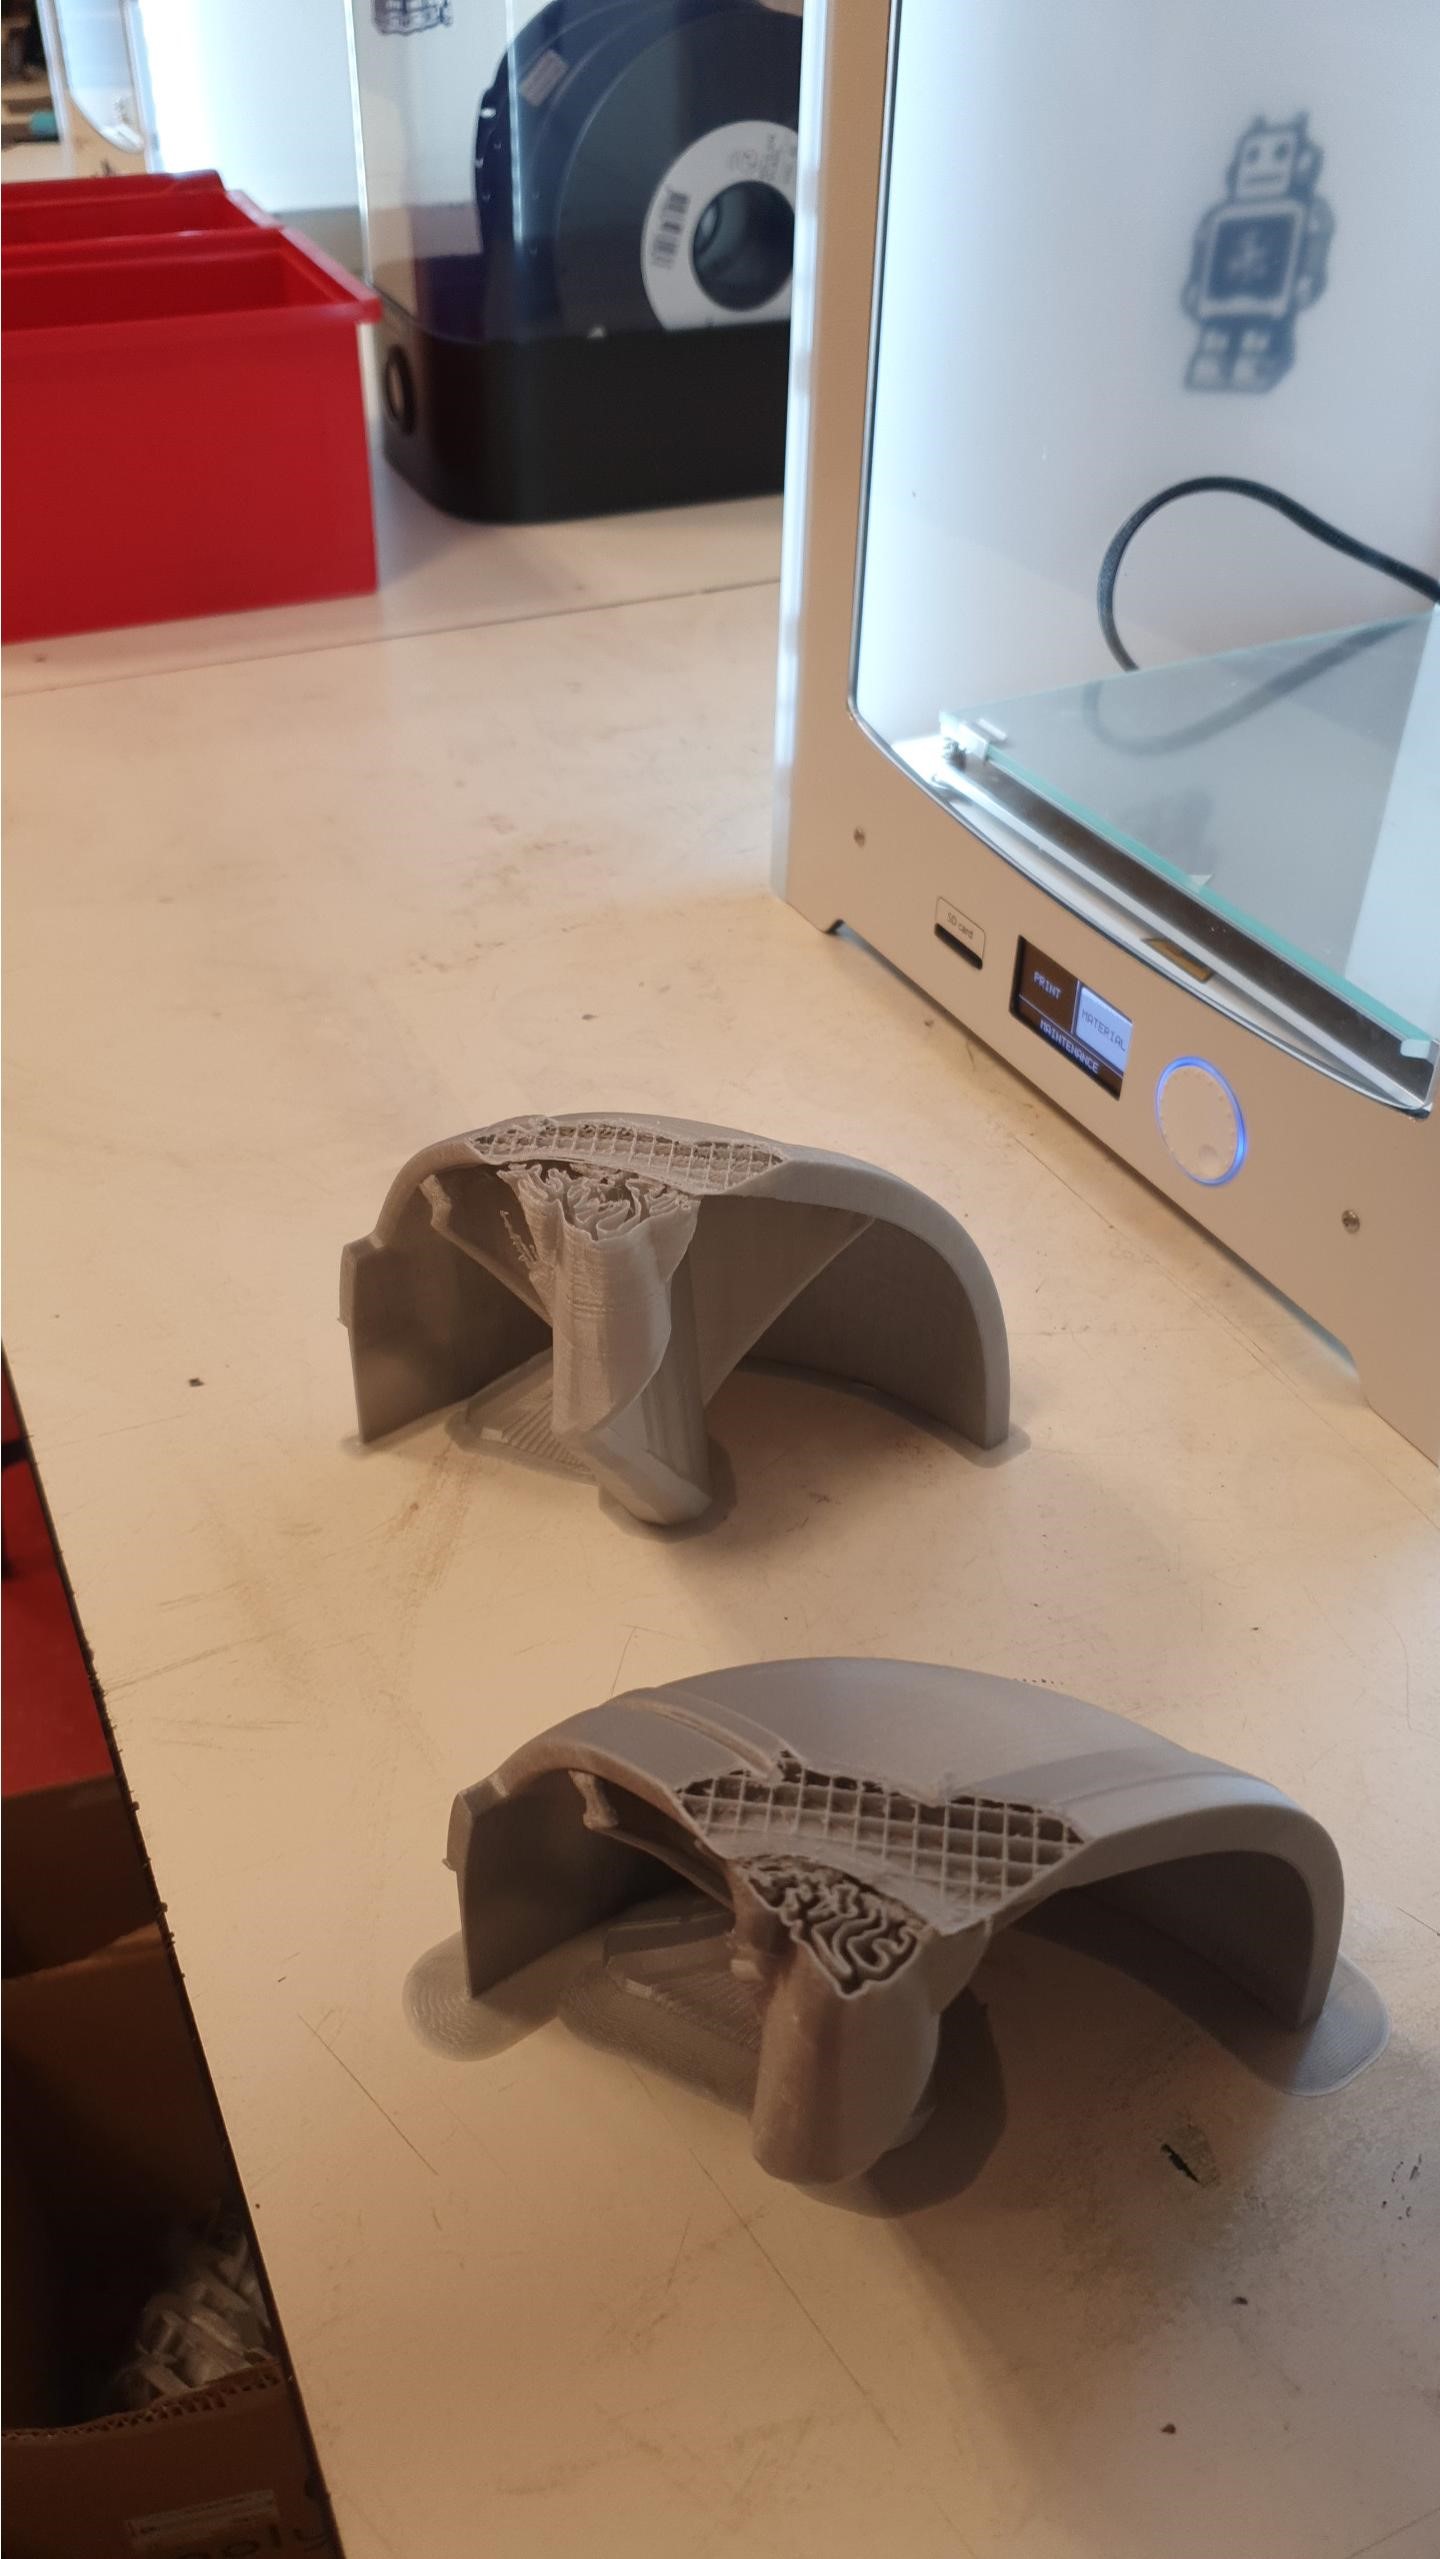
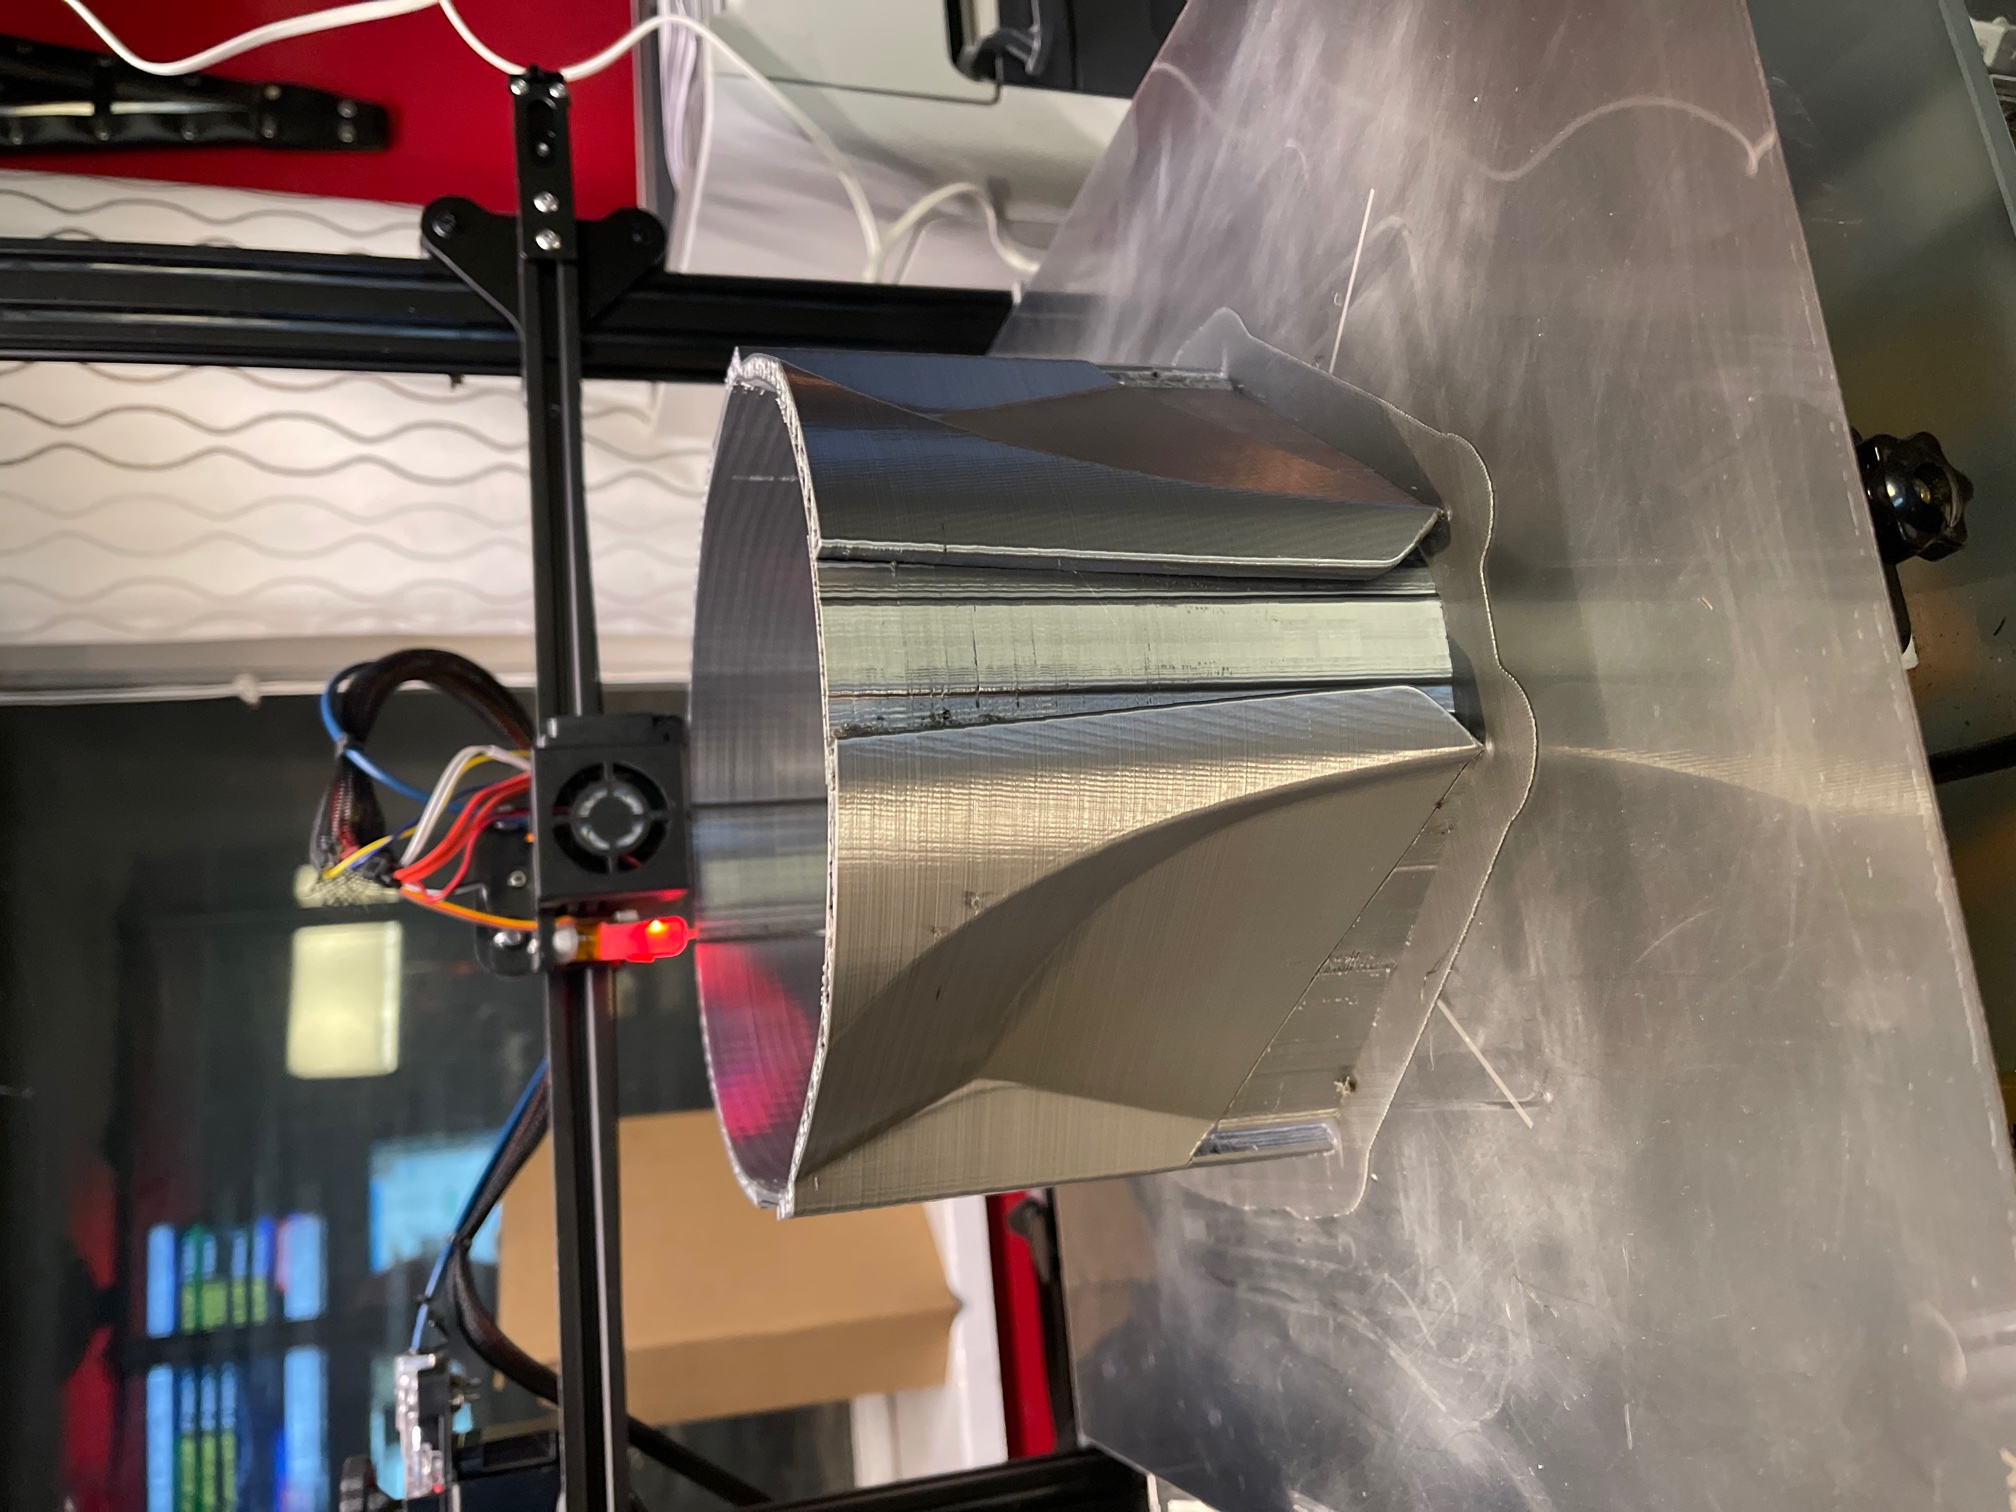
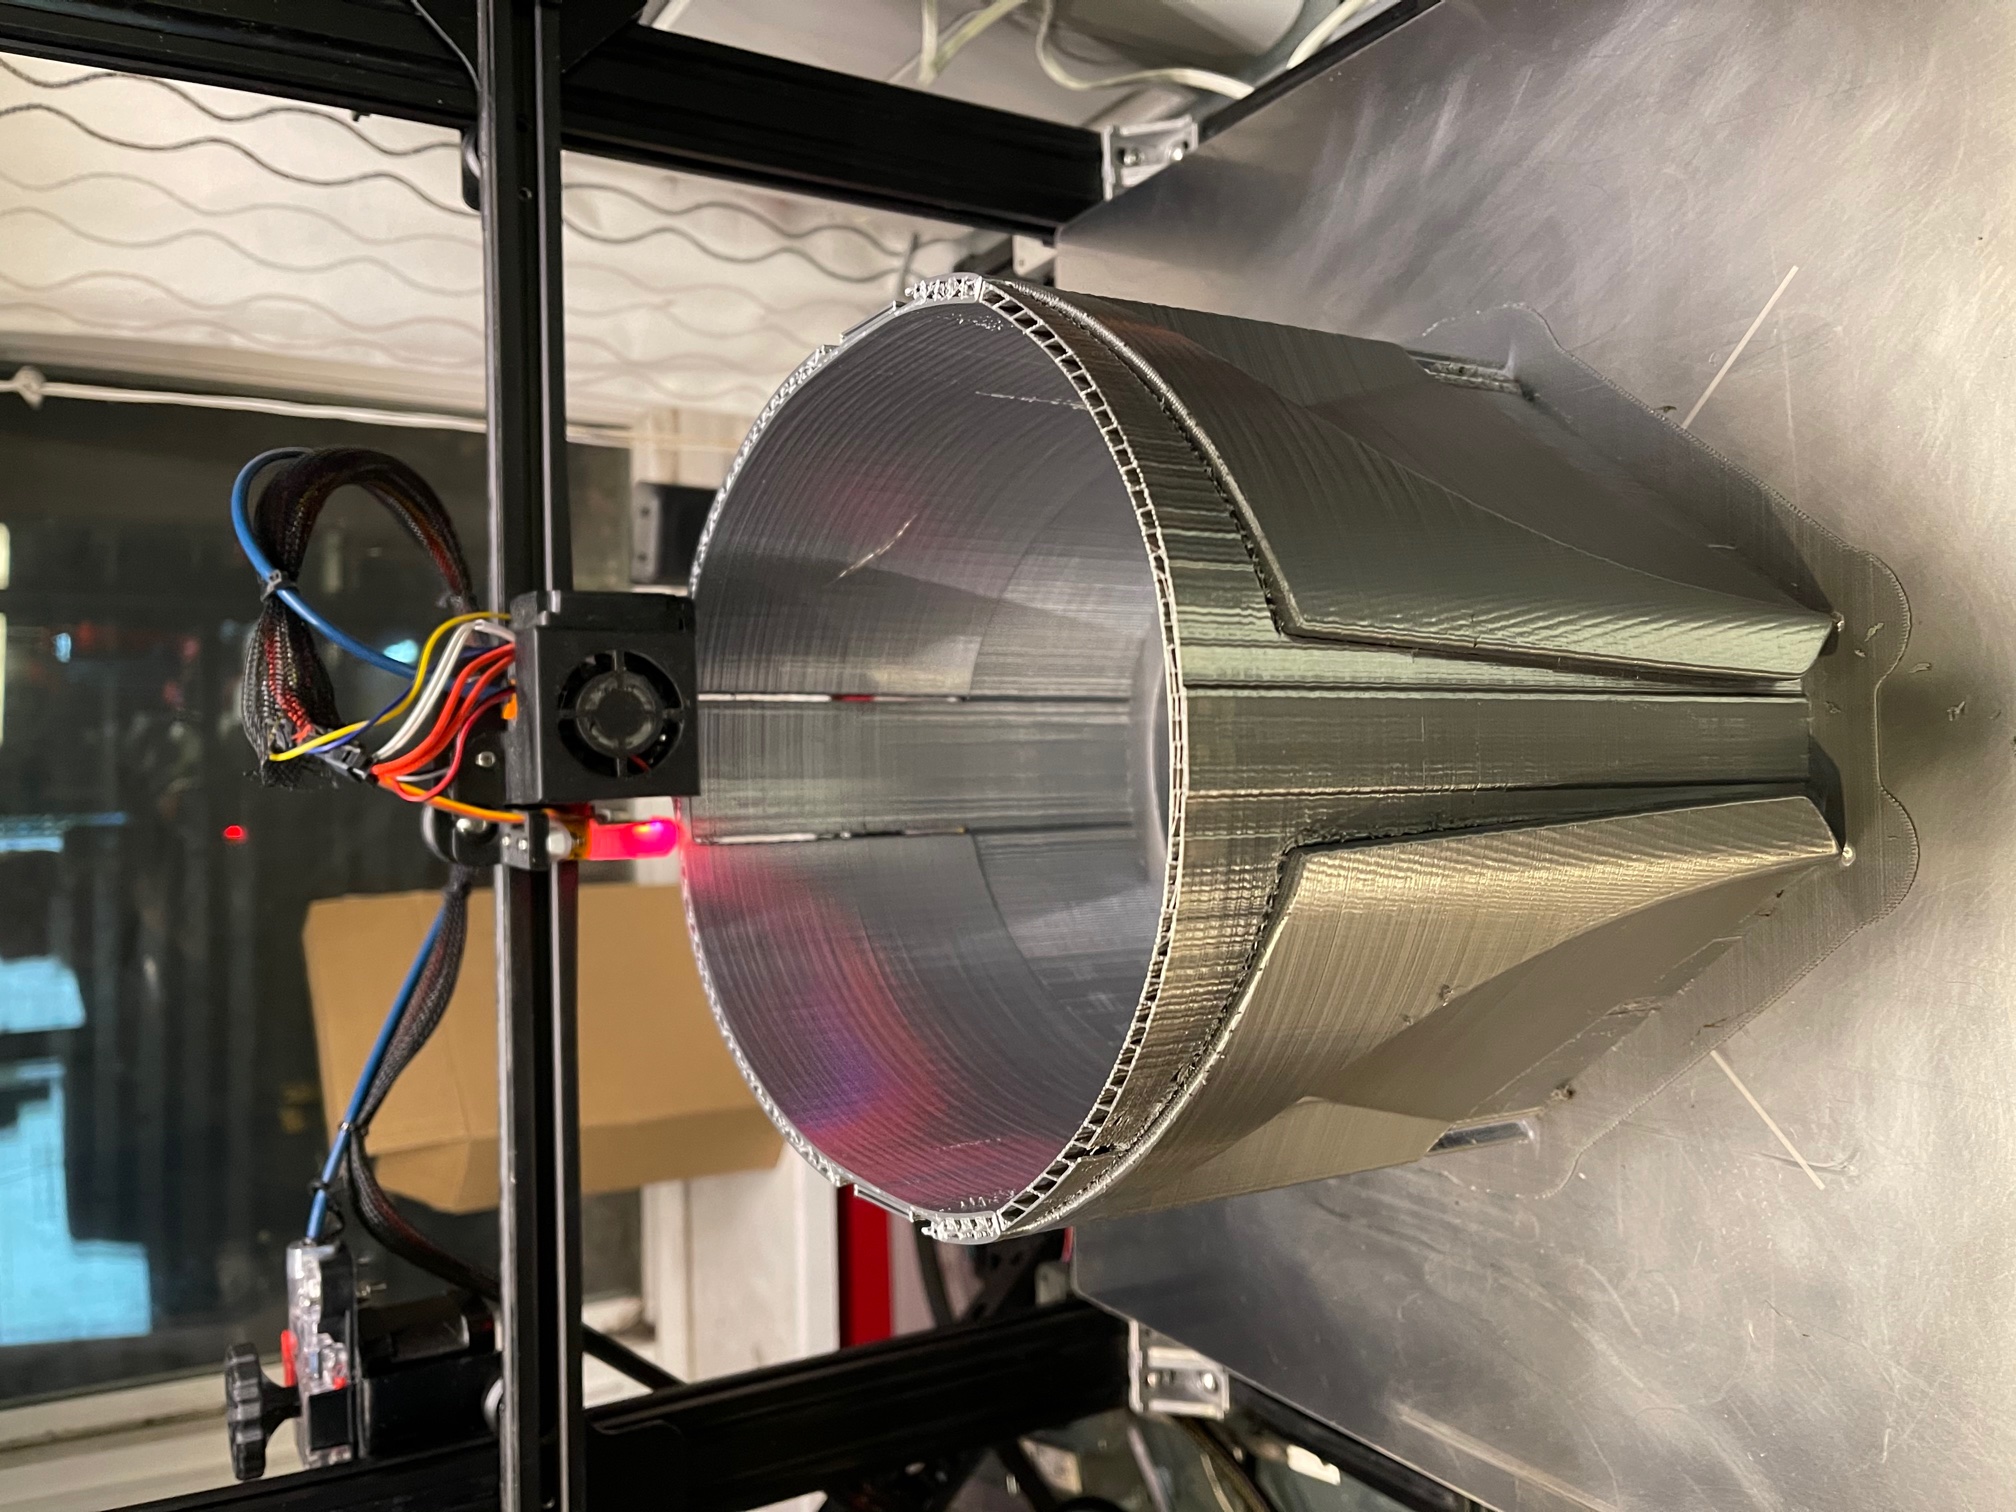
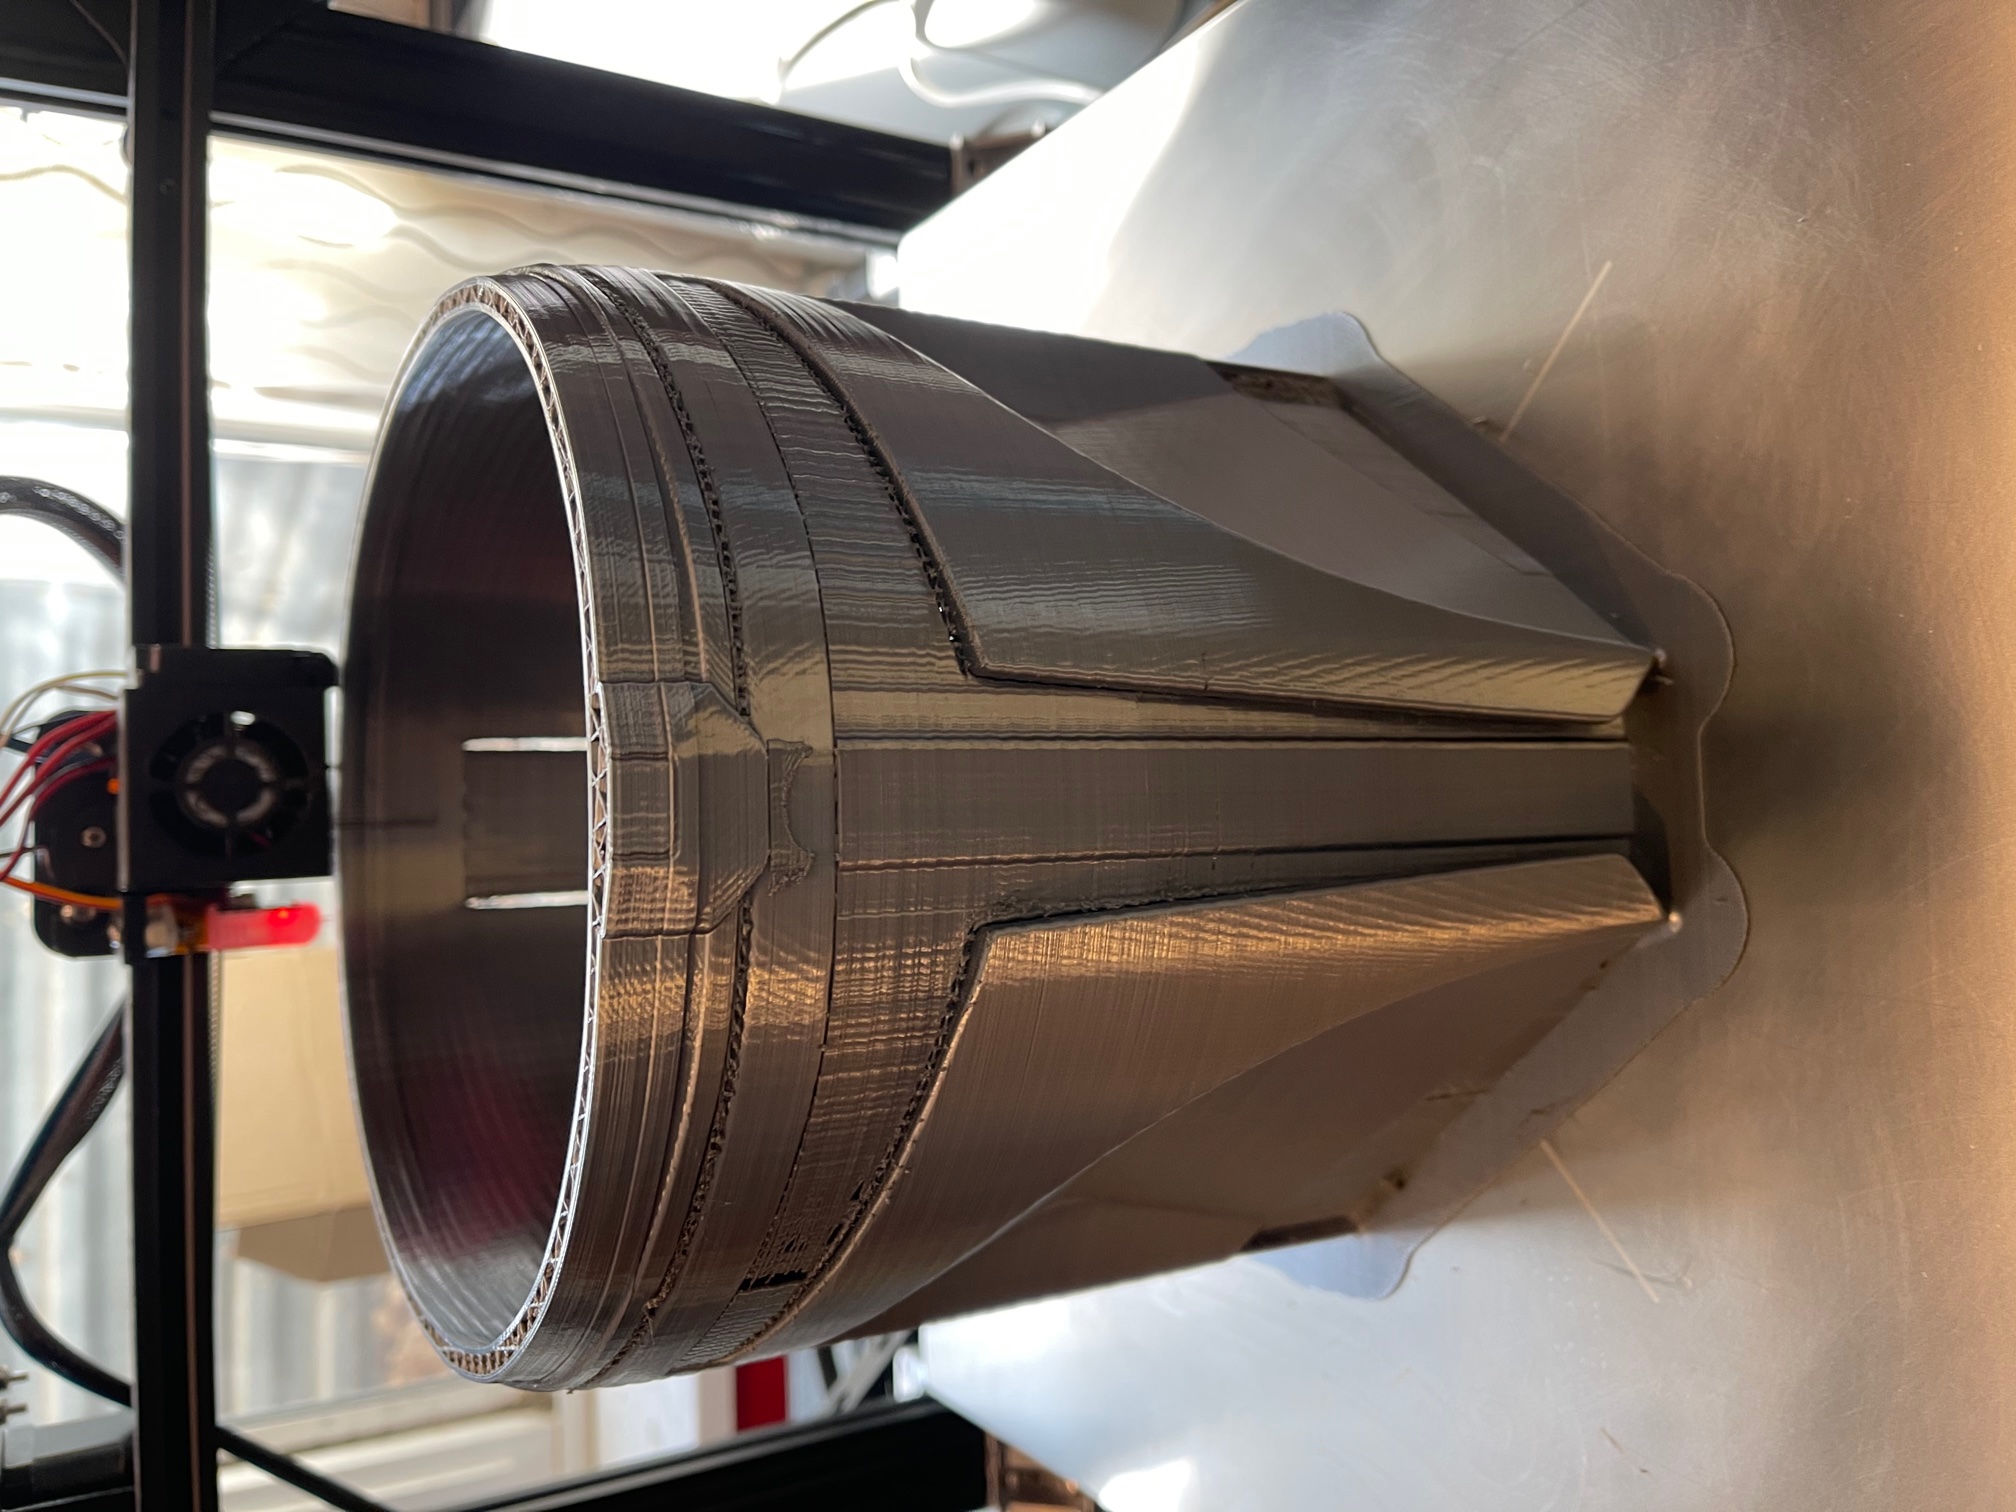
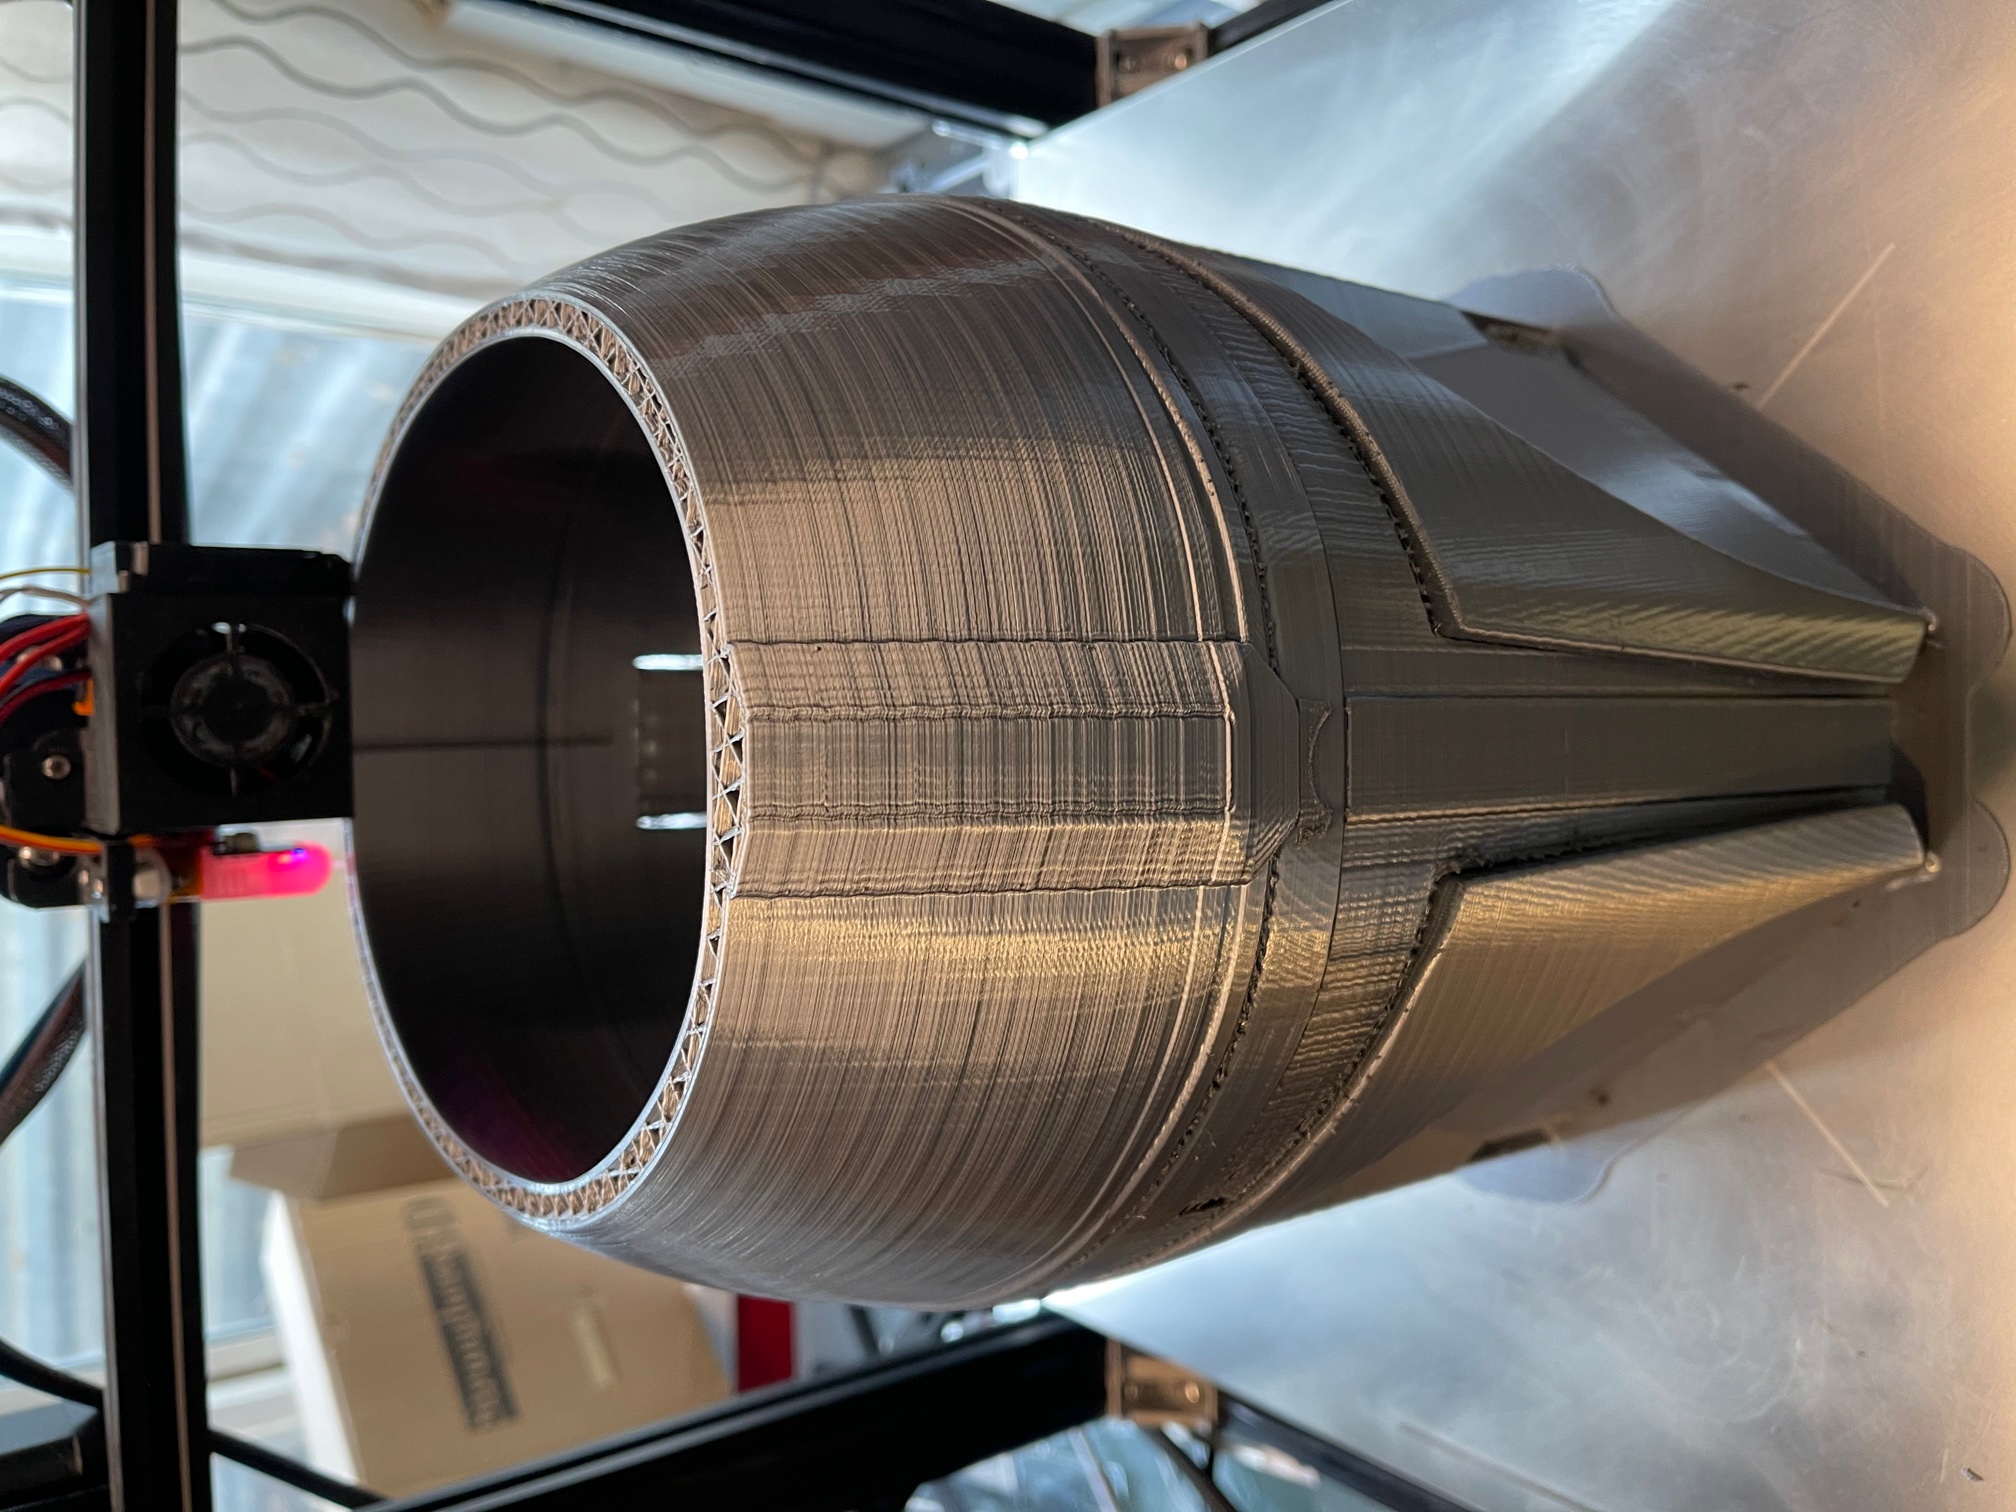
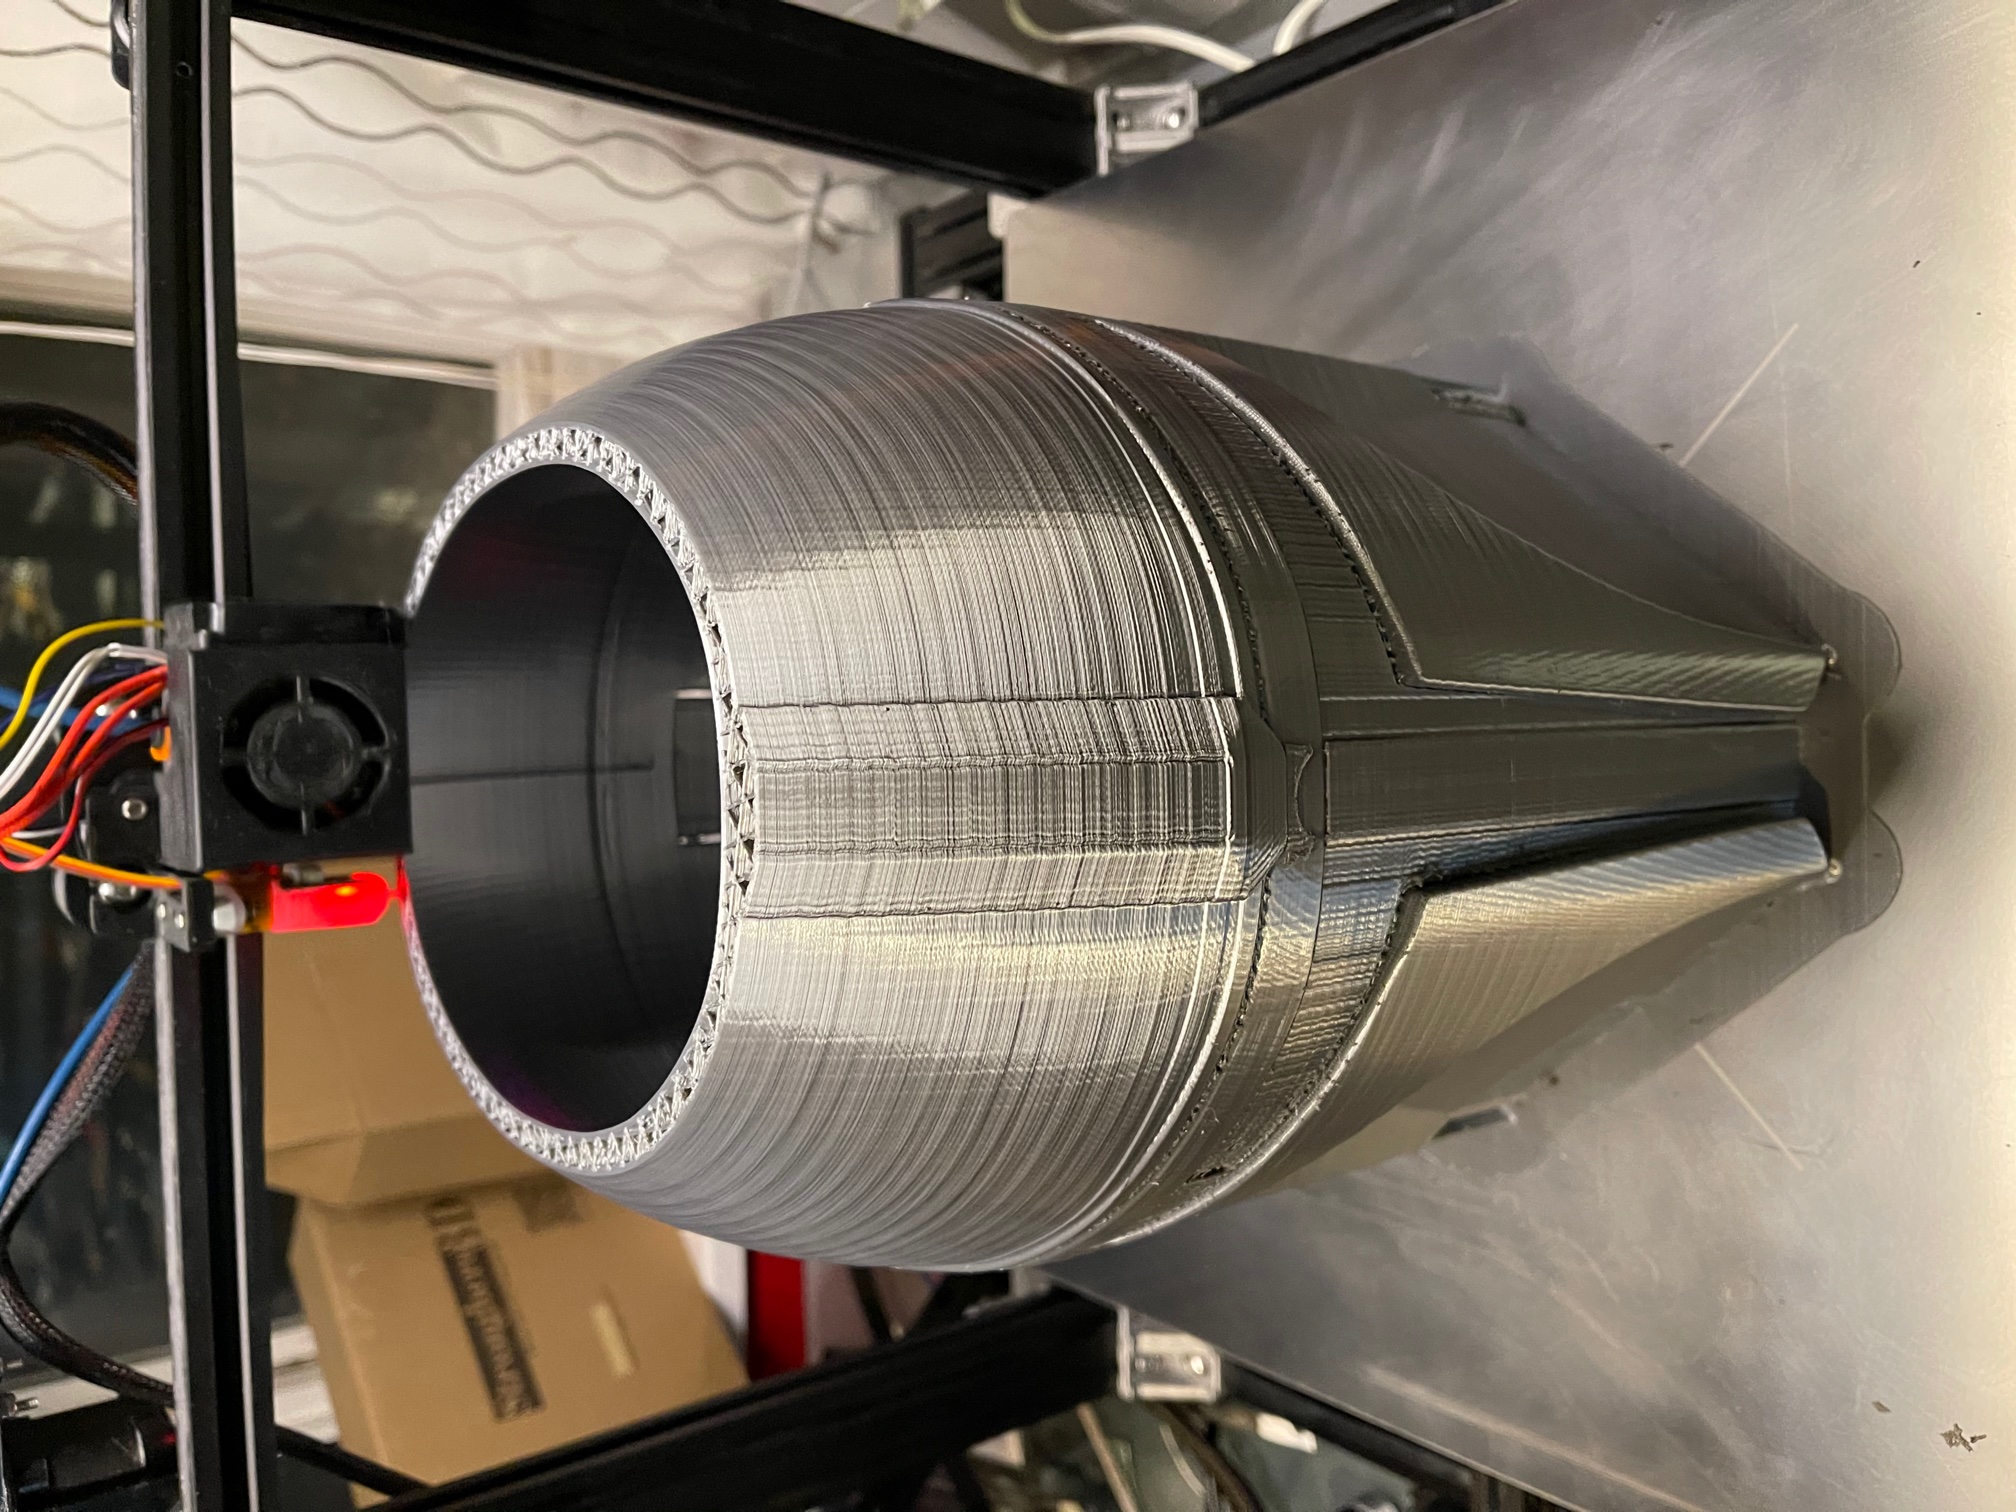
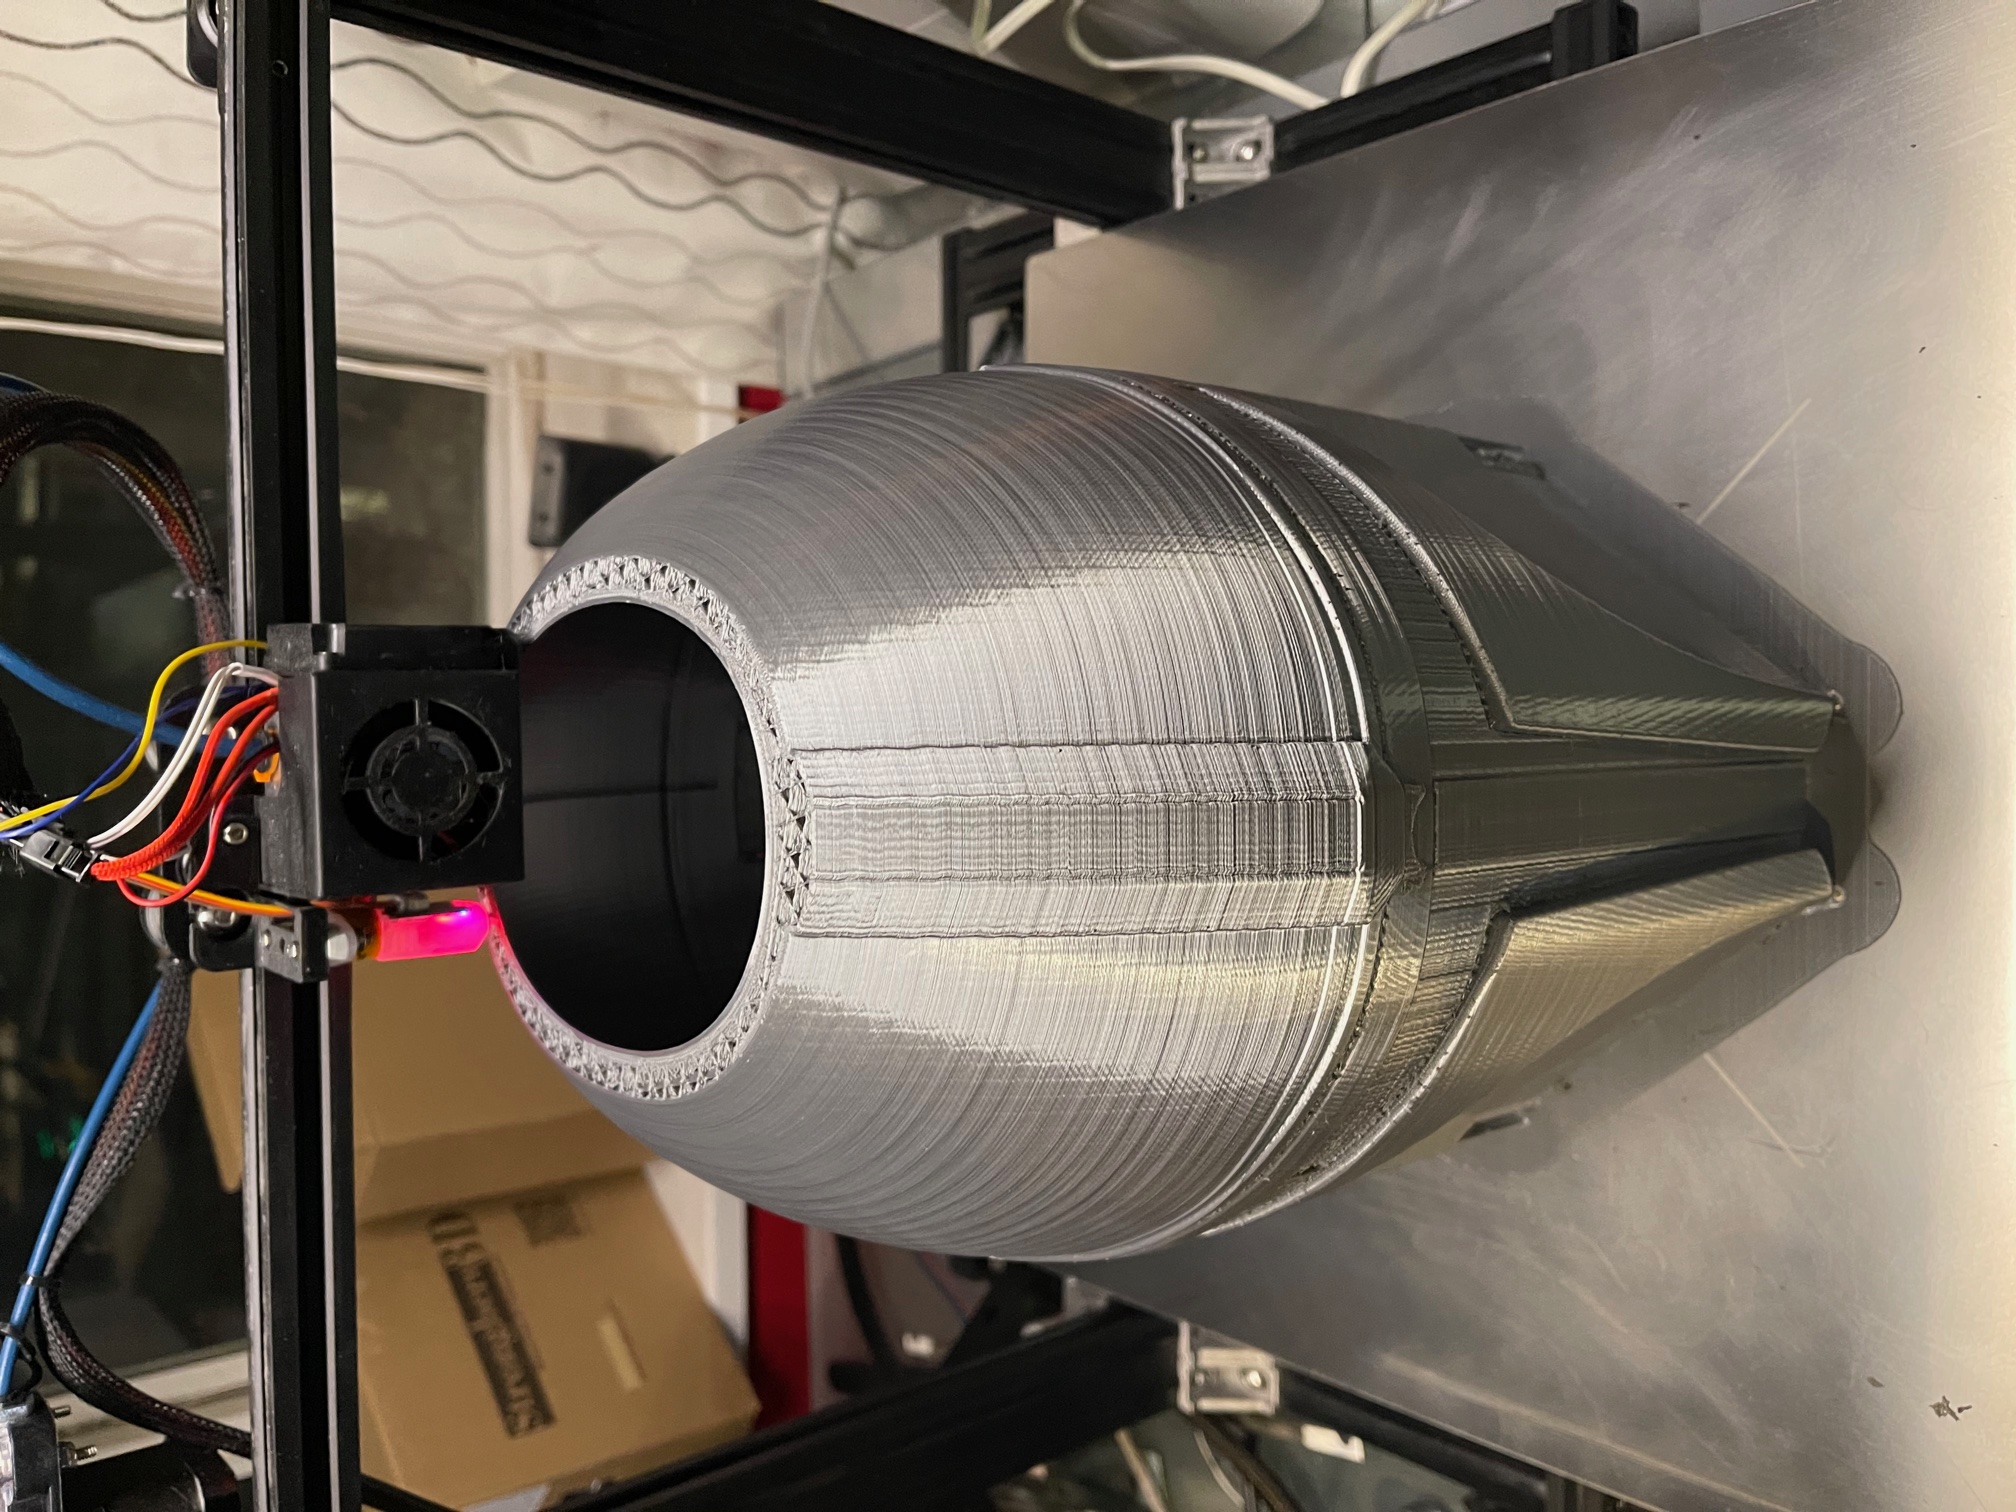
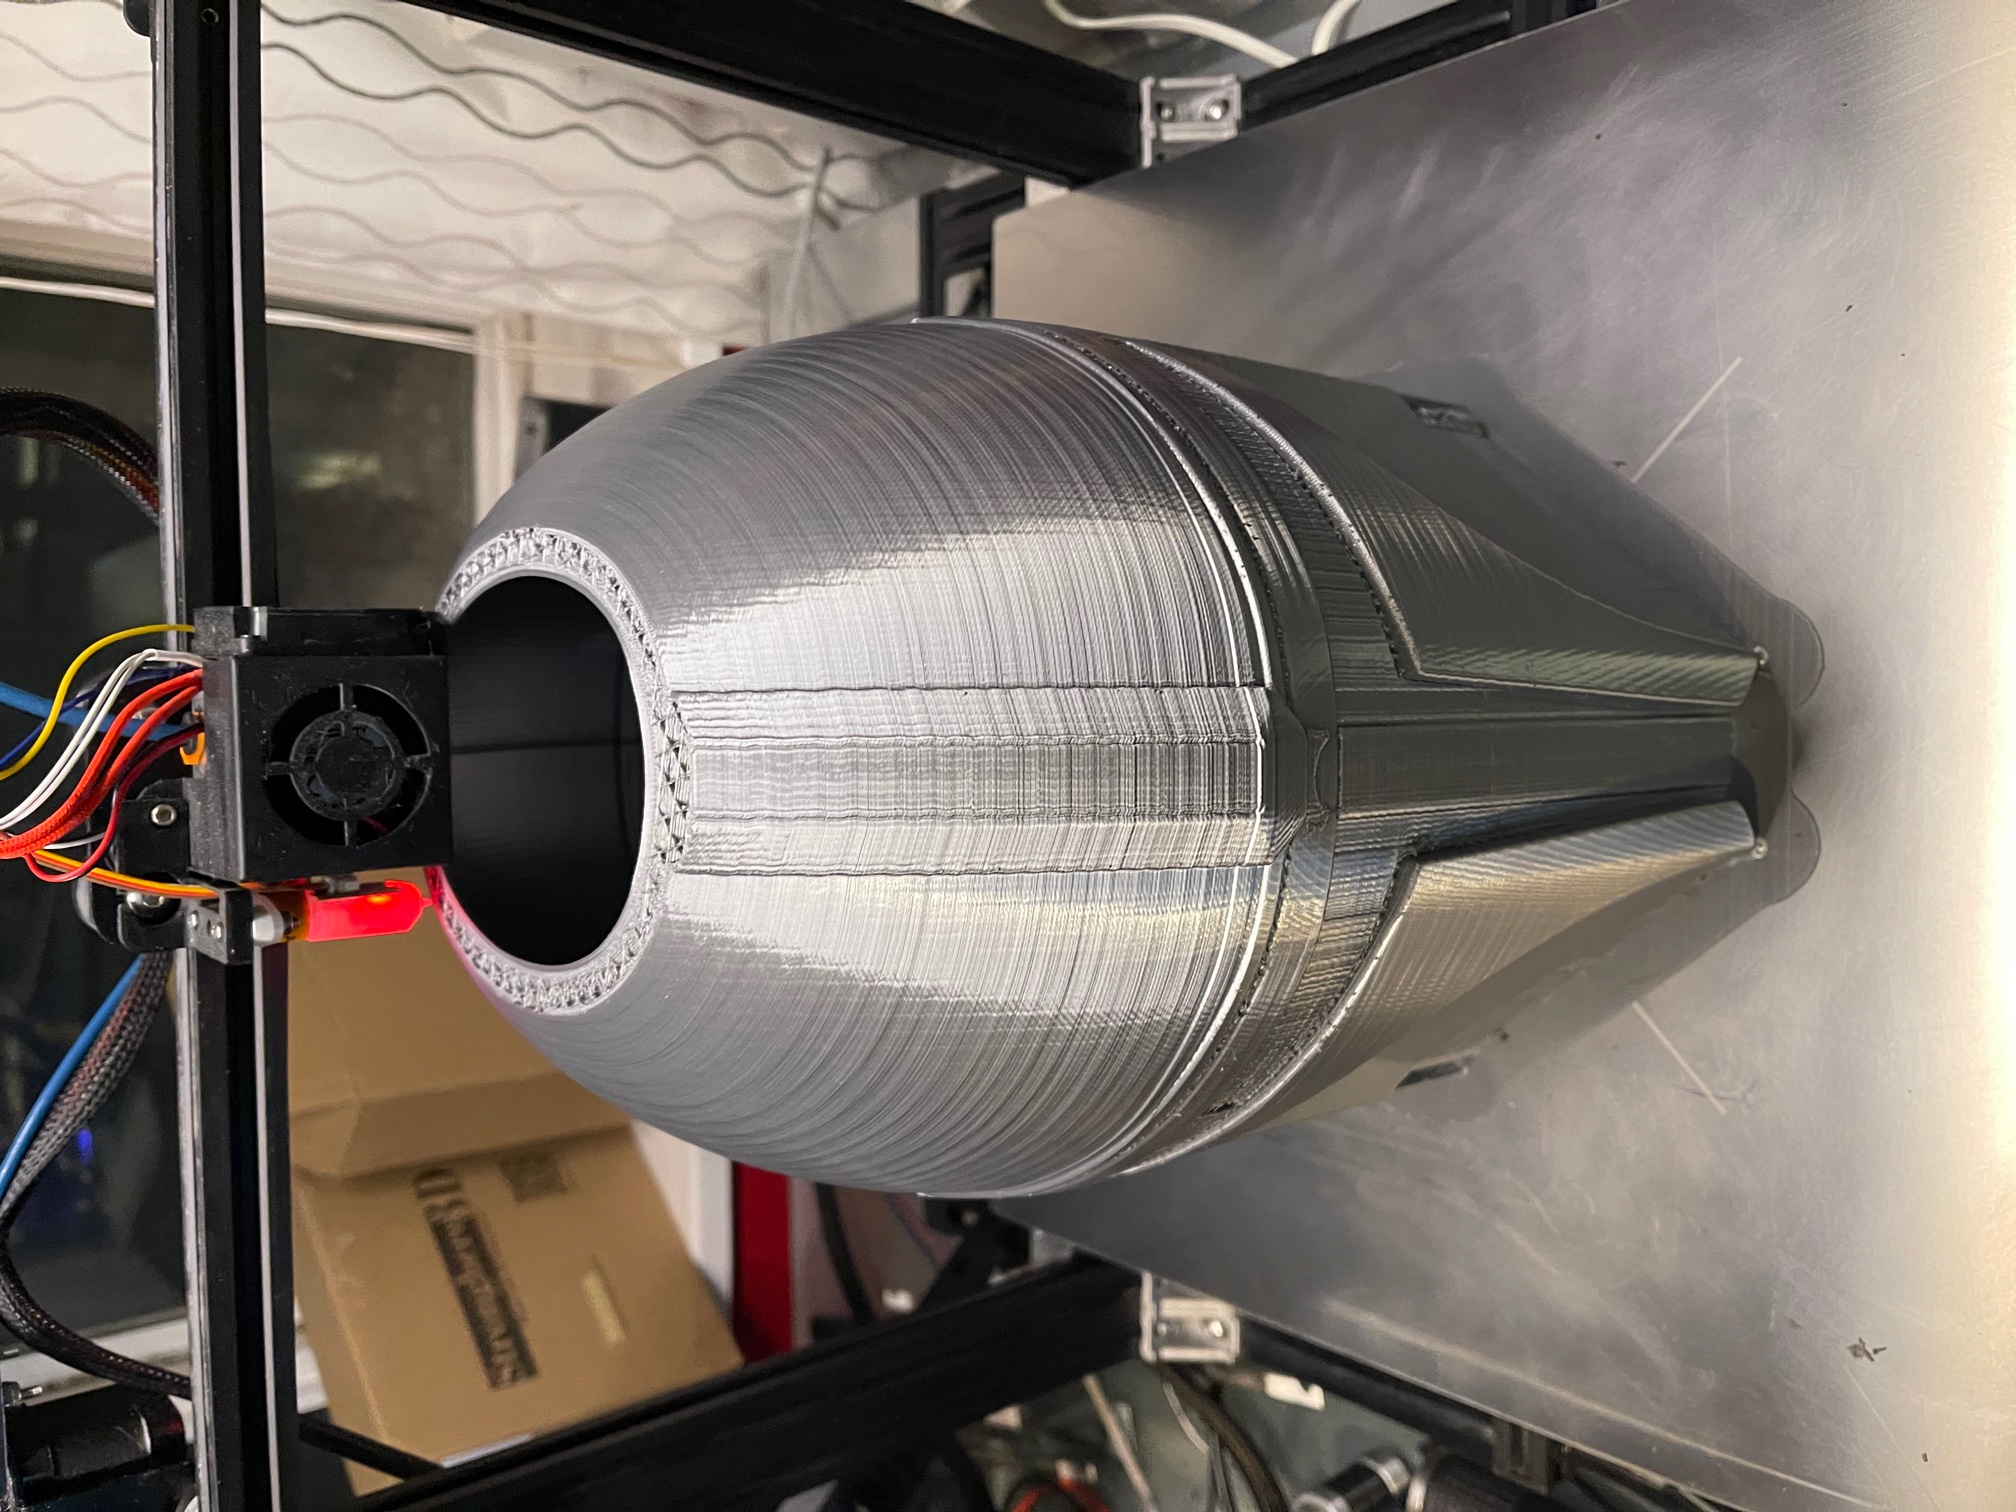
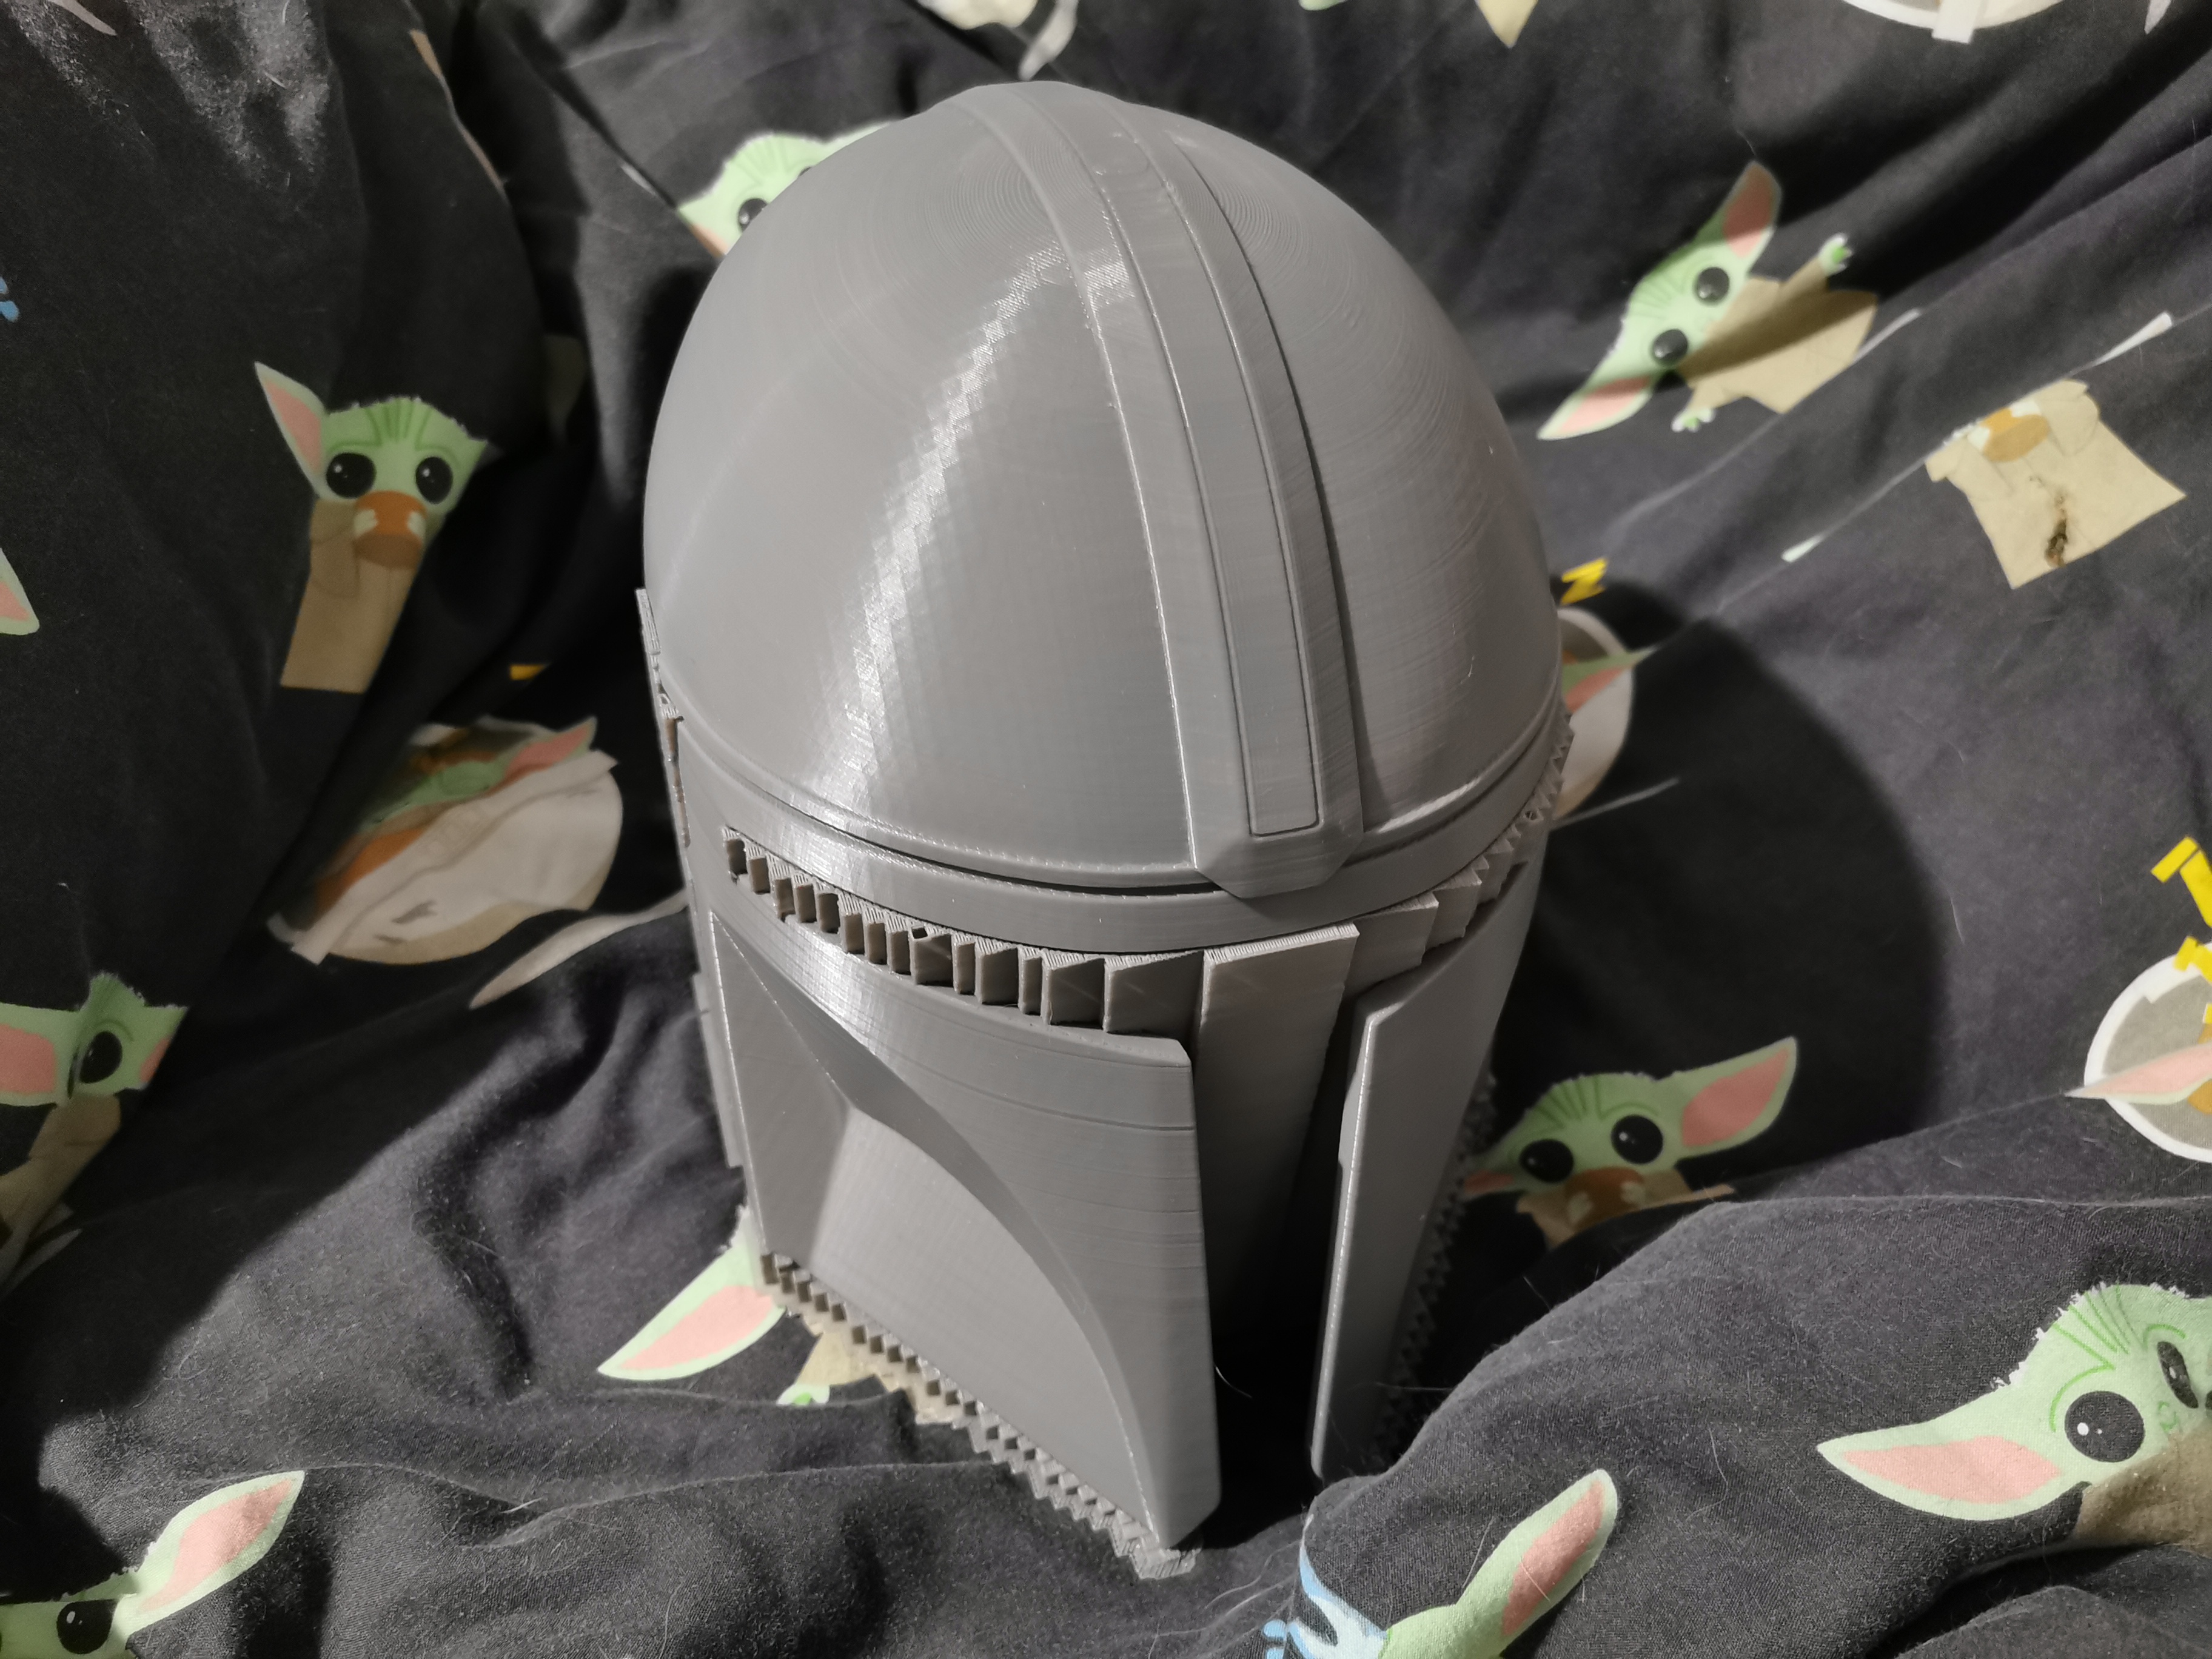
Anyone else getting this level of striation on the vent piece? Is this a model or printer/slicing issue?
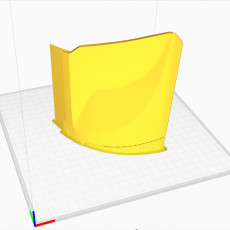
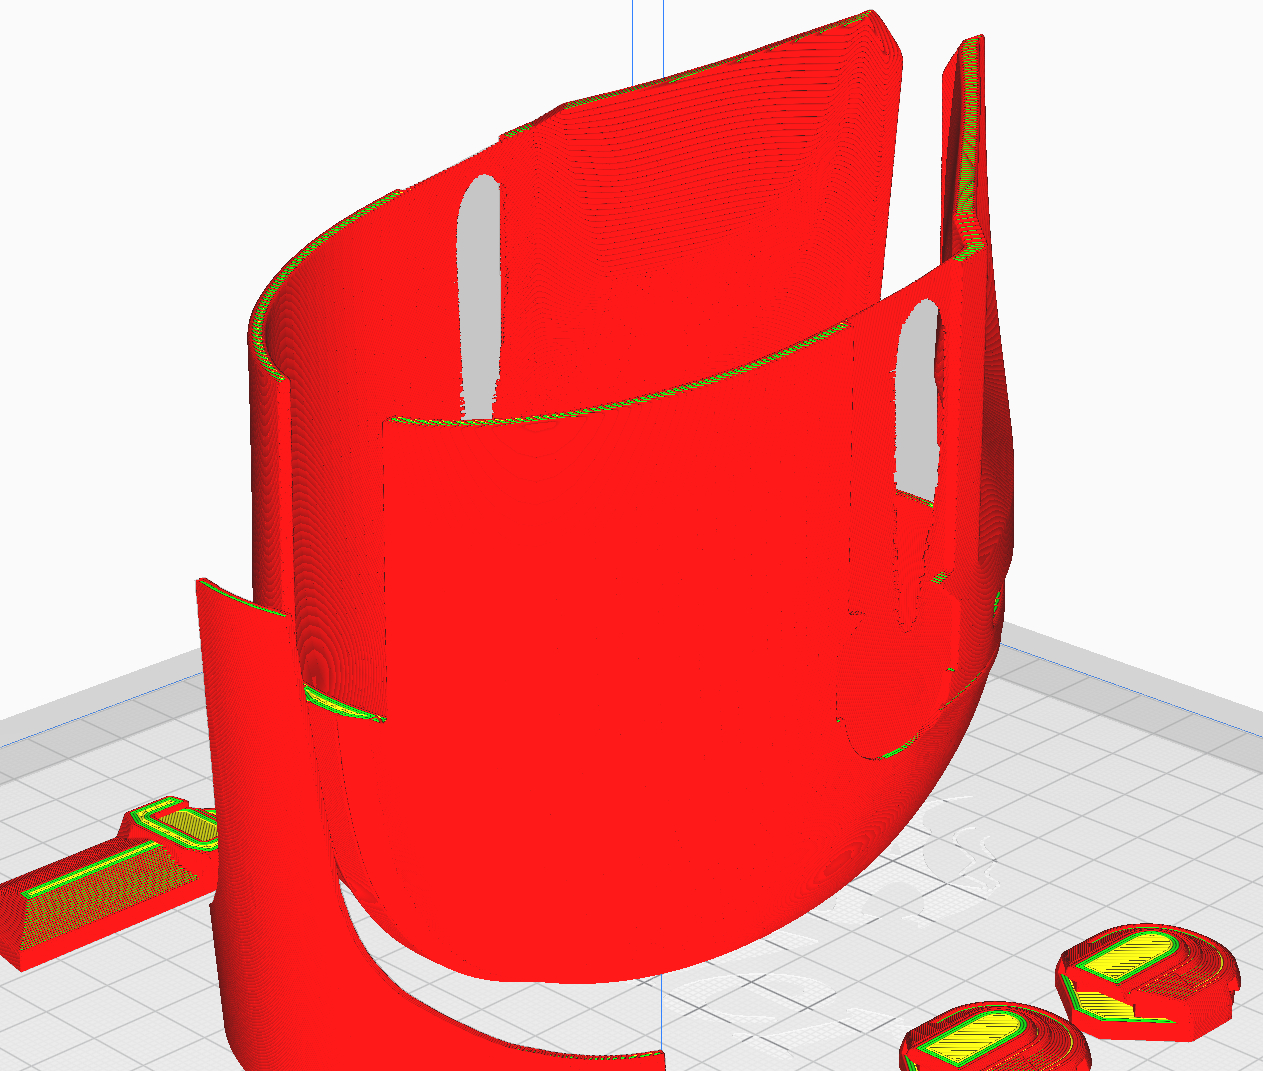
@swordgon I flipped the front pieces upside down and printed with supports just under the slope.
I printed mine in the default orientation with a brim and tree supports.
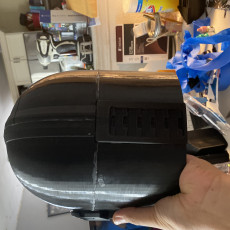
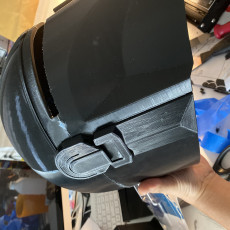
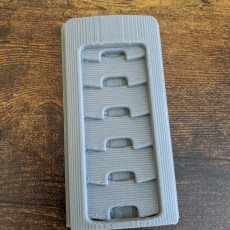
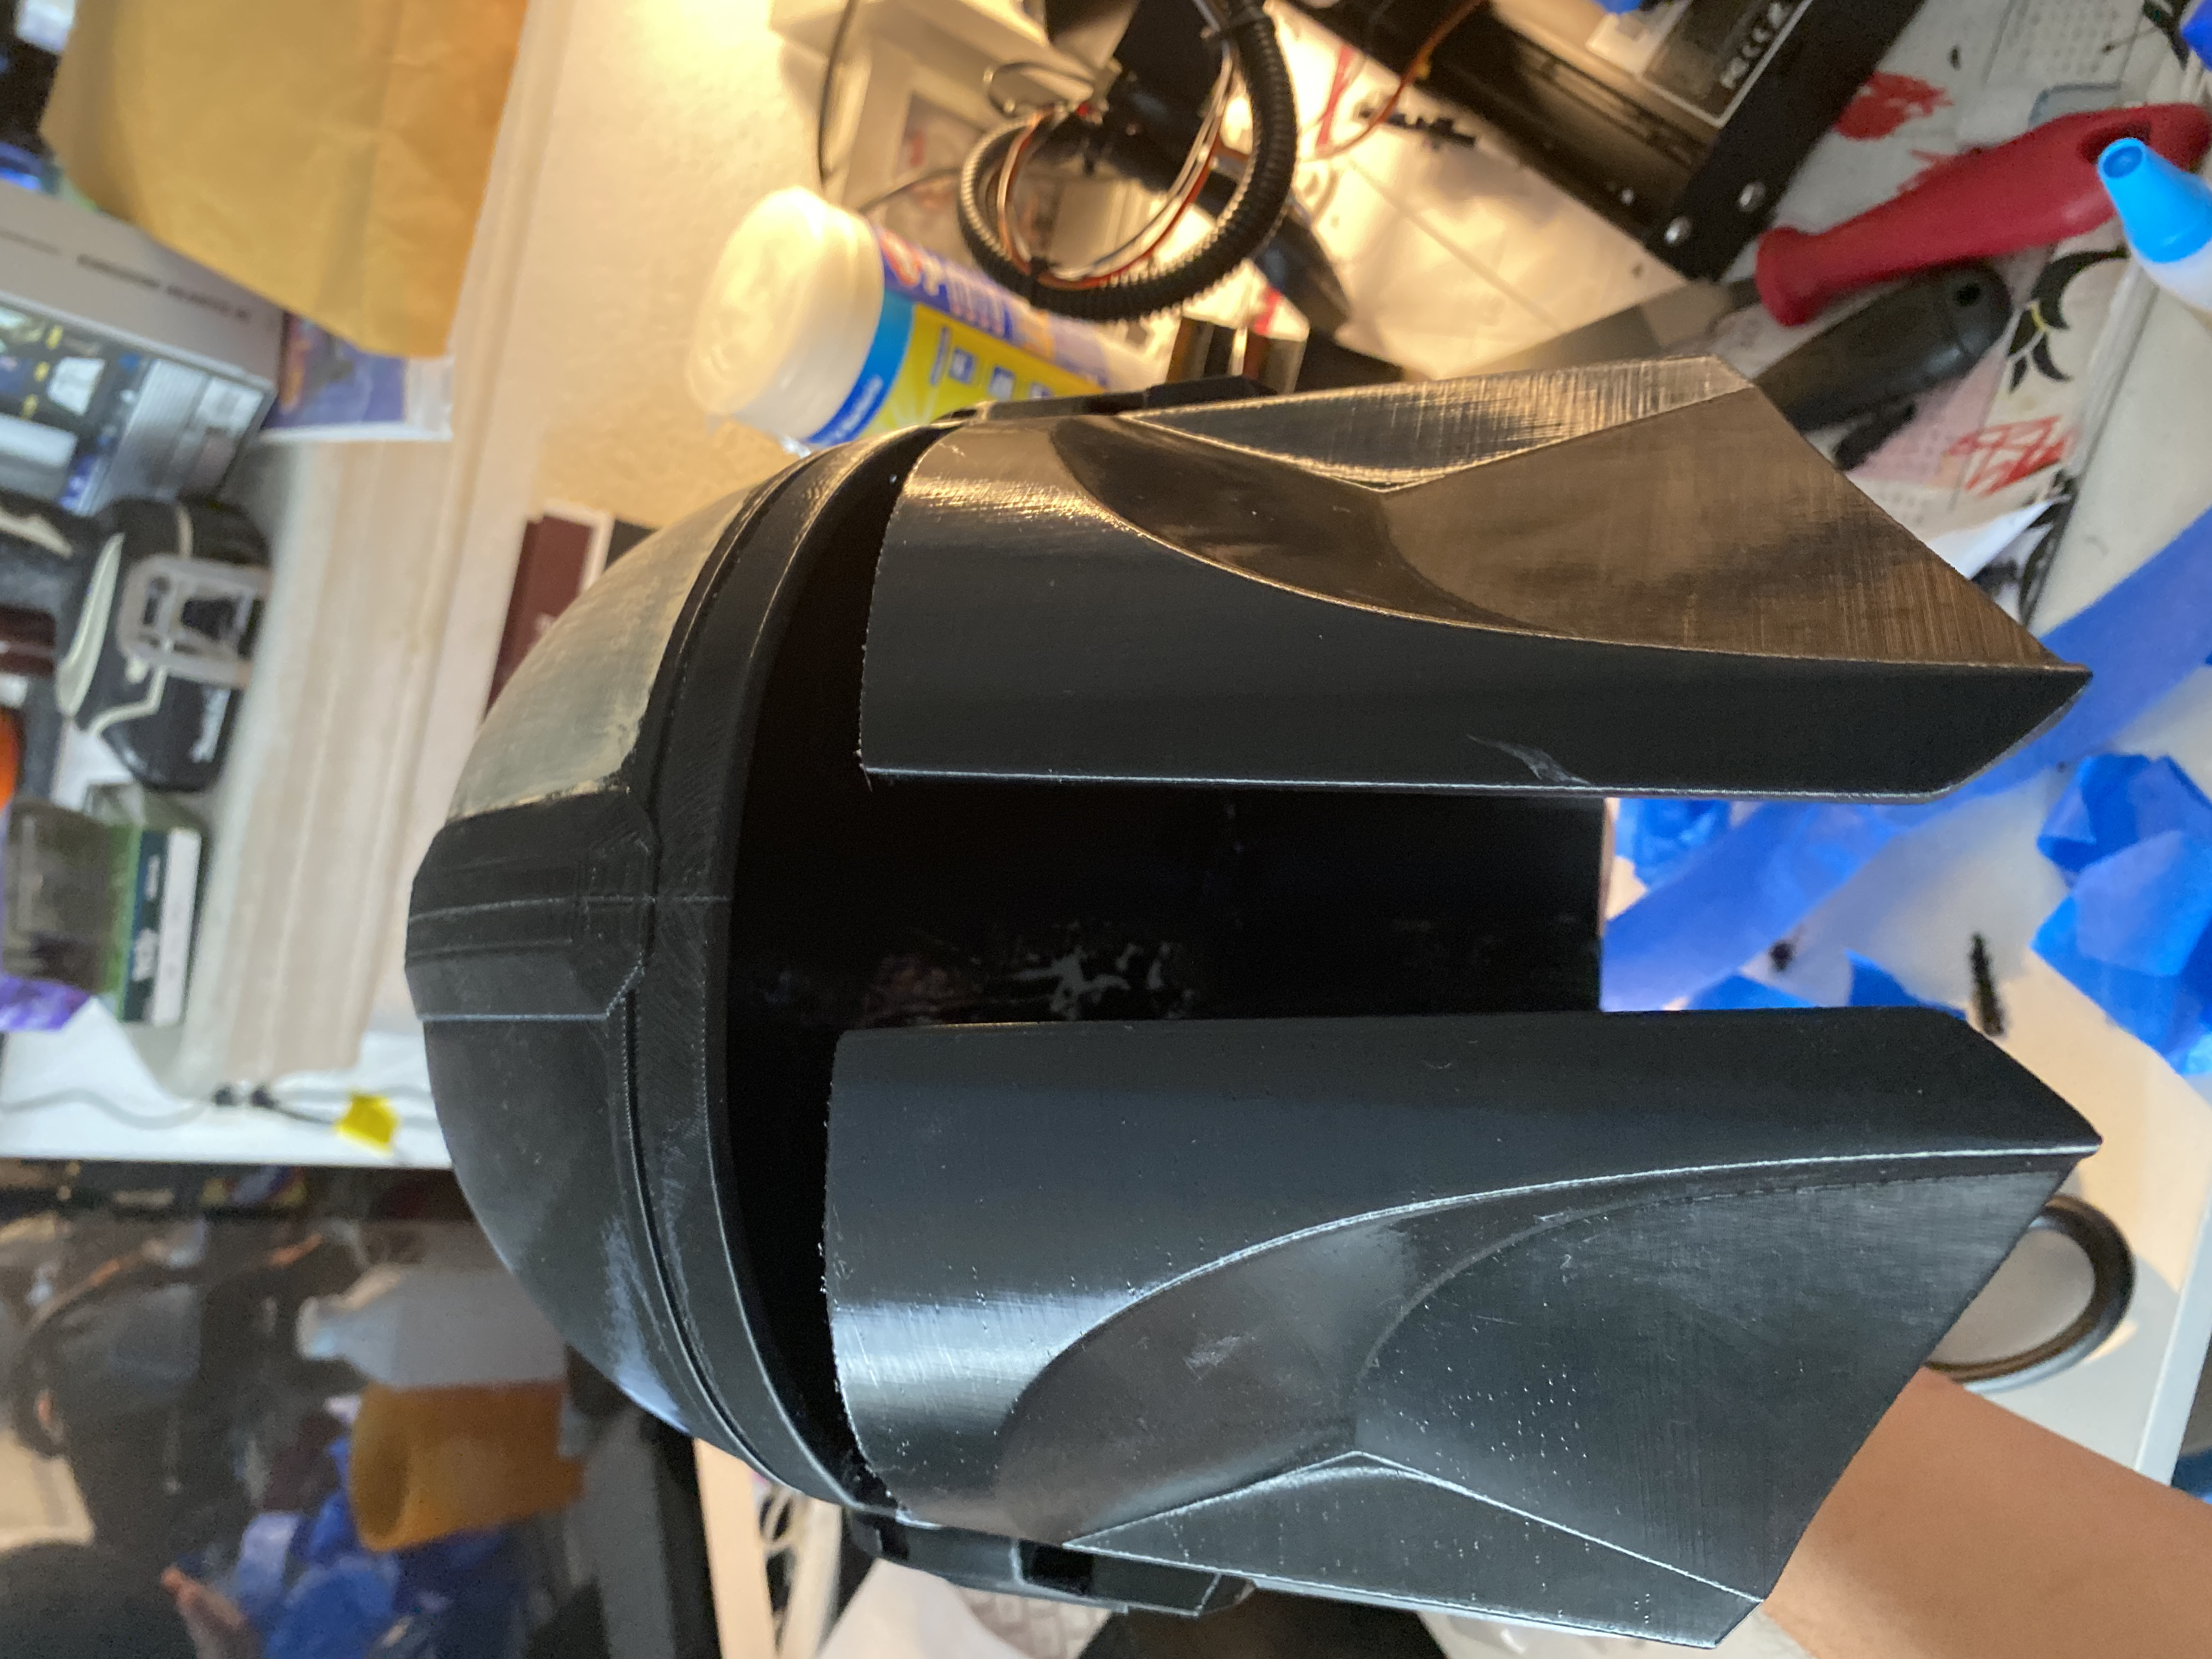
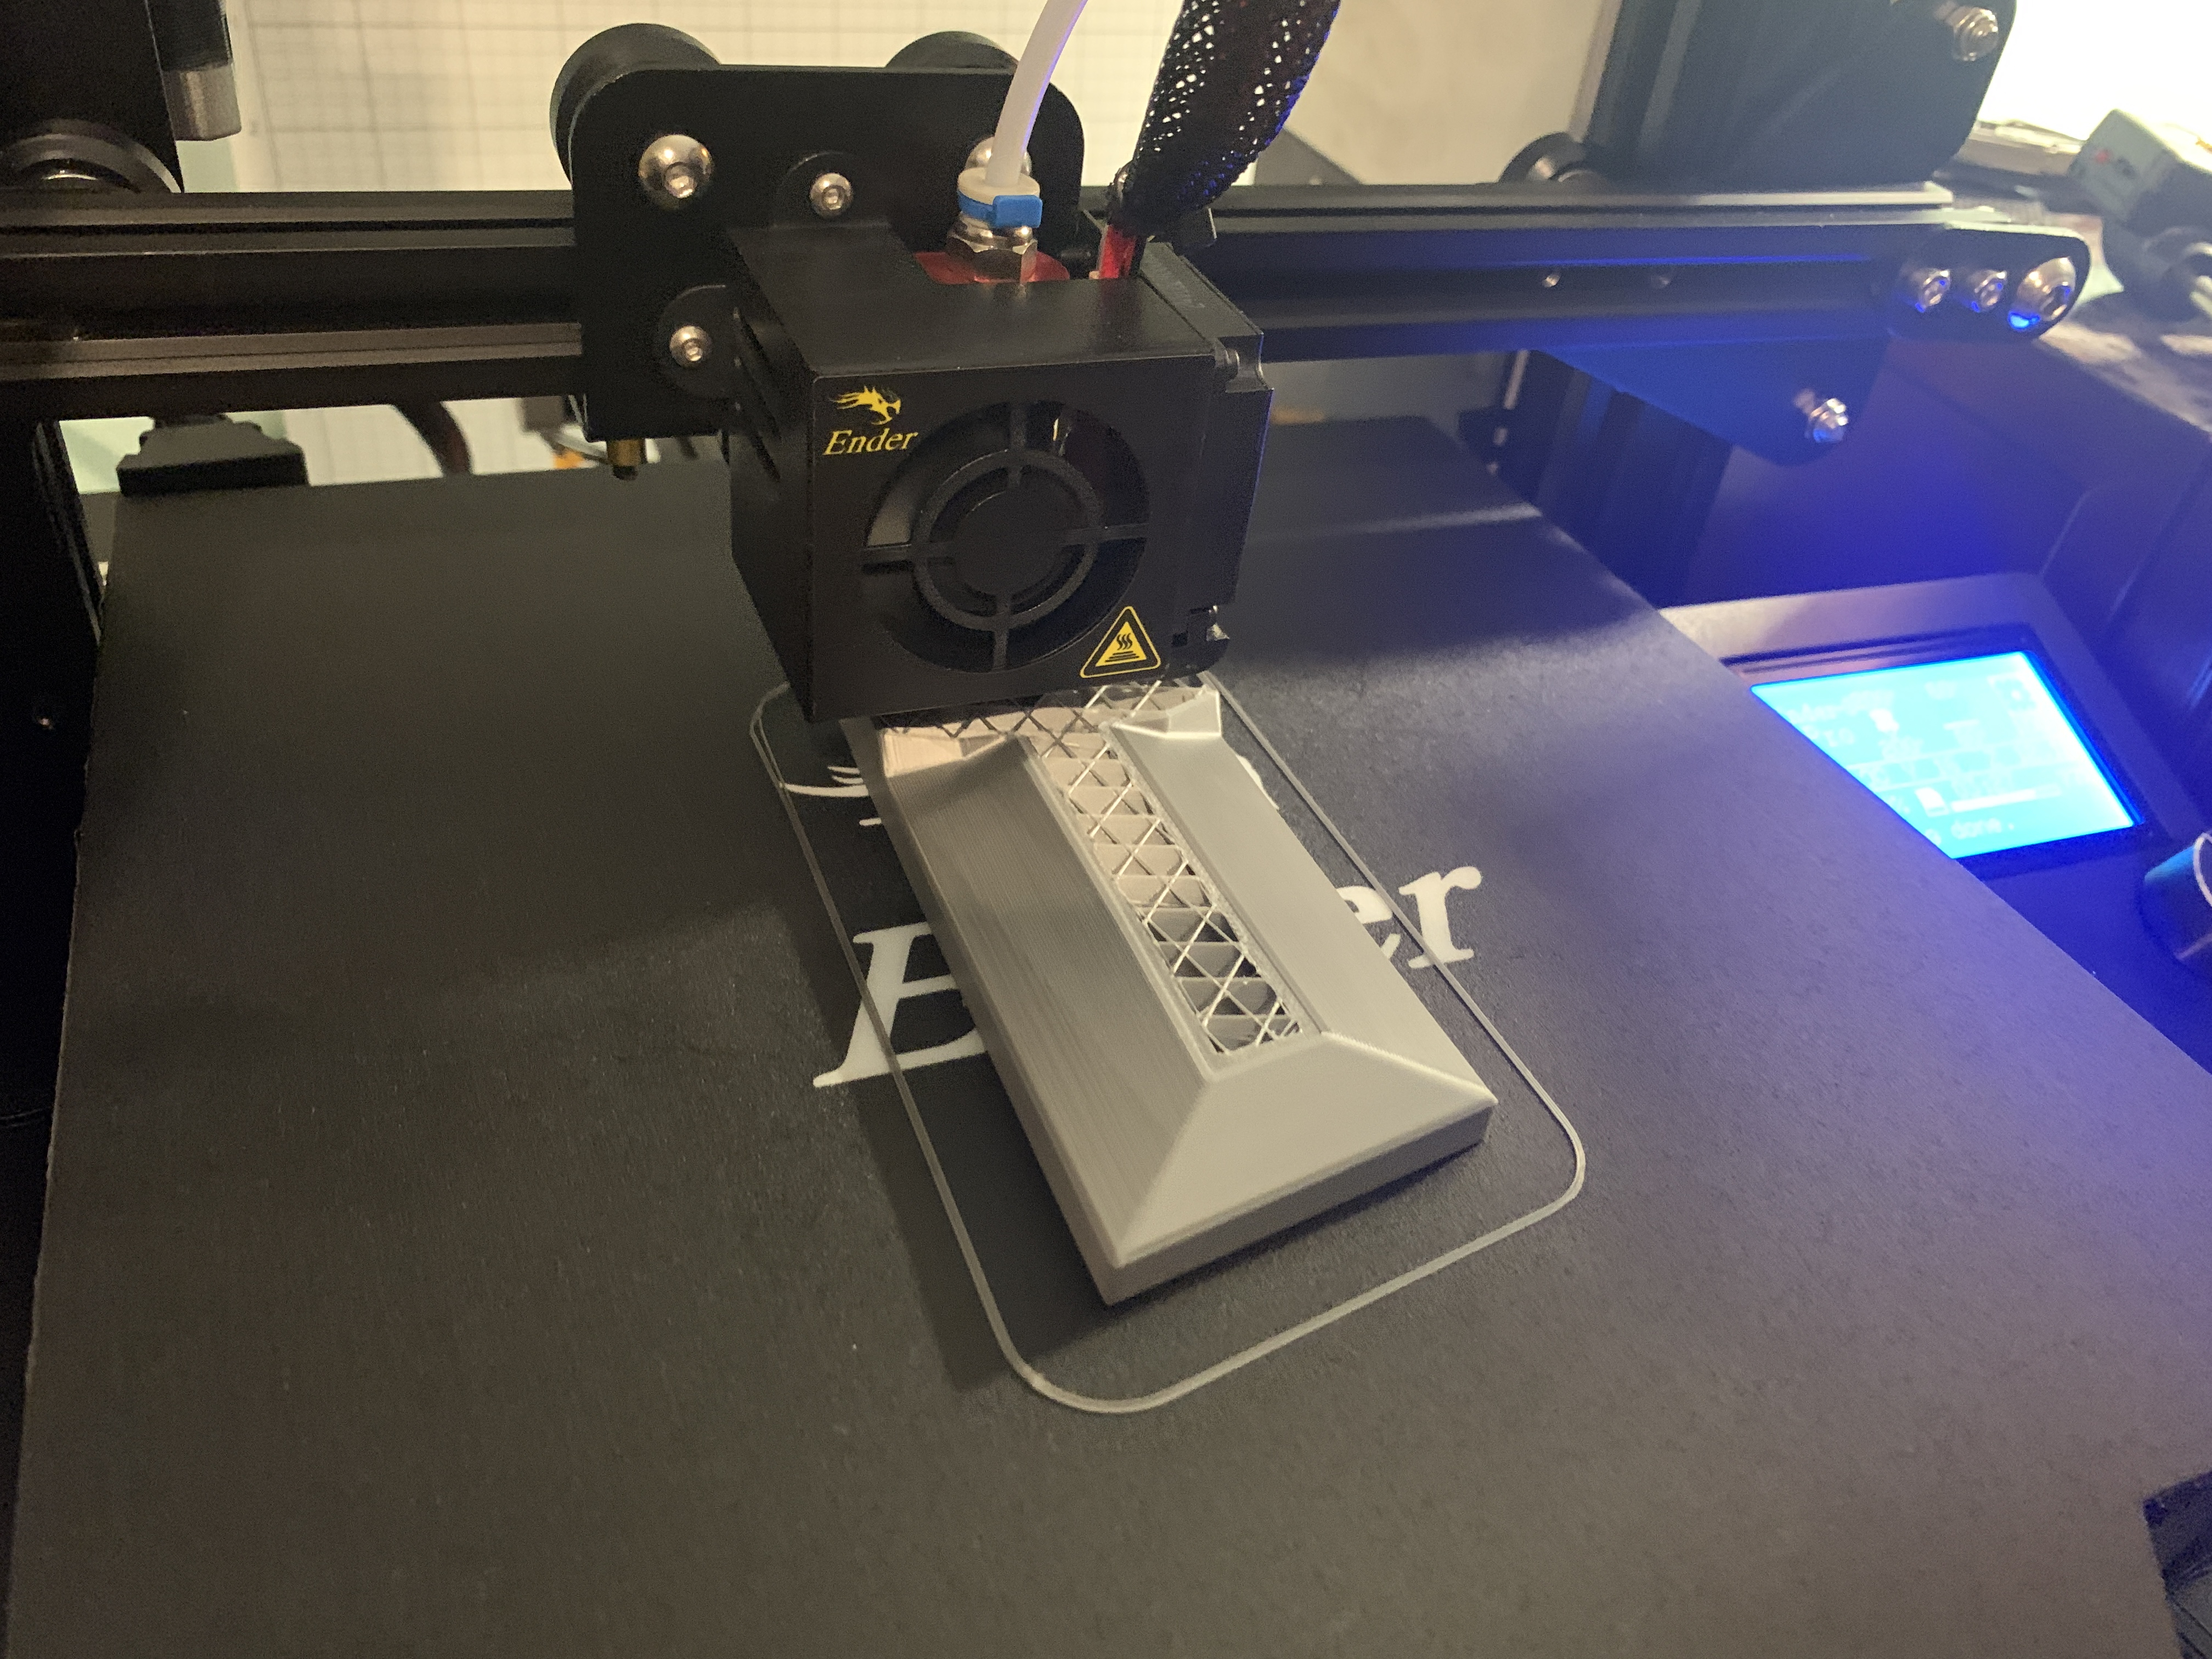
@ kevin trithardt , printing standing up did the job, this is my new vent part, painted with Montana Metallic Graphit. Printed with Creality CR-10S Pro with 0,2mm nozzle (took 14 hrs) , only the sides were sanded :-)
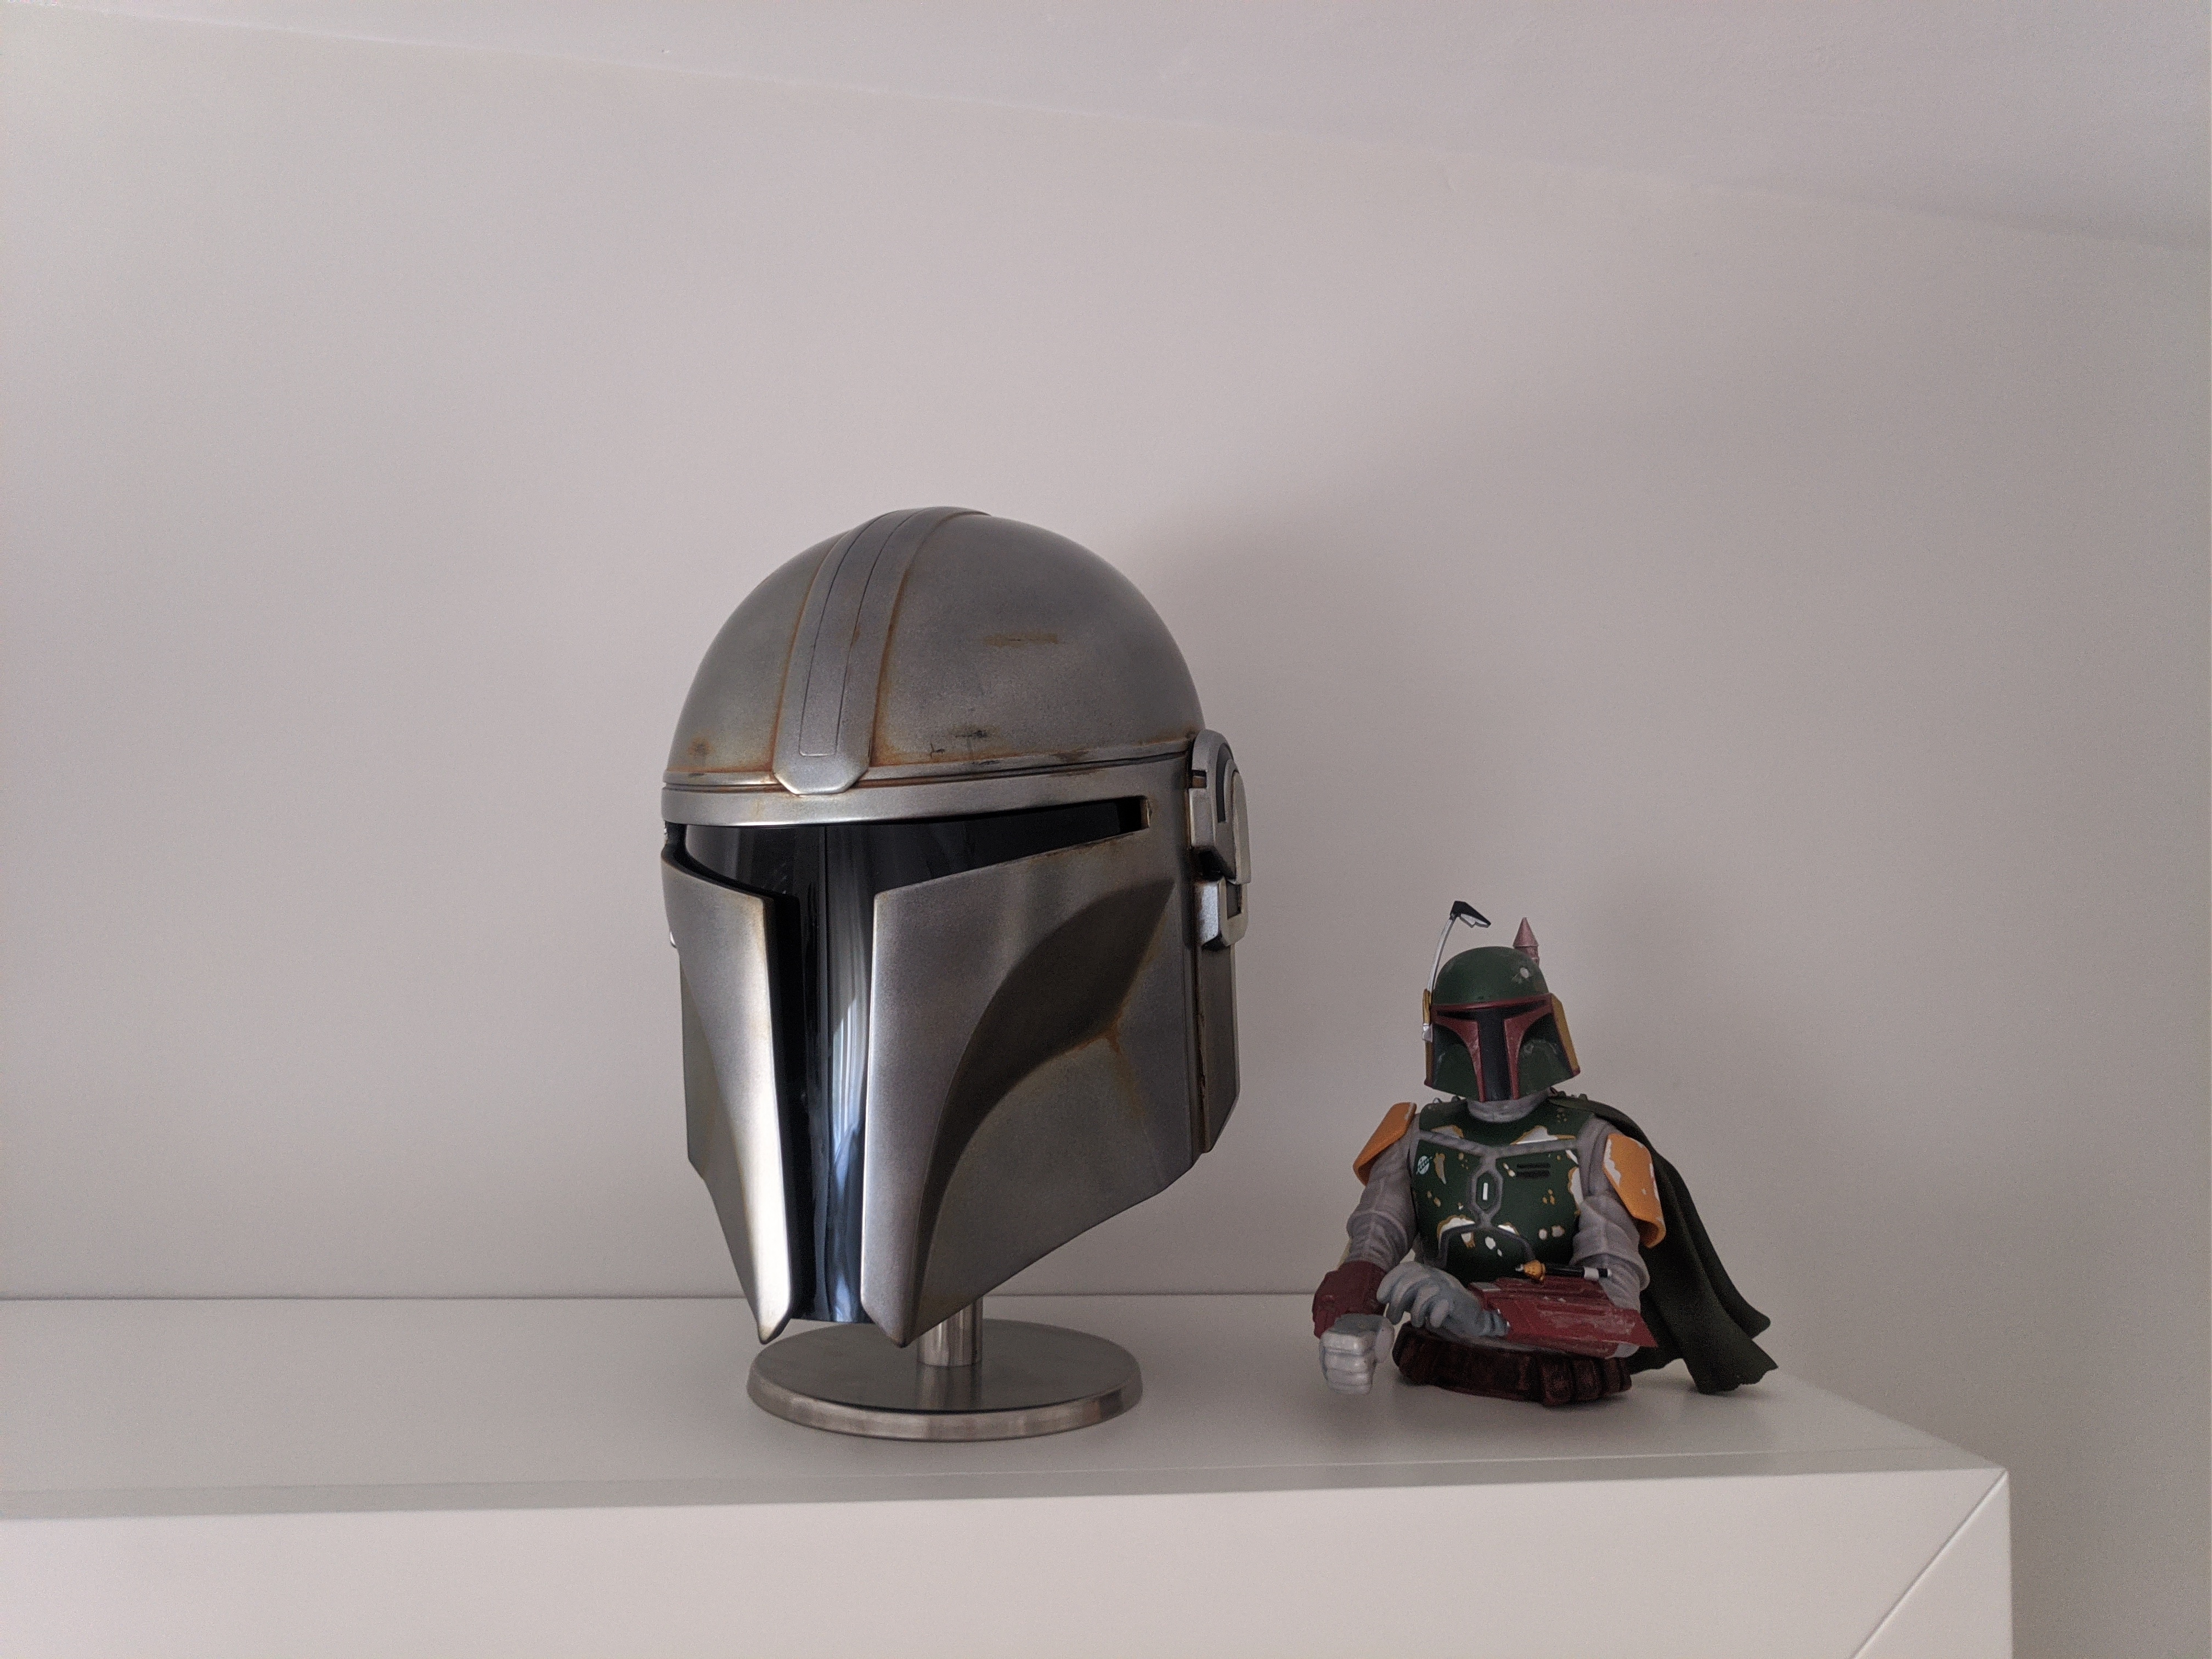
I was super skeptical of how dark my weathered look was but after applying a glossy finish, I'm very satisfied!
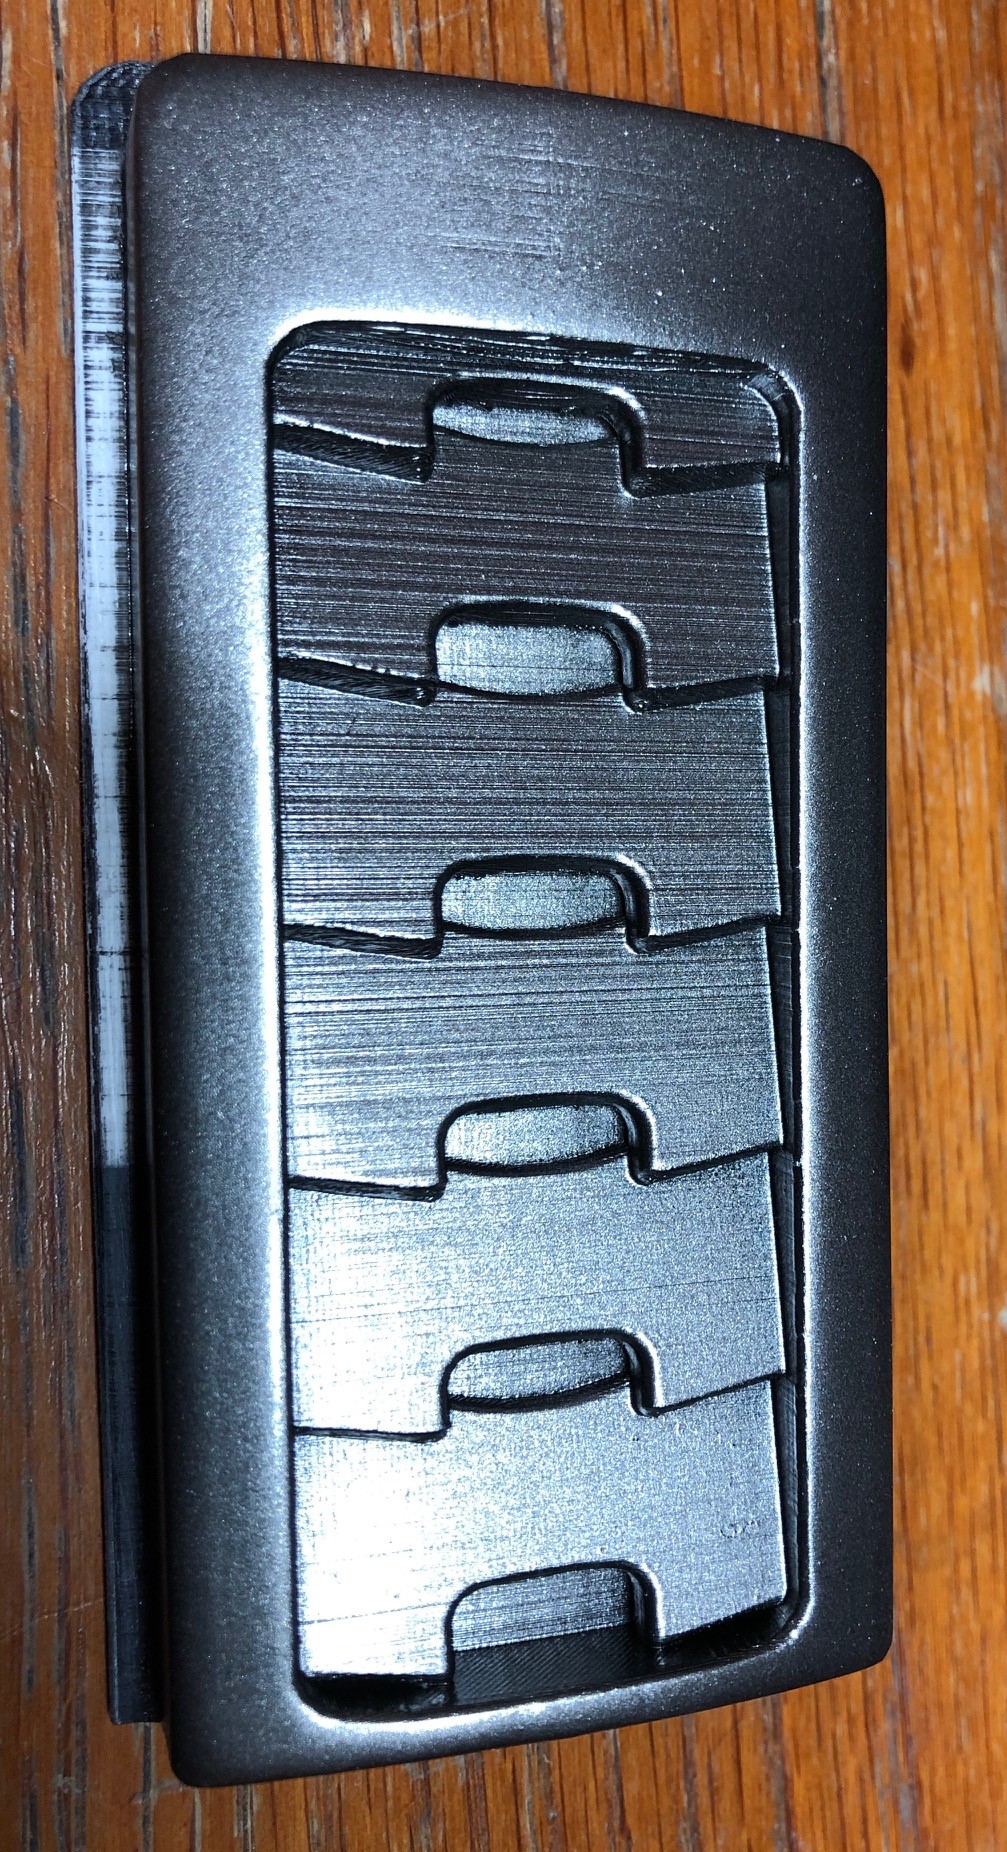
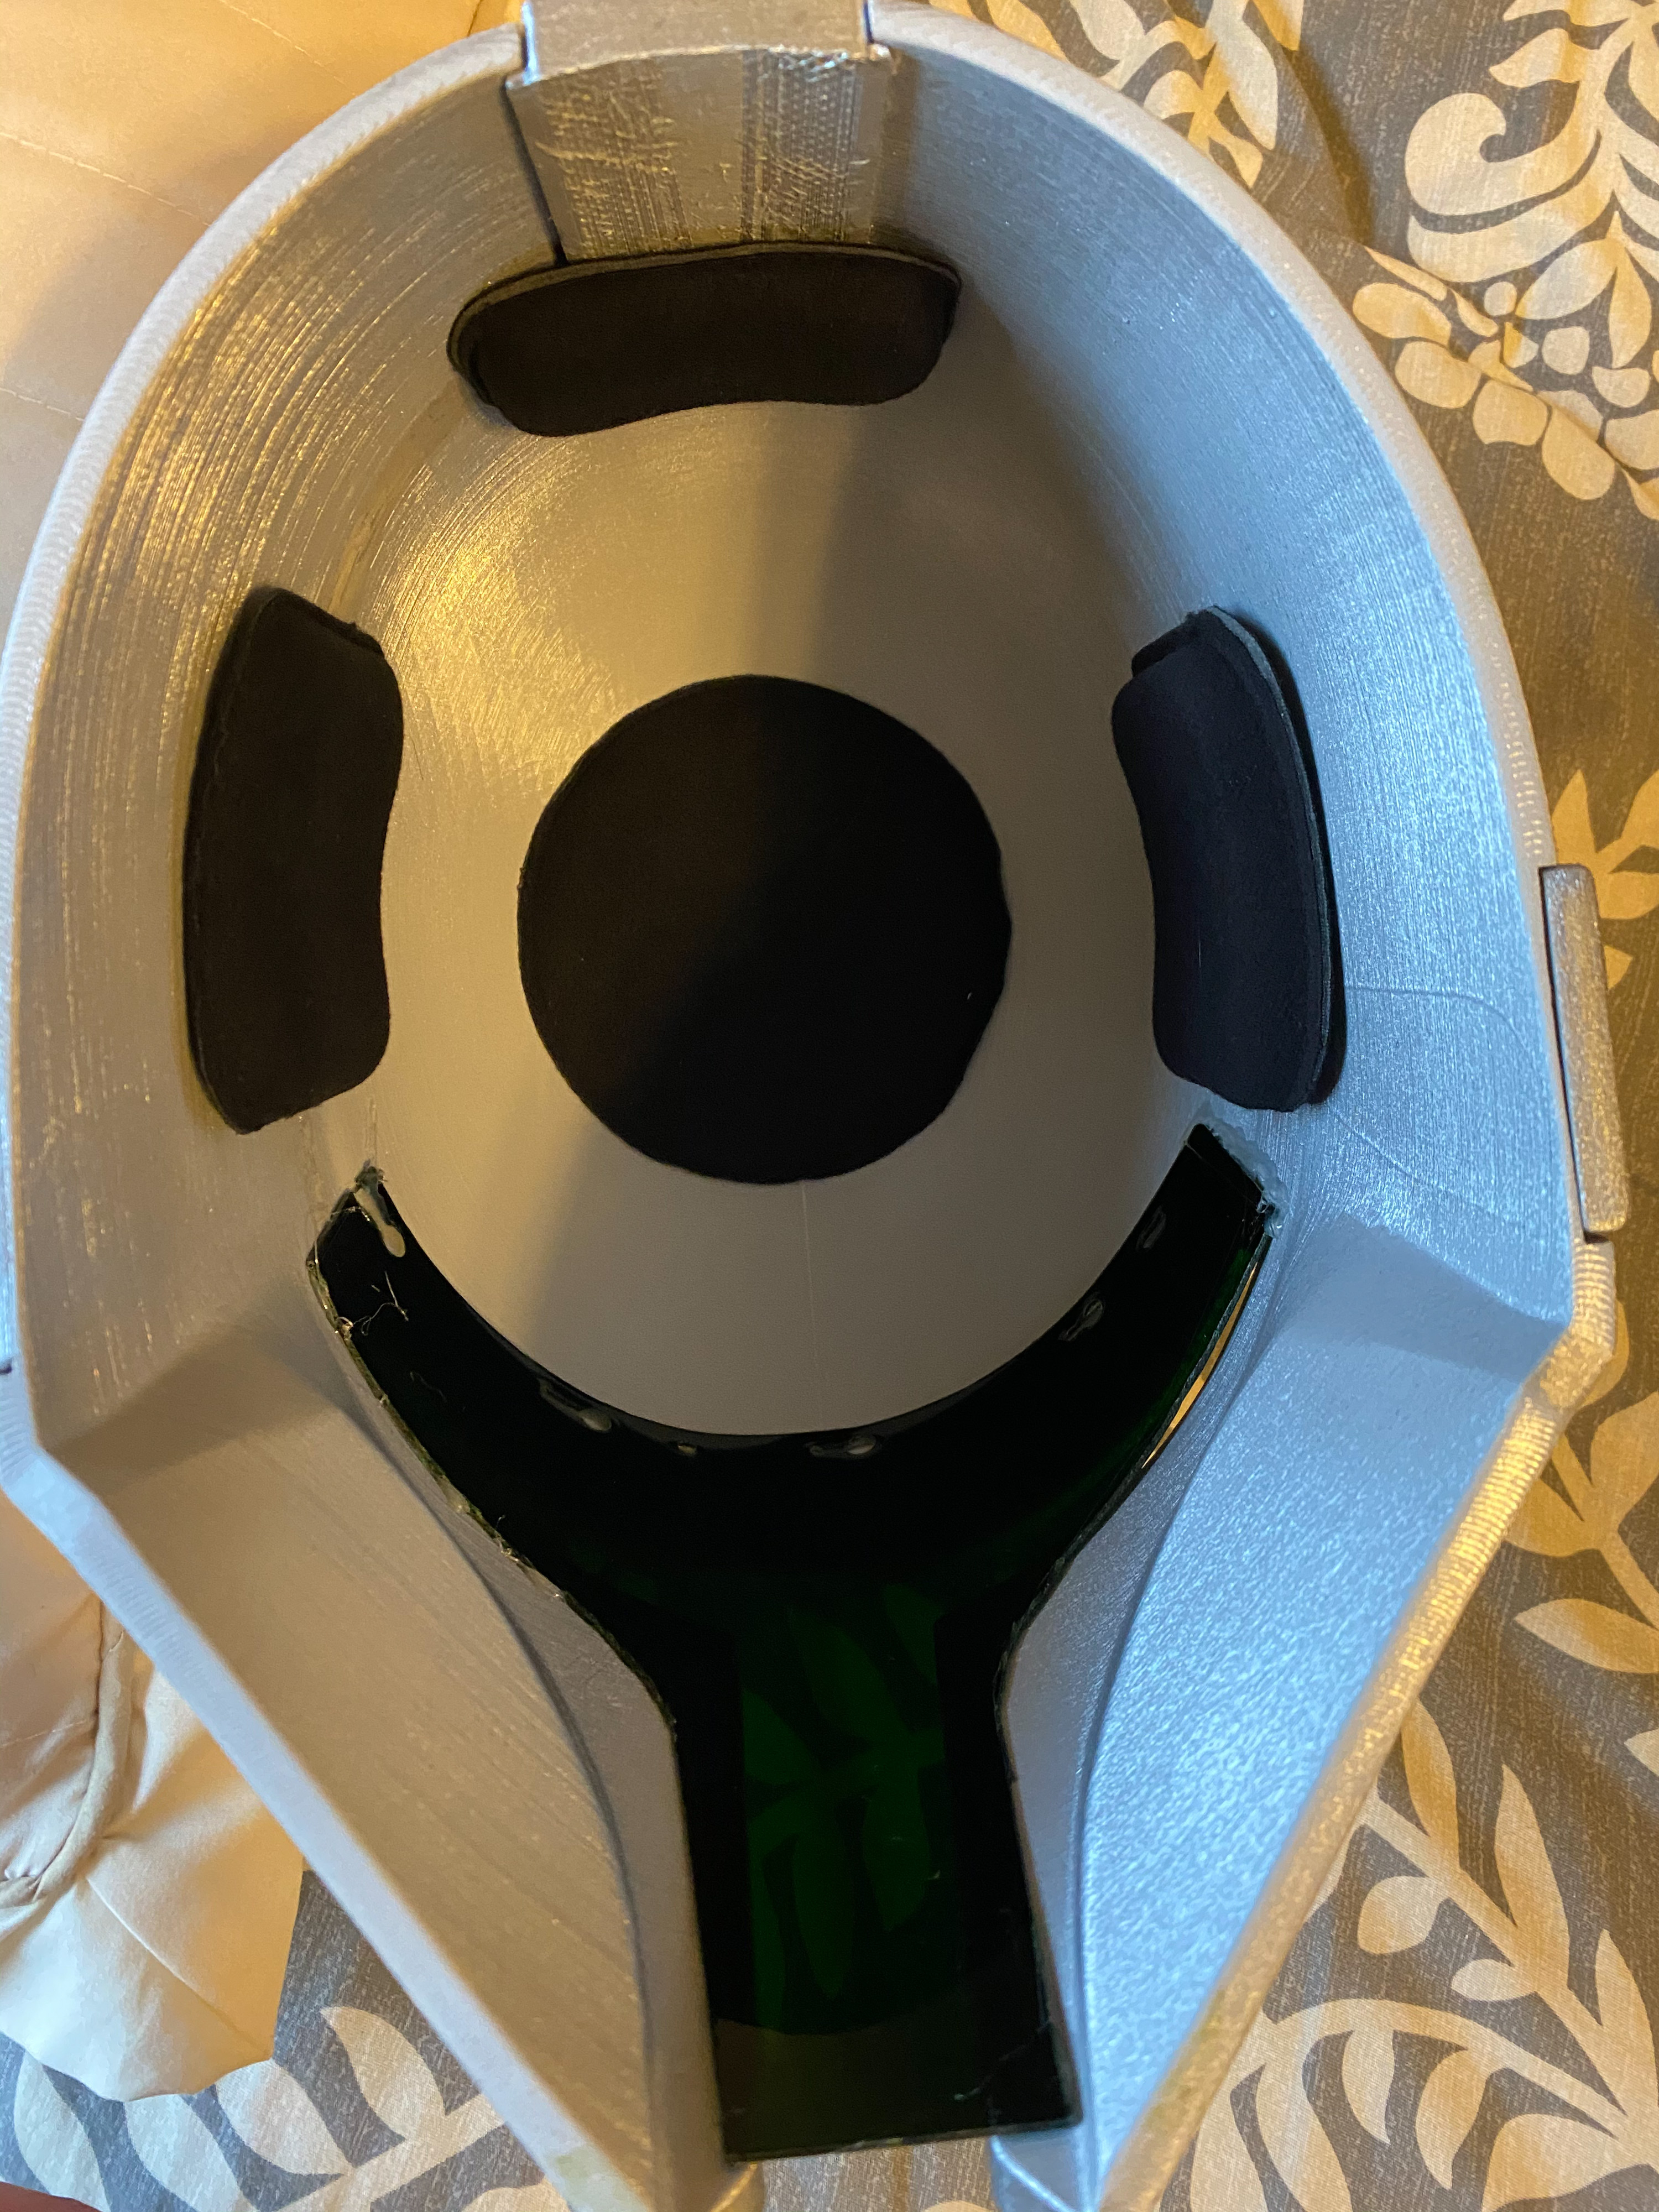
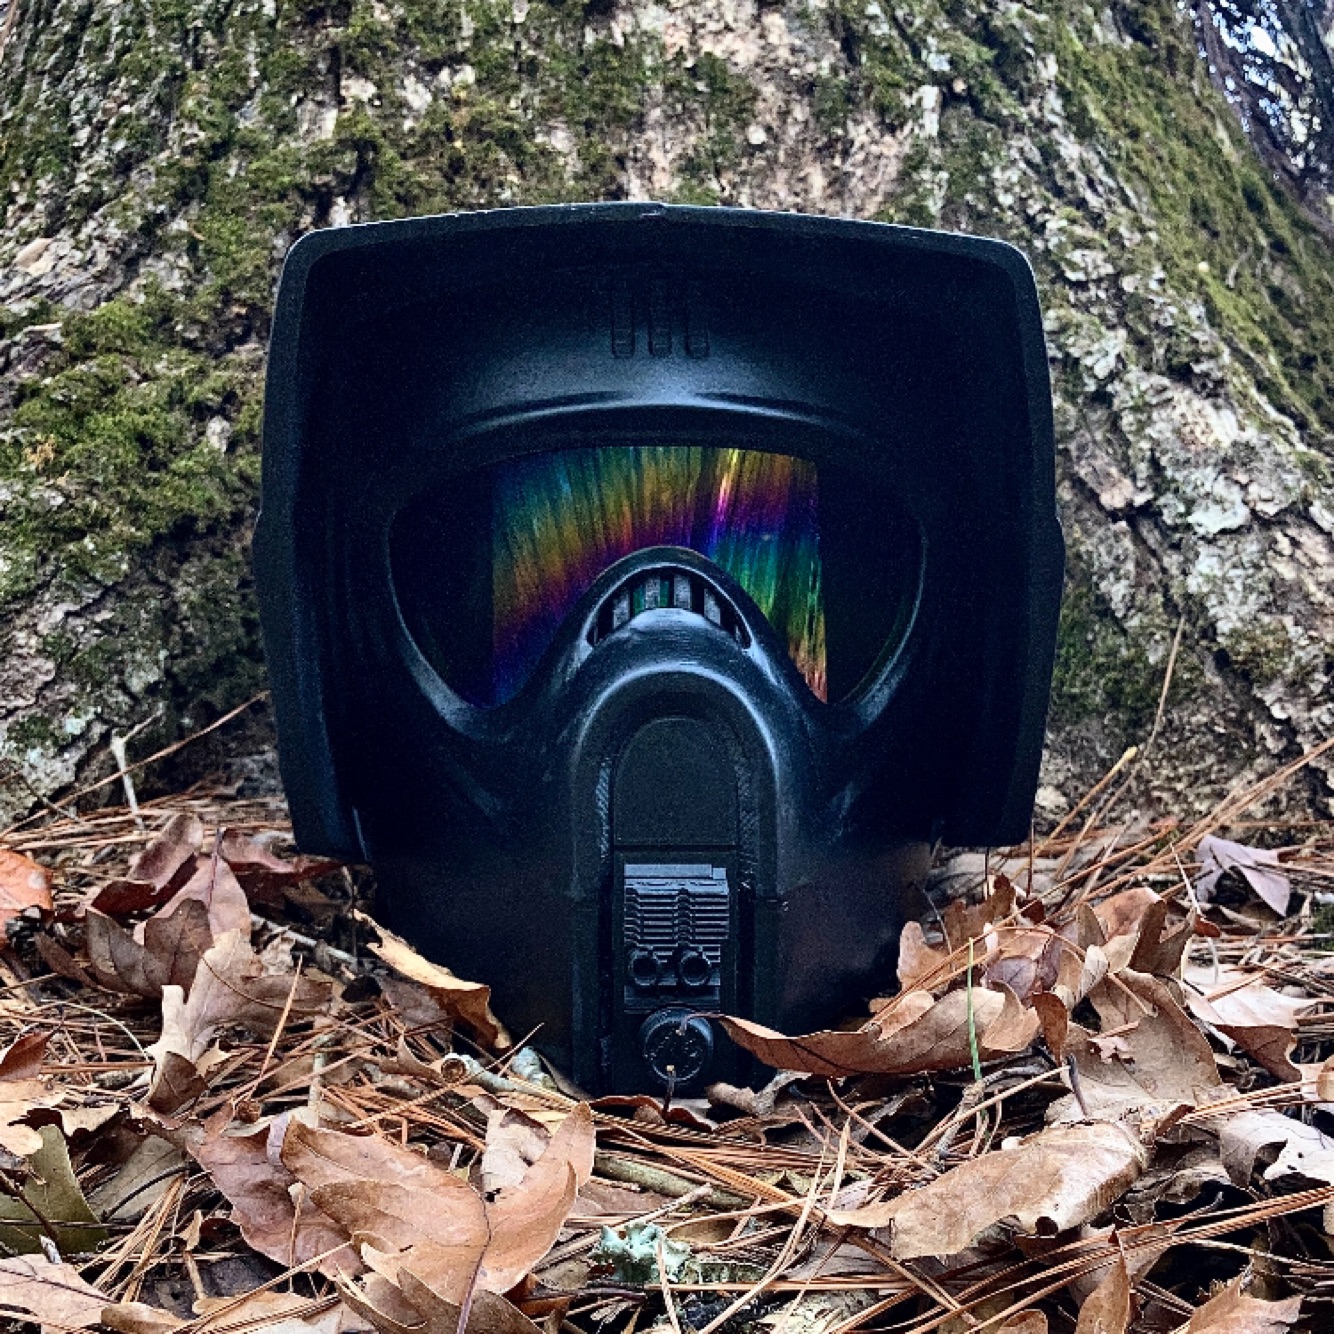
Used this for visor (cut using the included template in the STL files) https://www.amazon.com/gp/product/B000LB4P72/ref=ppx_yo_dt_b_asin_title_o02_s01?ie=UTF8&psc=1 Used this paint https://www.amazon.com/gp/product/B008COLPIW/ref=ppx_yo_dt_b_asin_title_o00_s00?ie=UTF8&psc=1 Bought these pads to make more comfortable and provide a better fit. https://www.amazon.com/gp/product/B07PGF4CTH/ref=ppx_yo_dt_b_asin_title_o00_s01?ie=UTF8&psc=1
I printed mine upside down. Took 3 days, 20 hours
Adding this for reference. I built upside down on Ender 5+. Took 3 days 19 hours.
Hi thanks for a great project while I was in lock-down in New Zealand .Printed this in eight pieces , haven't quite finished all the painting yet .
Had a great time finishing this helmet. You can follow my finishing process here: https://imgur.com/t/diy/XL11RTz
Great model Rob! Printed great, despite my refusal to use a lot of supports, like in between the brow, the center of the helmet, and above the rear vents. I wasn't careful enough when sanding and the weakest spot between the tops of the ear pieces and the ends of the horizontal eye slits cracked slightly because of the natural flex of the mandibles. I tried to remedy by fiber glassing the interior (which helped add some bulk to the helmet), gluing temp supports, filling cracks with epoxy, etc., but the cracks kept returning. I also probably didn't include enough infill. Lesson learned.
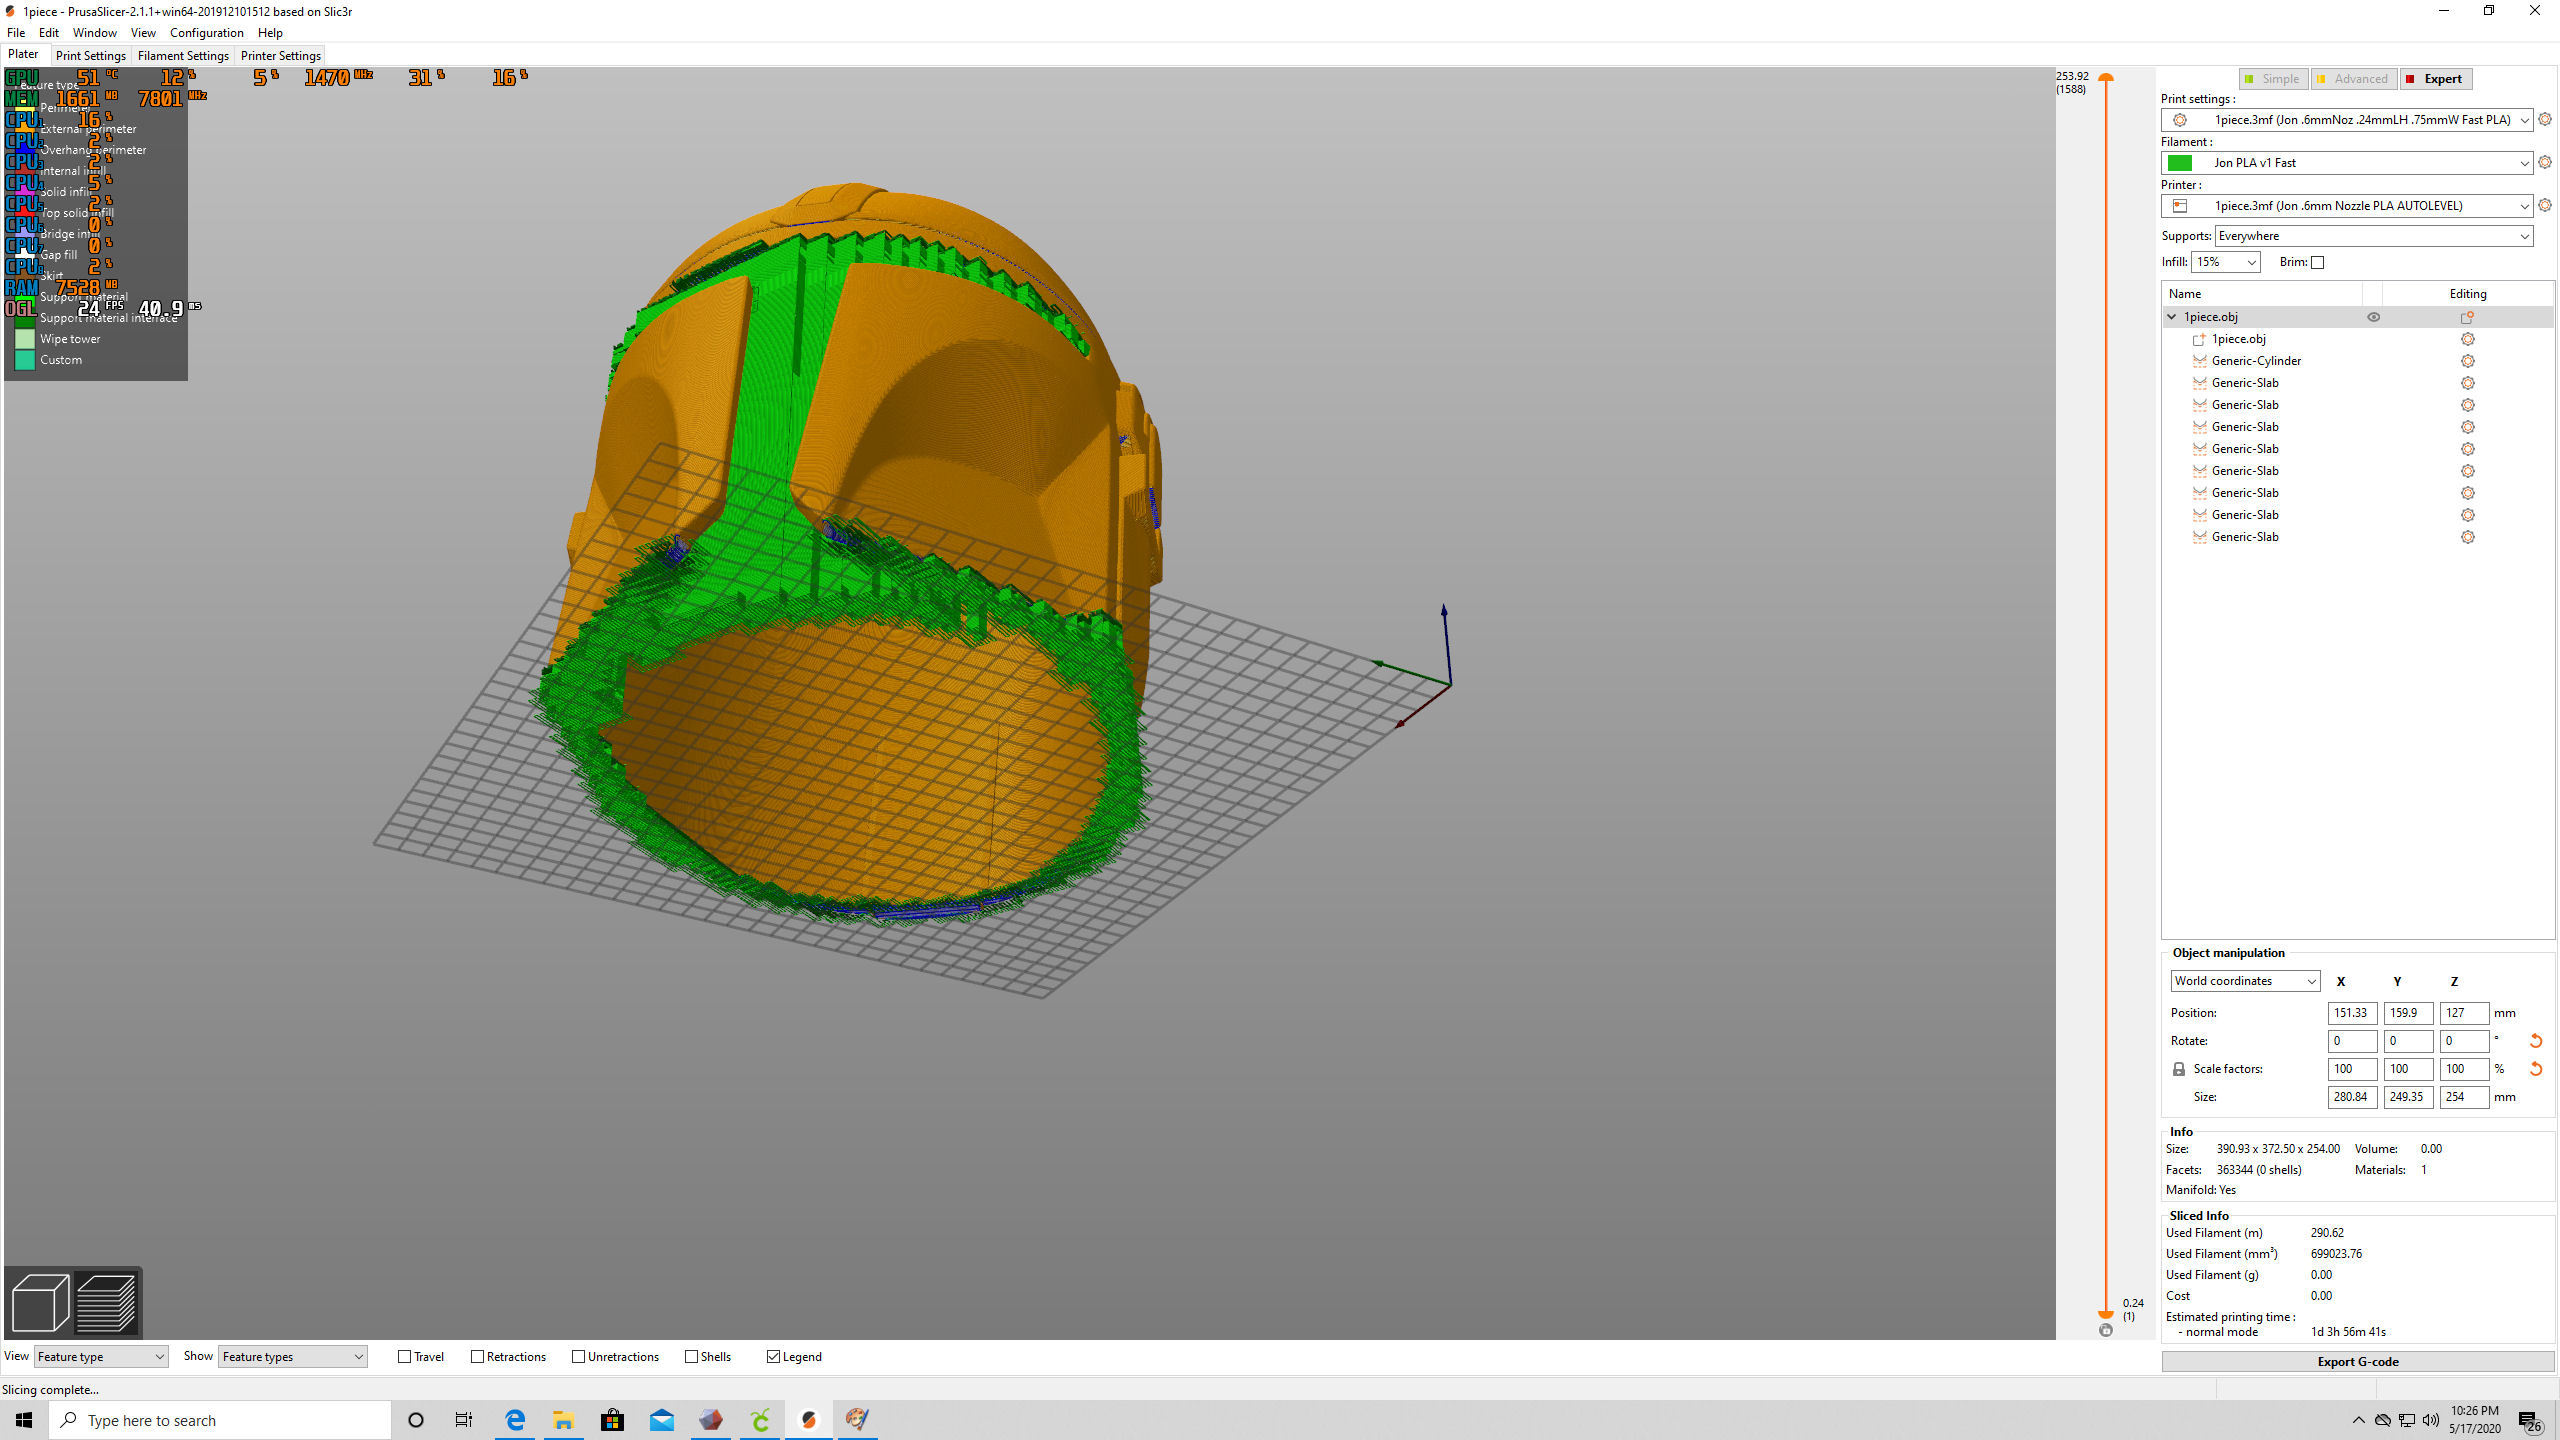
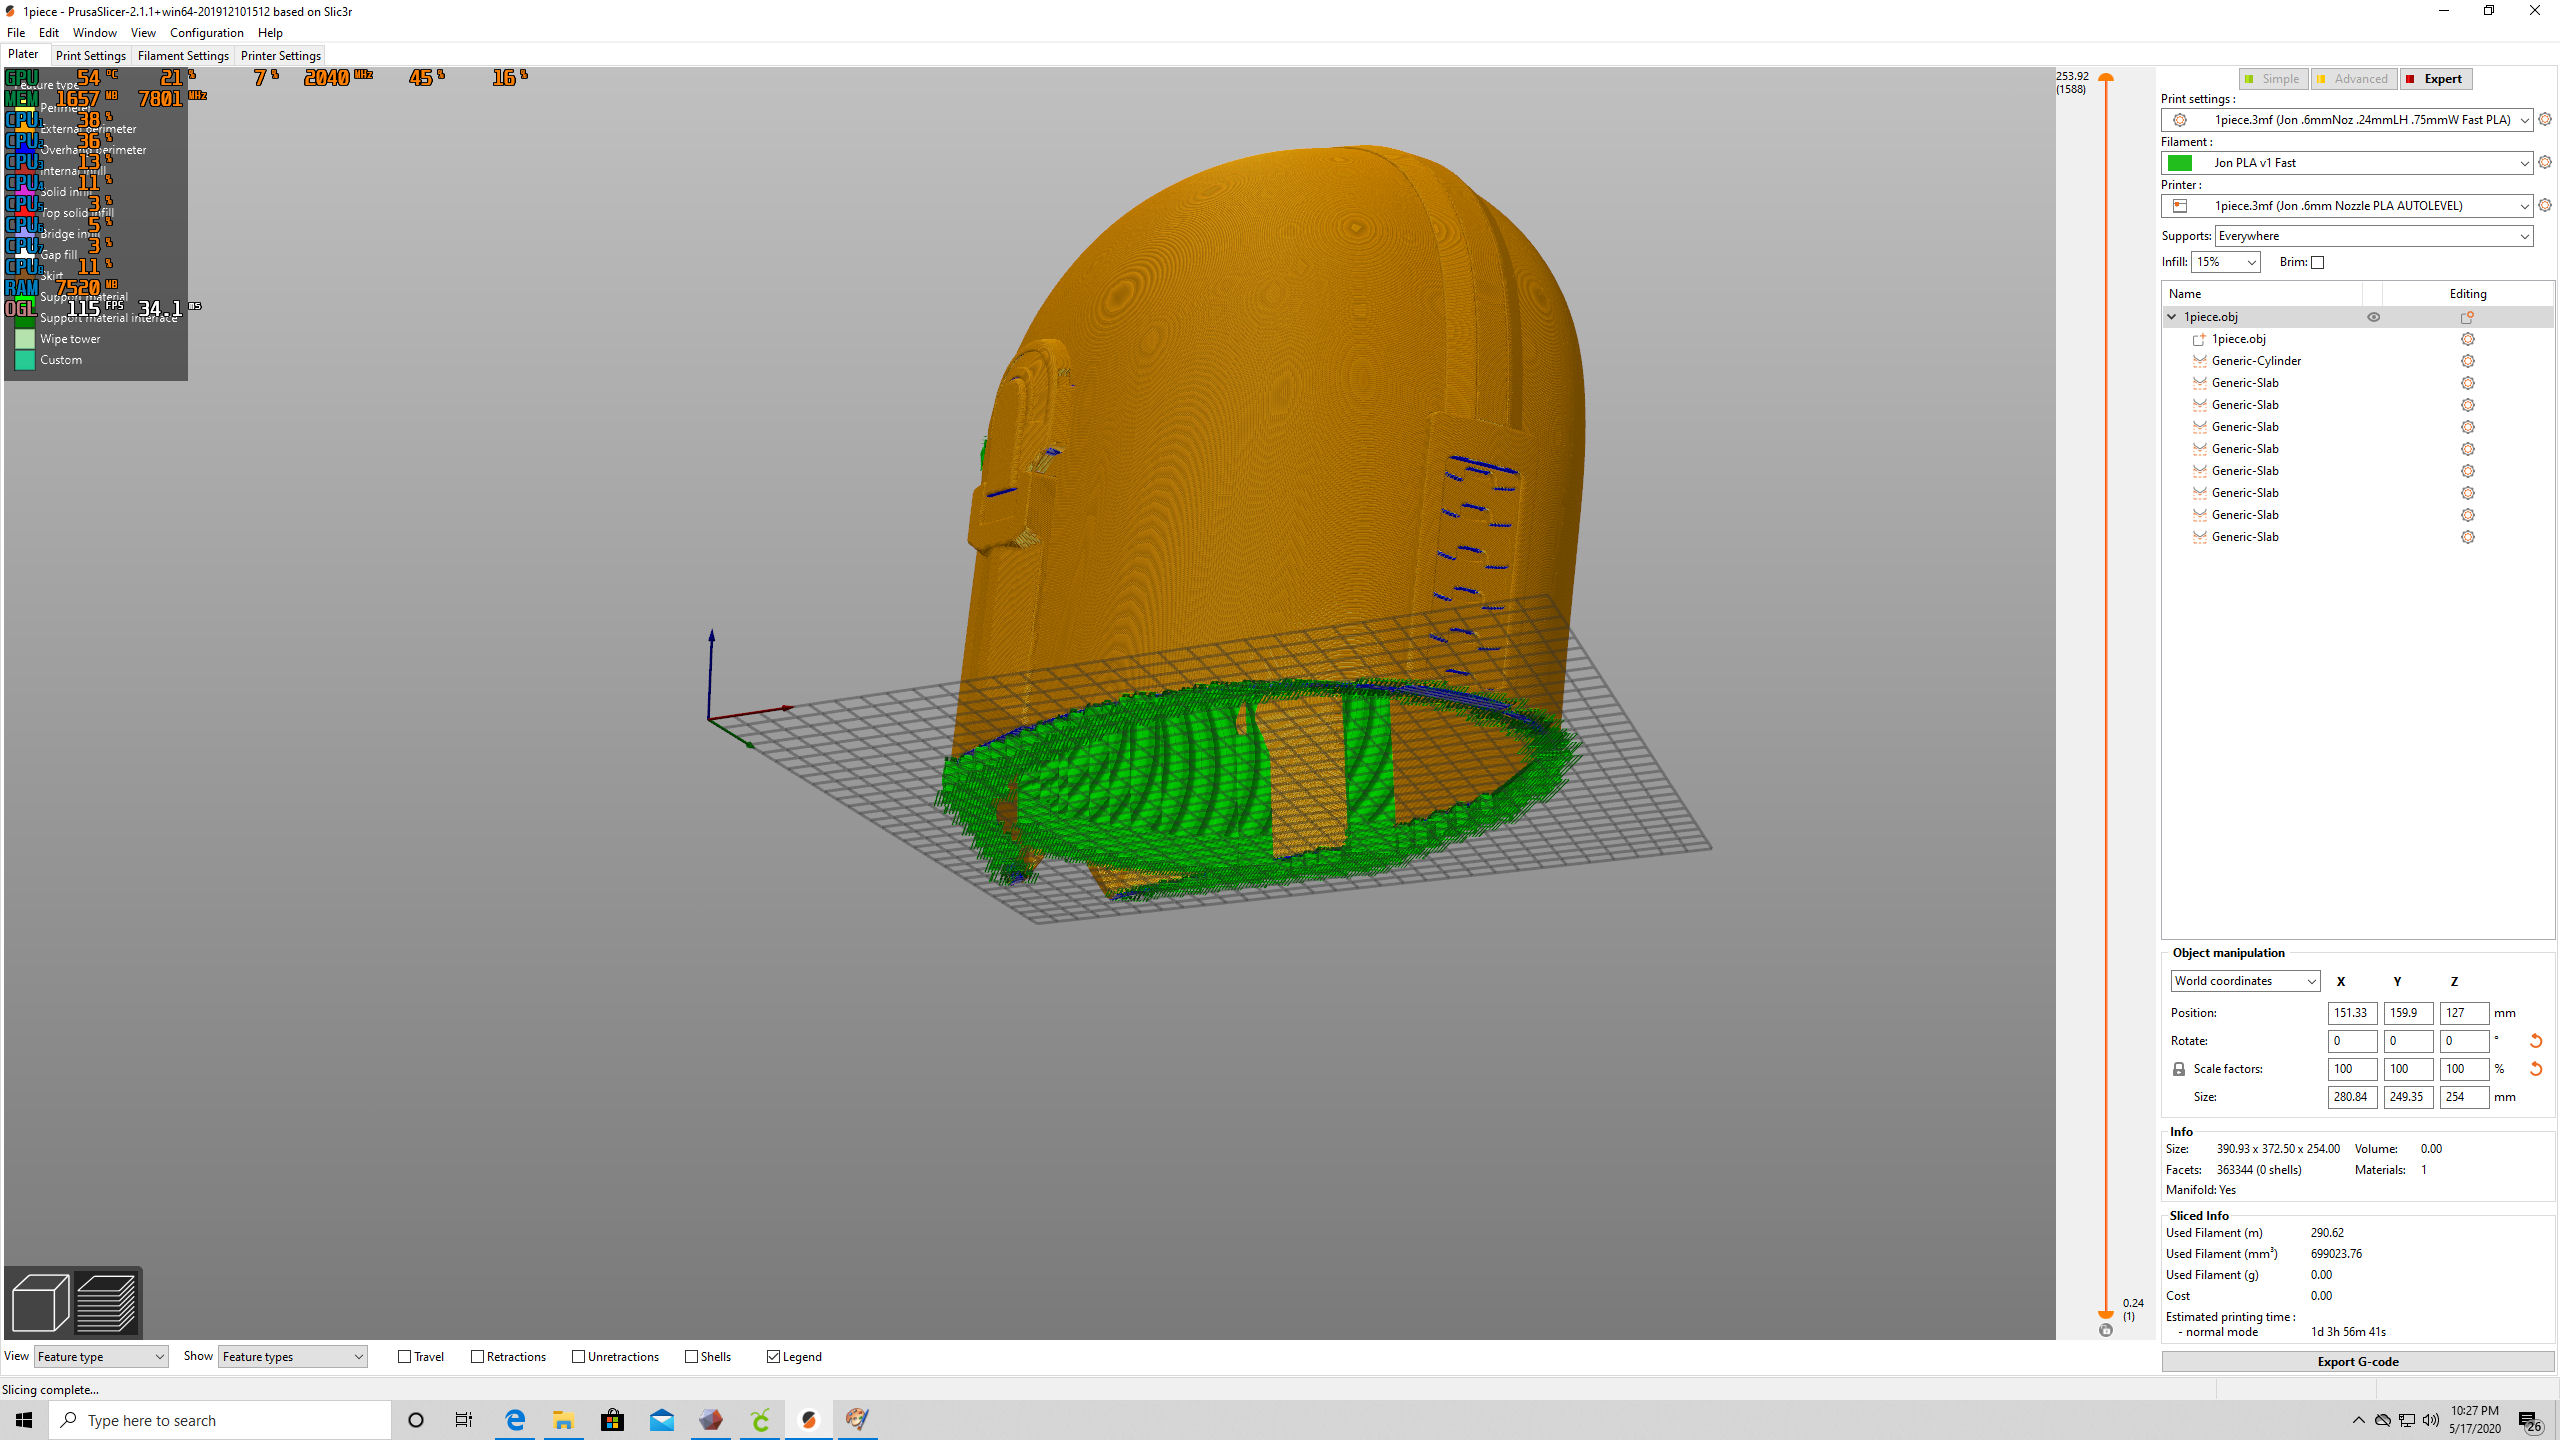
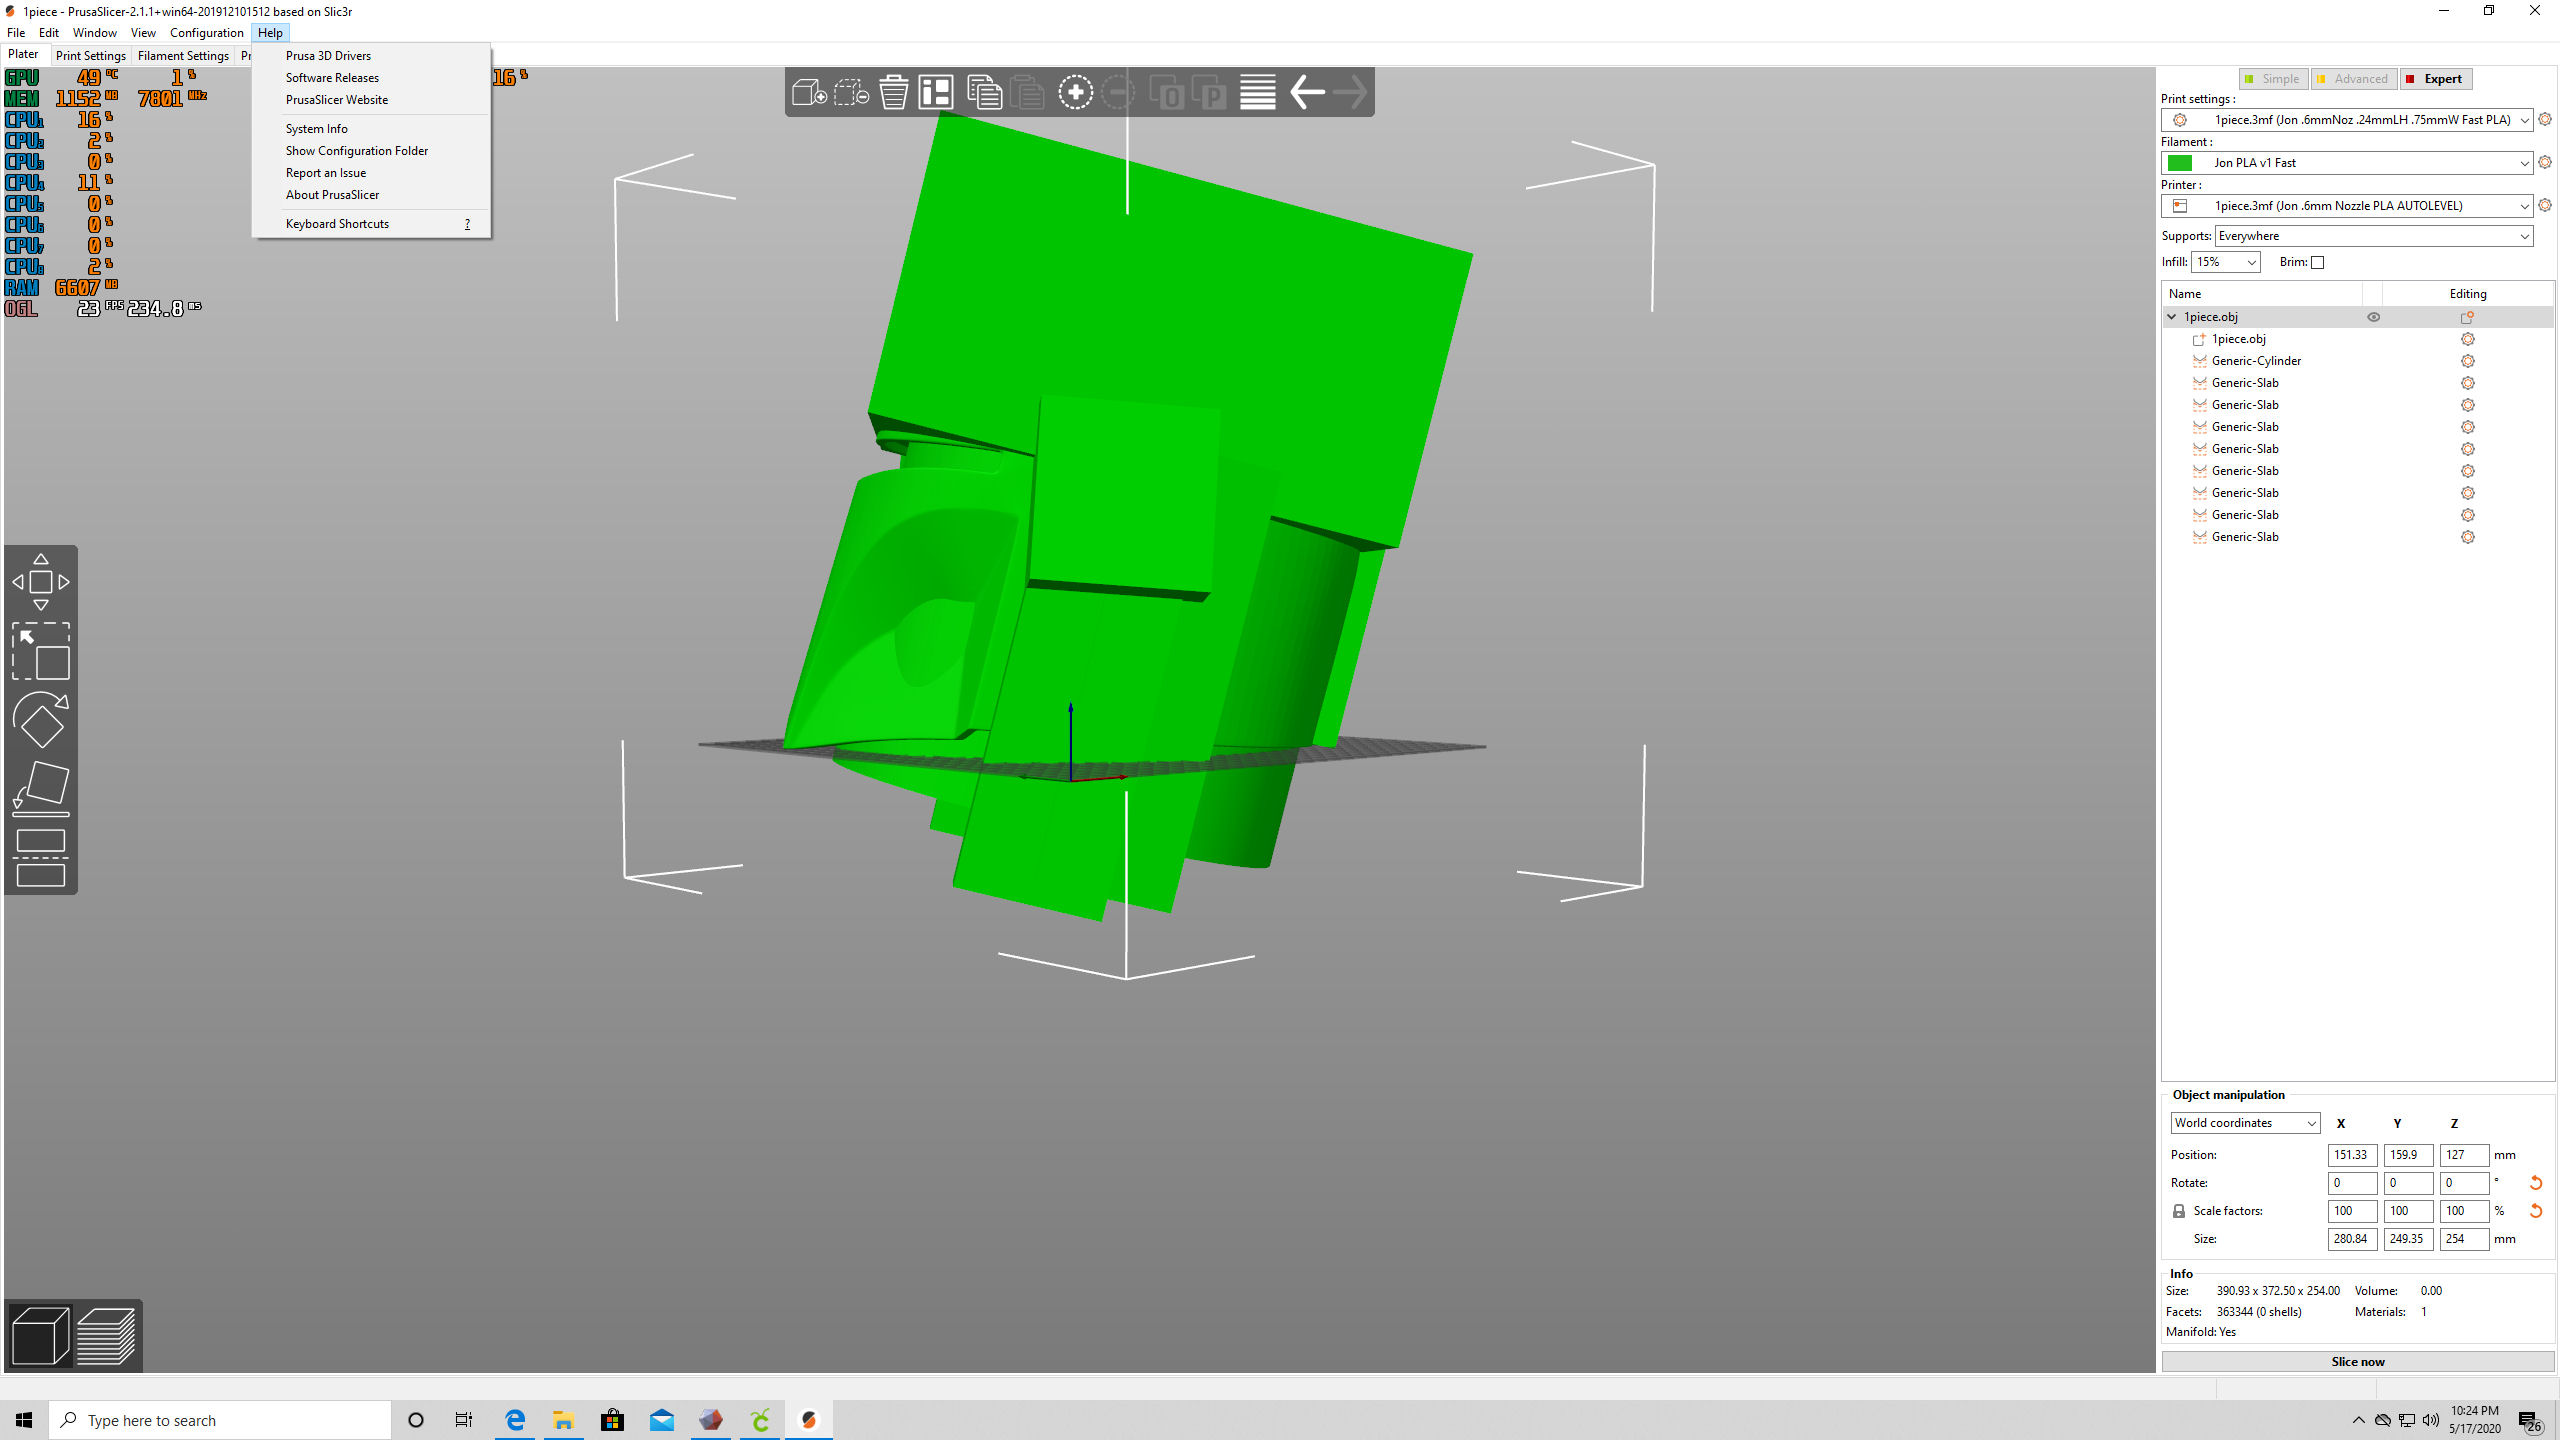
Combined the files in mesh mixer and printed as 1 piece on my artillery sidewinder x1. Print took 26 hours and a few days of sanding pruning and painting.
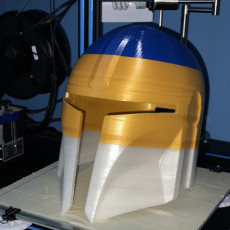
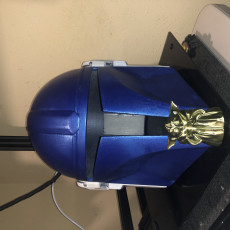
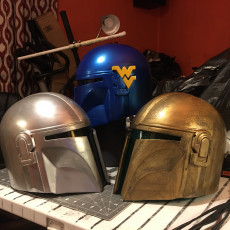
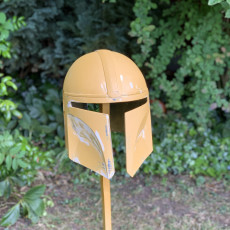
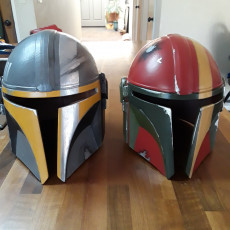
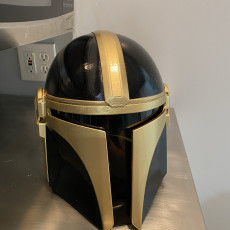
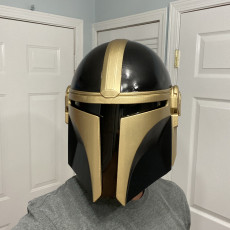
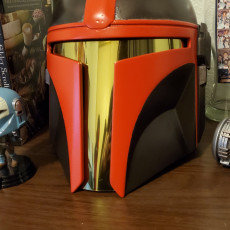
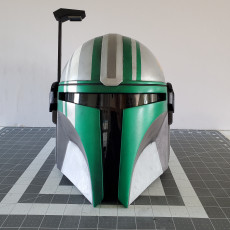
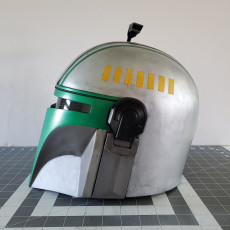
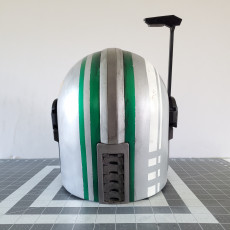
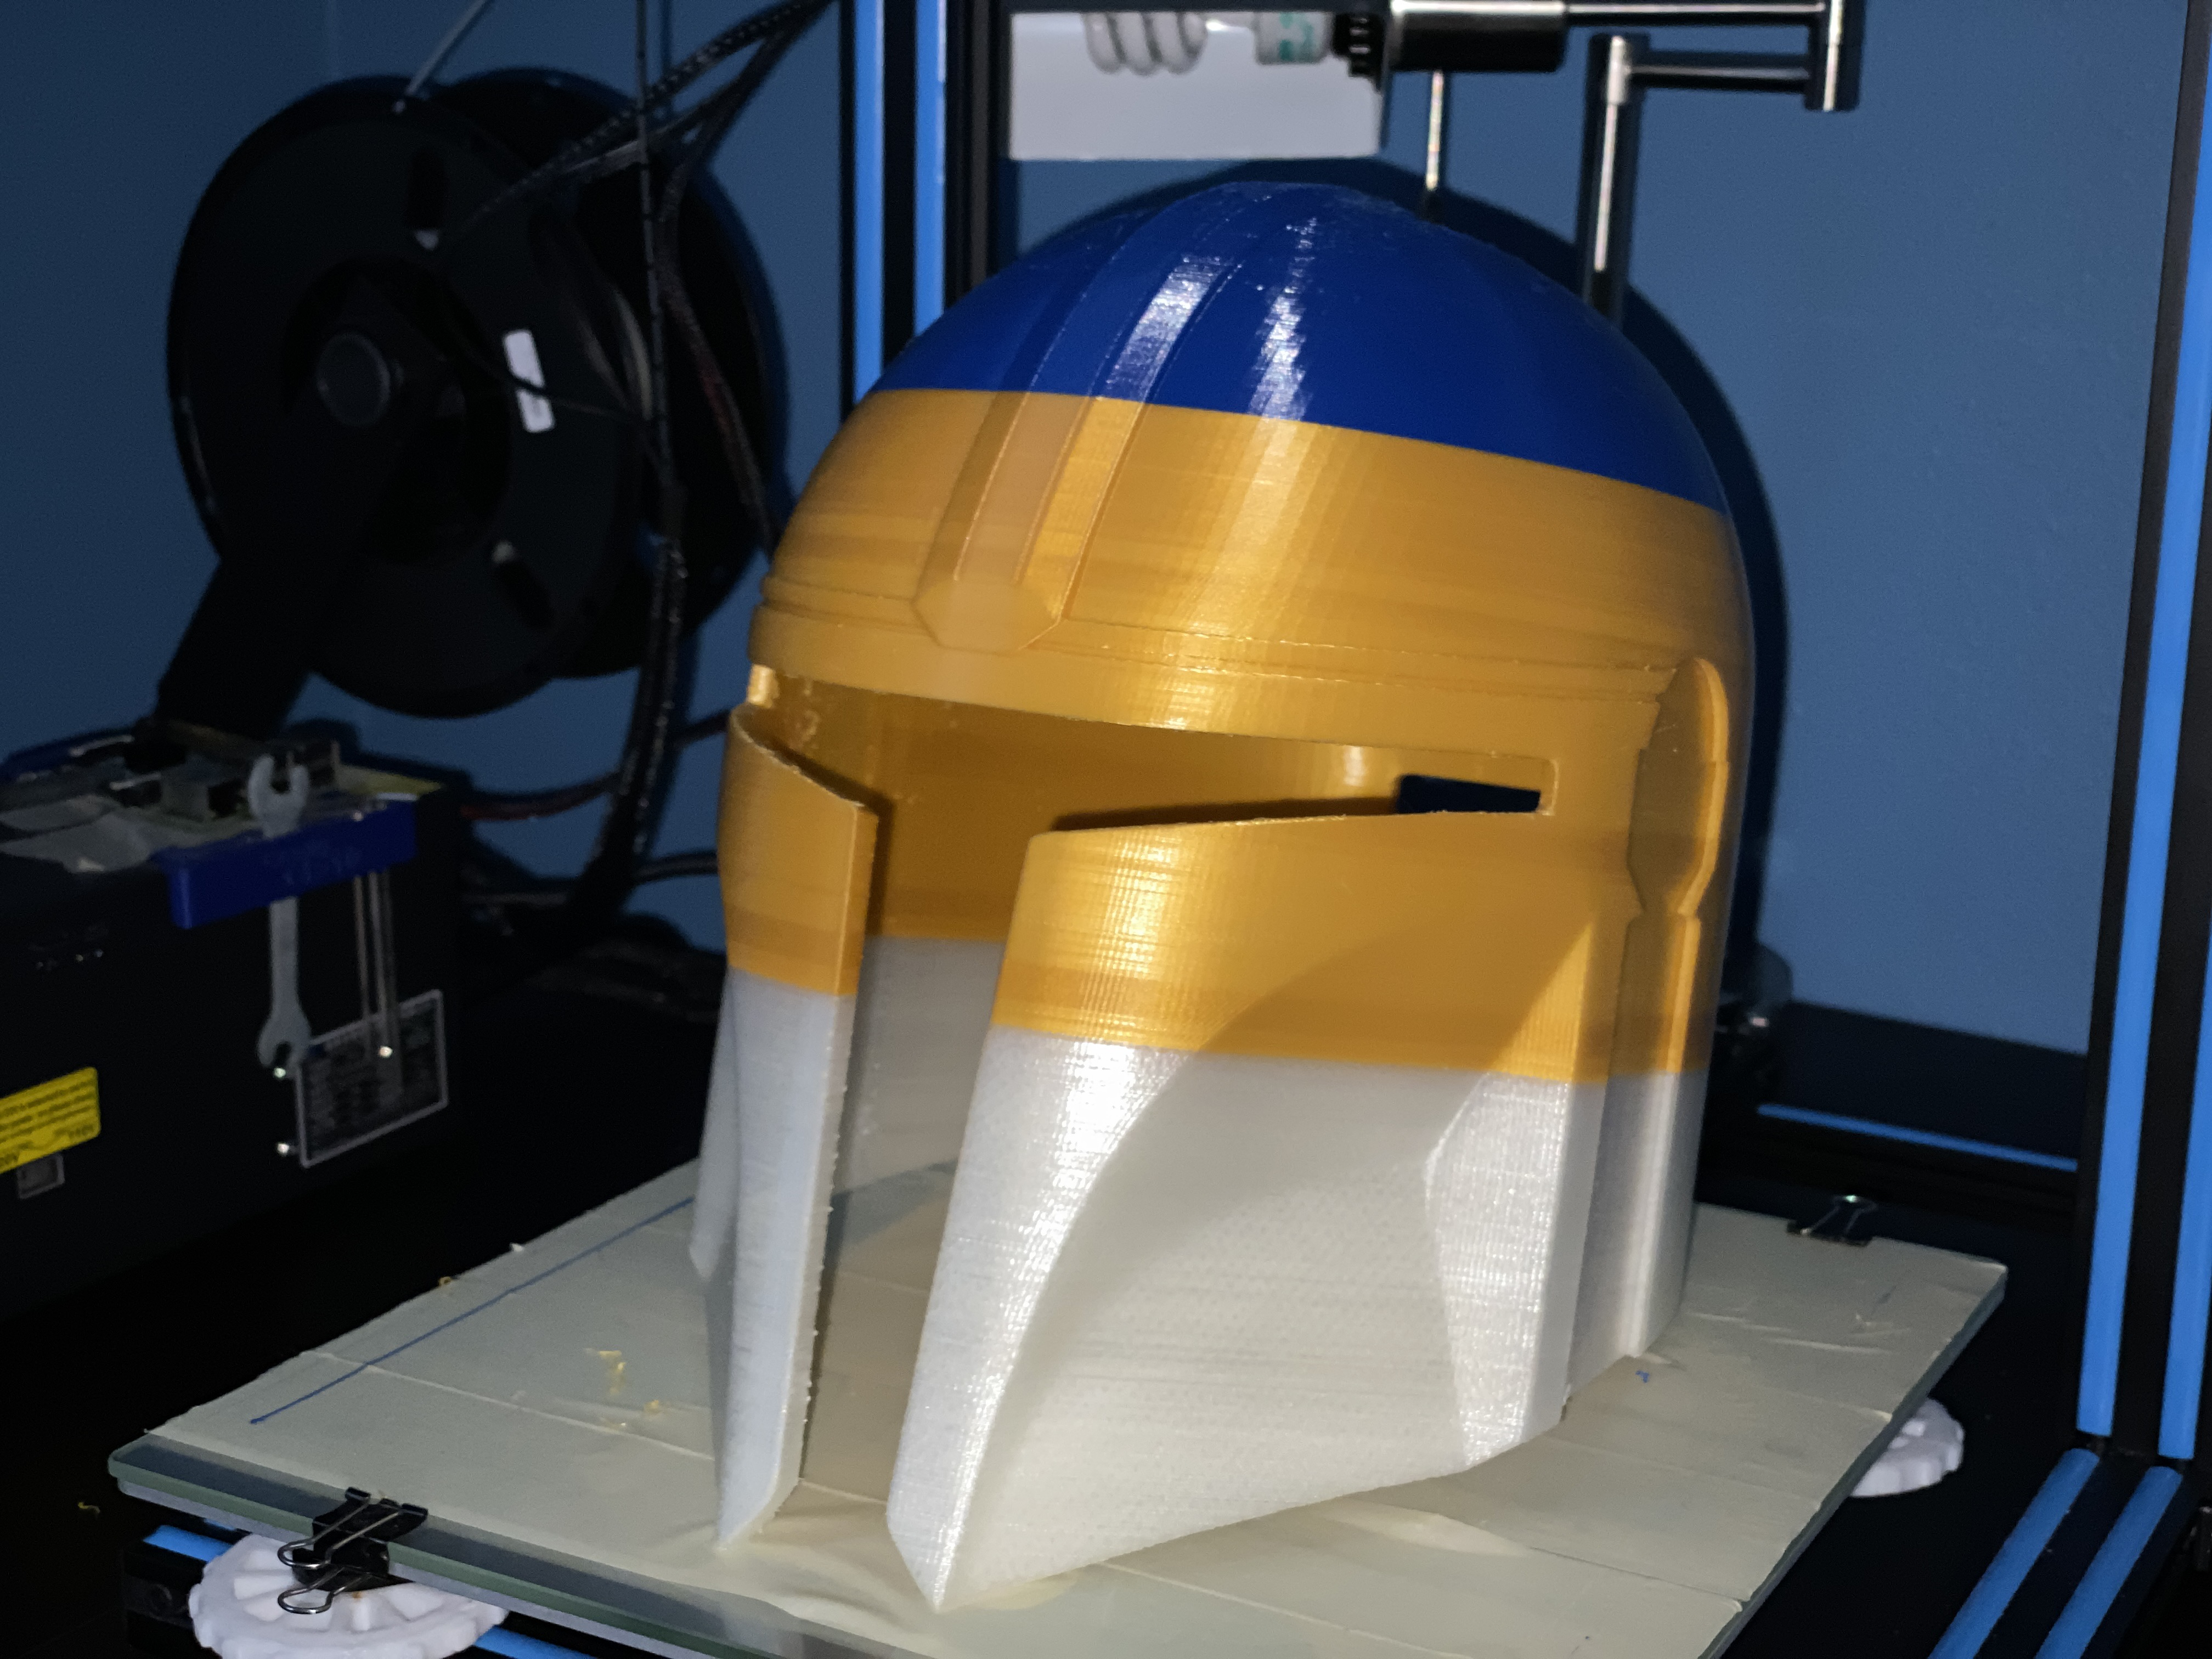
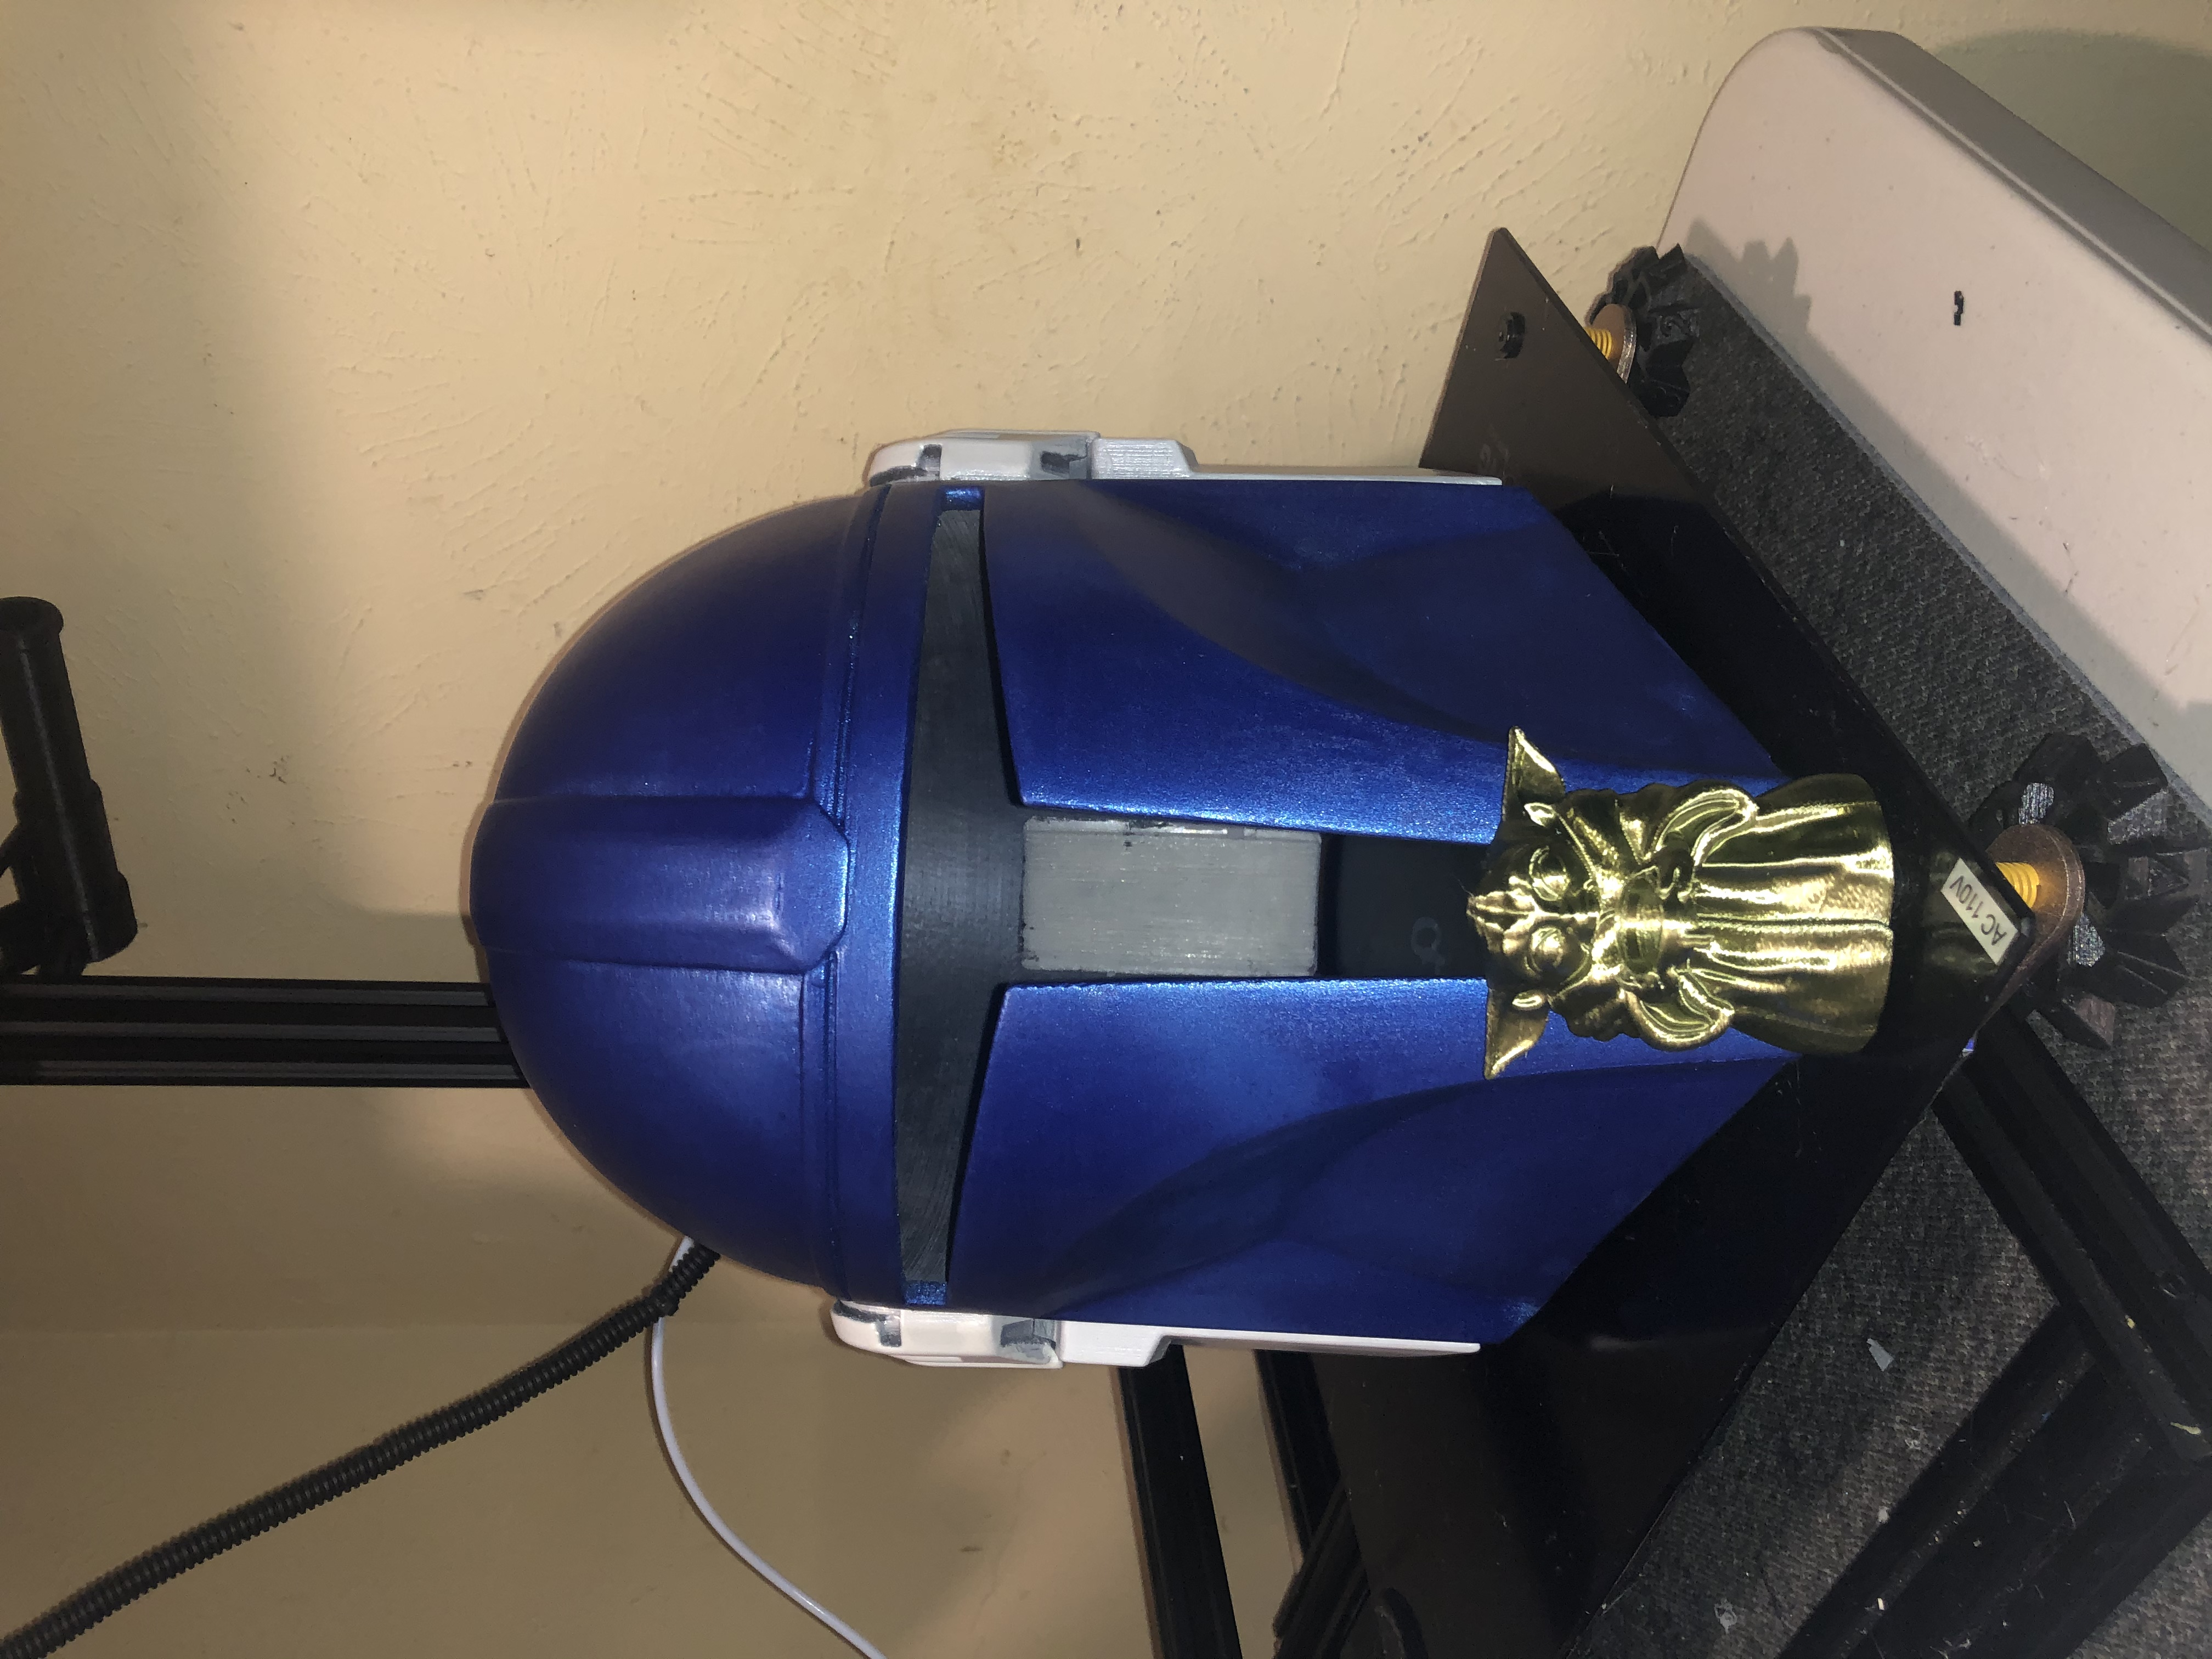
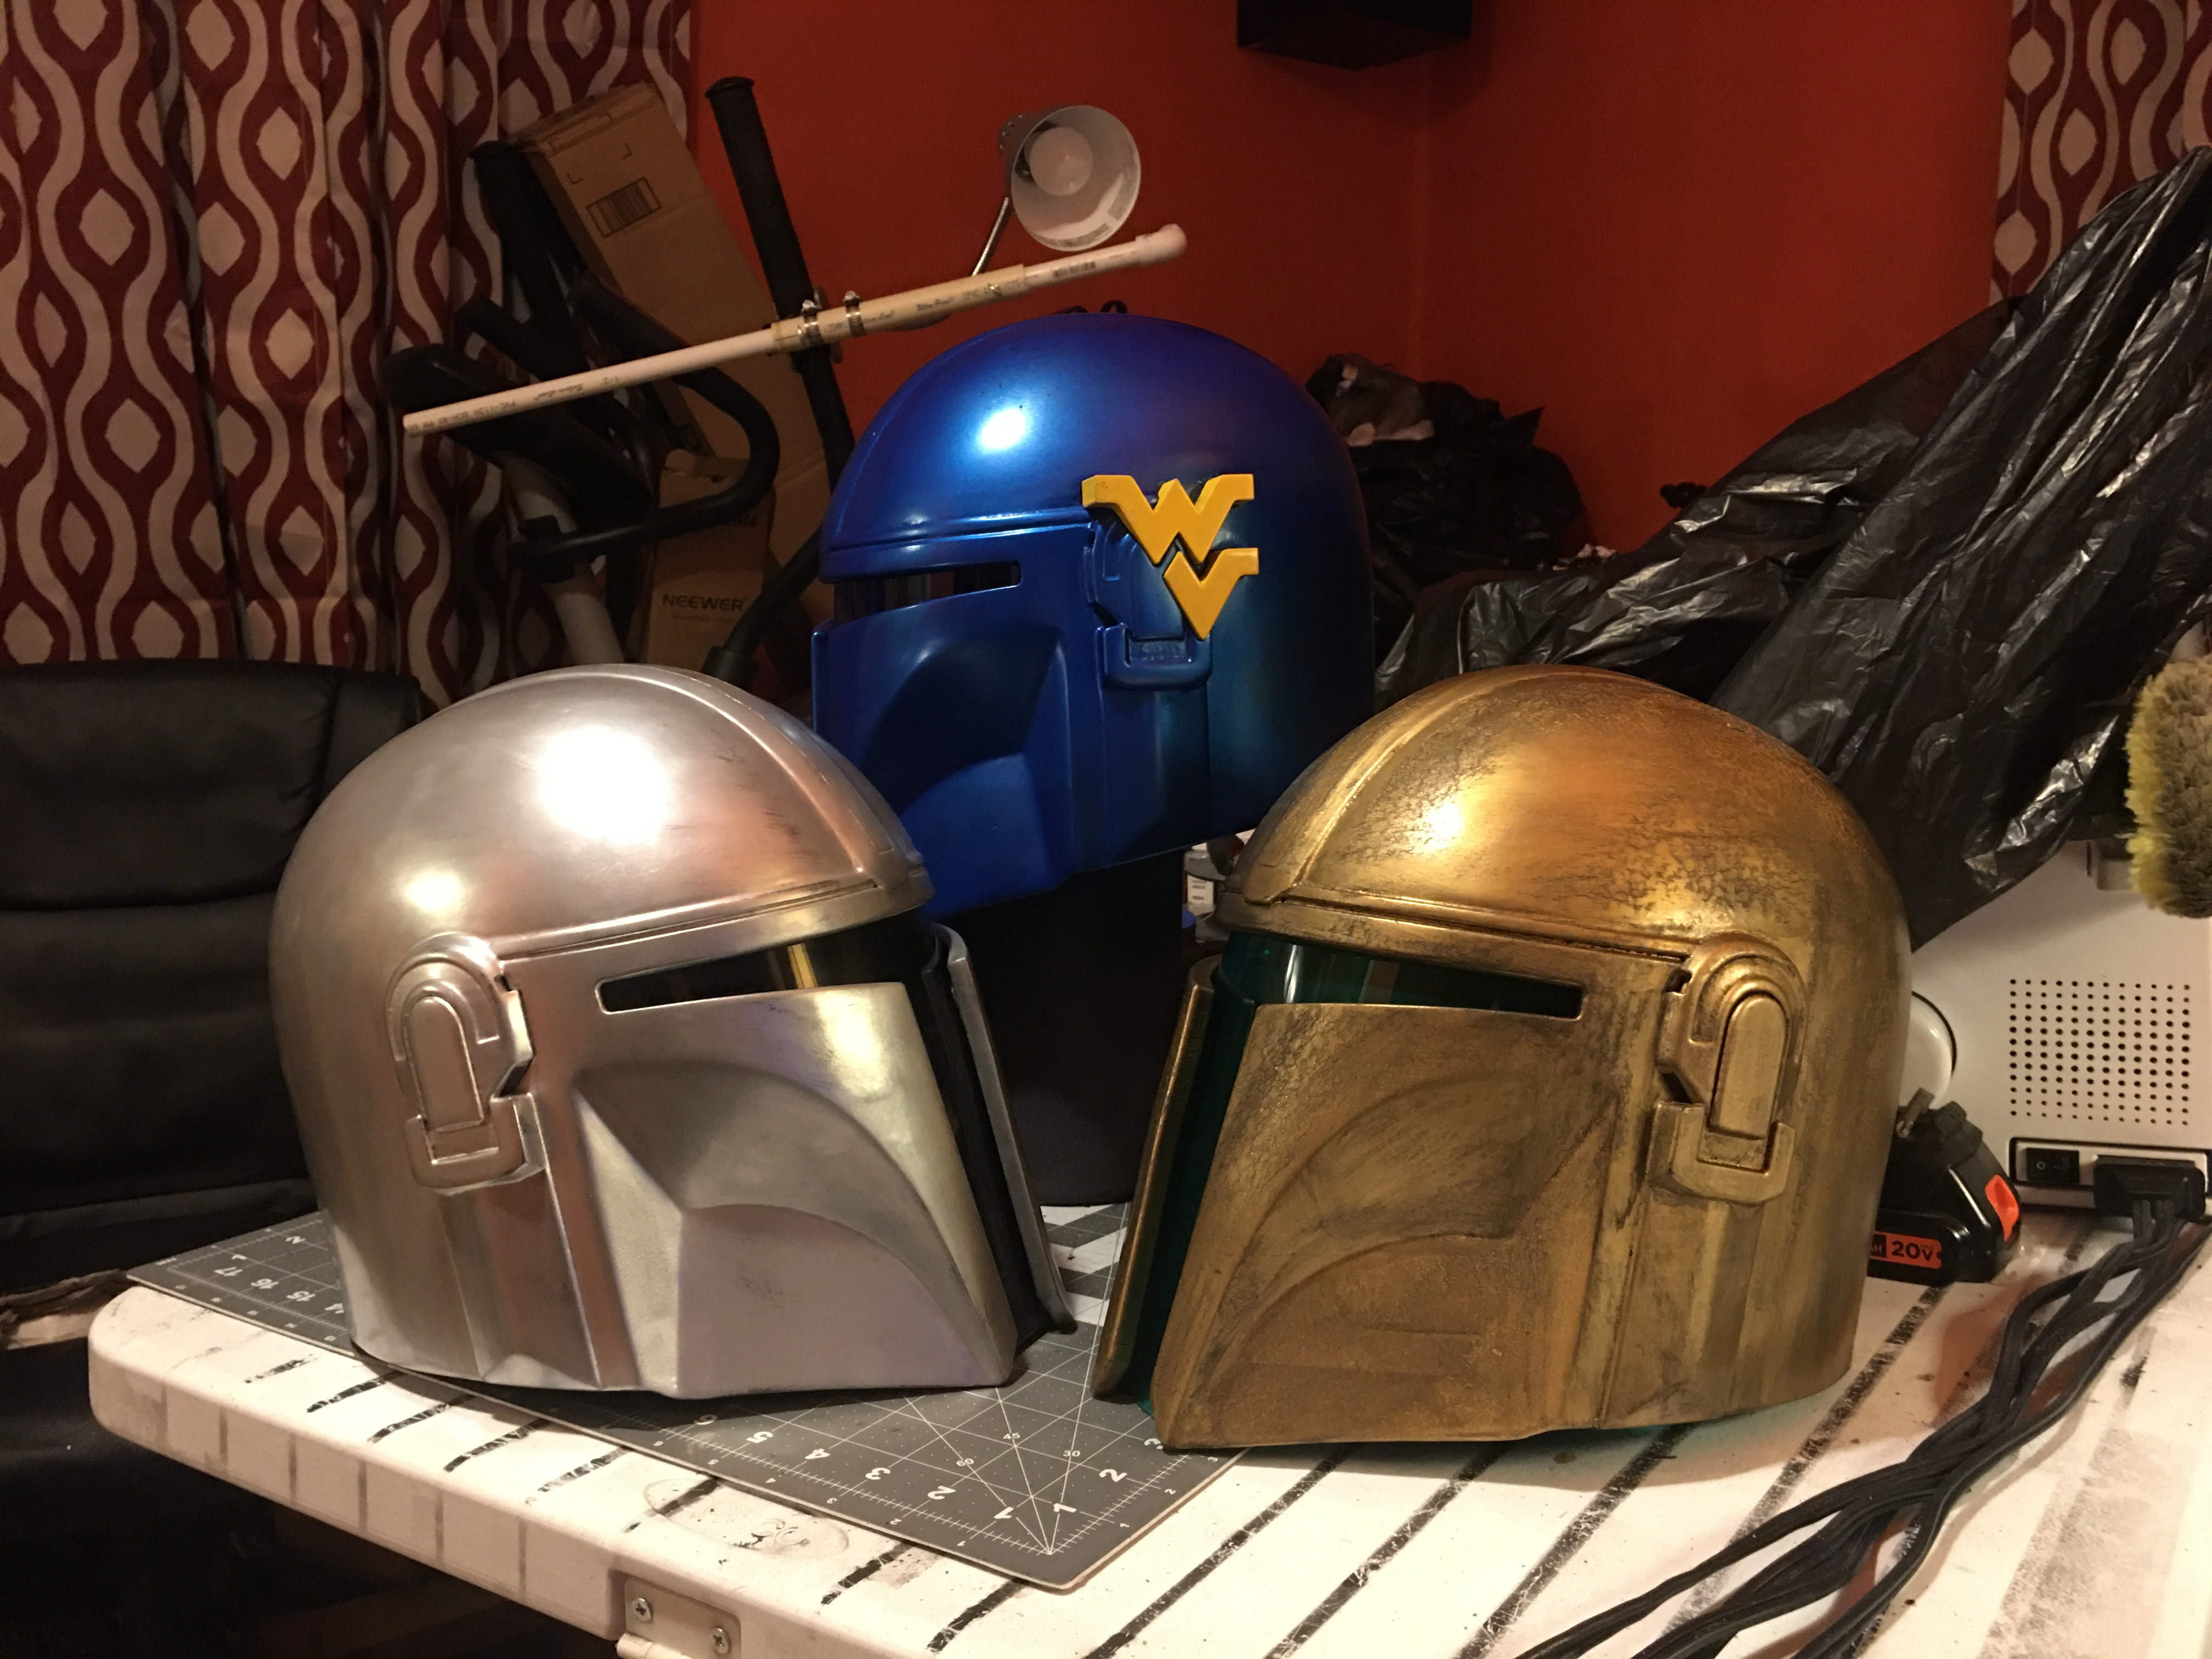
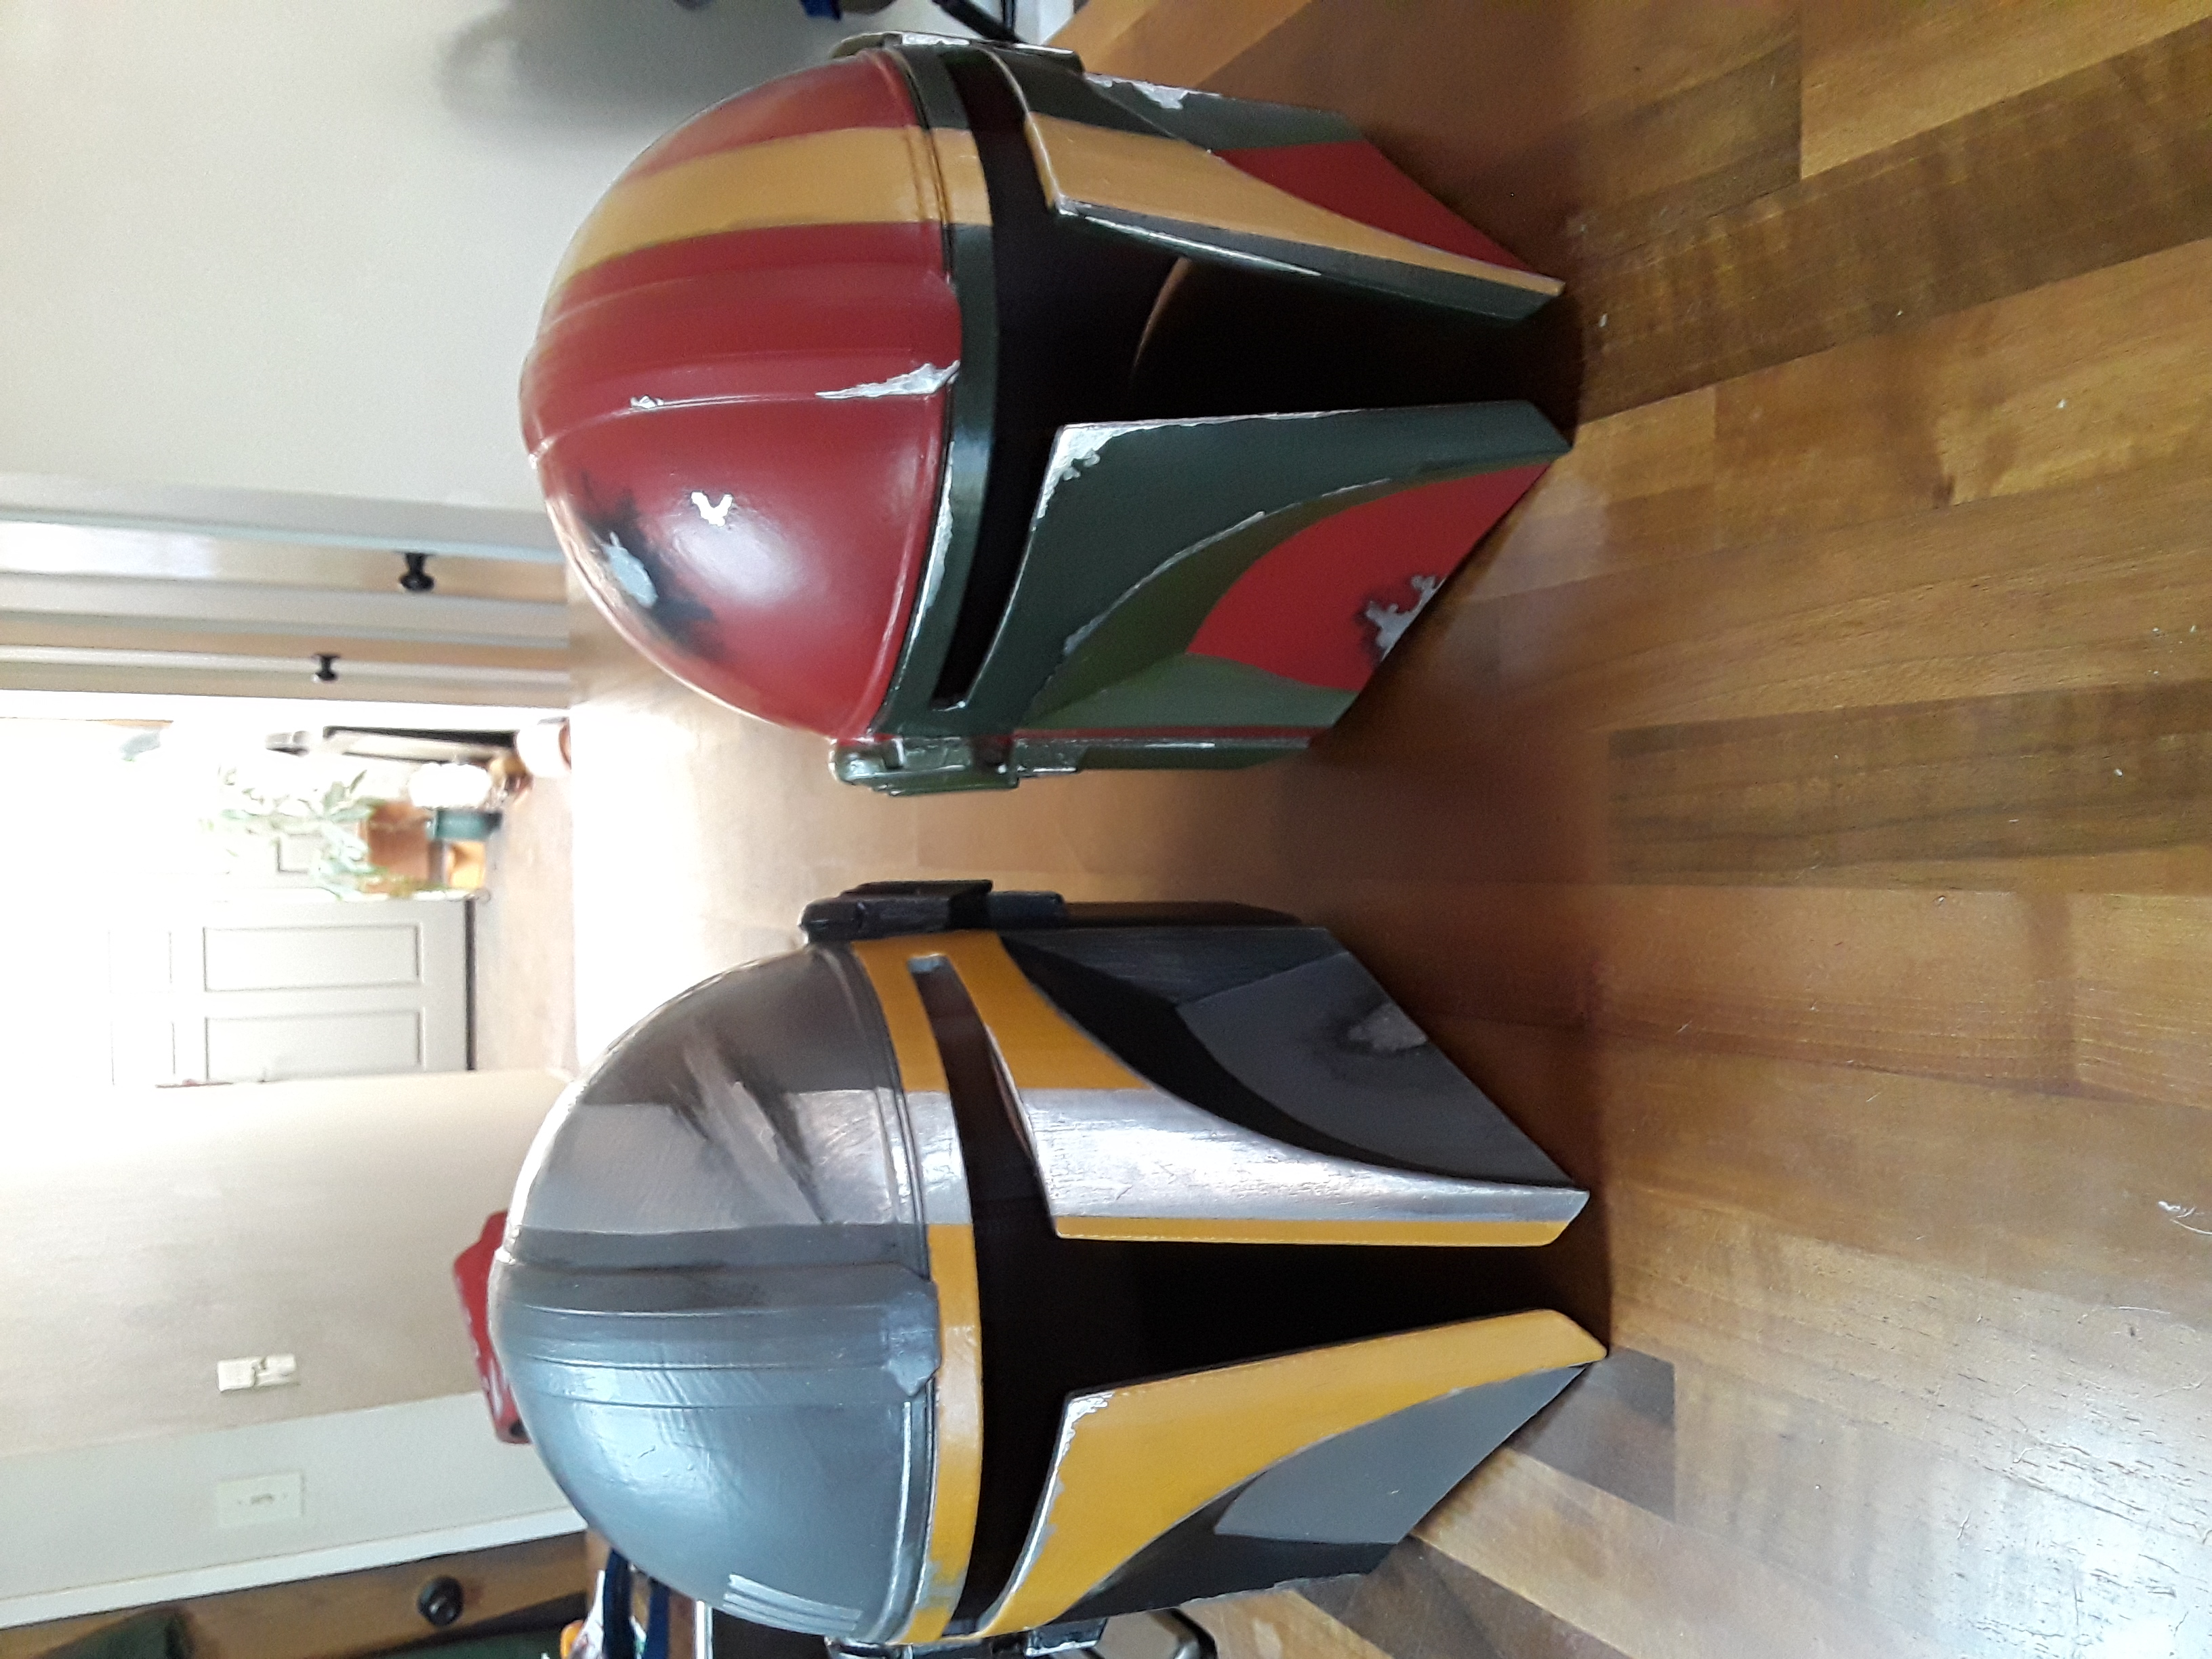
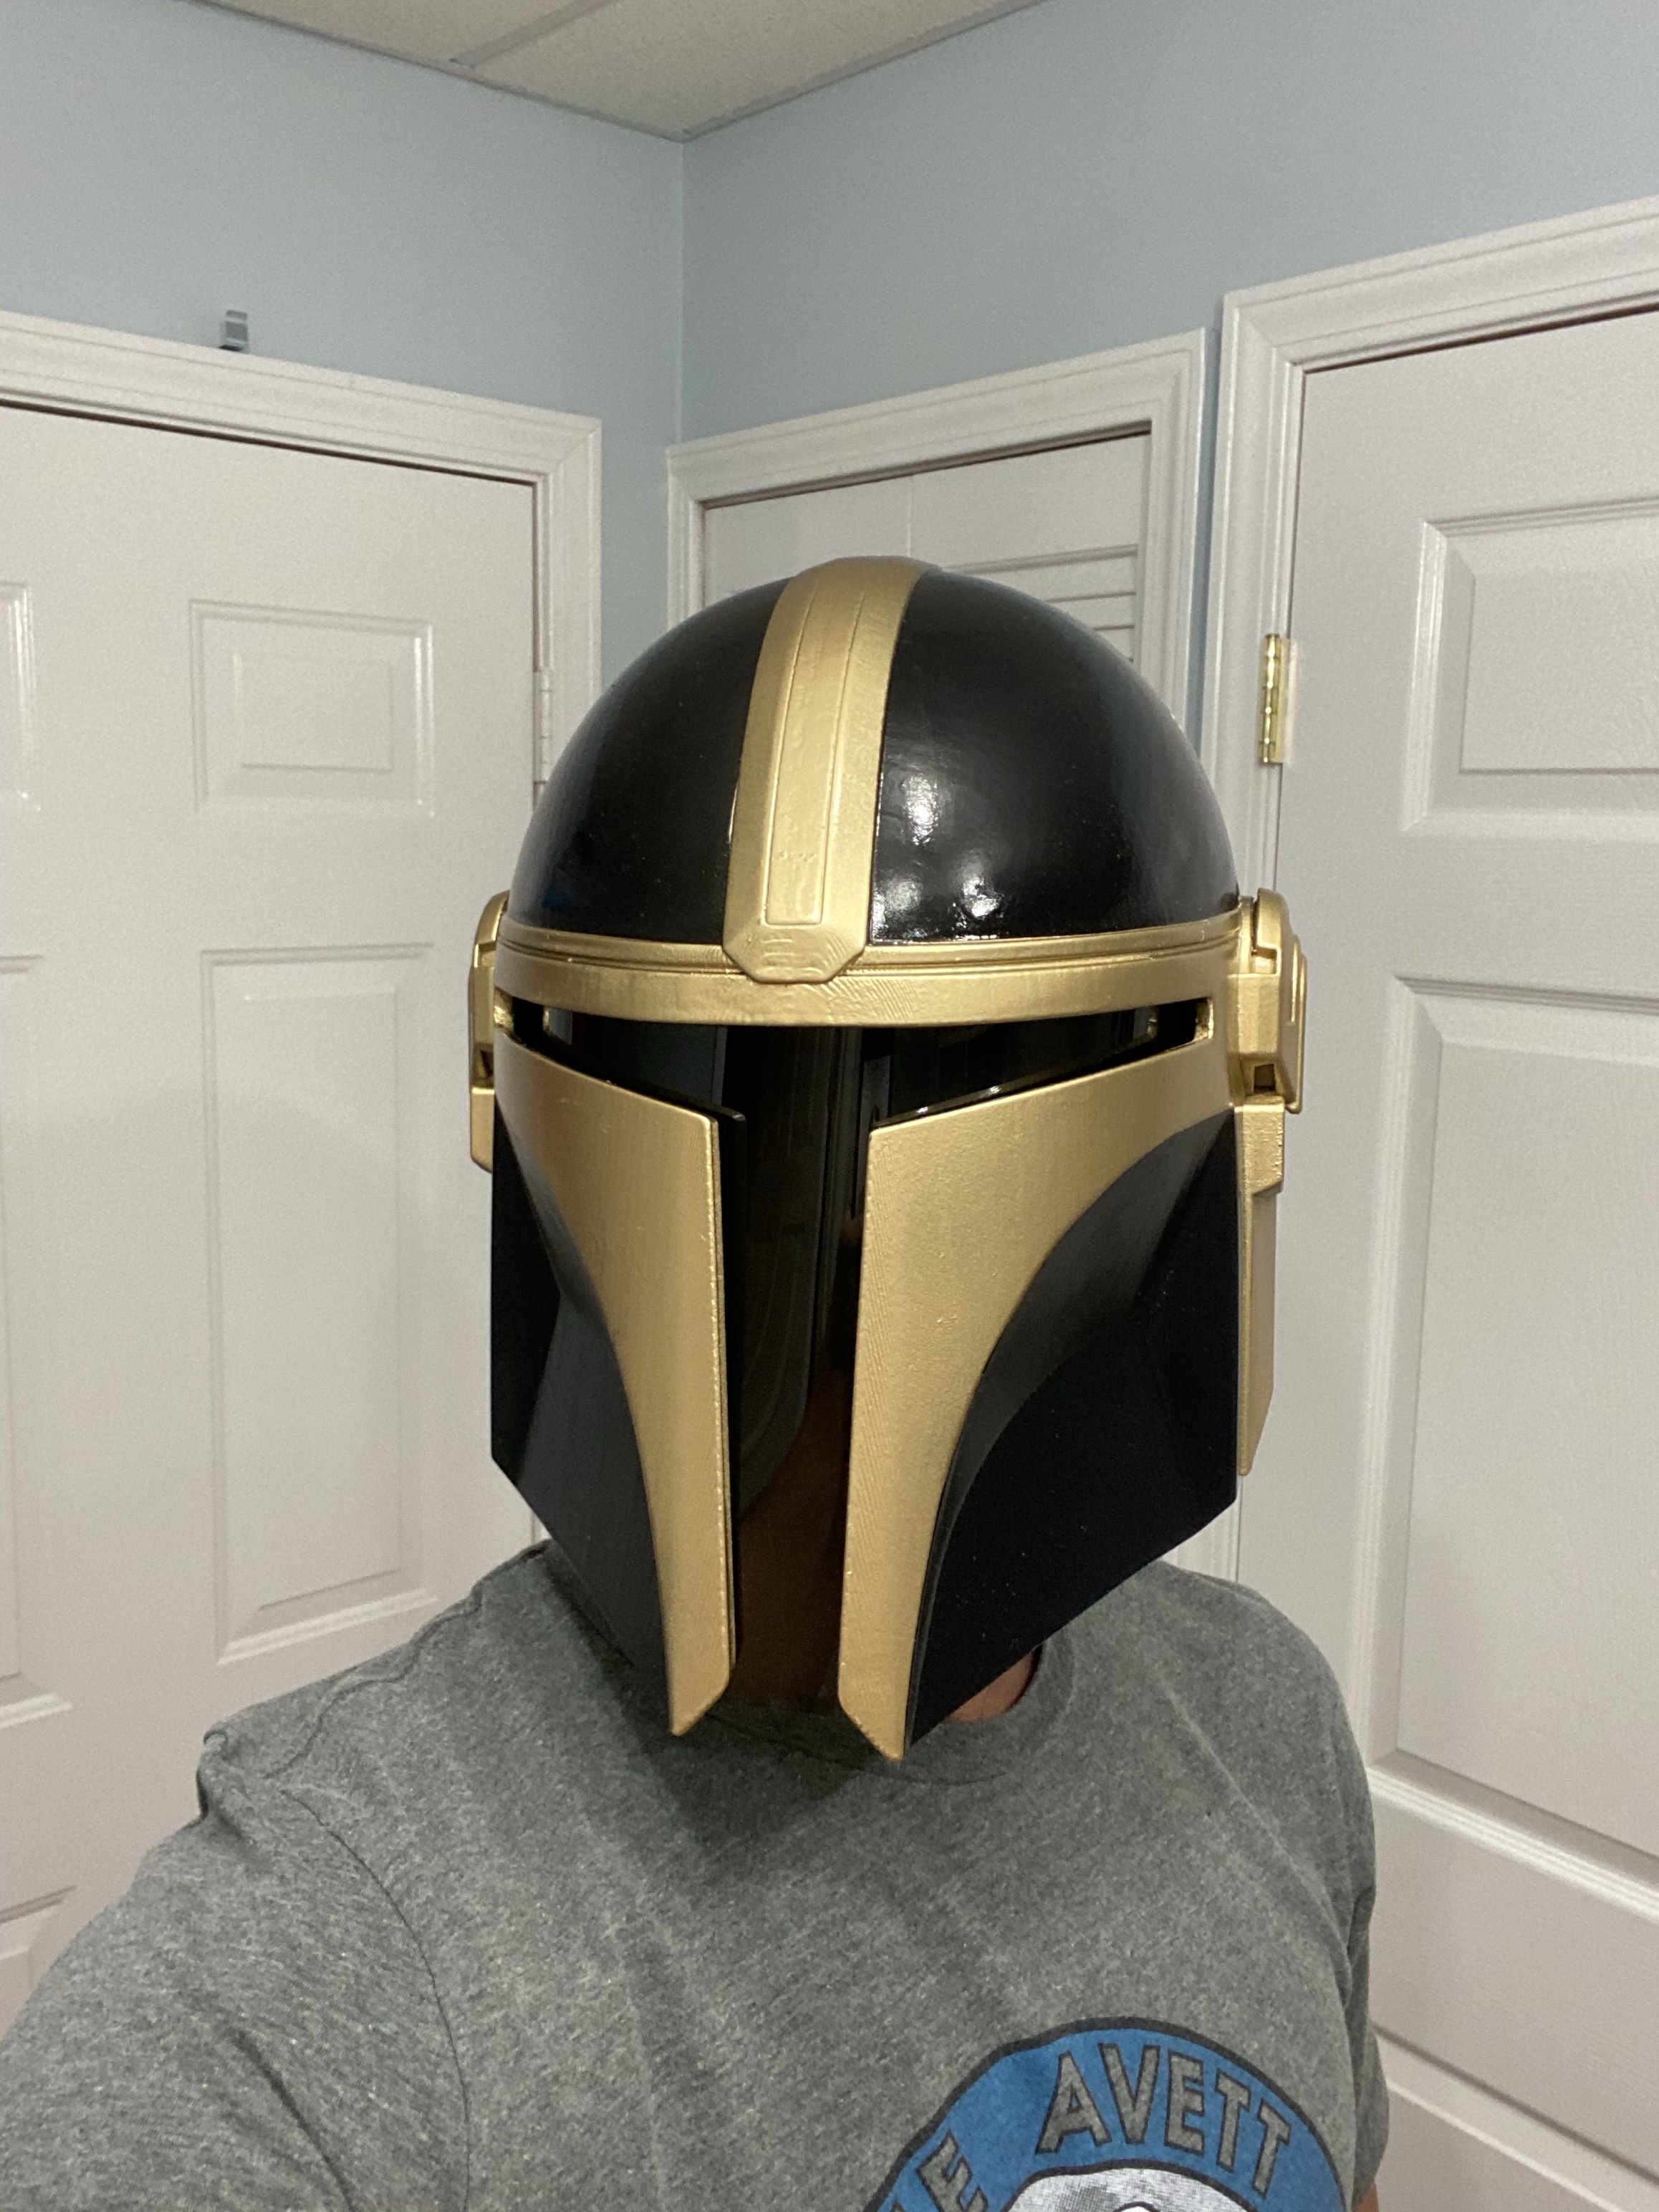
Finished painting my other 2 helmets today. My son wanted gold and the other is themed after our state team.
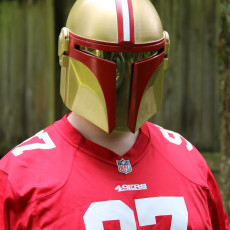
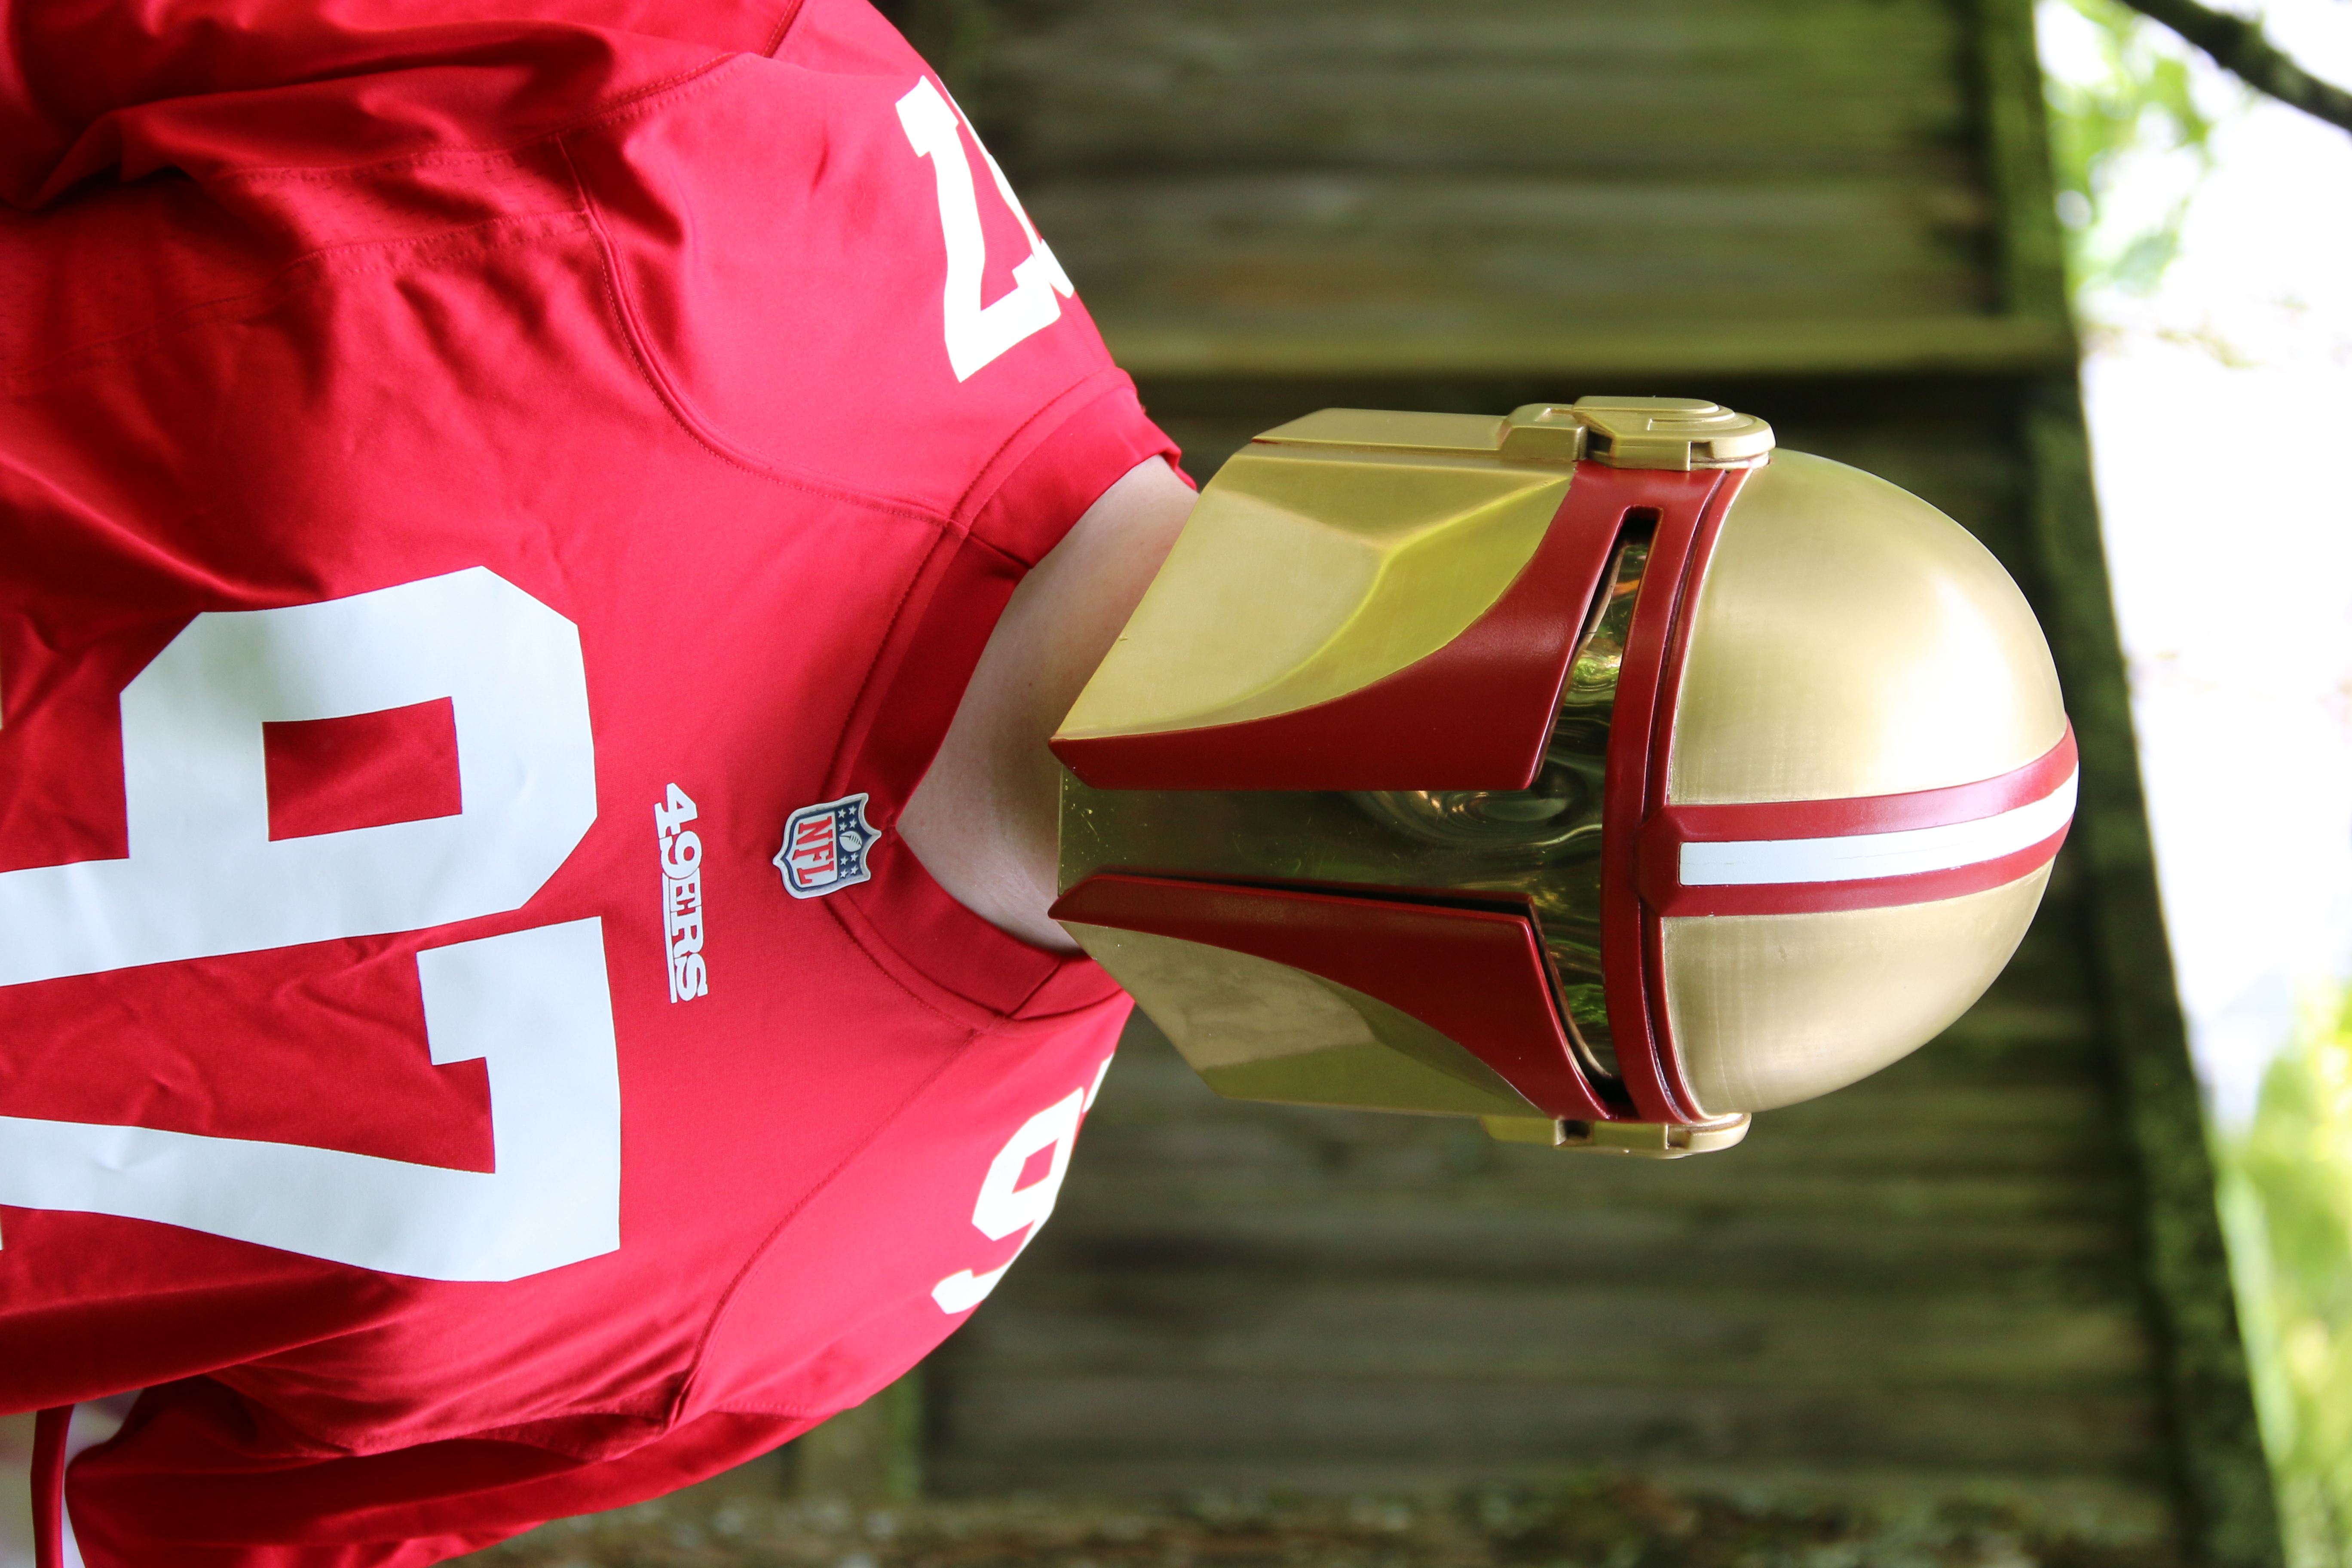
Just finished my paint job on my helmet, getting lots of love over on r/49ers.
Just printed ;) layer 0,1, size 100%, 6days 15hours 58minutes looks great Rob - thanks for the model
I printed both with minimum amount of supports. Came out great and printed a lot faster (9 hrs).
the main part (printed without supports inside) used 837g (103,27m) two ear sets 112g (13,76m) vent 35g (4,32m) visor - for cutting shape 61g (7,5m) - it was 100% size and the main body printed in one piece, infill 20%, wall 4 lines, bottom/up thickness 1,2 mm - so I used over 1kg
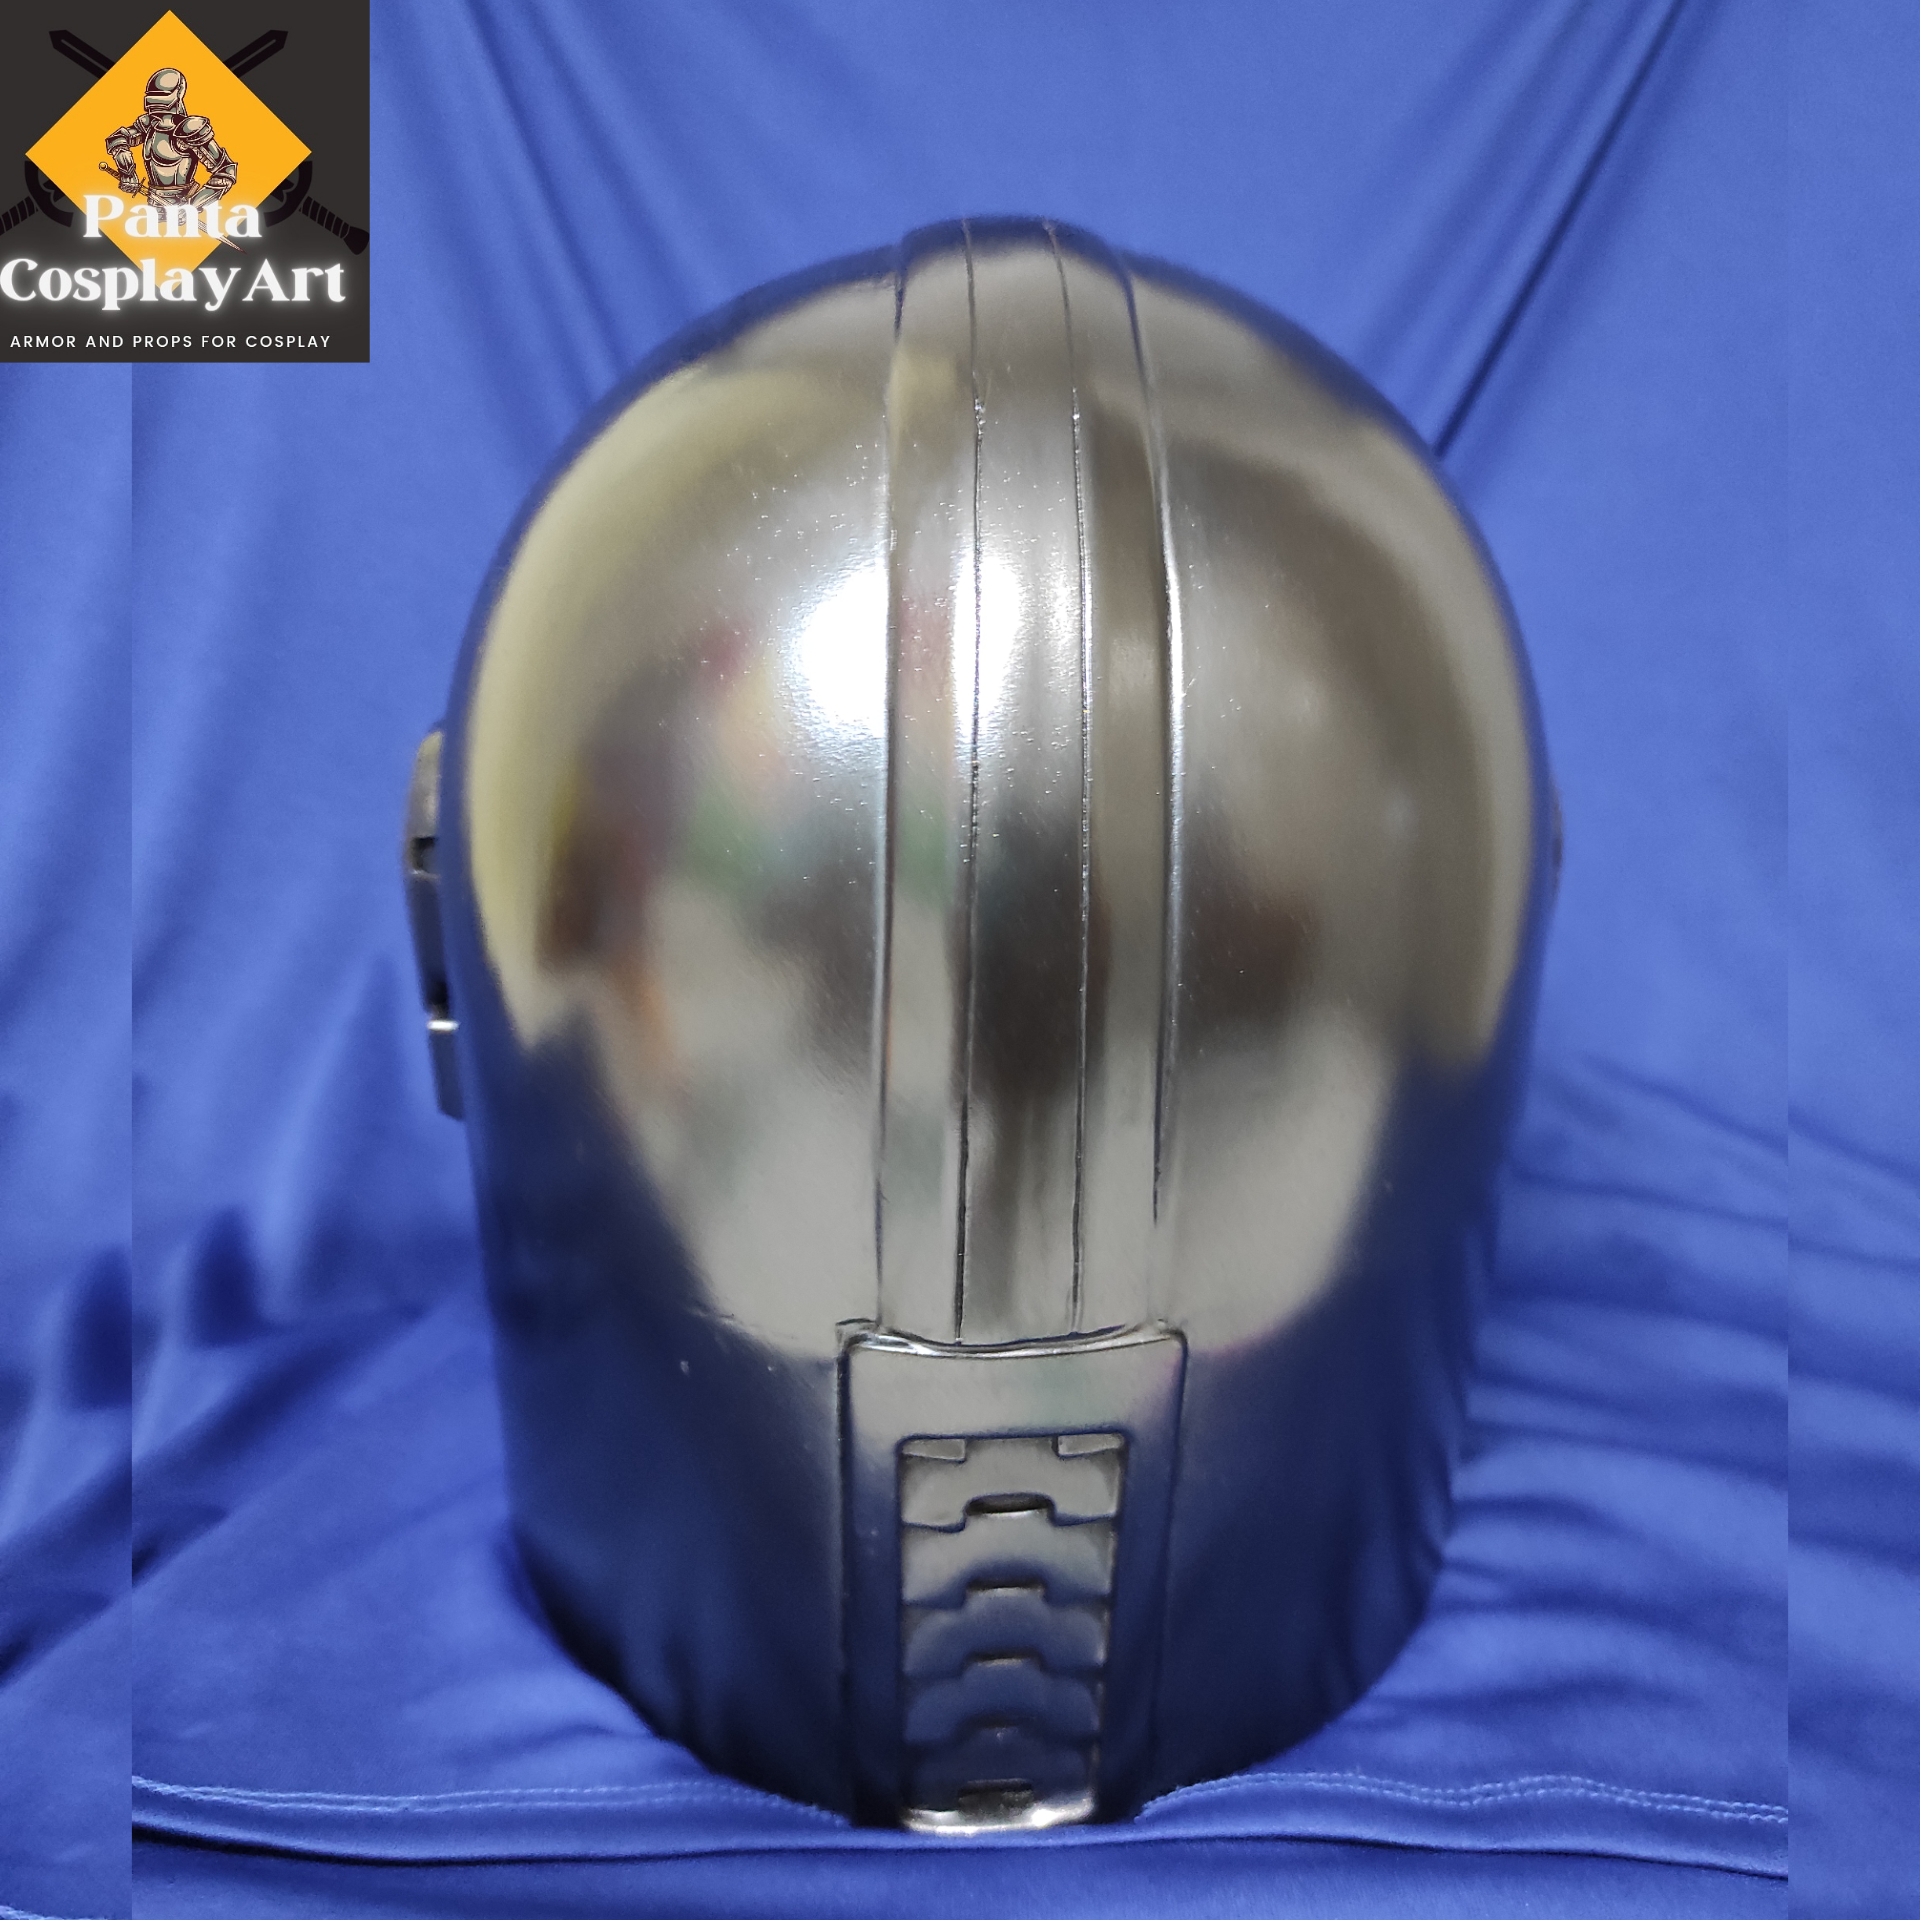
Finally finished mine! Super happy with it. It's a little darker than I wanted, so down the road I'm going to apply some silver rub. Otherwise, it's done!
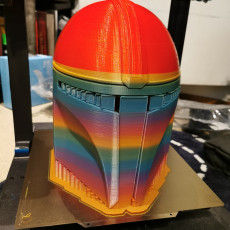
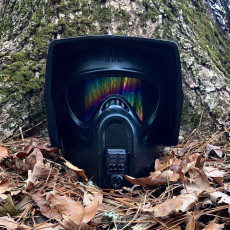
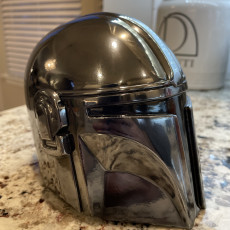
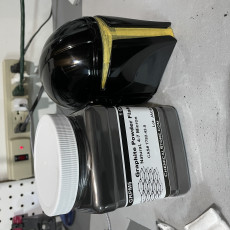
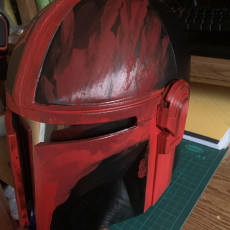
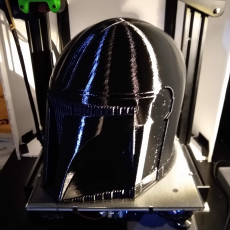
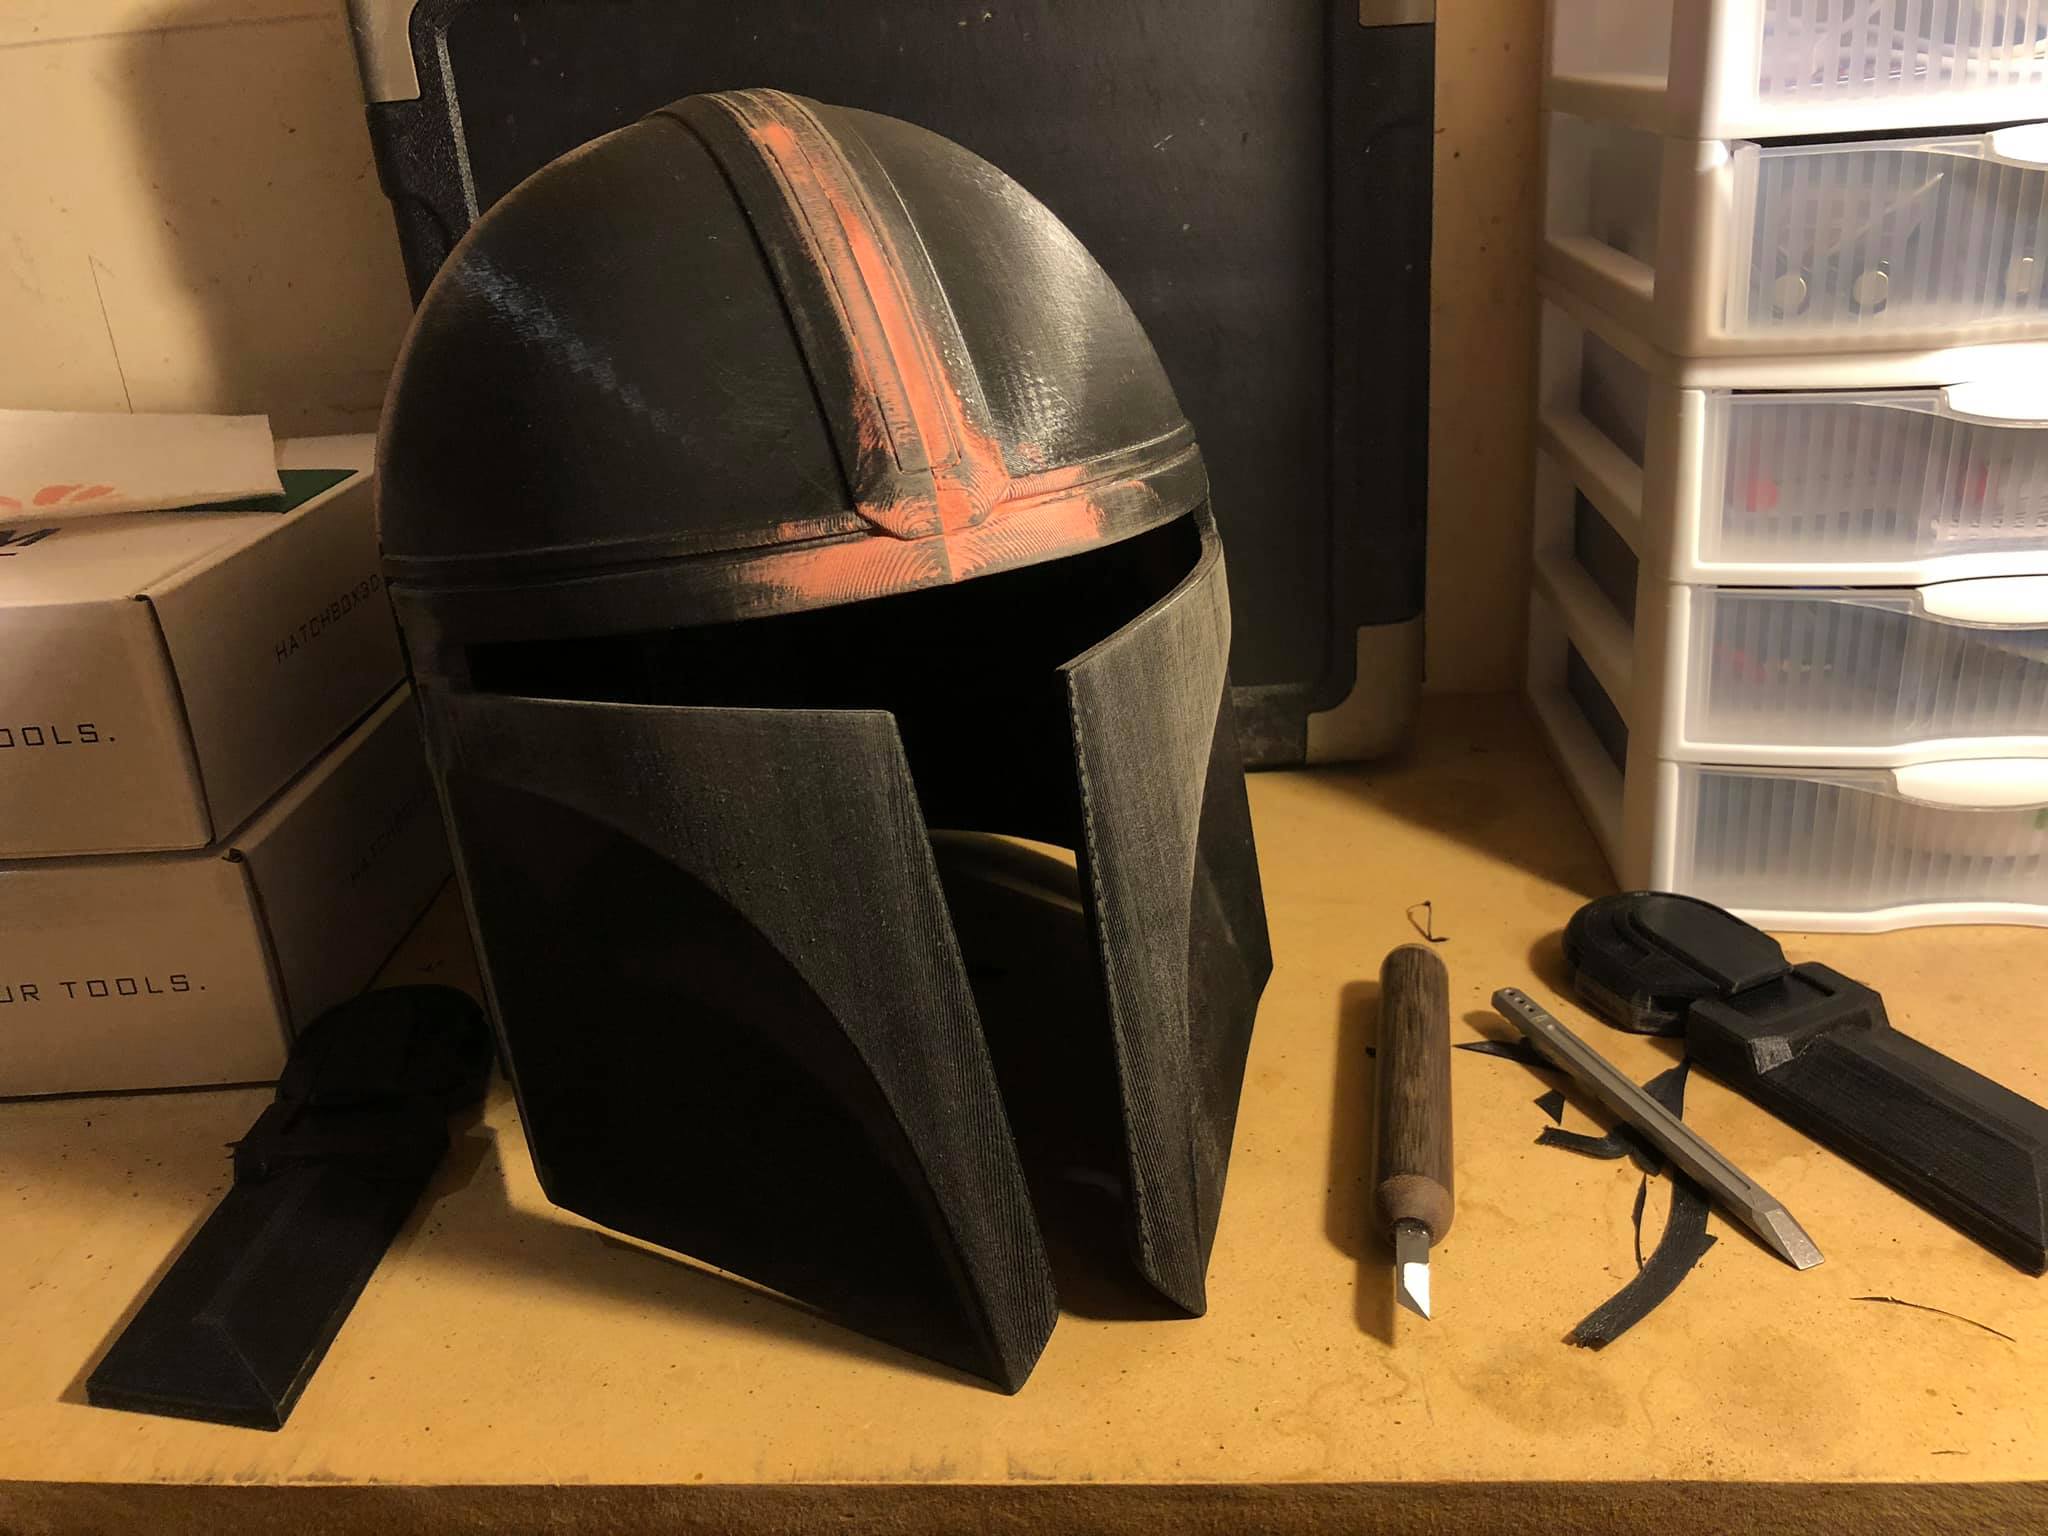
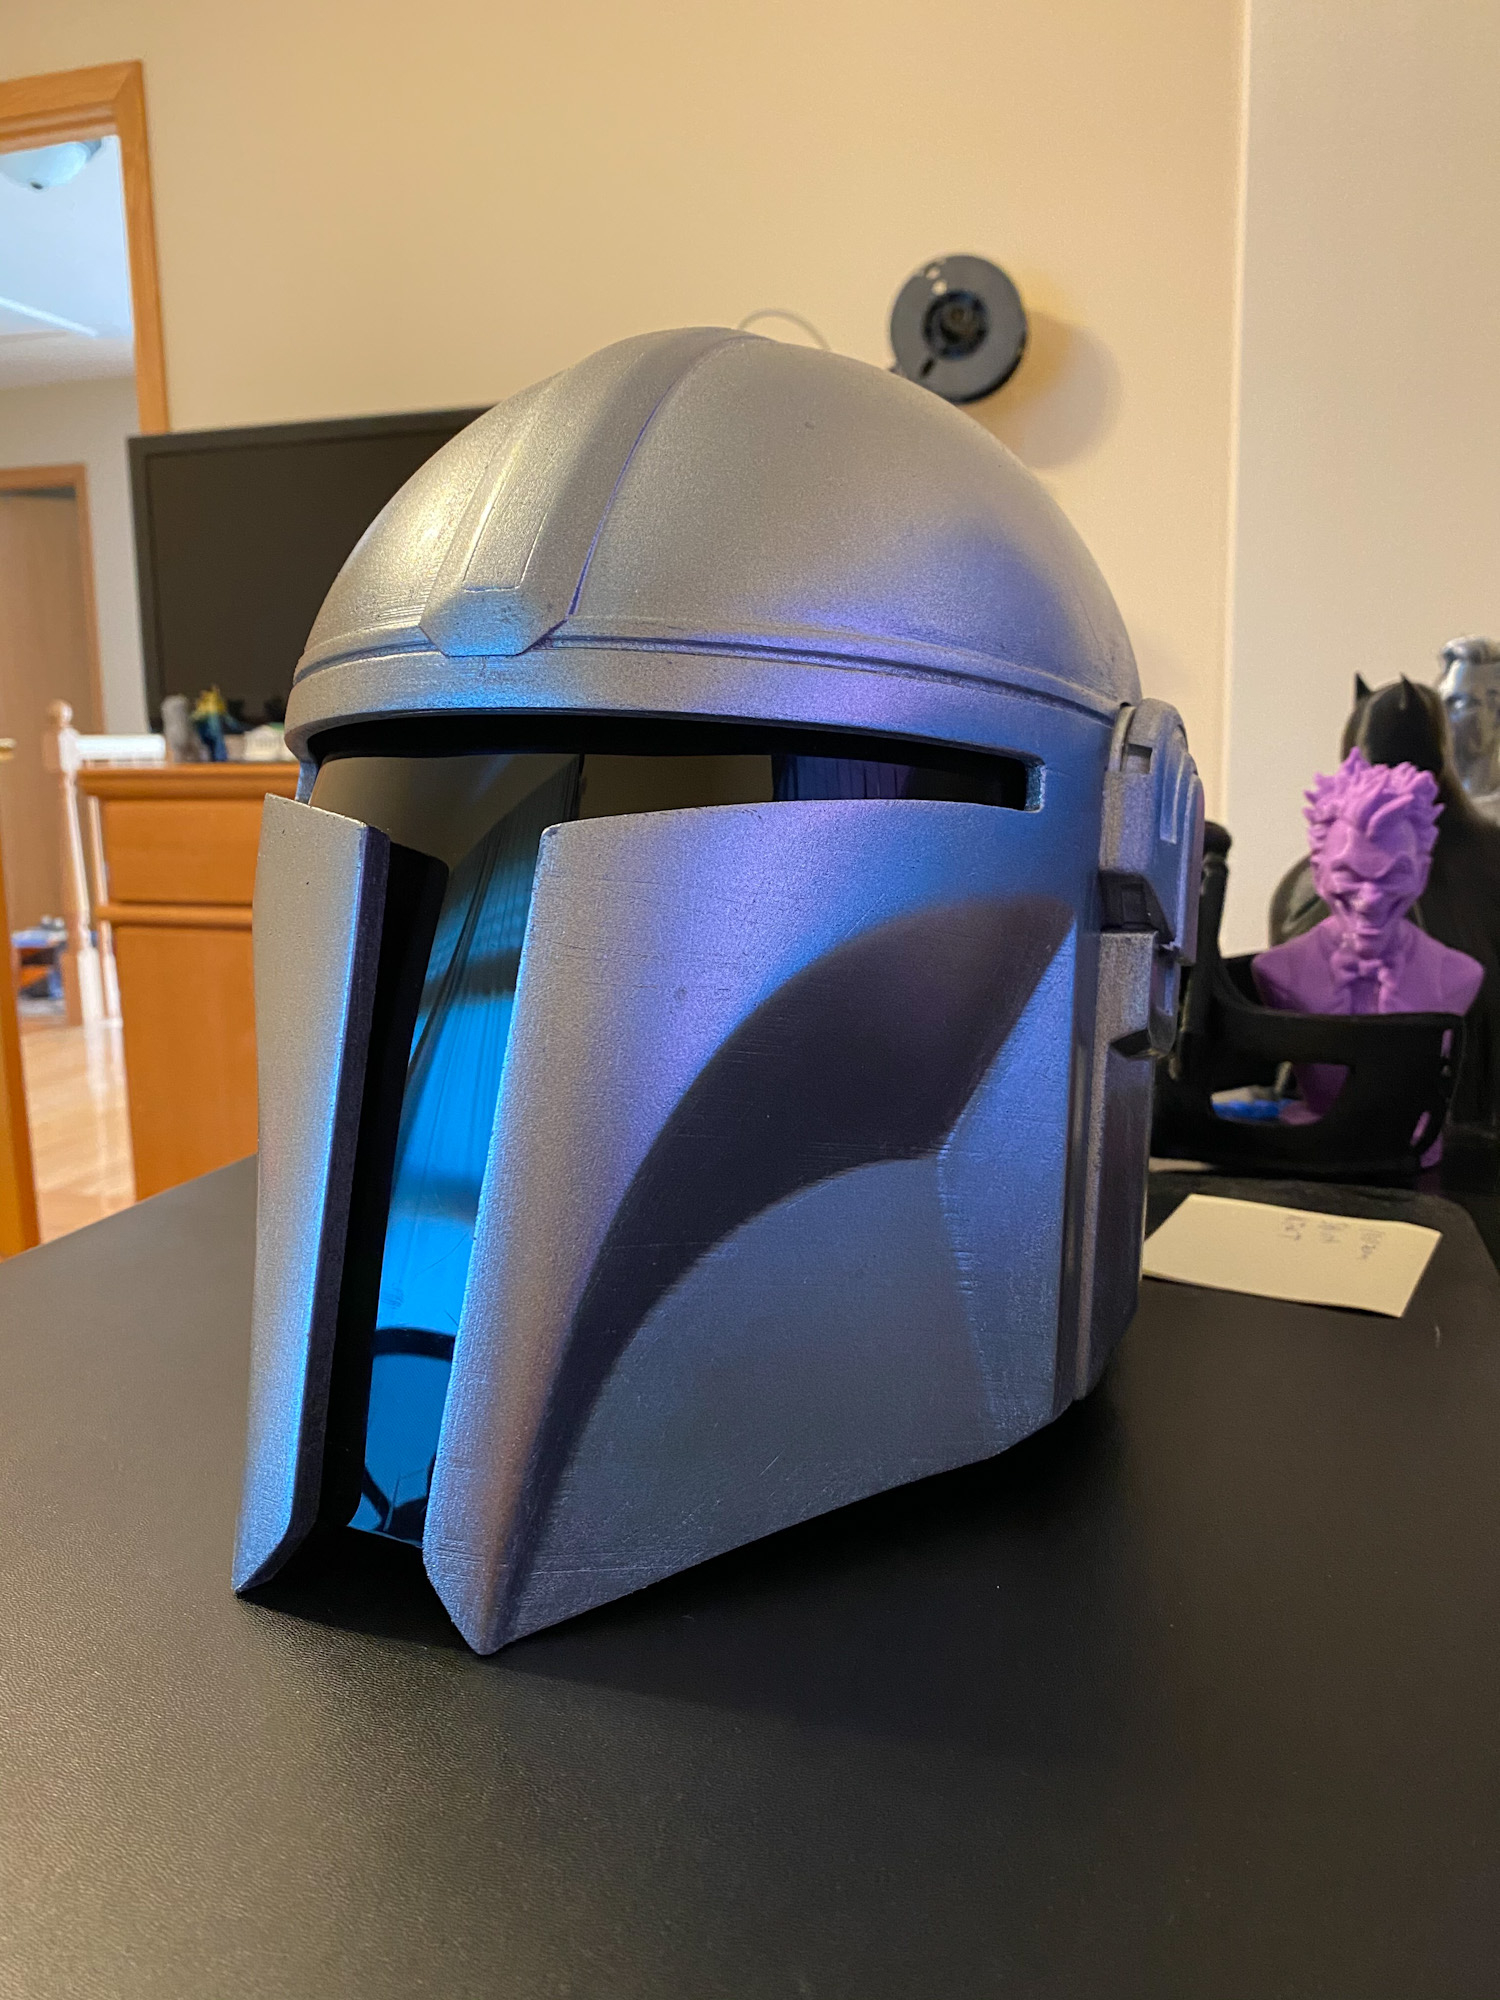
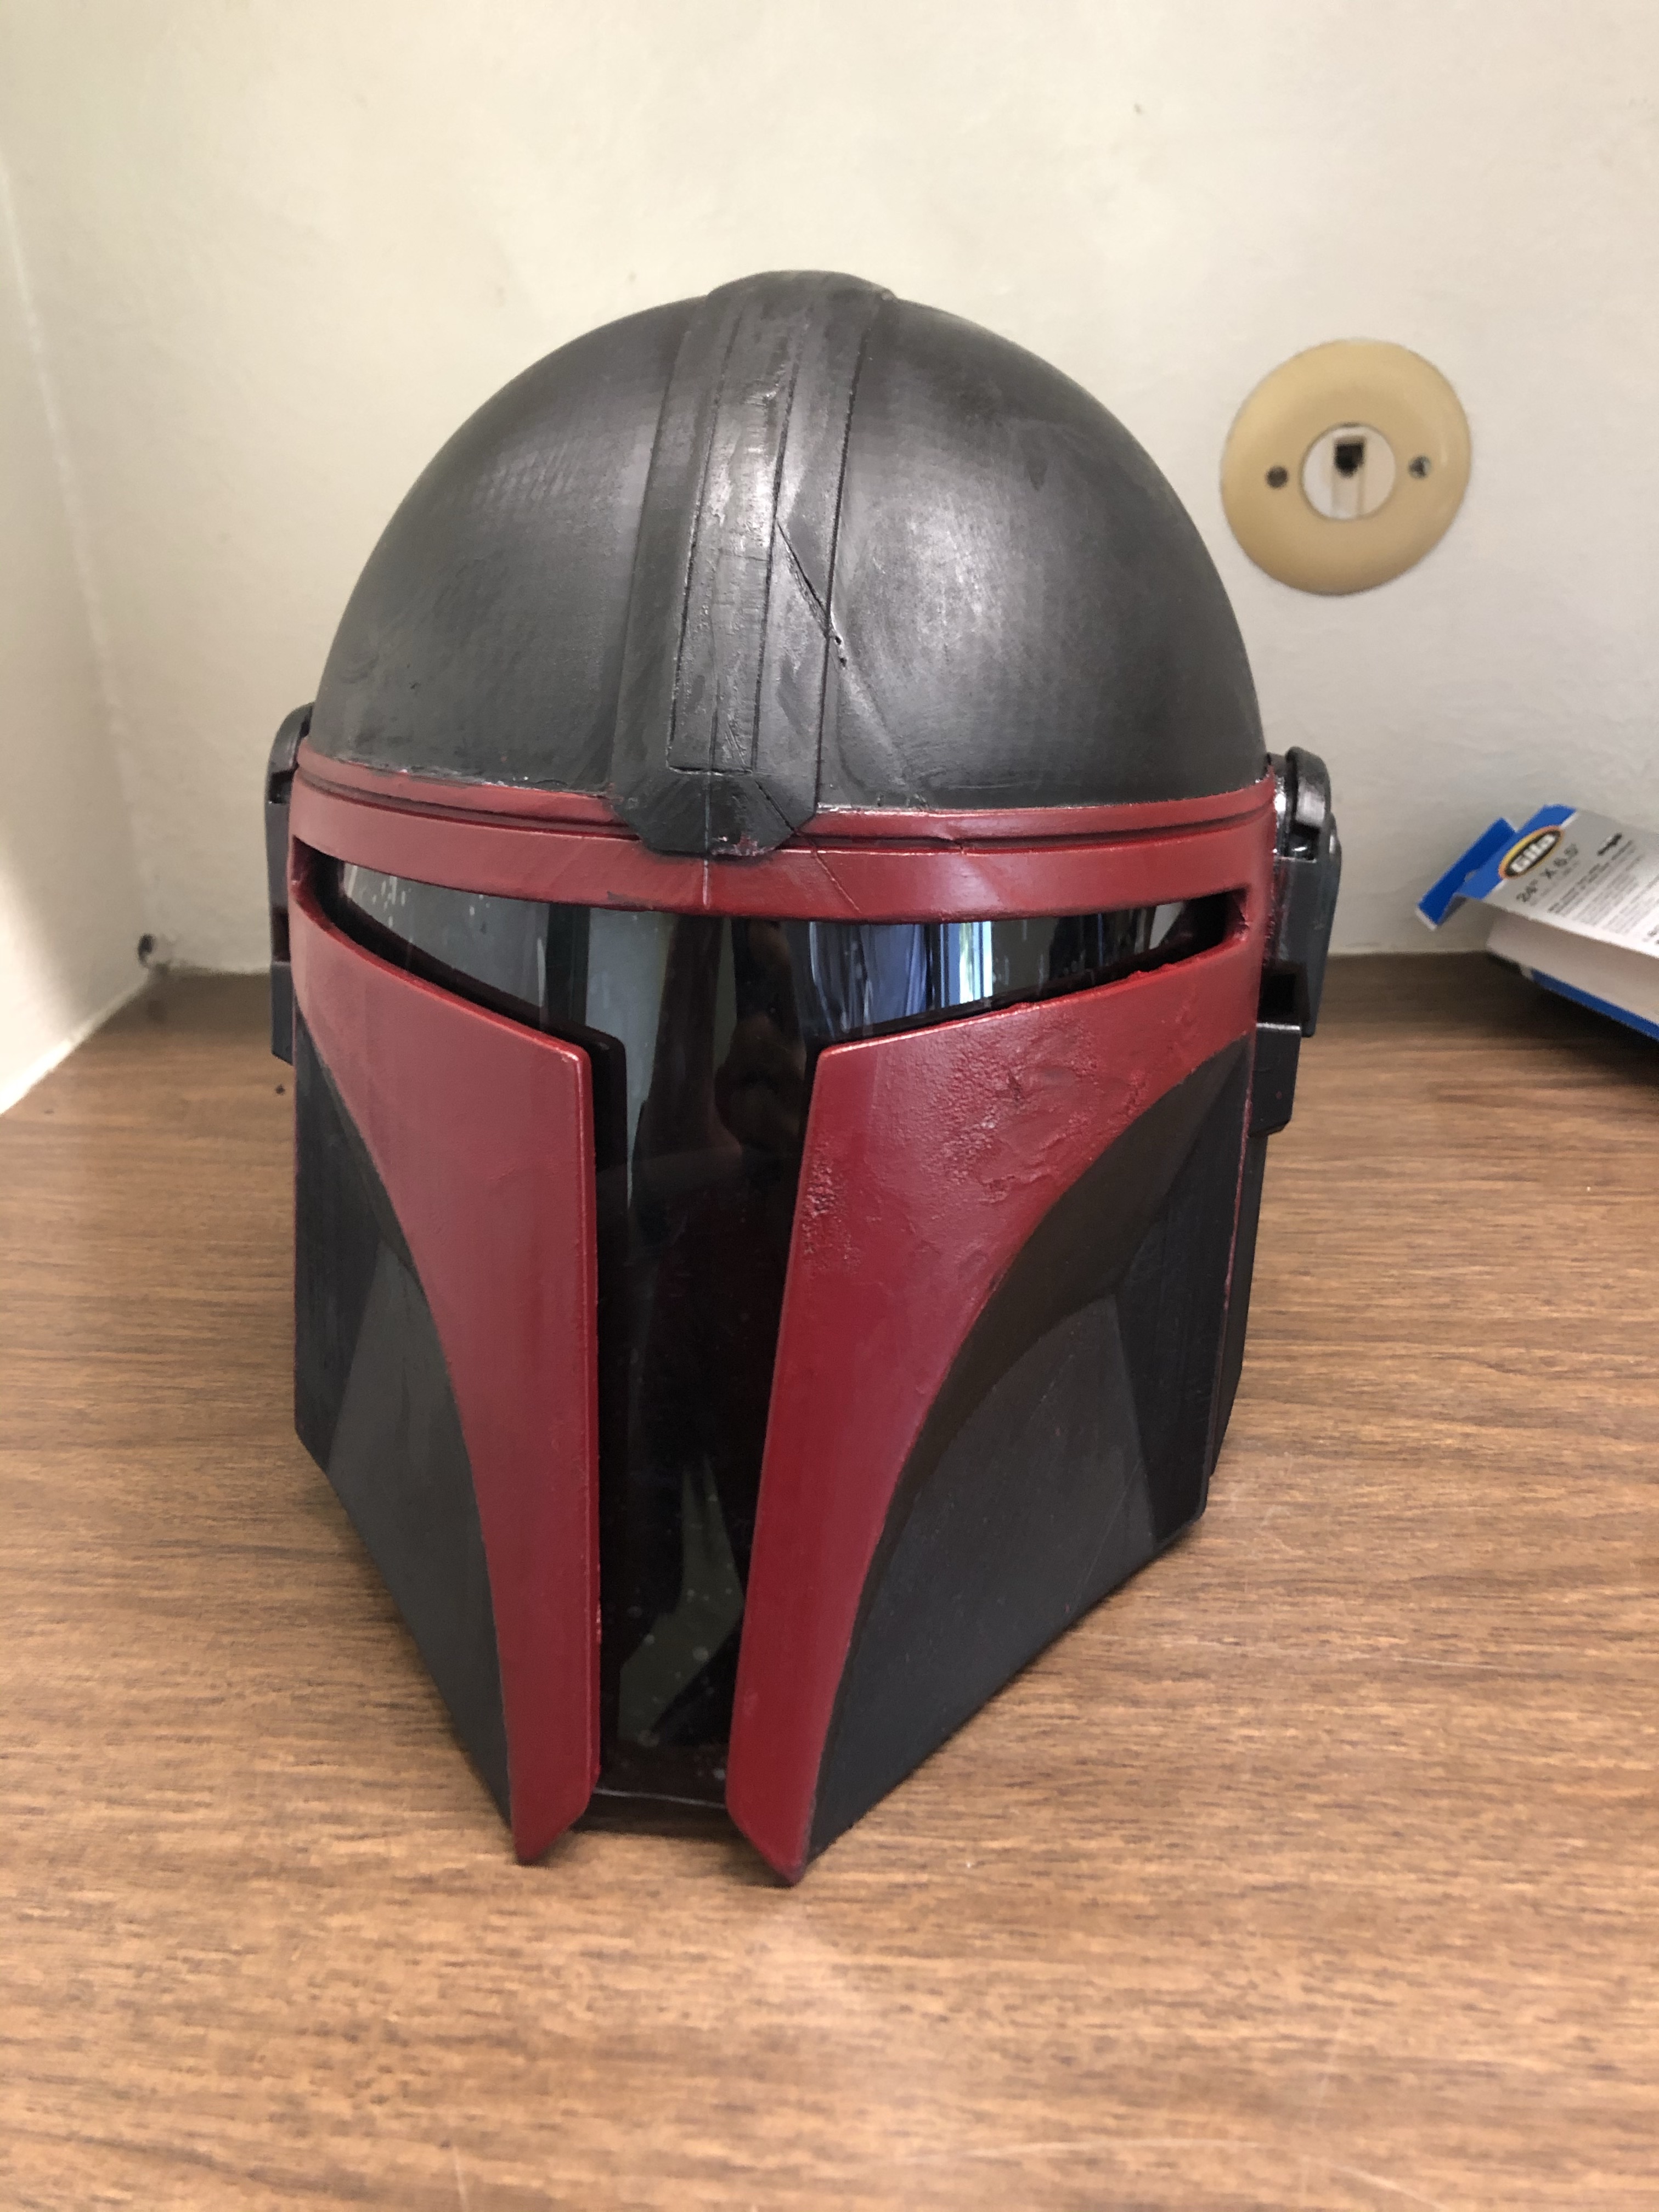
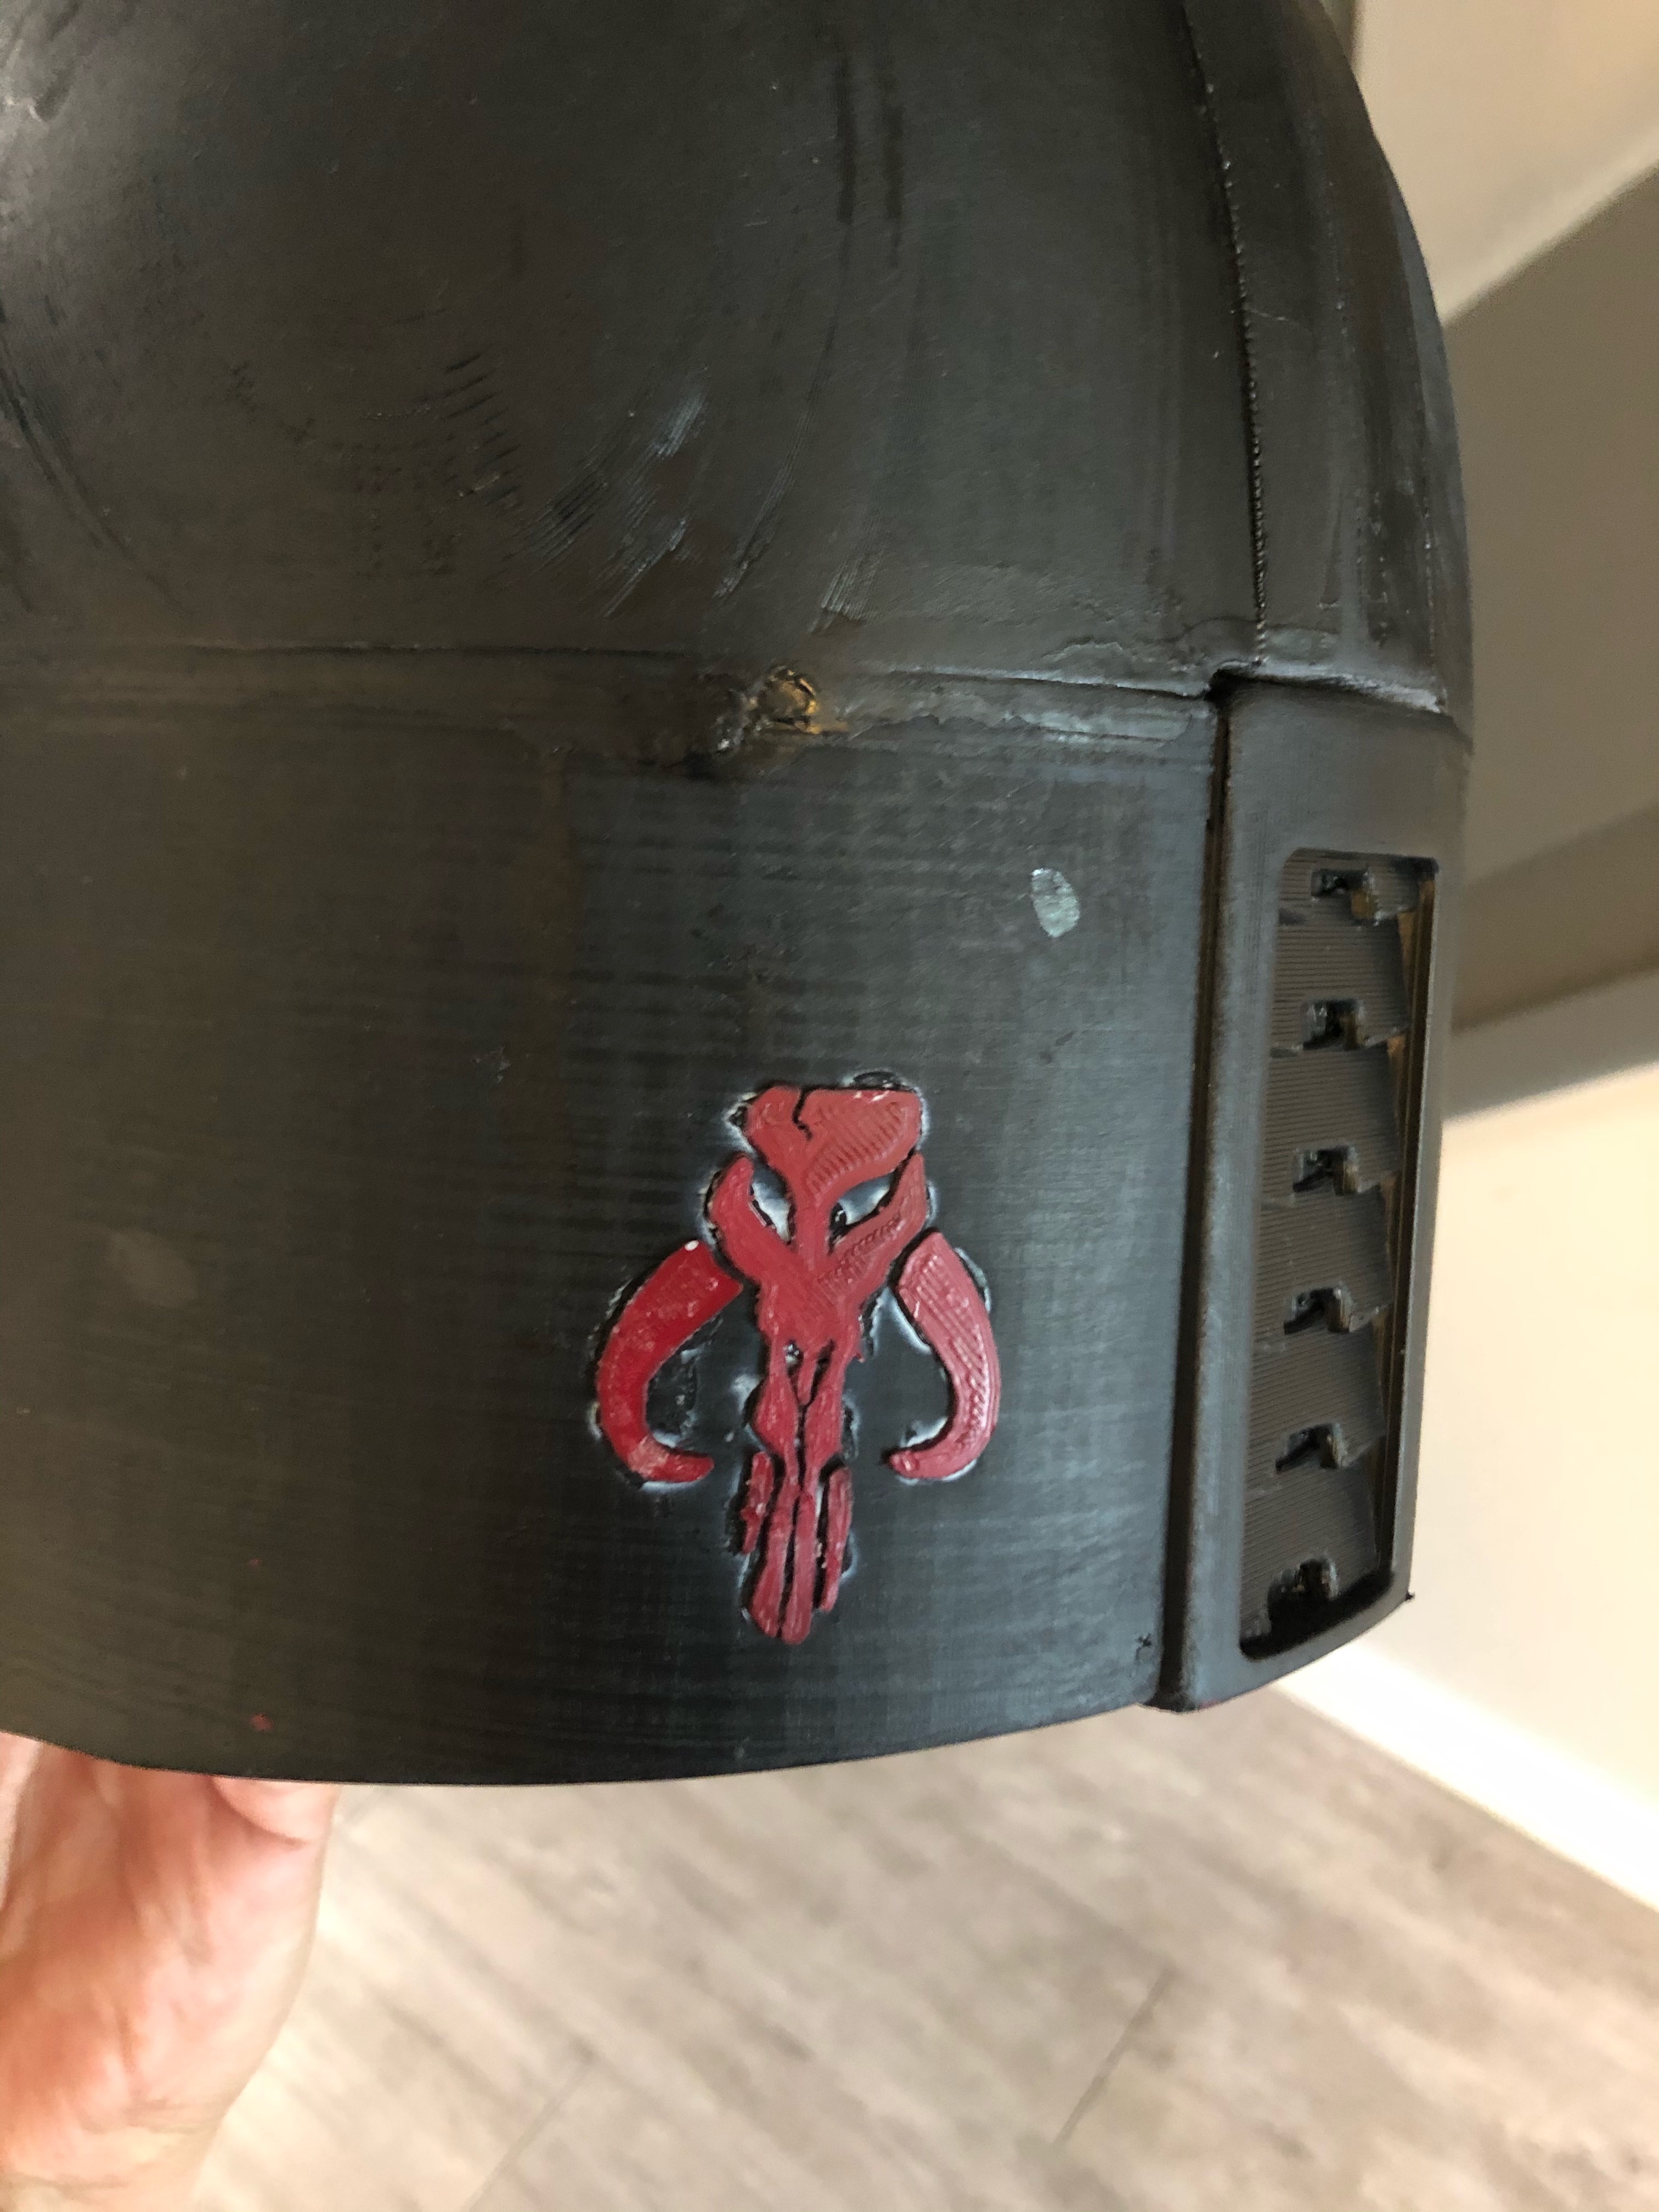
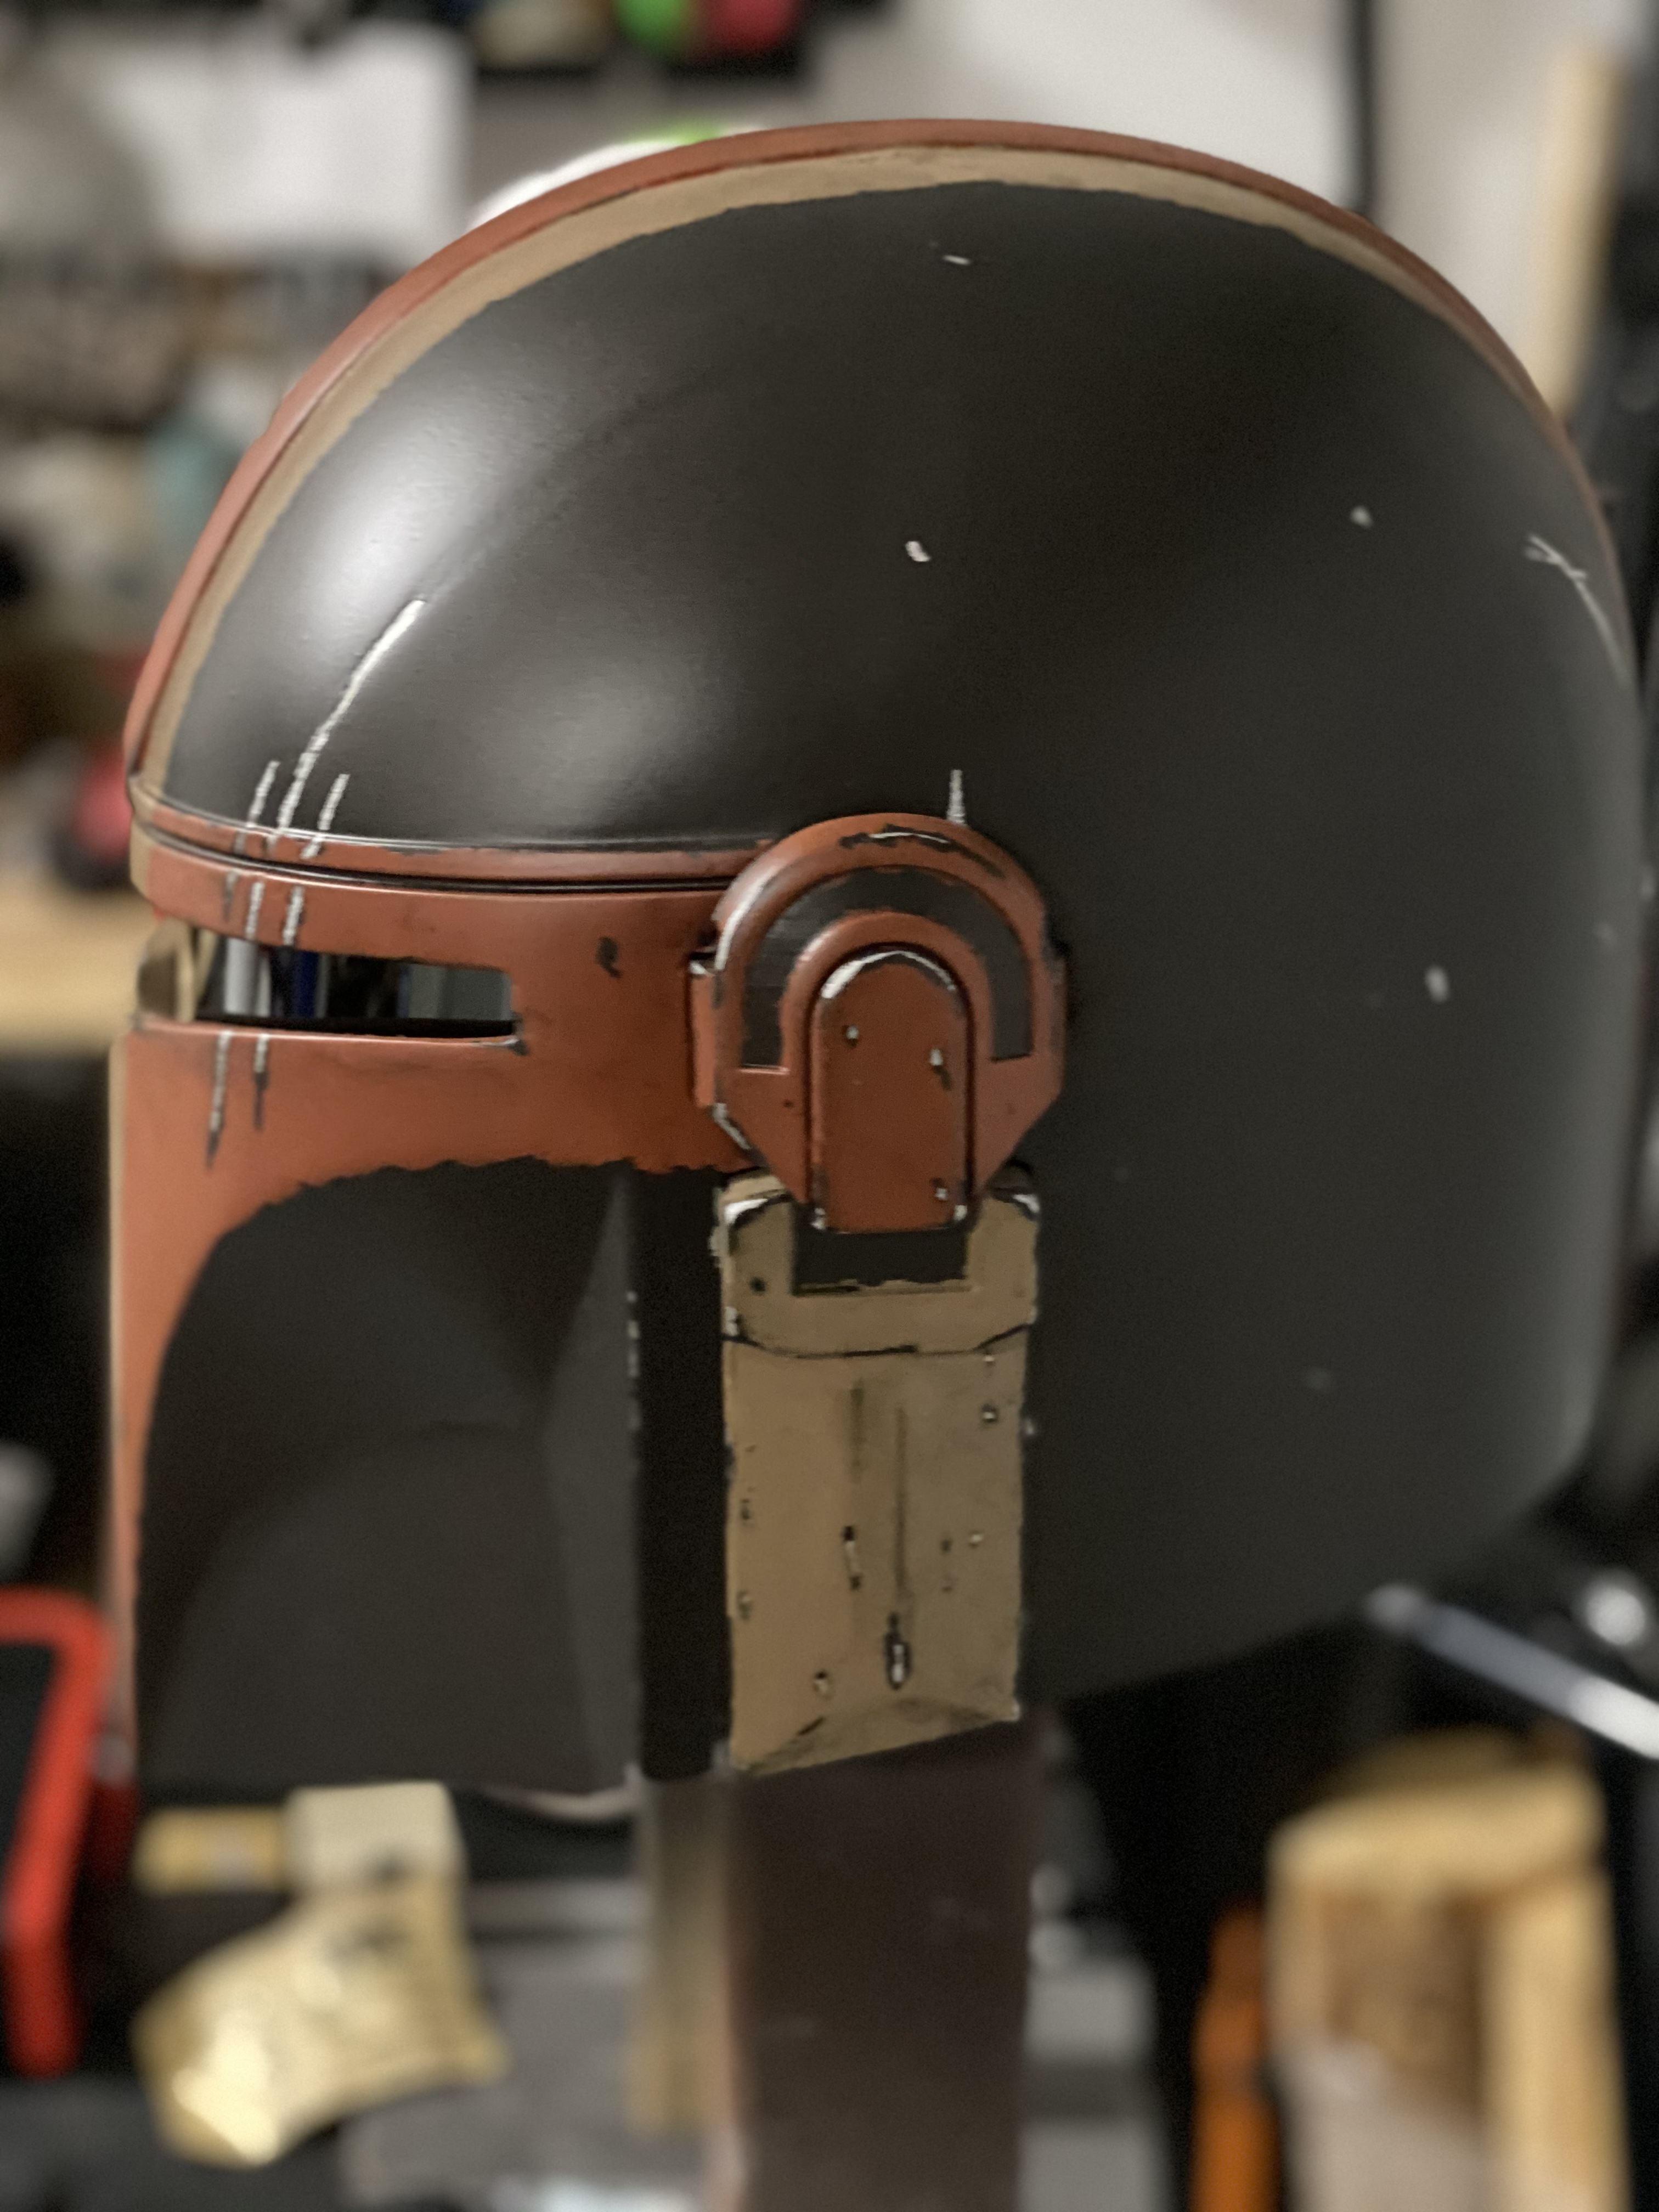
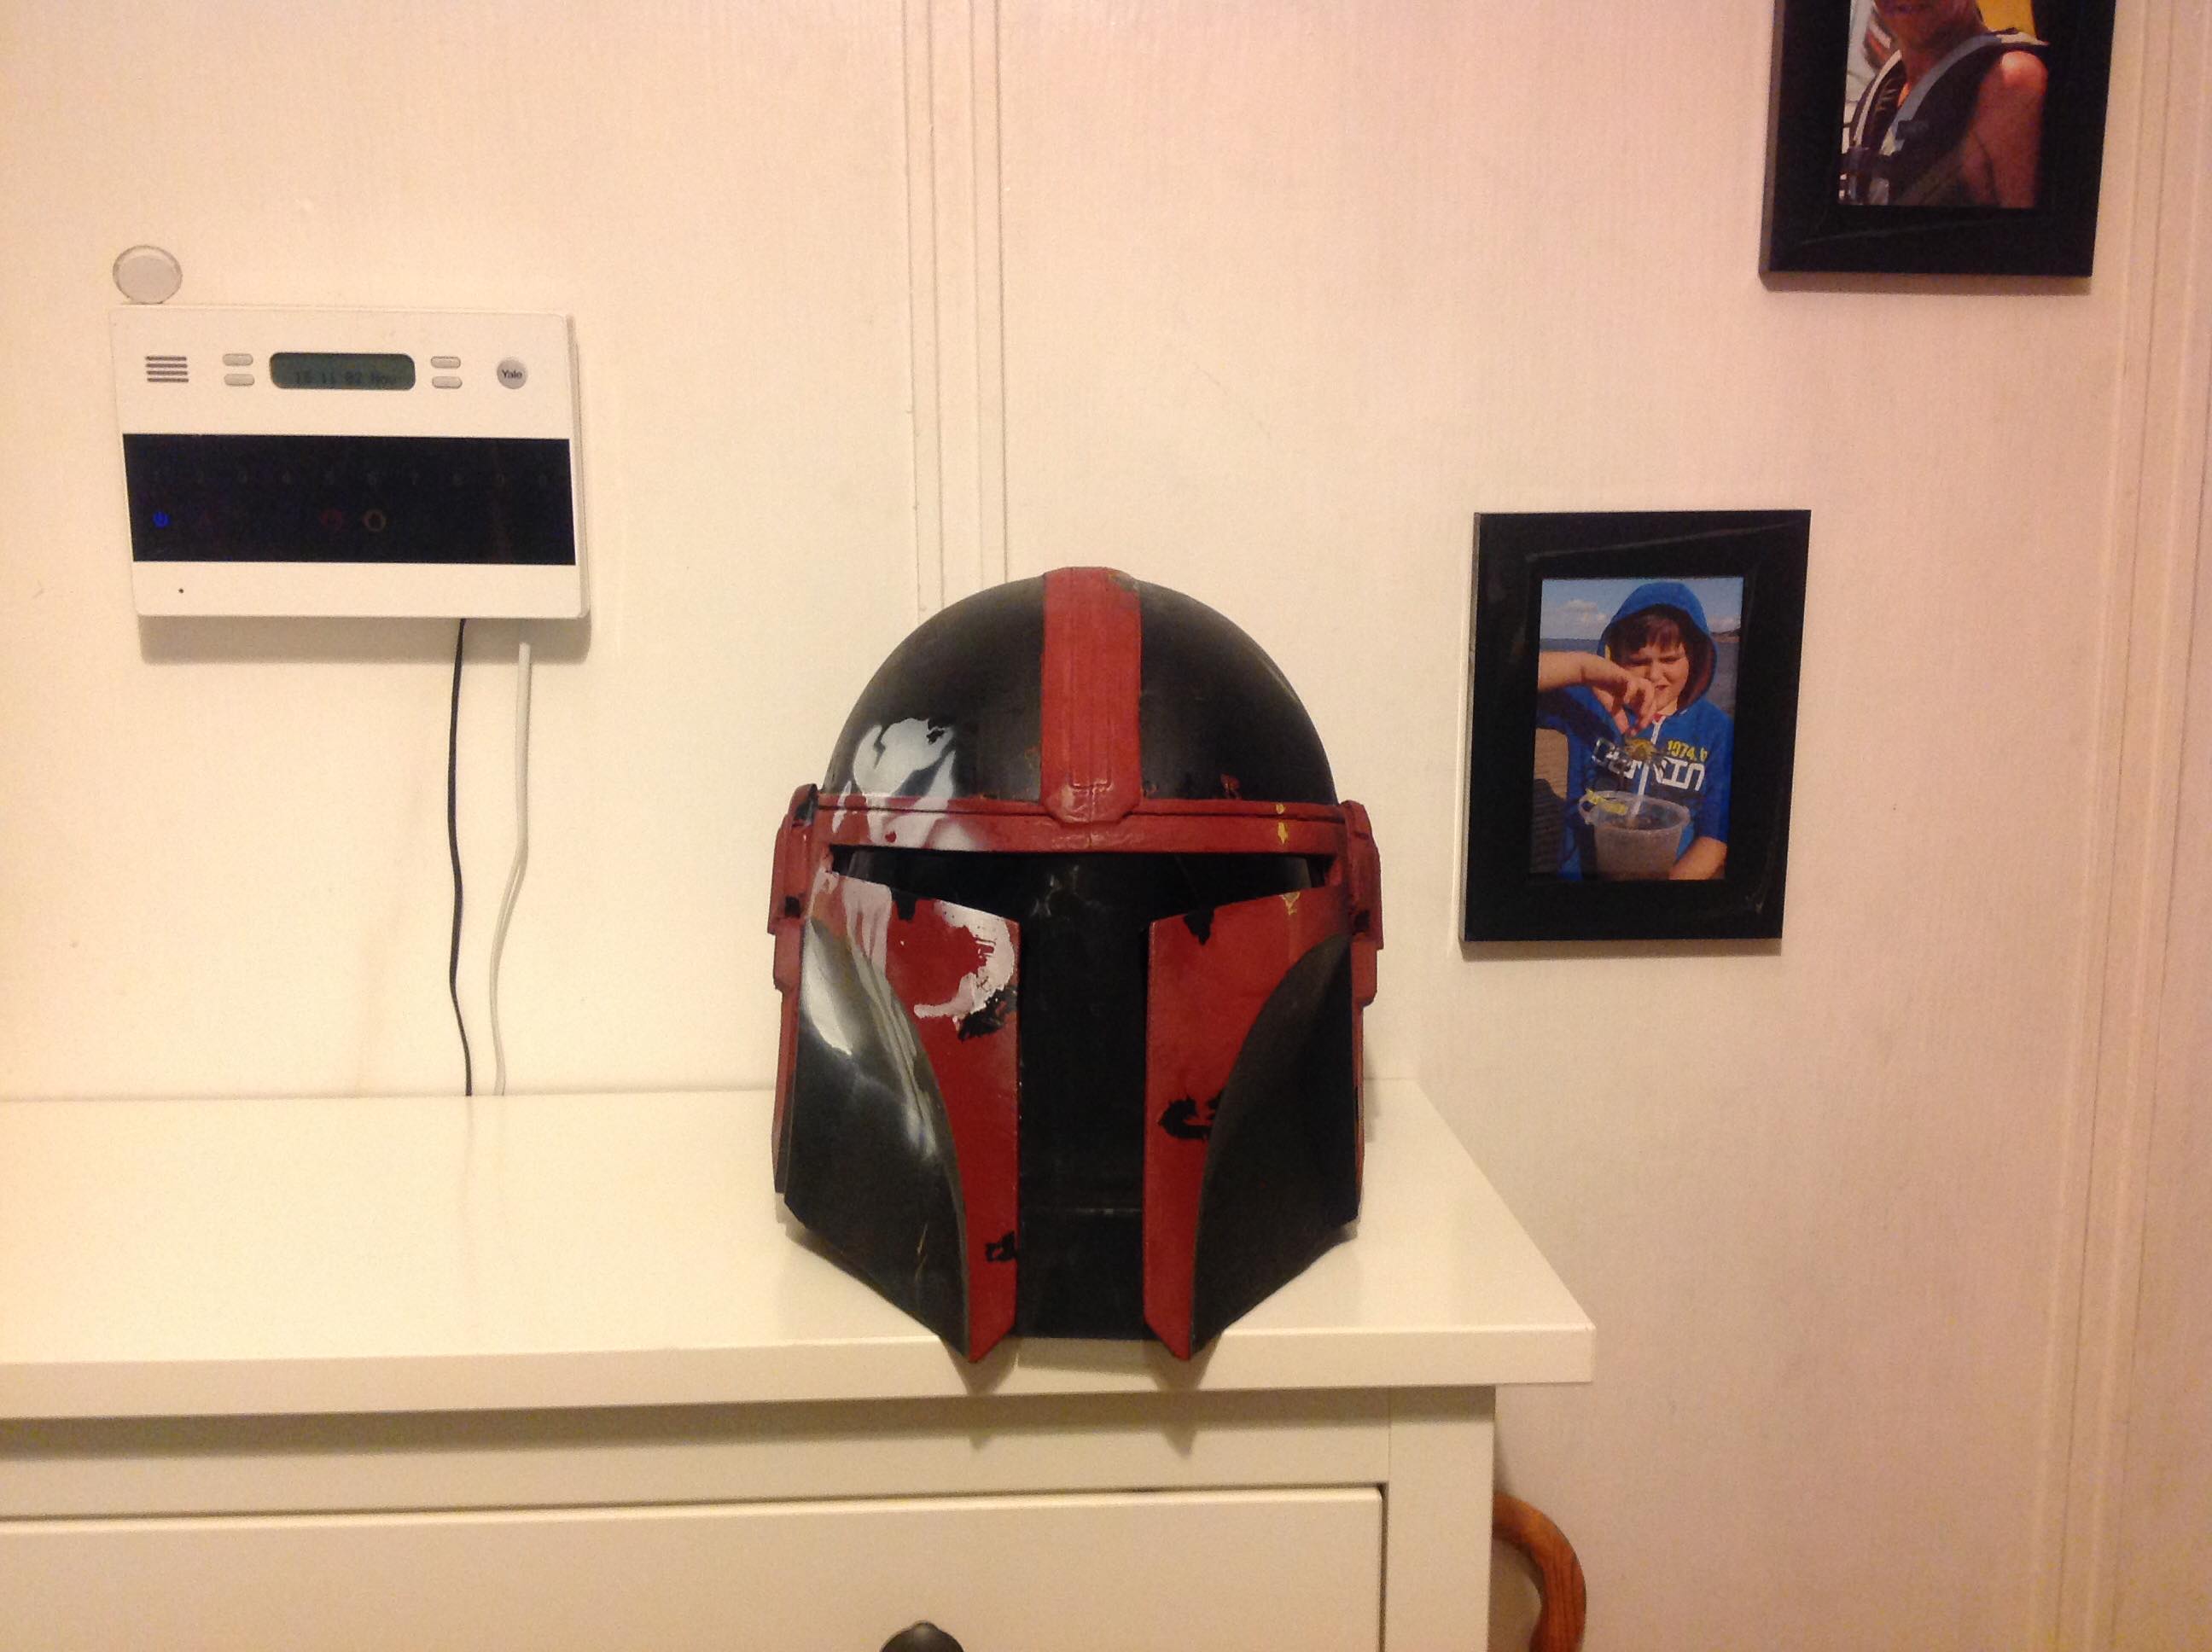
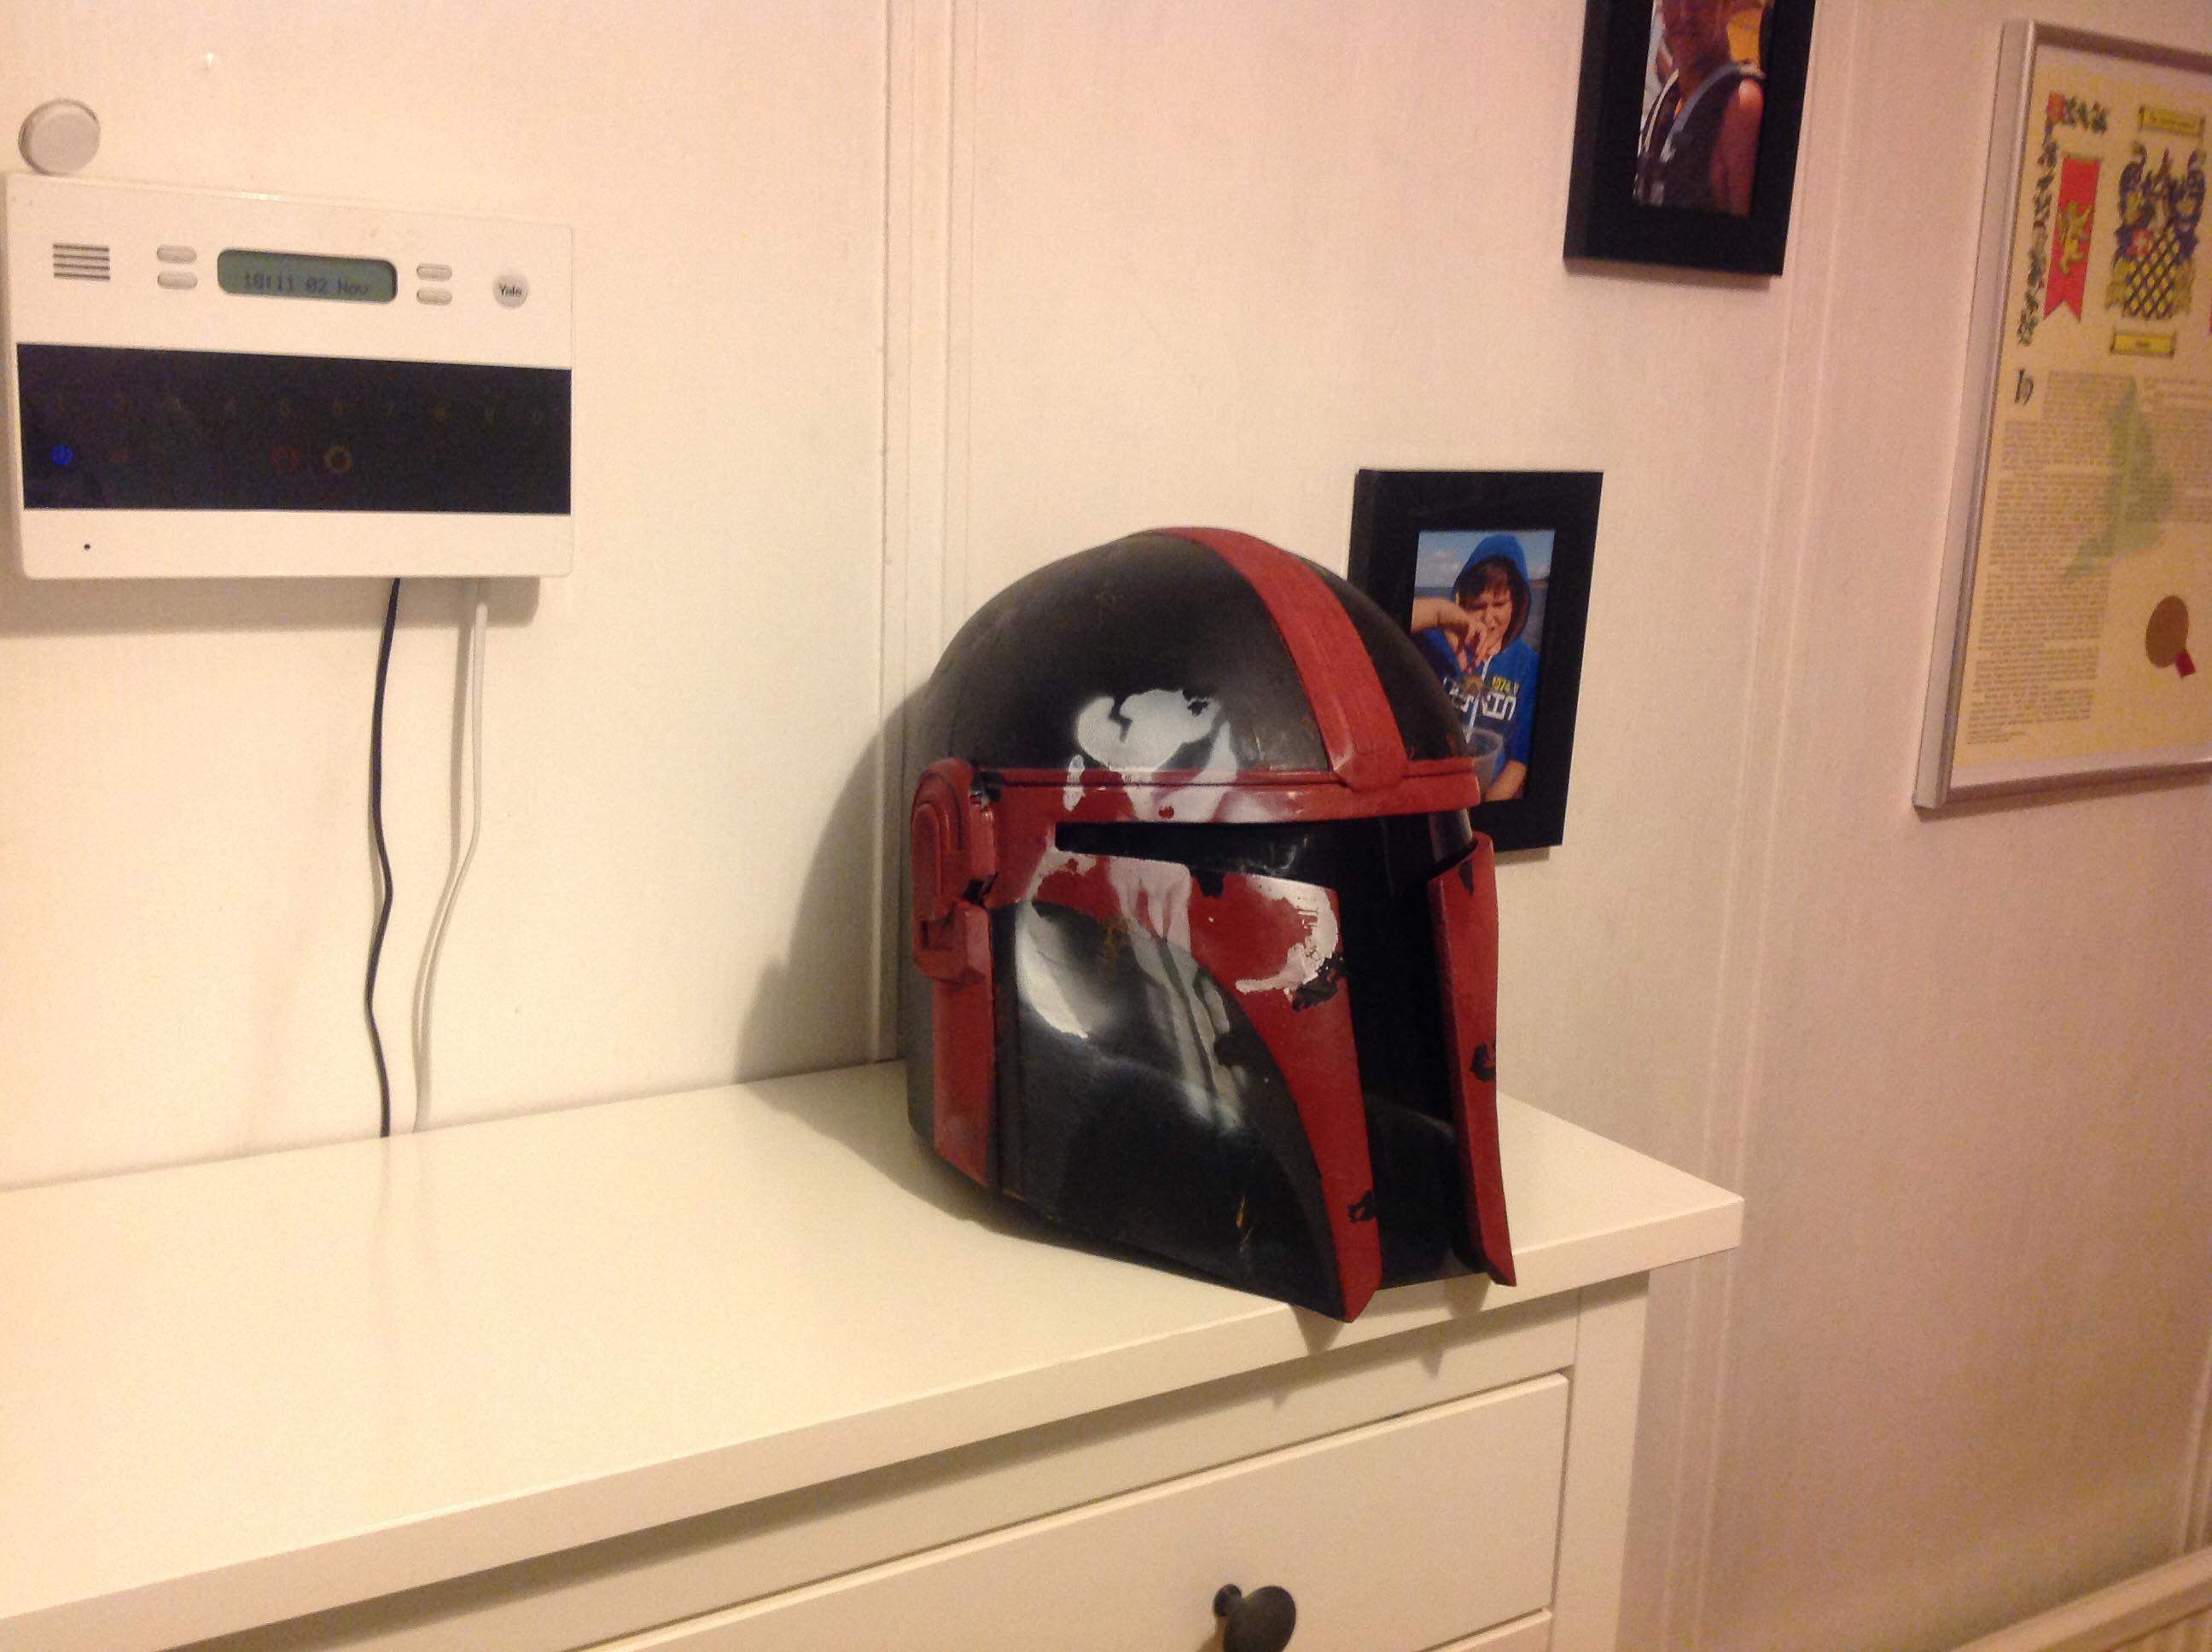
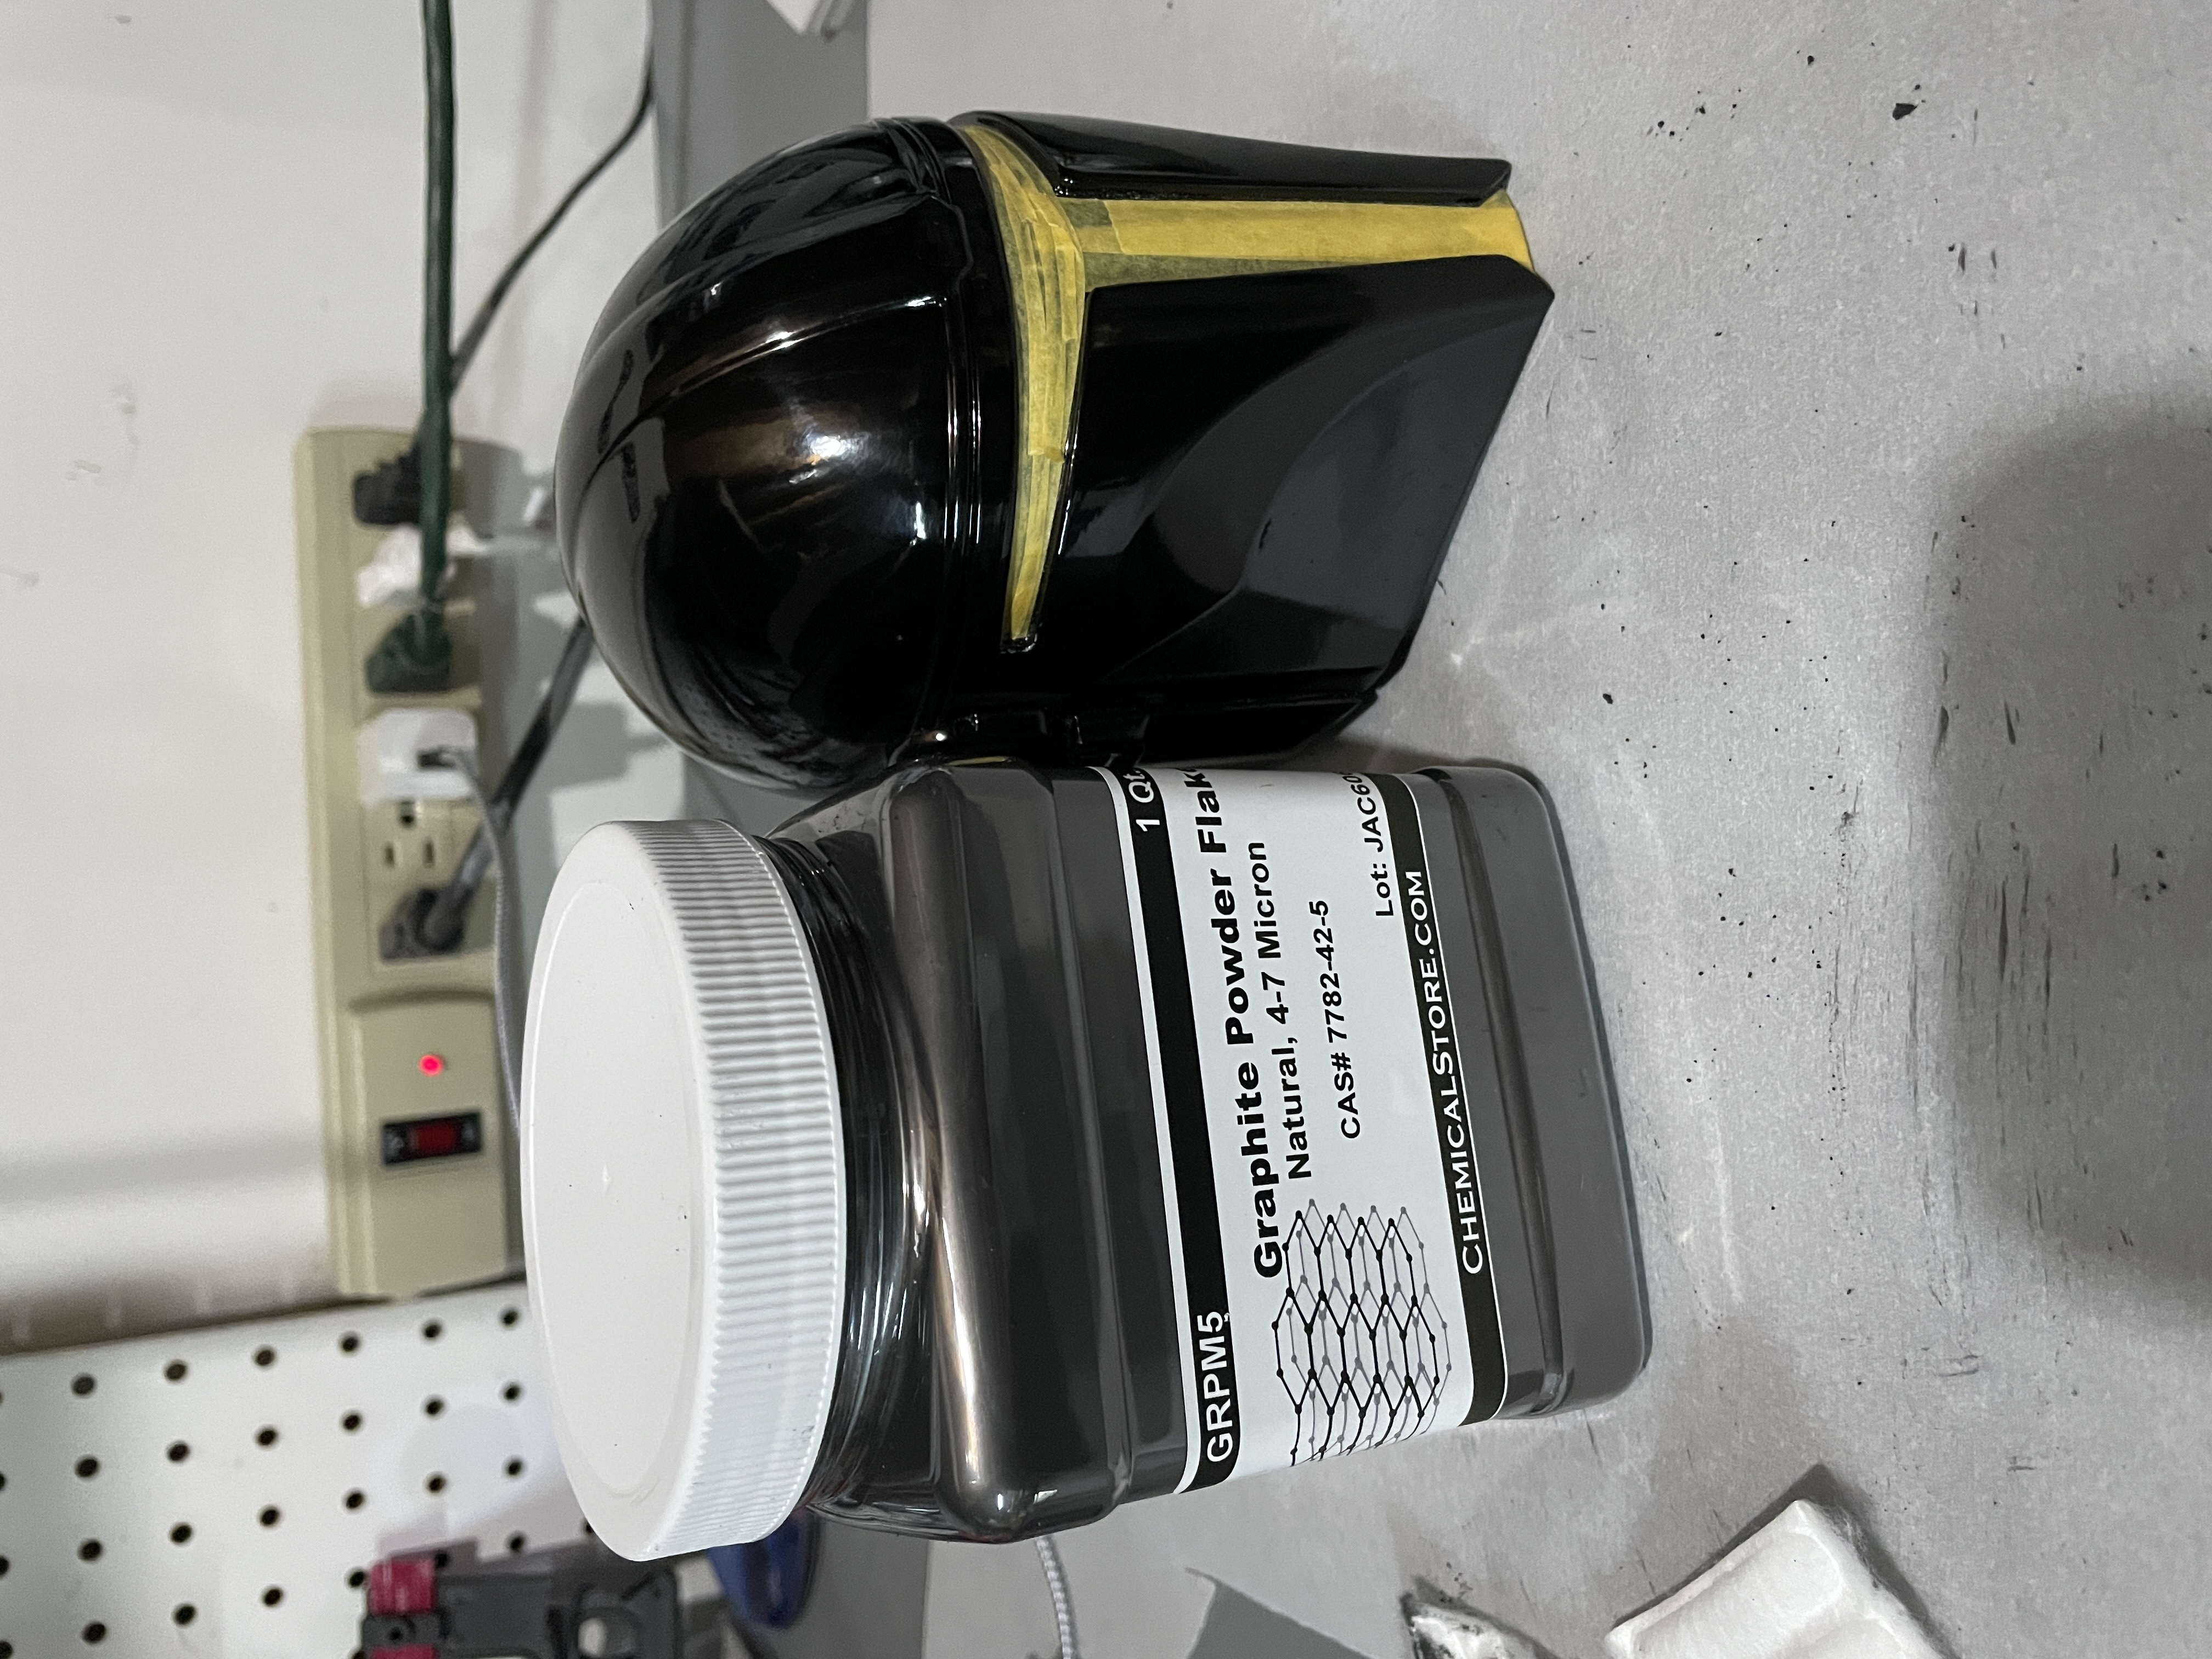
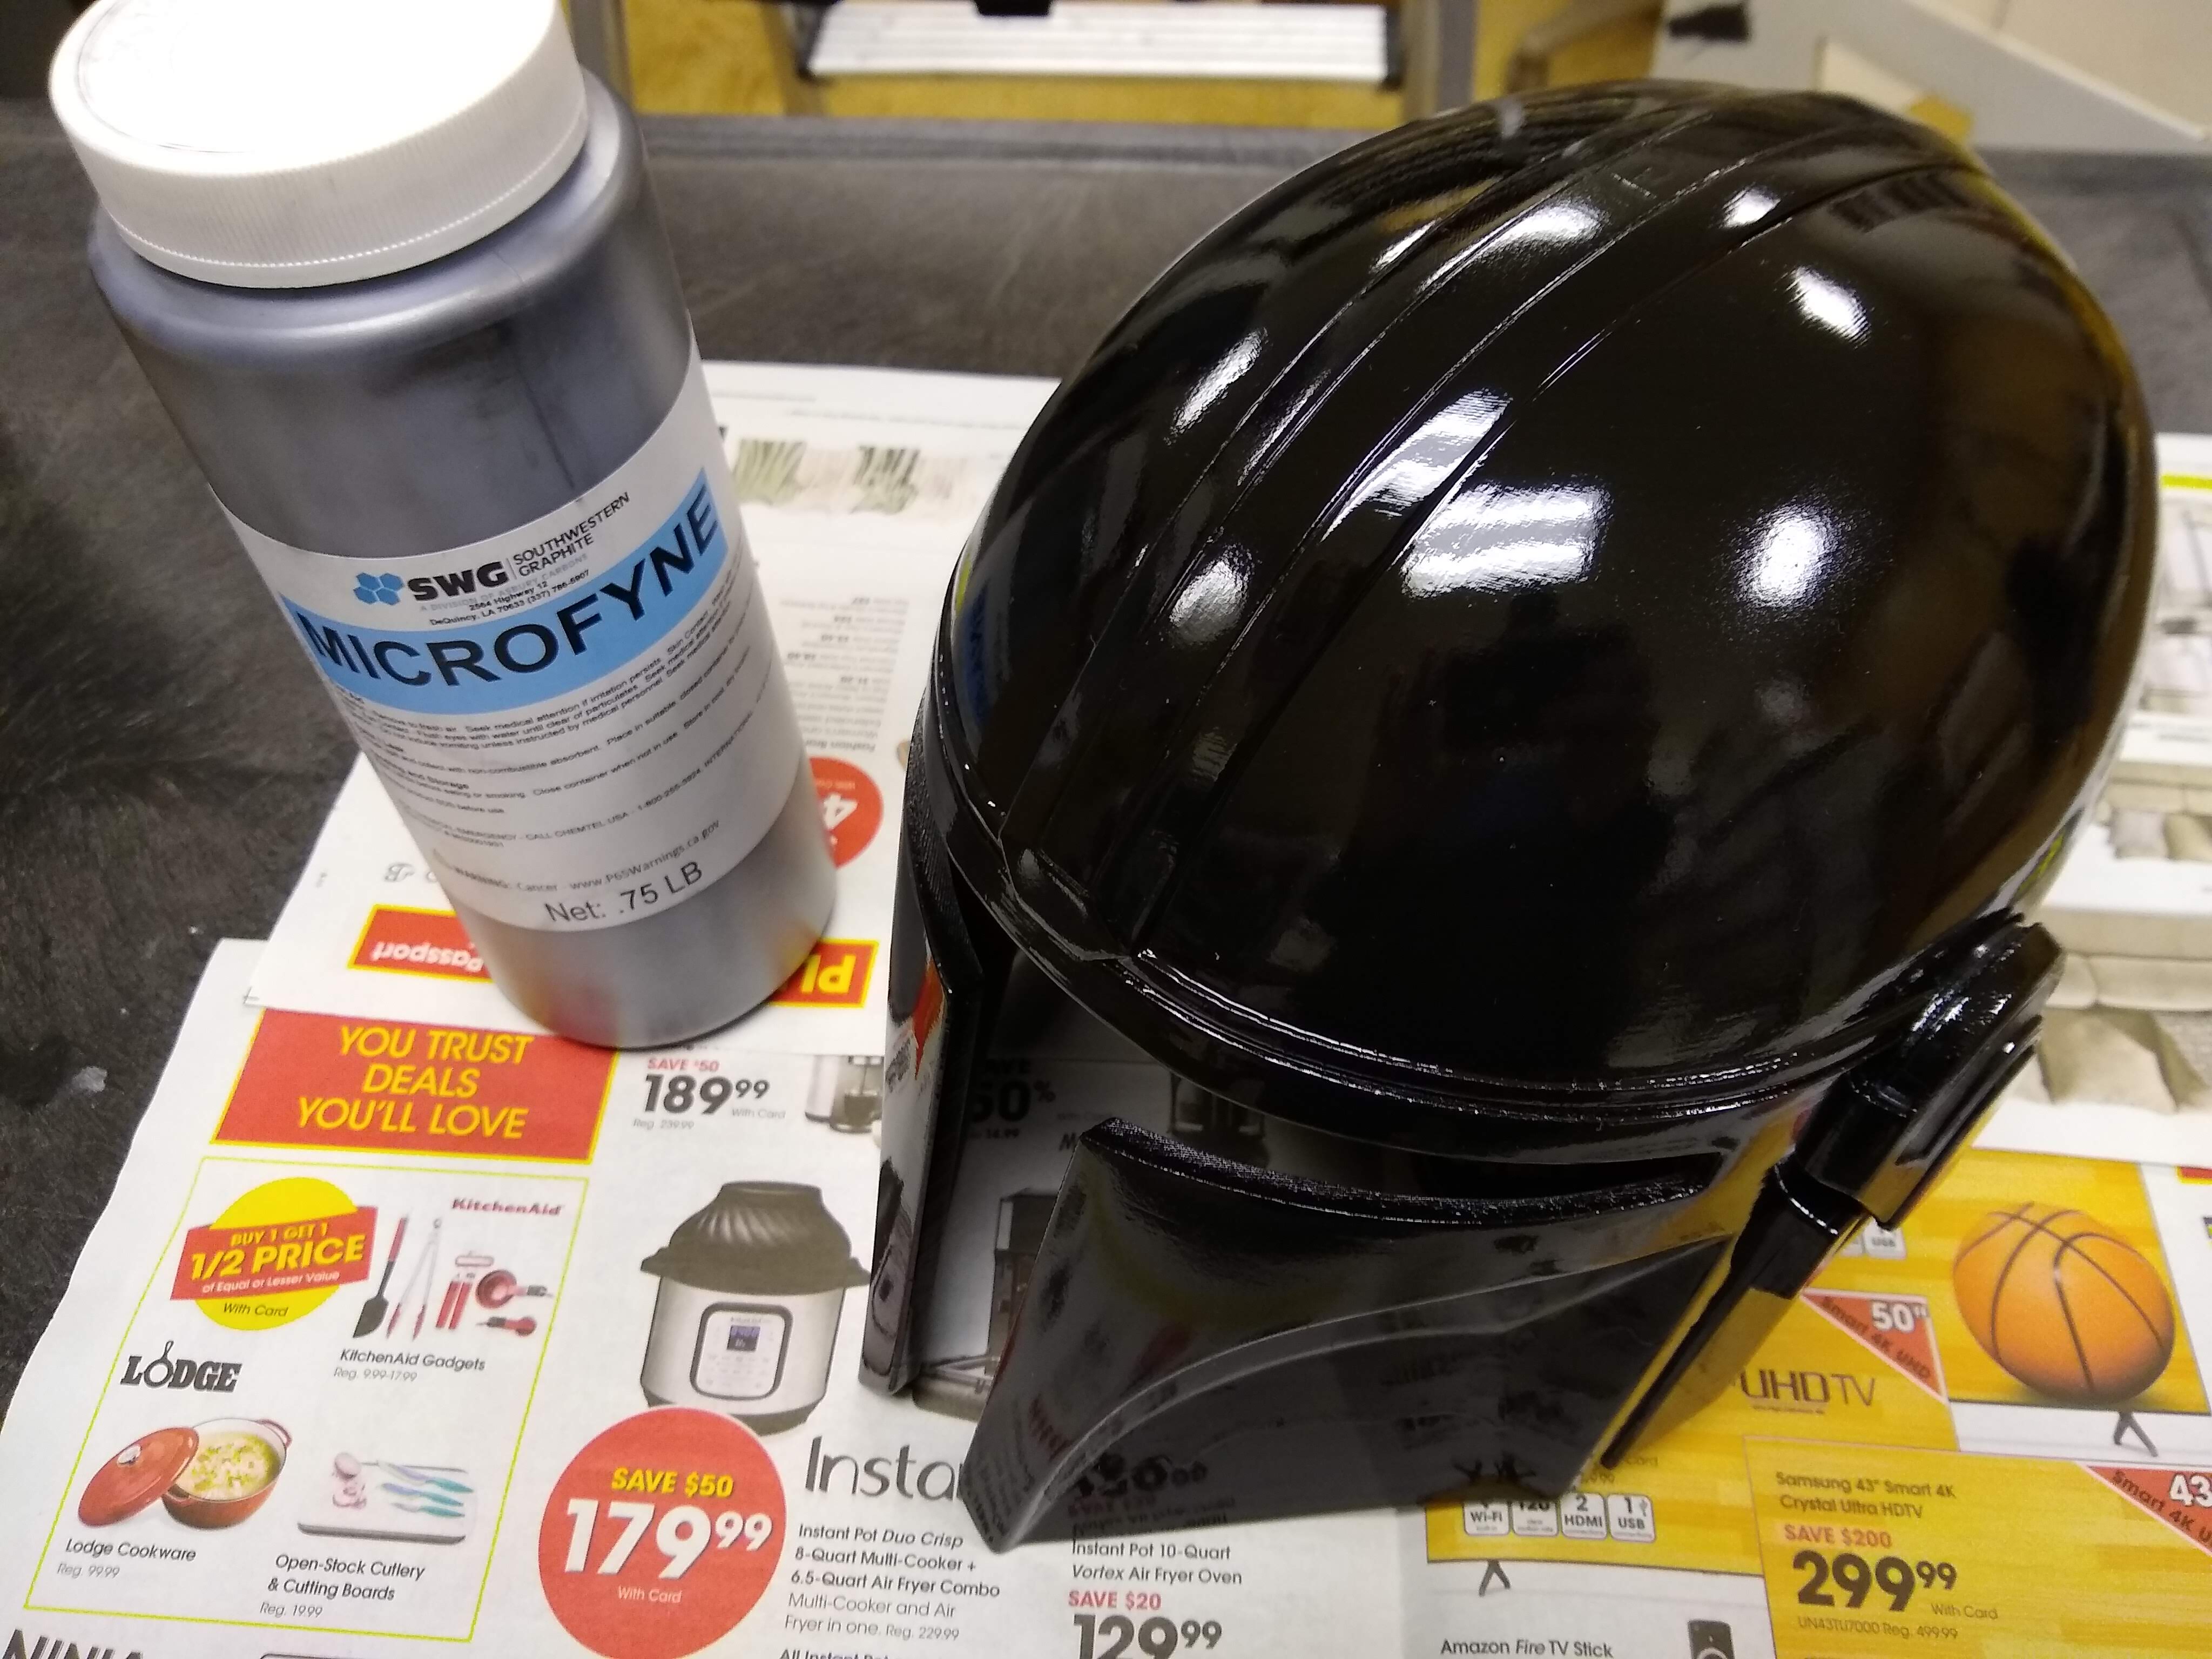
Bit more colorful take on Mandalorian helmet. I used Sunlu rainbow PLA for as long as it lasted and finished with red Clas Ohlson PLA, which I can buy locally. Print took 37 hours with Artillery Sidewinder X1 and no supports inside the helmet. There is slight layer shift on forehead, which I believe I can fix with some filler and sanding. Still got to print the detail parts. Plan with this after the obvious sanding, filling, sanding, filling, sanding and so on, and eventually paint it in shiny black and rub some graphite powder on it to achieve the nice metallic look.
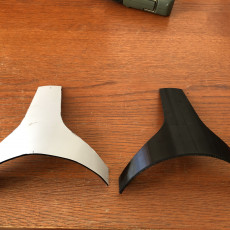
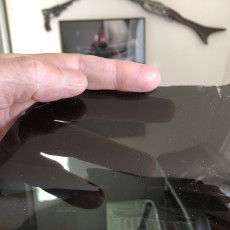
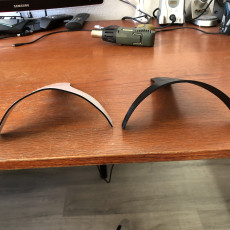
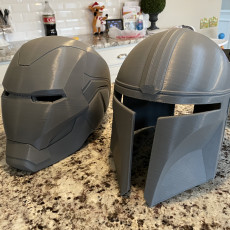
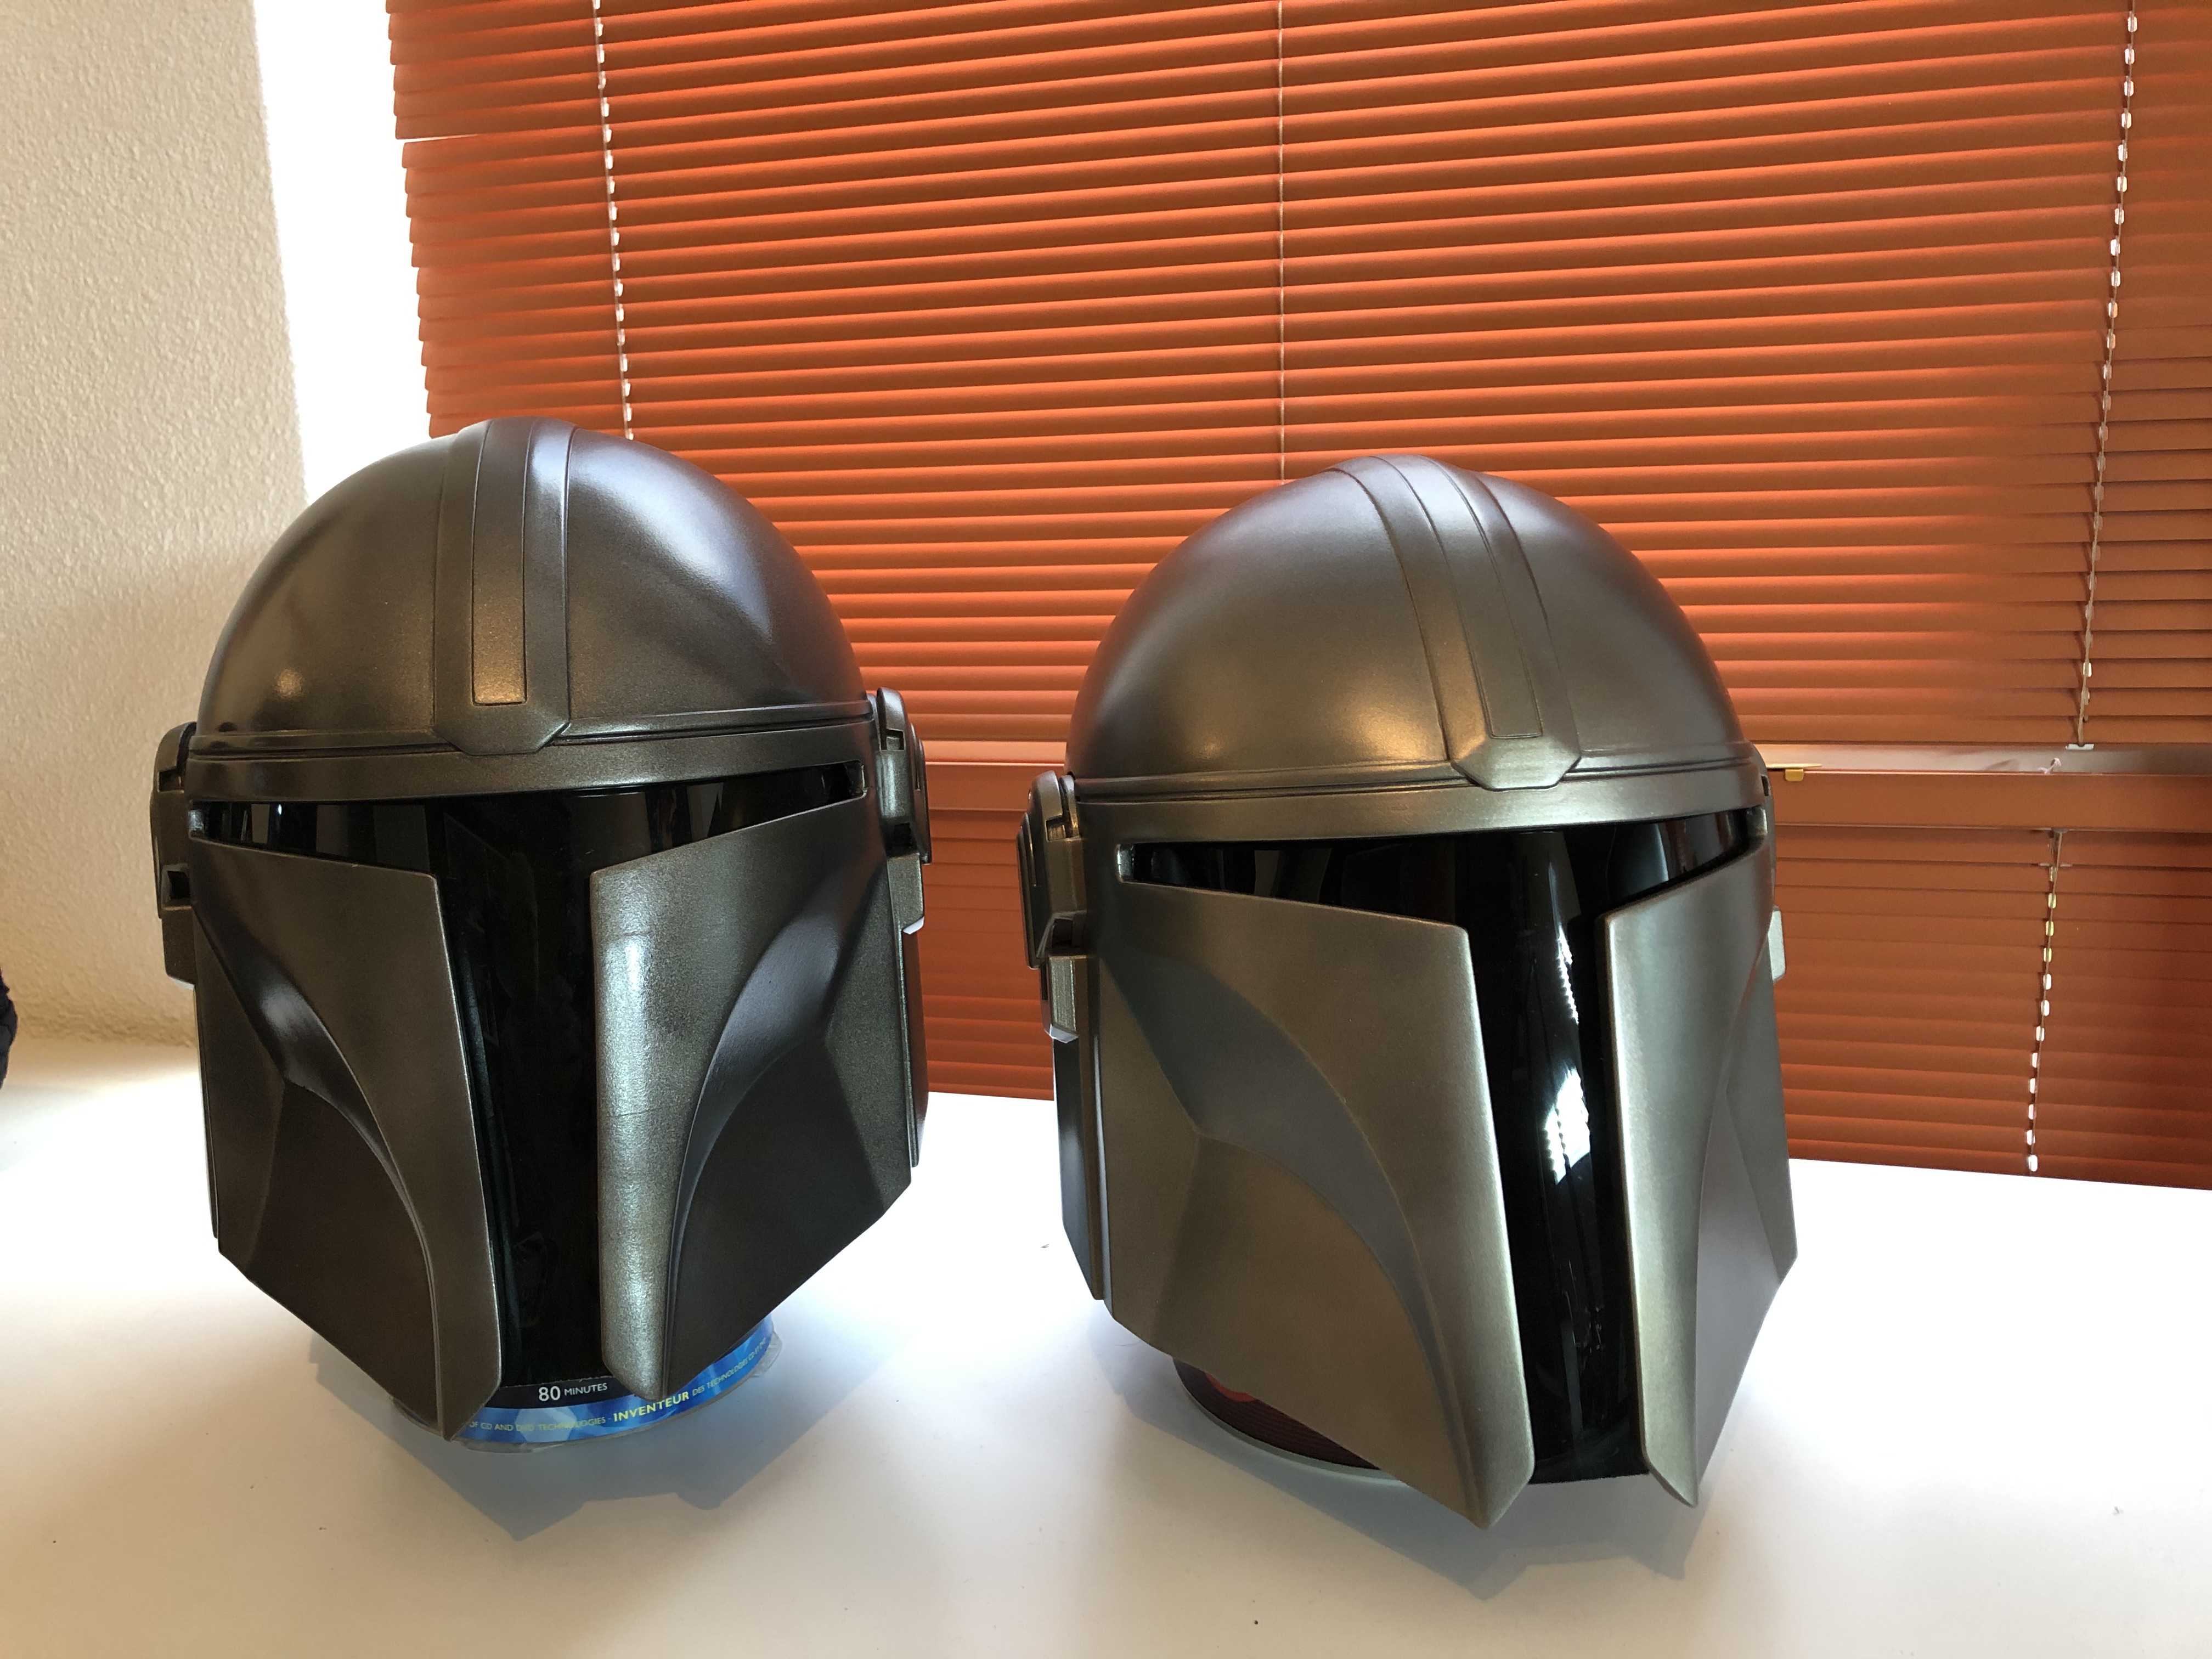
I finished my helmets (finally lol), the lighter one has a acrylic/plexiglass visor which I cut and bent from a sheet of acrylic. The darker one has a visor cut from a cheap Chinese welding mask, shape was fine but optical the acrylic sheet is much better. Bending acrylic takes much time and patience. For some using a welding mask as basis might be easier. Have fun all ! this my video on youtube: https://www.youtube.com/watch?v=U5xn1mrltTY
Heres mine, all done, a lot of sanding, but happy with the result
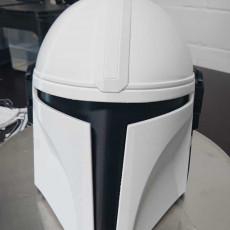
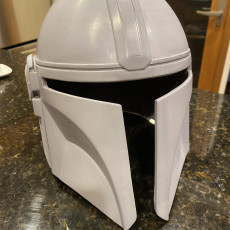
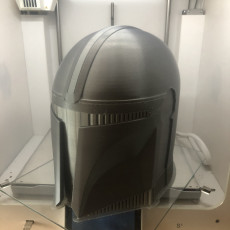
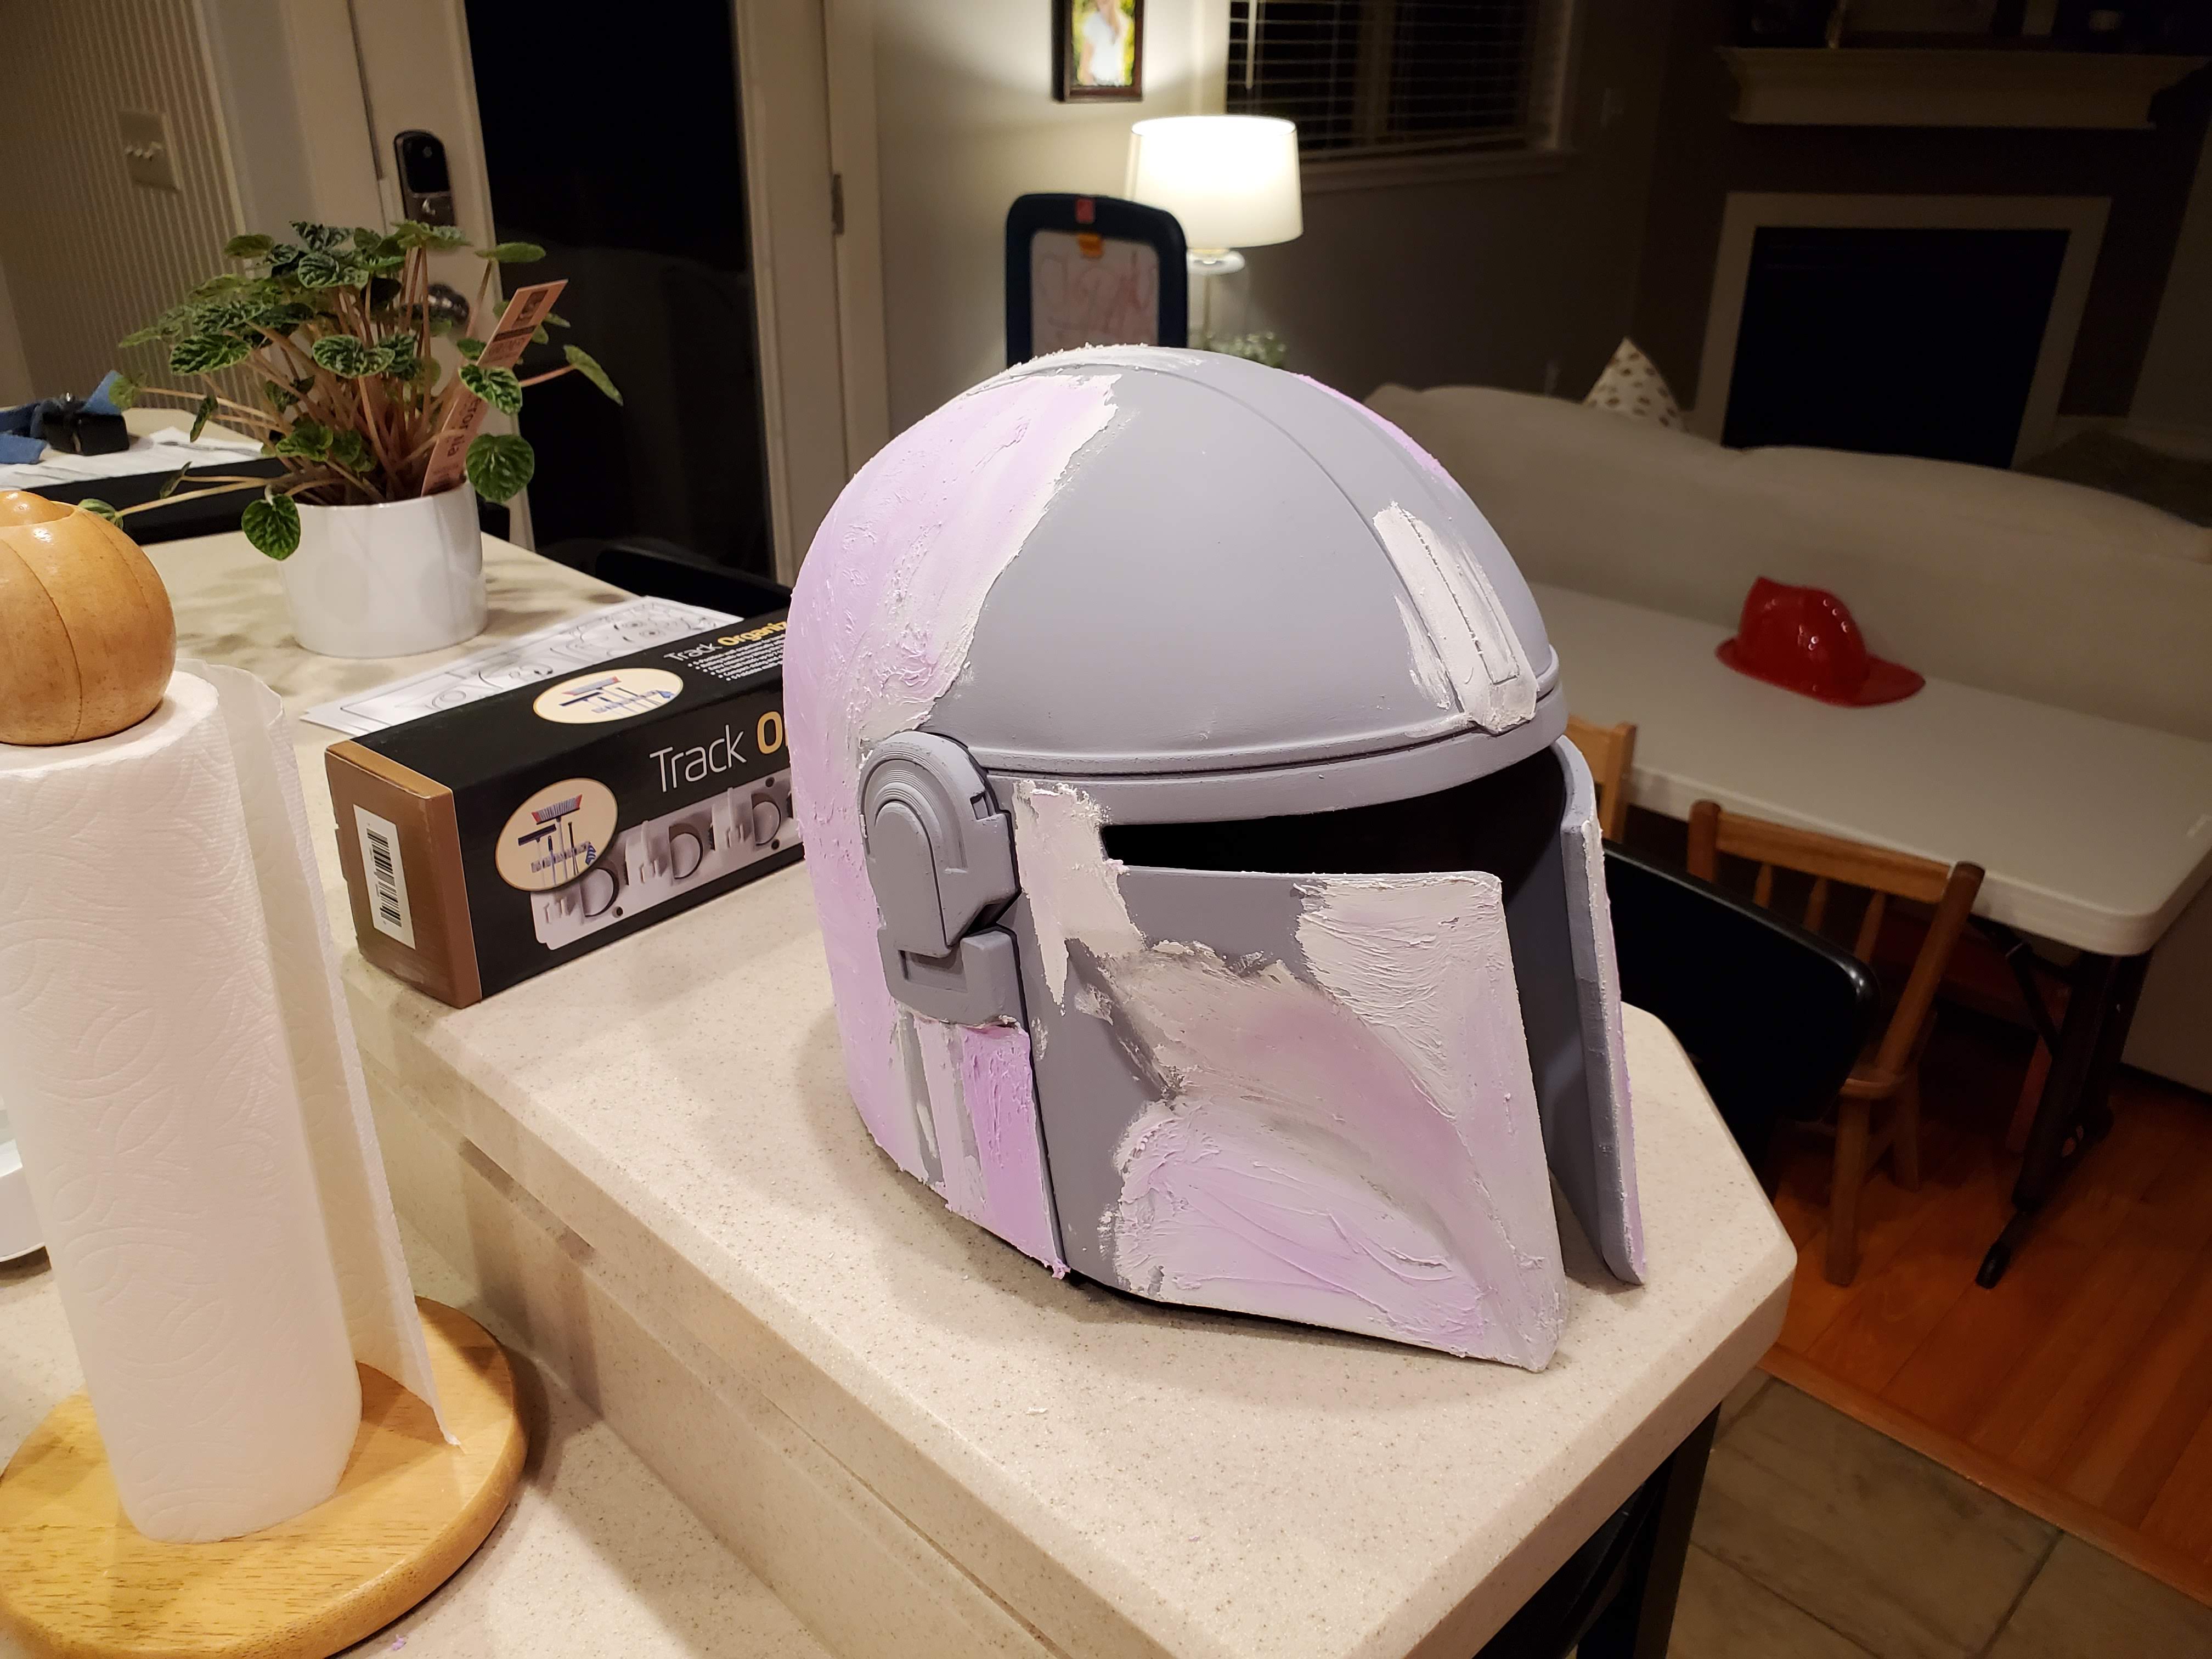
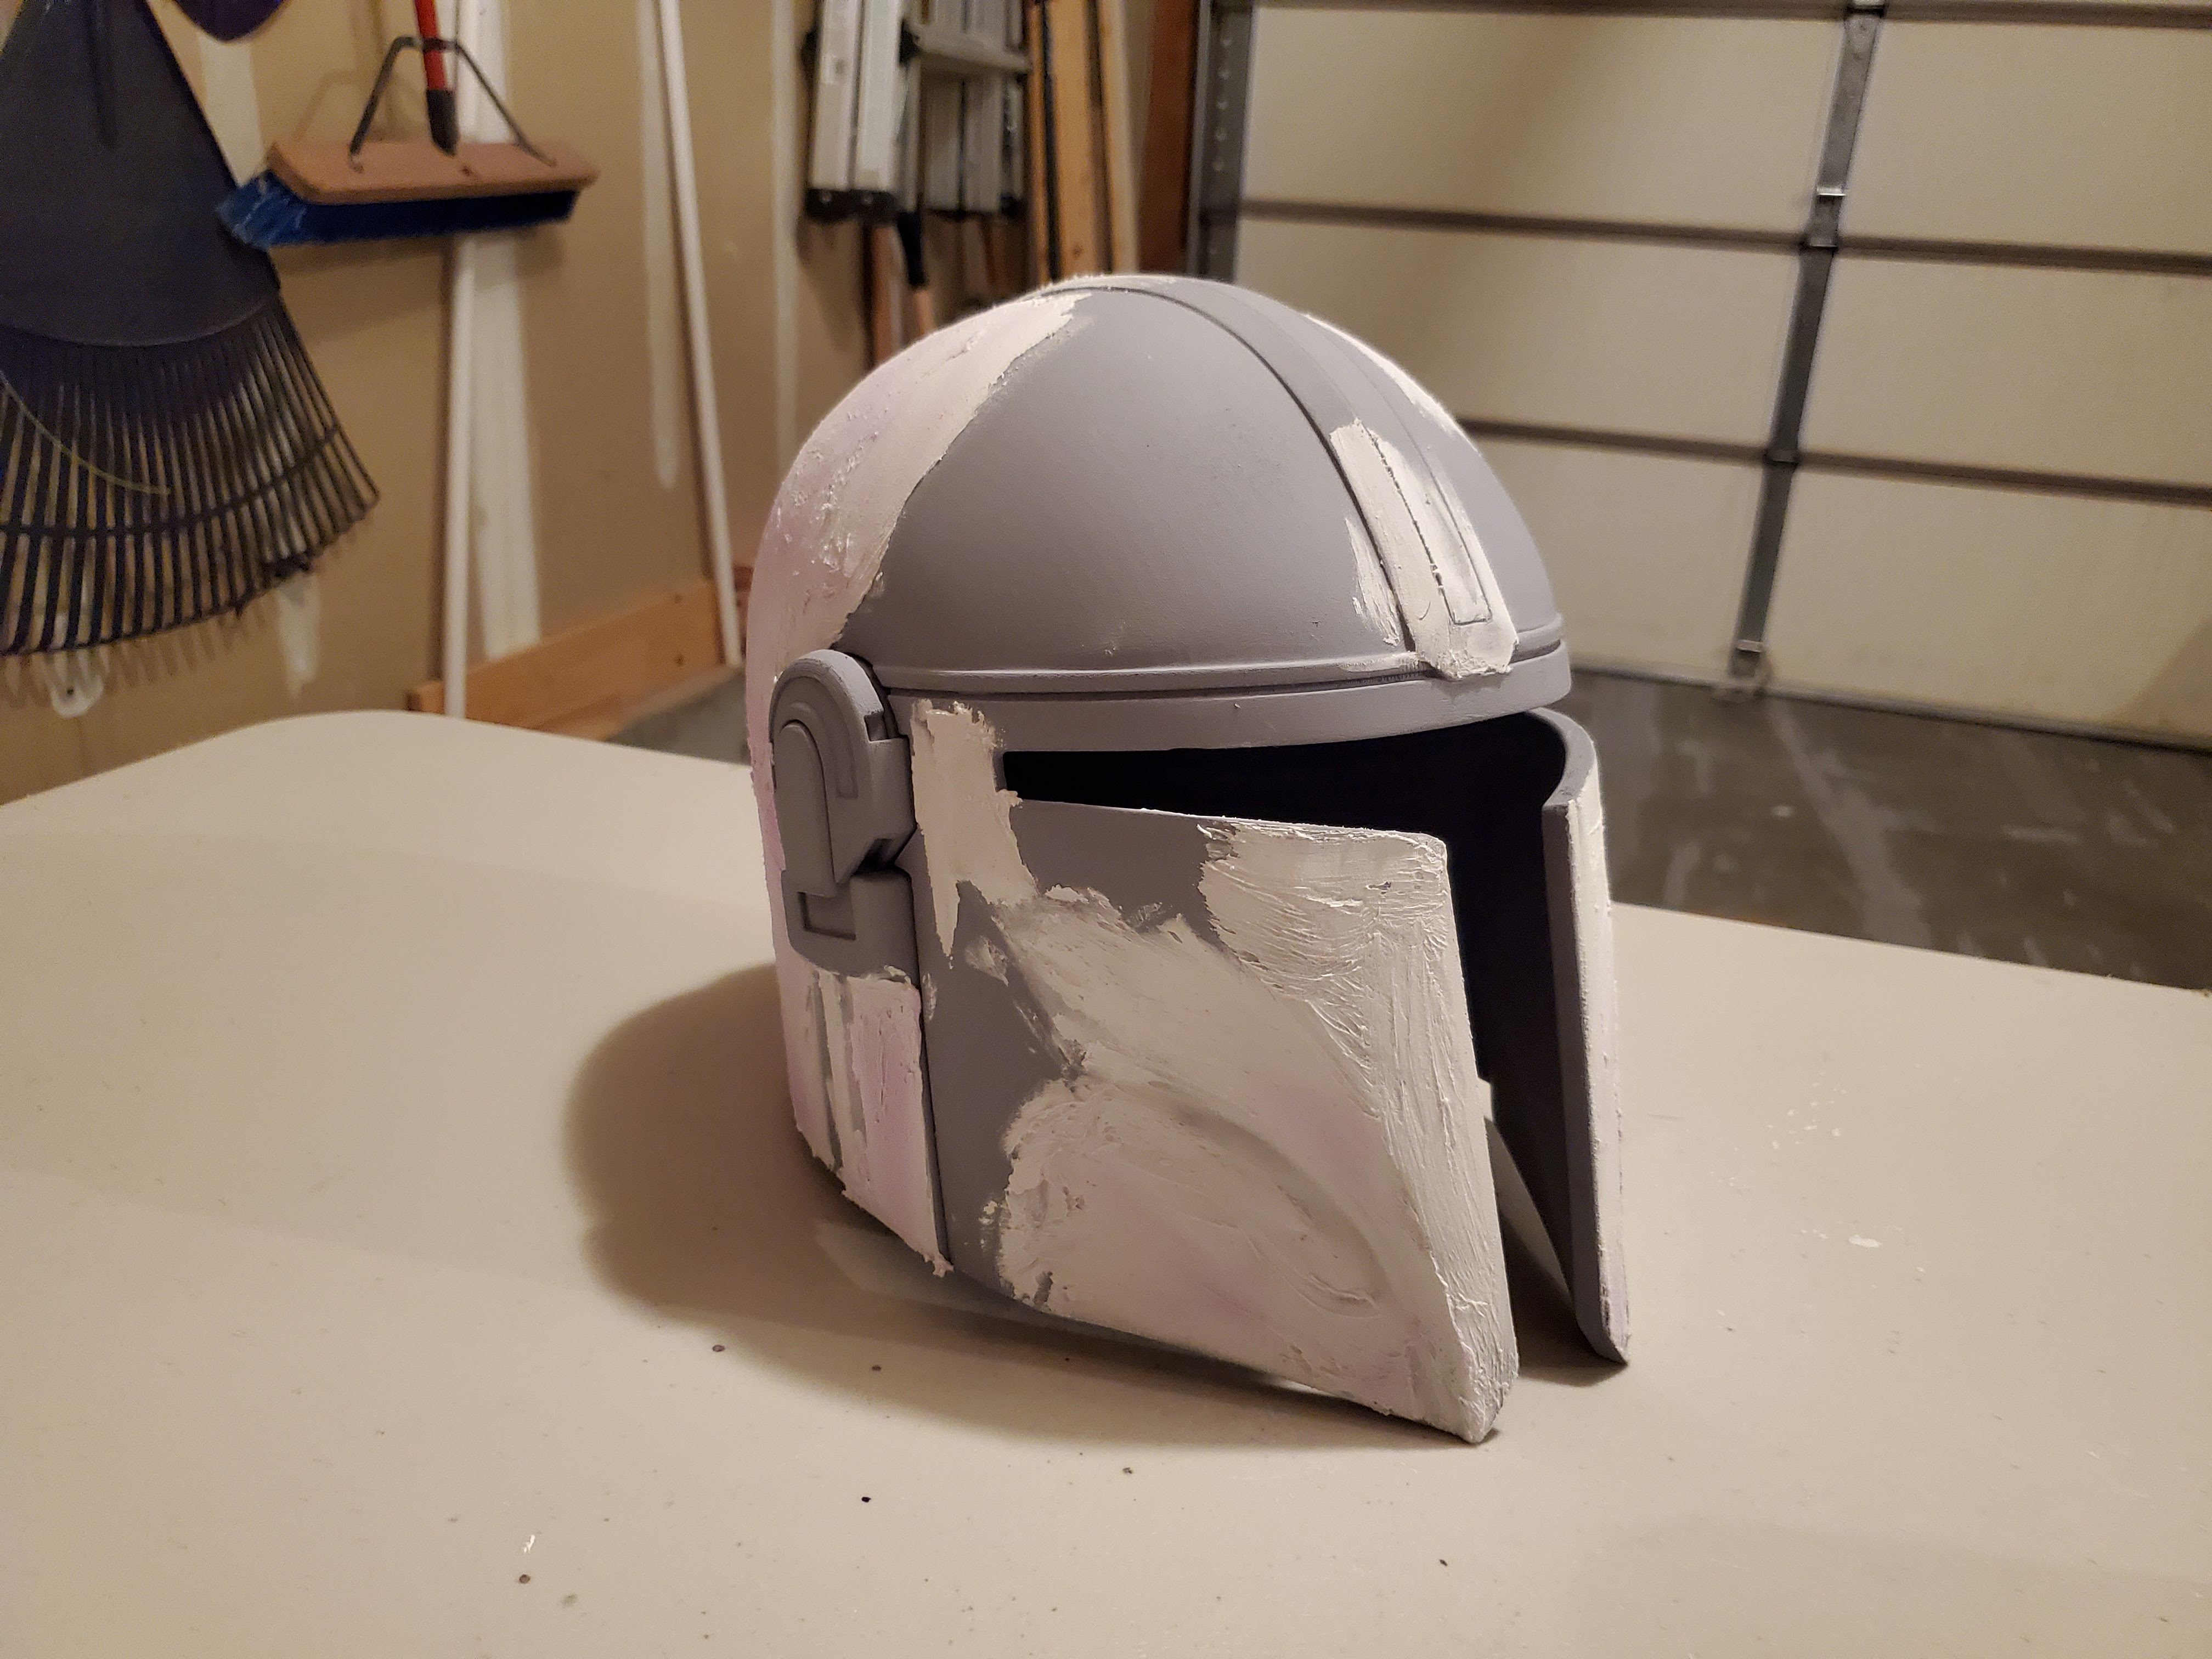
Finally laid down my first coat of primer.
Printed on my Sovol SV01 in eight pieces. I have had a hard time getting the pieces to blend together though & I still need to paint it & add the visor. Love the design though, thank you Rob so much for the design, really appreciate allowing me to print this.
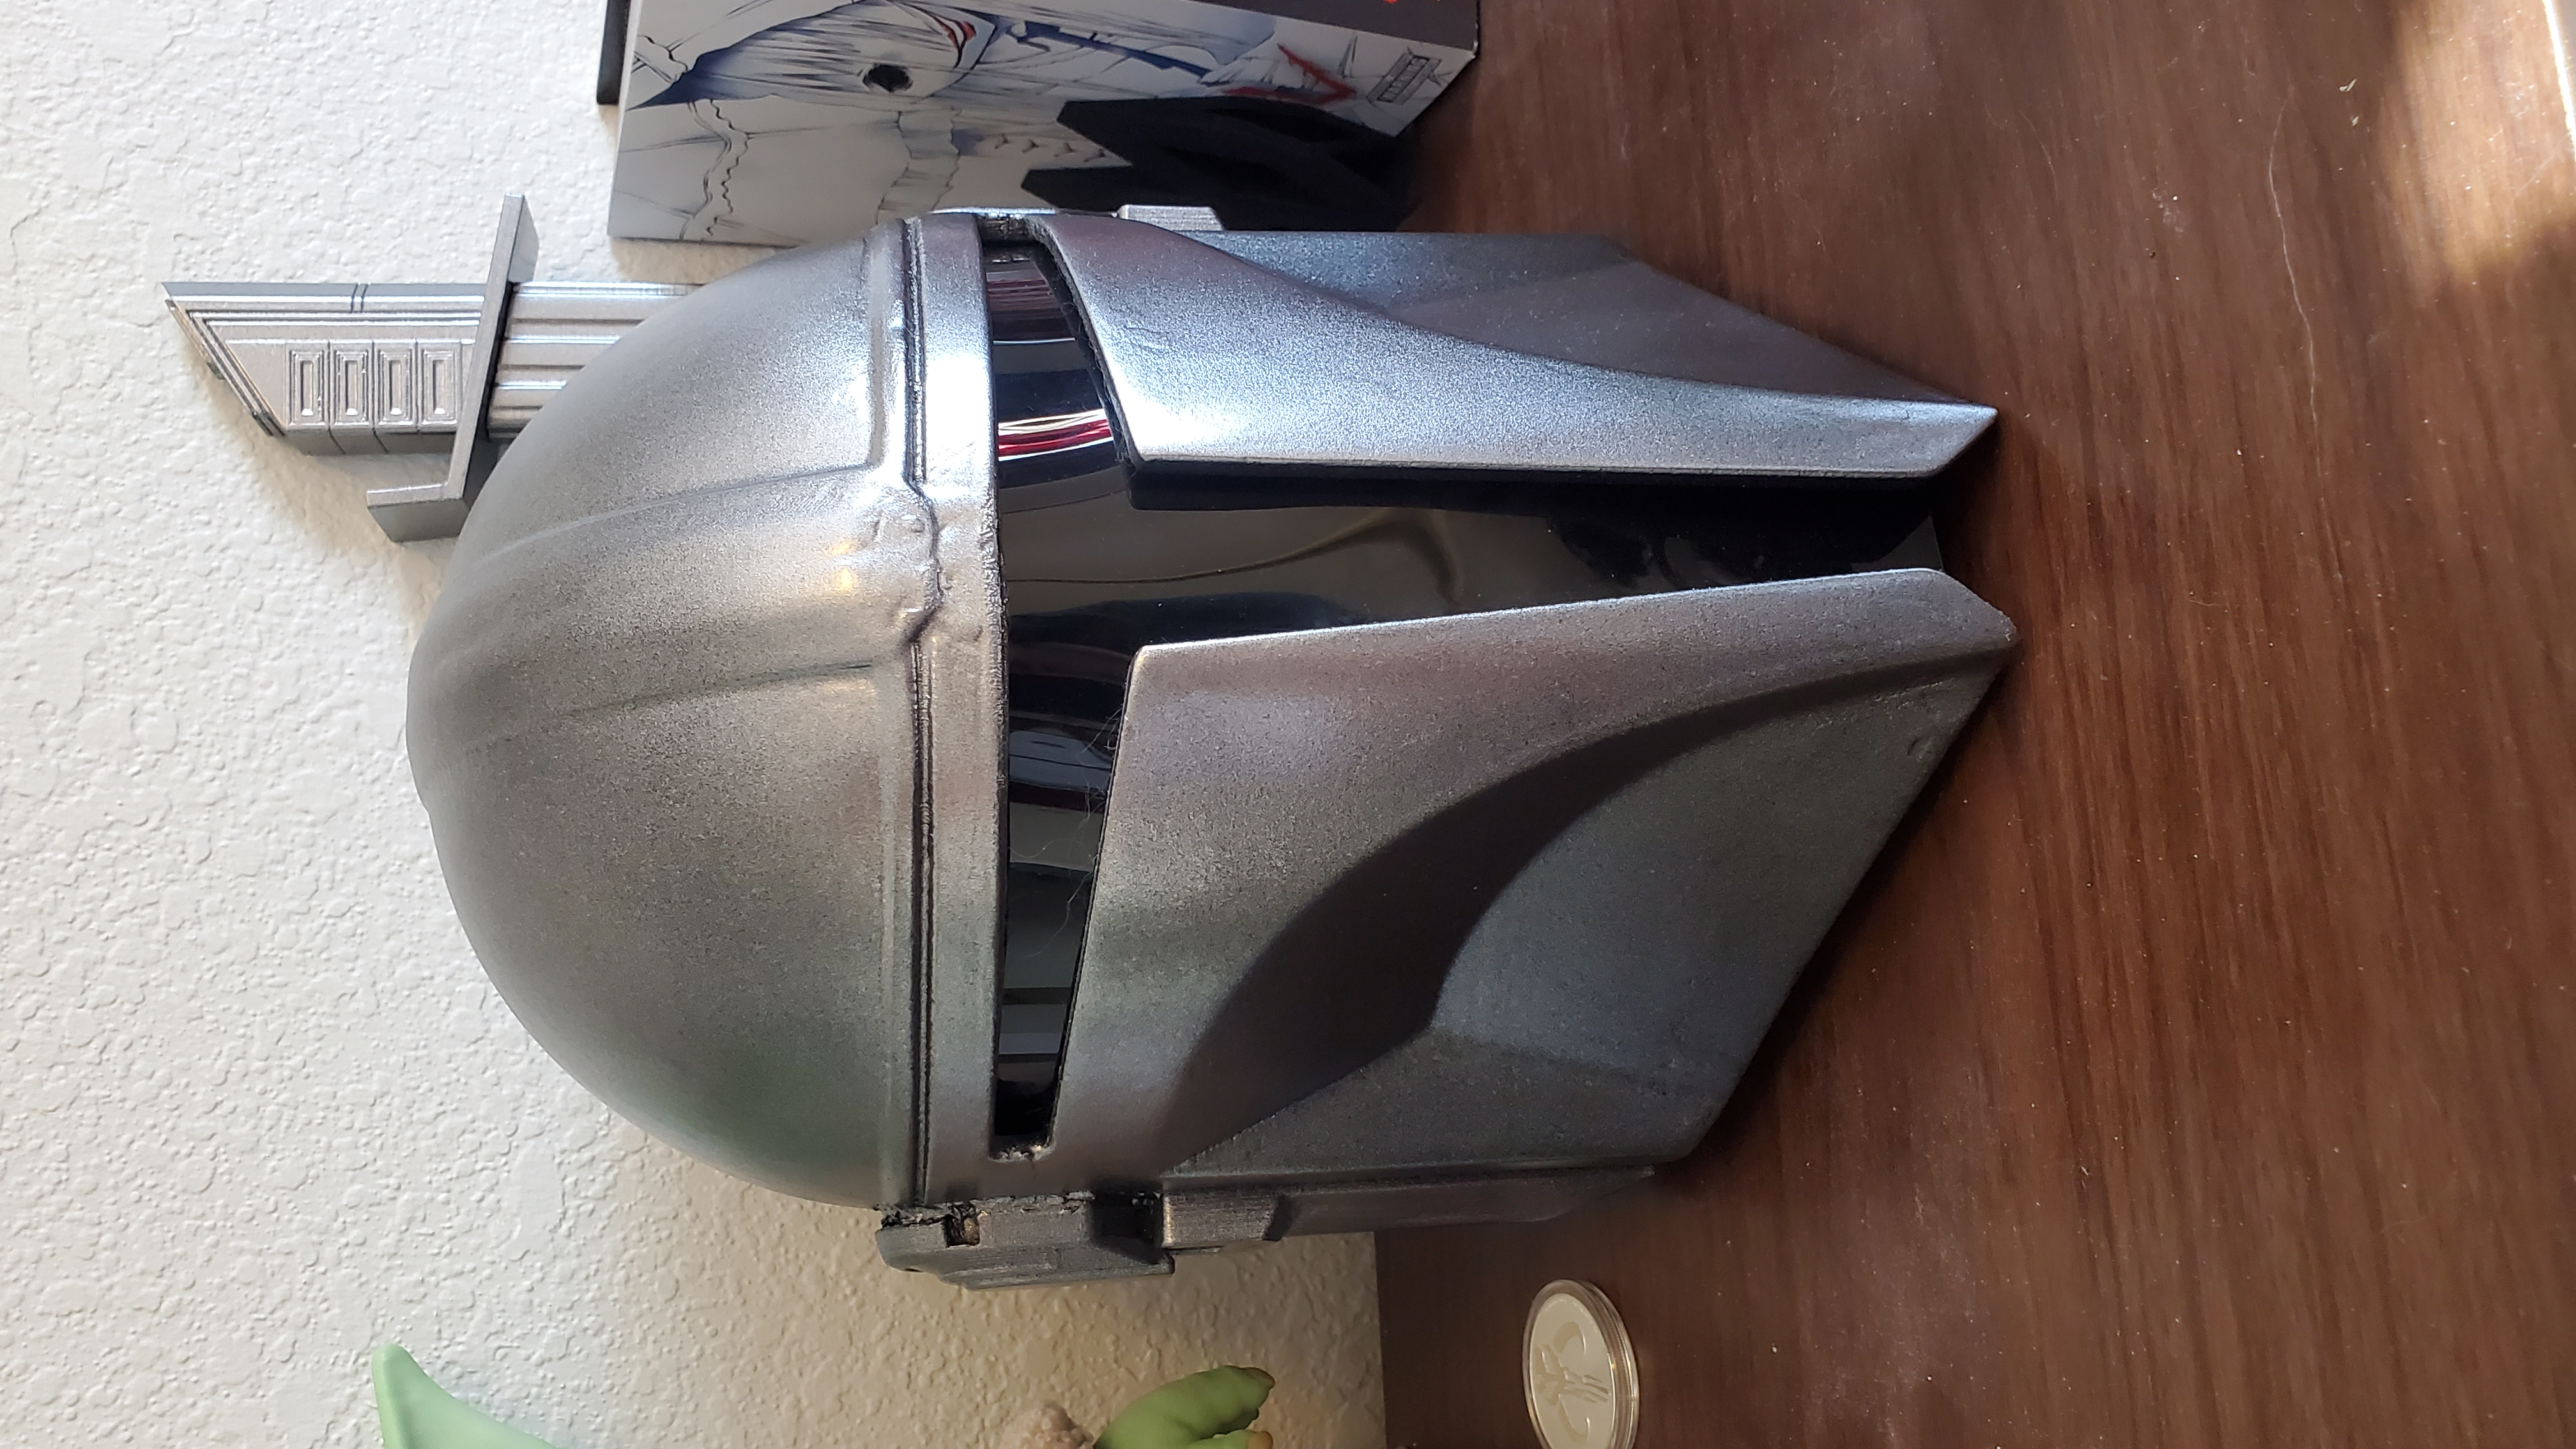
Printed as separate parts. Joined with superglue/epoxy. seams and rough spots filled with Bondo Spot Putty and sanded smooth. Initially liked the color (Montana Metallic Graphite), but will probably go over it with Alclad once I can purchase an airbrush.
Printed it and painted it up. Visor can be tricky but it worked out well. I have a 24’’ head and it is big on me. If you have a head around that size, I would suggest scaling it down. But it looks great!
Excellent model. A pleasure to build. Thank you Rob Pauza.
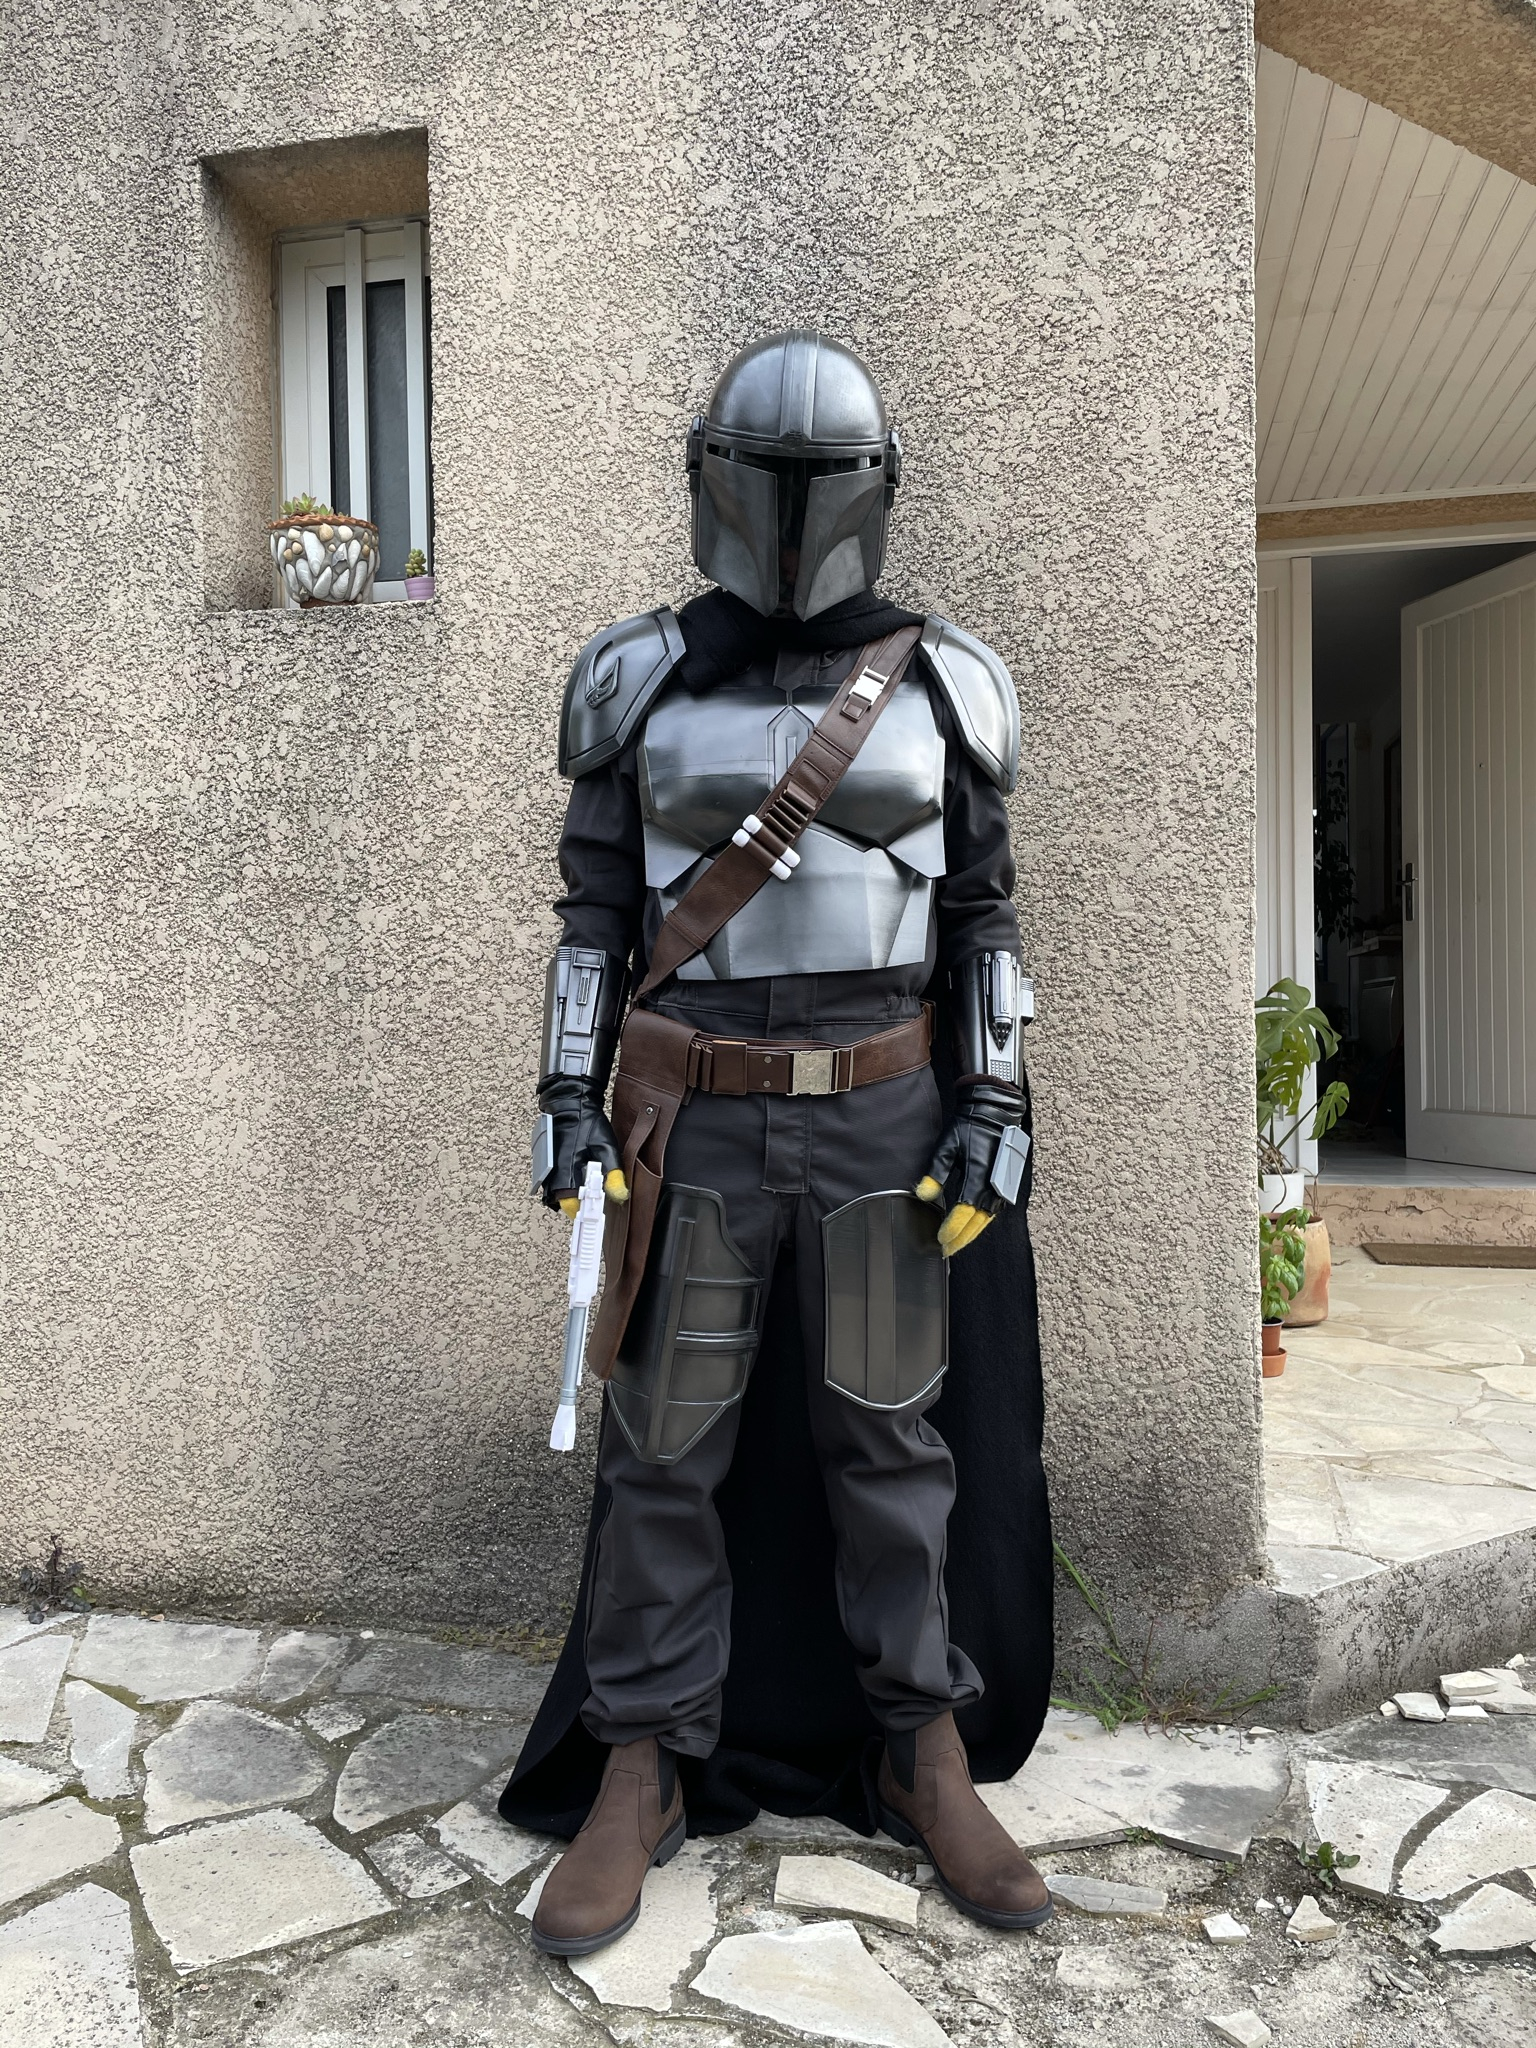
This is the way
@stevenbassett my prints as promised. I made 2. i have a smaller head so was able to print off in 4 pieces split from the full helmet. my original was too big so i did a different design with this as you can see. Visor was a bit tricky however i believe this was more due to the acrylic i used. i would definitely go for a thinner more flexible polymer next time. Thank you for the files, Rob - Jake
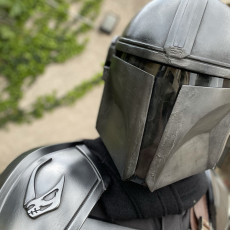
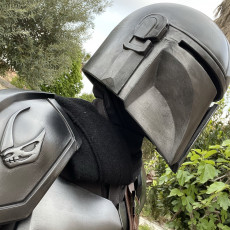
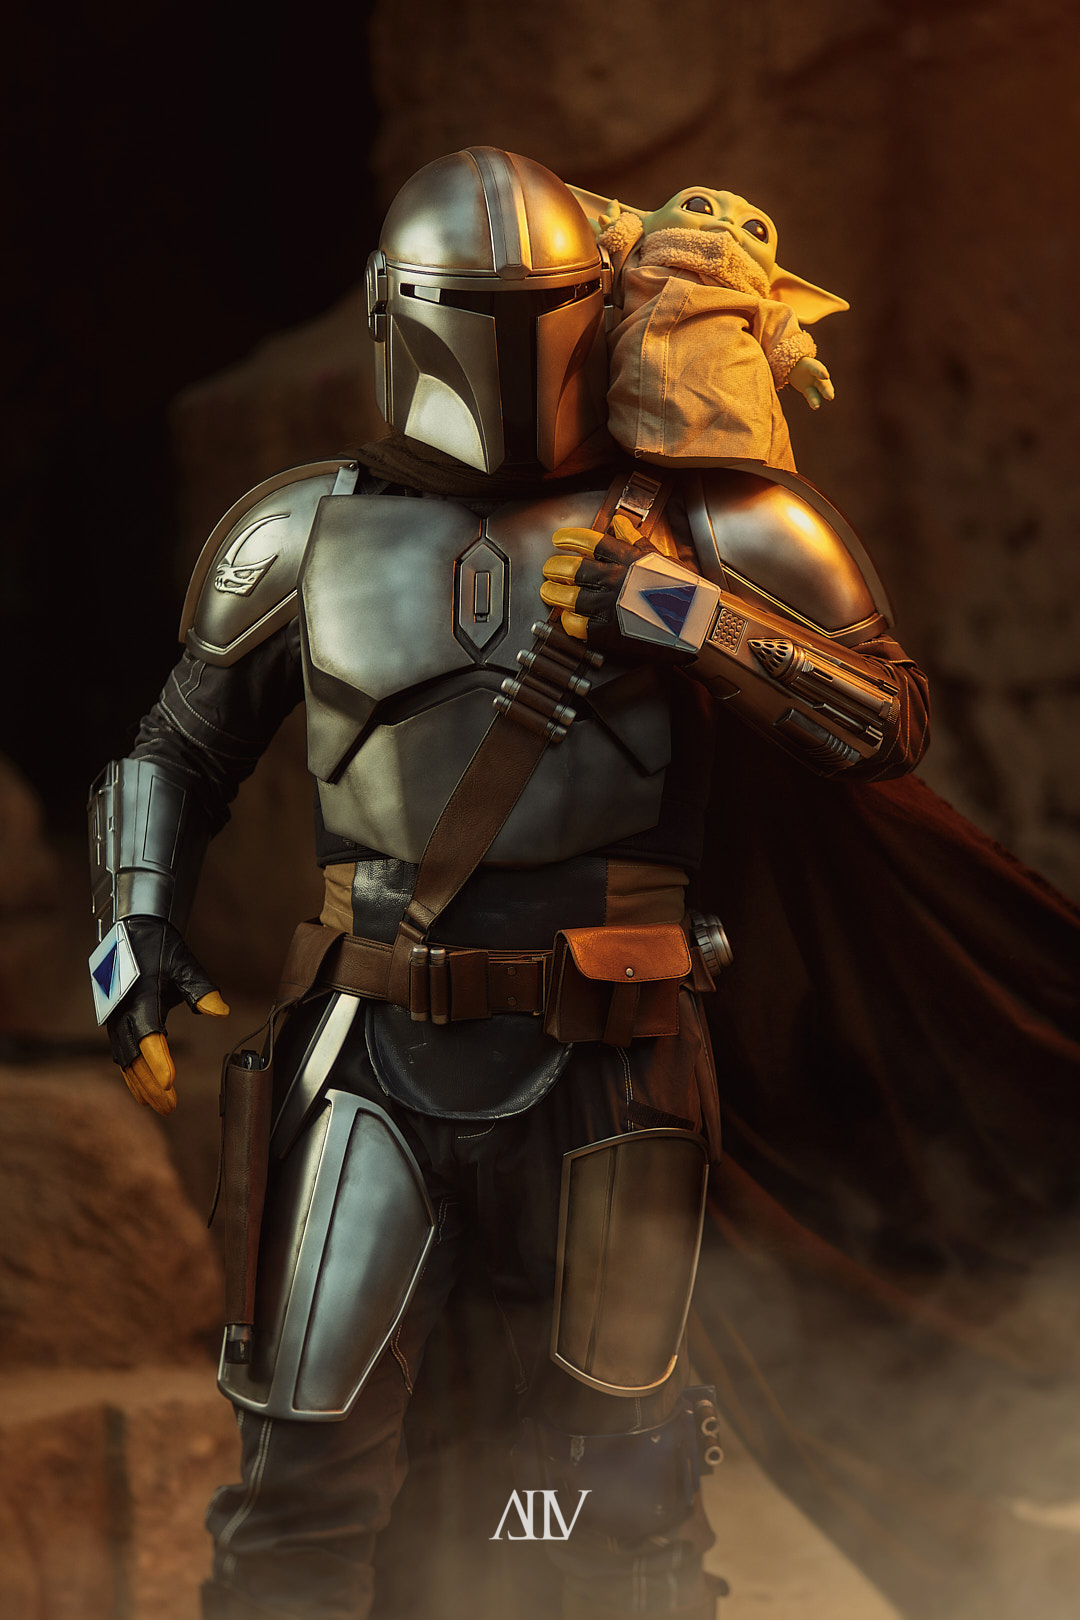
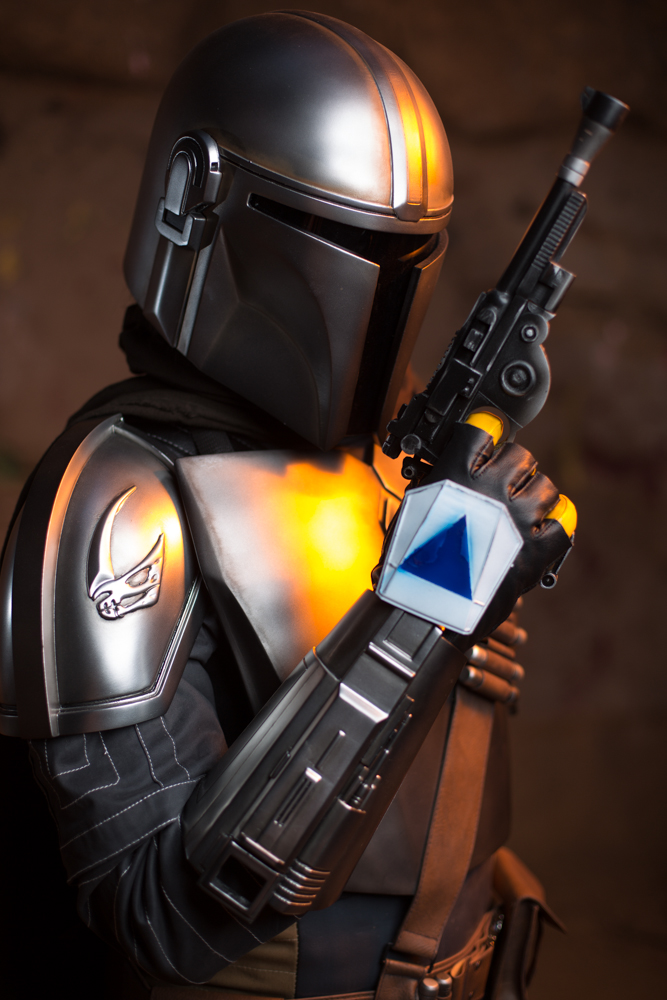
Printed the full helmet with all supports except for the middle column. Great file. IG: DespairPTM Photo: Alive Alf Photography
Awesome helmet file, thank you for your work Rob Pauza. Printed the main helmet as one piece on a Creality CR-10 with PETG; all supports except for the middle column. IG: DespairPTM Photo: Alive Alf Photography
Thanks Rob Pauza, it's a perfect model!
This is my way
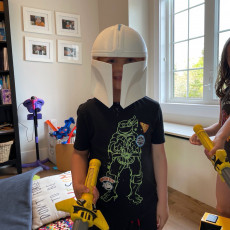
Your designs are amazing! Mommy daughter Mano helmets printed and painted. My daughter is 10 so hers is printed at %95.
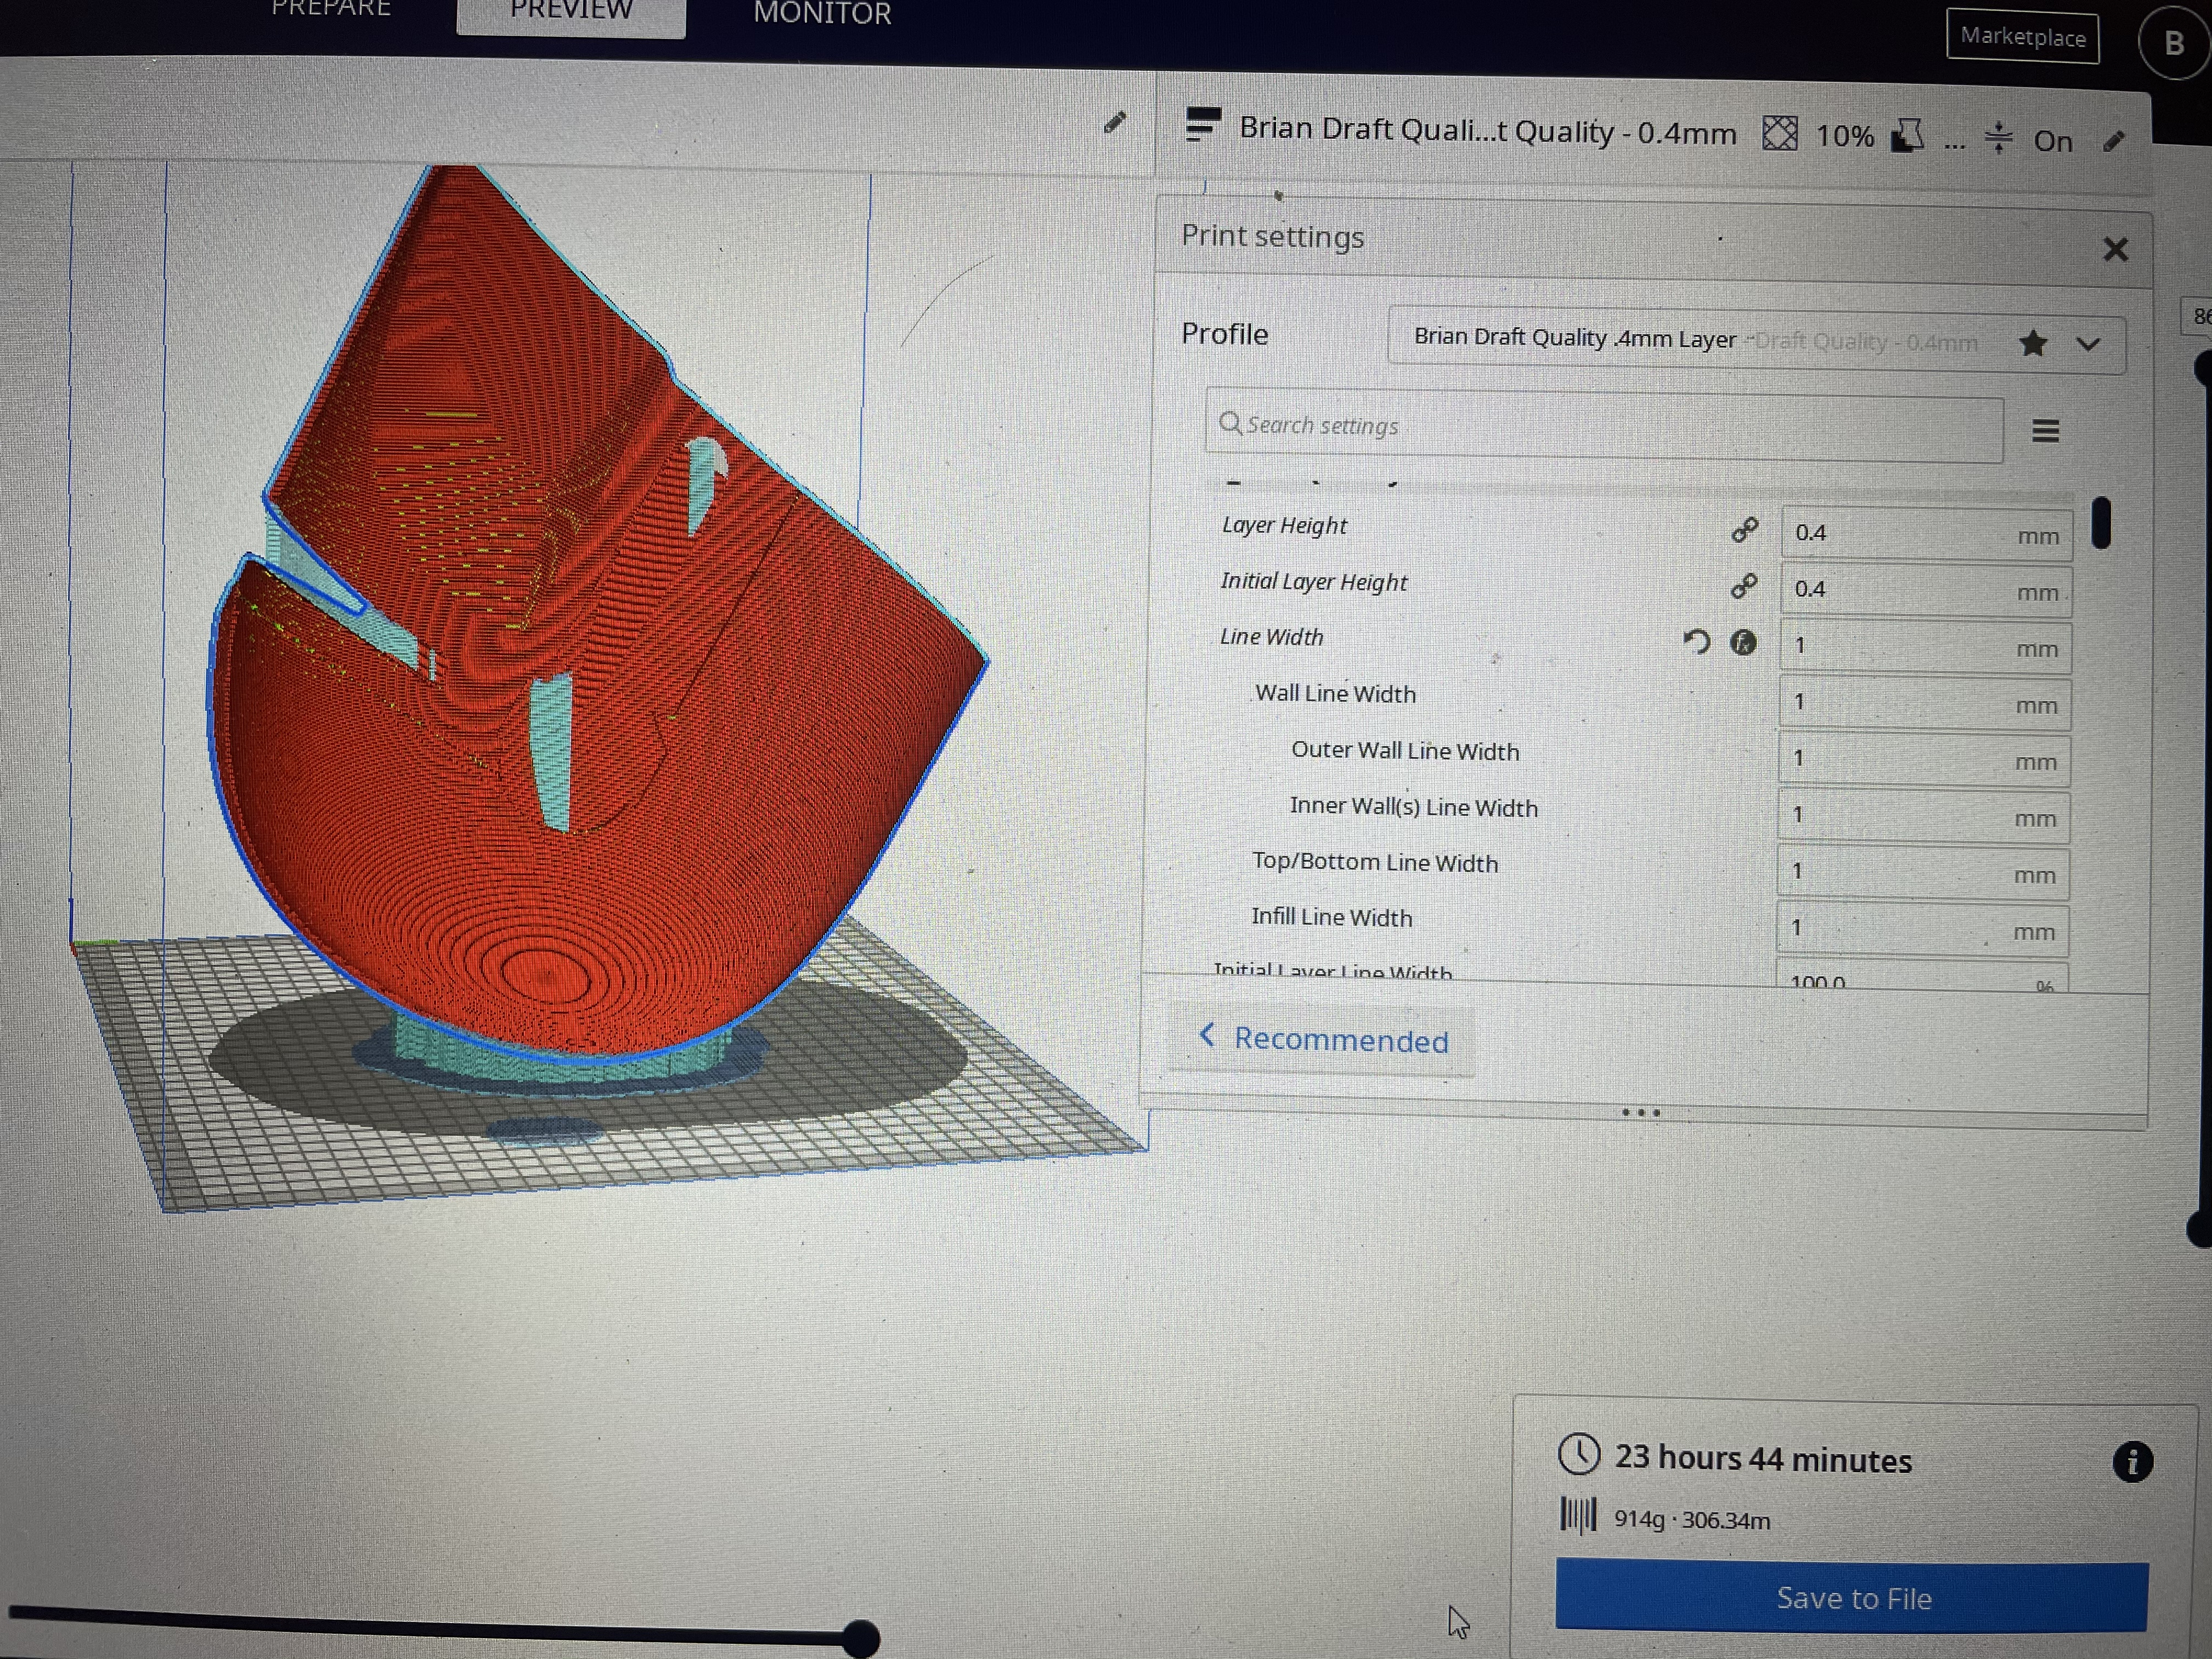
I just printed mine with a .6 nozzle at 60mm with .4 layer height and 1mm width in a little under 20hours oriented upside down.
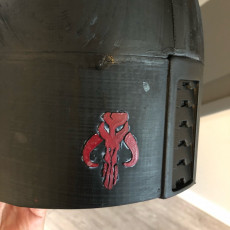
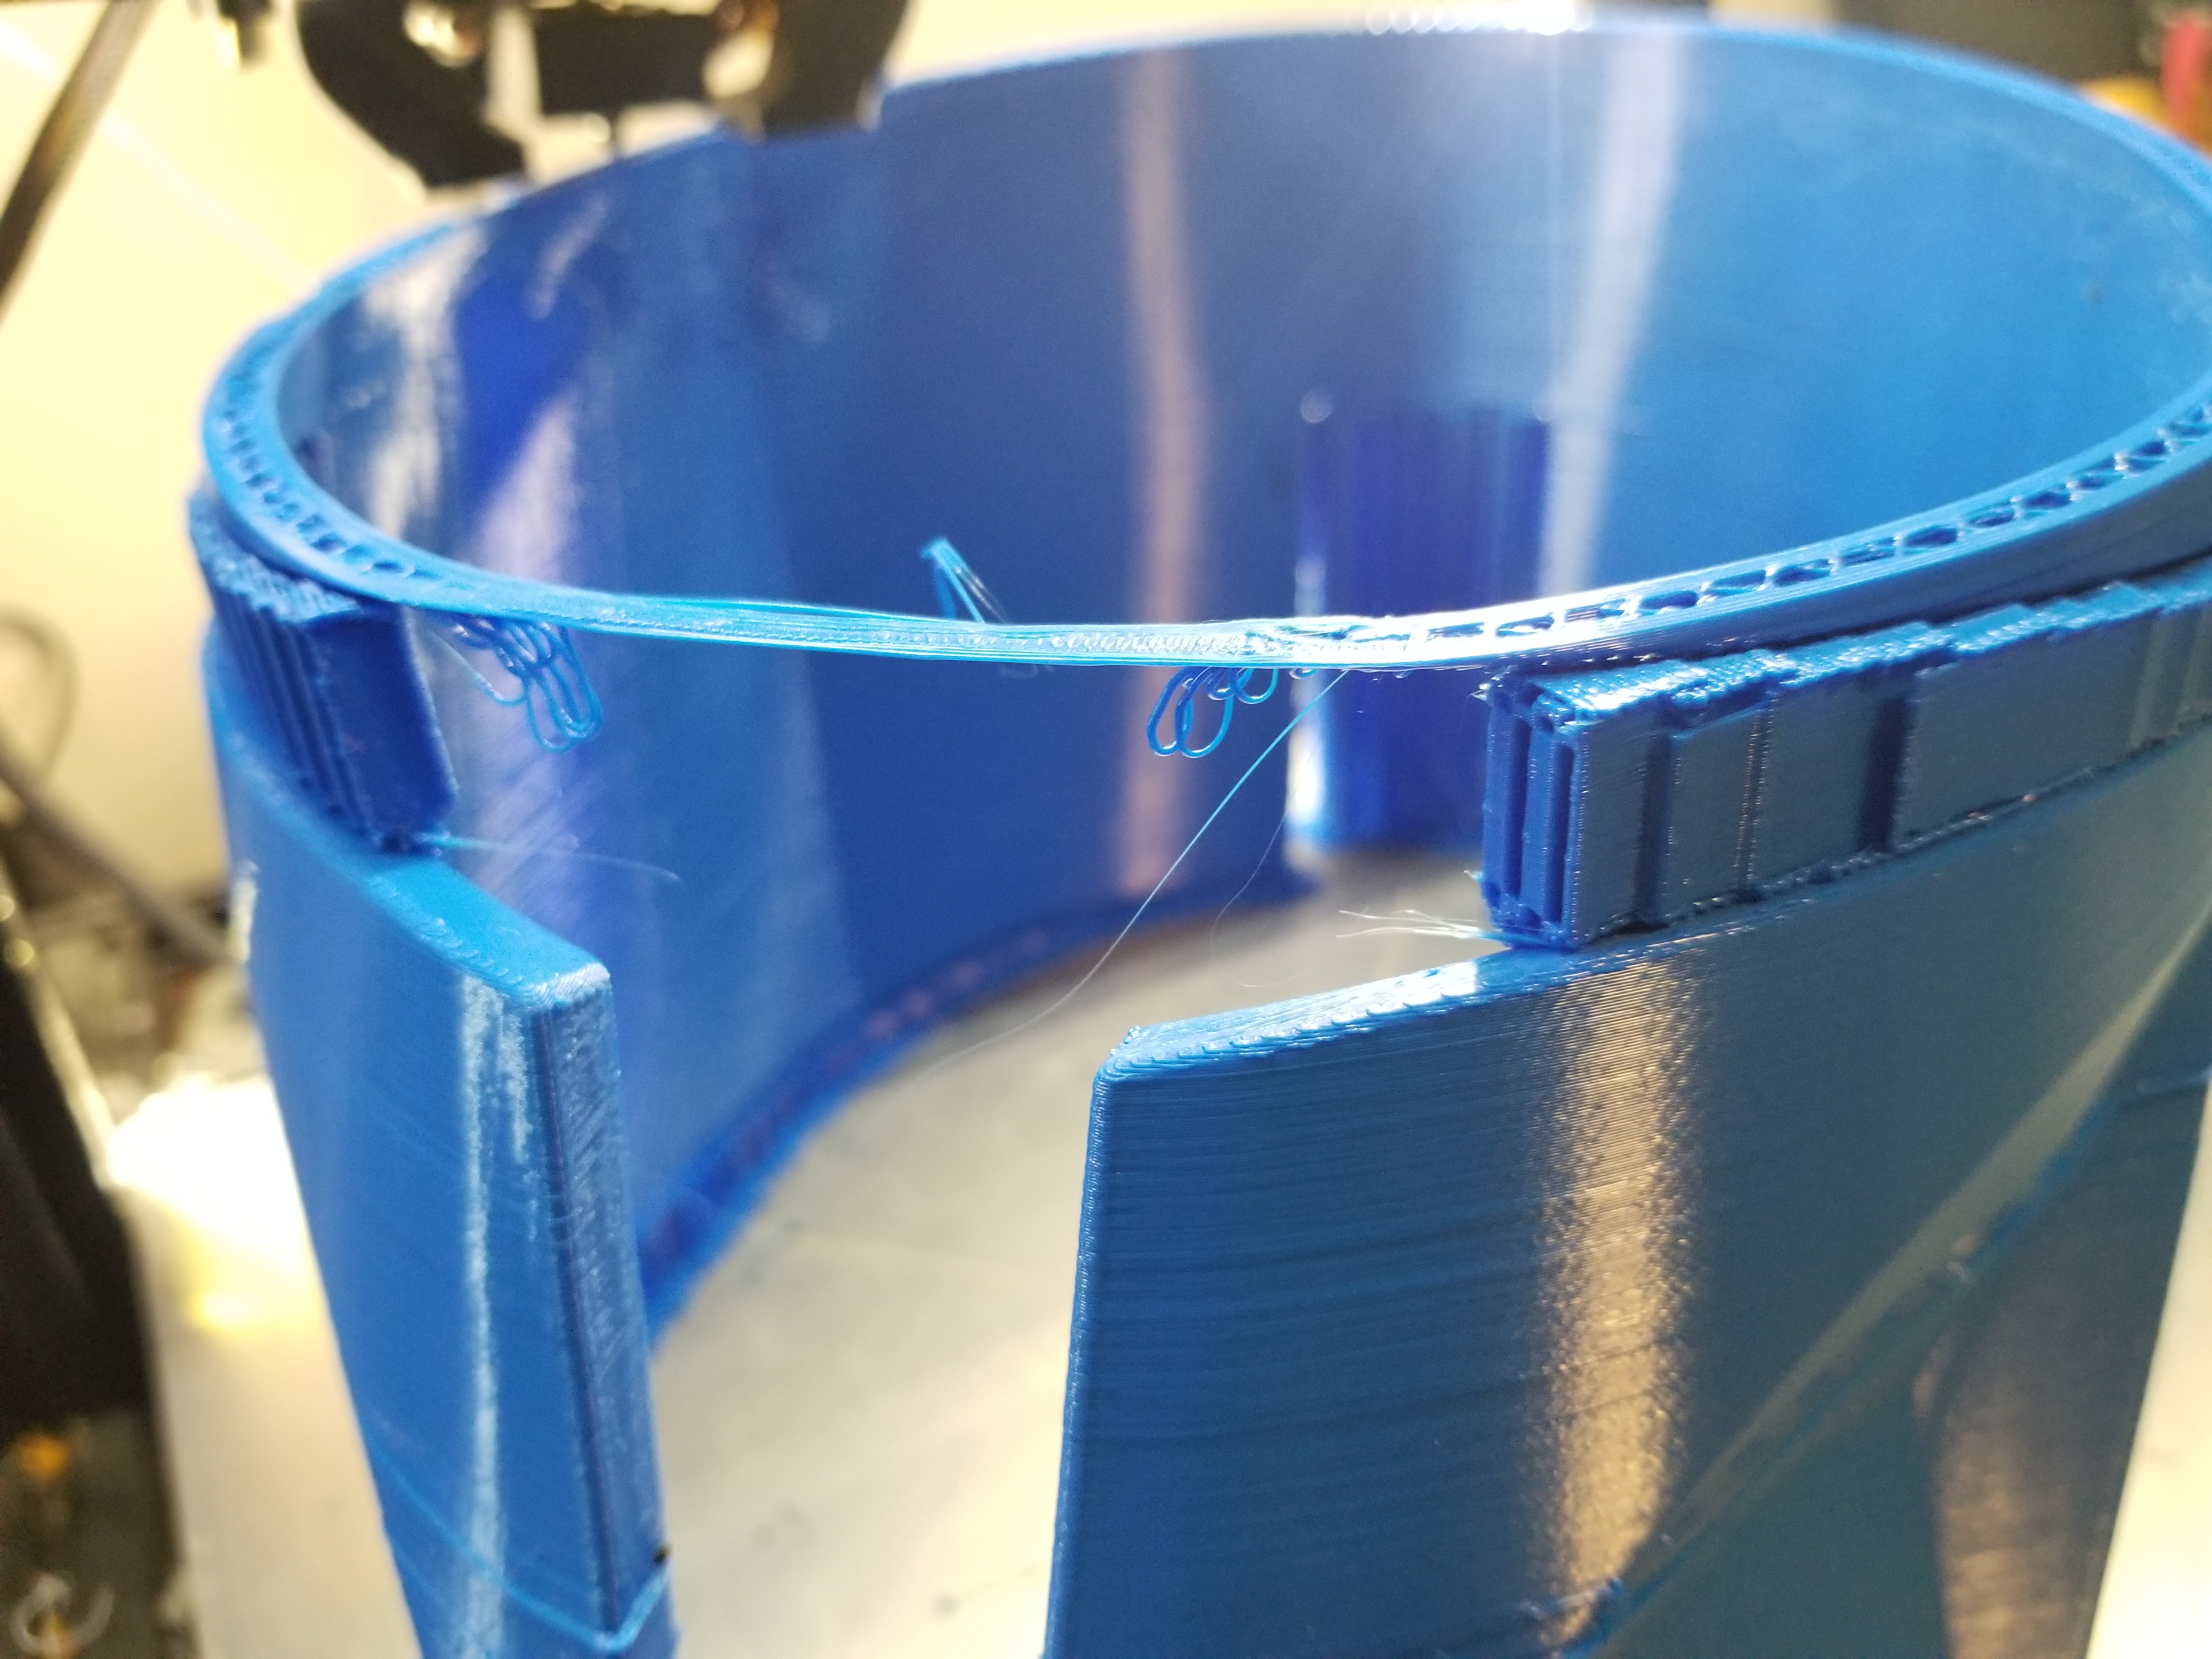
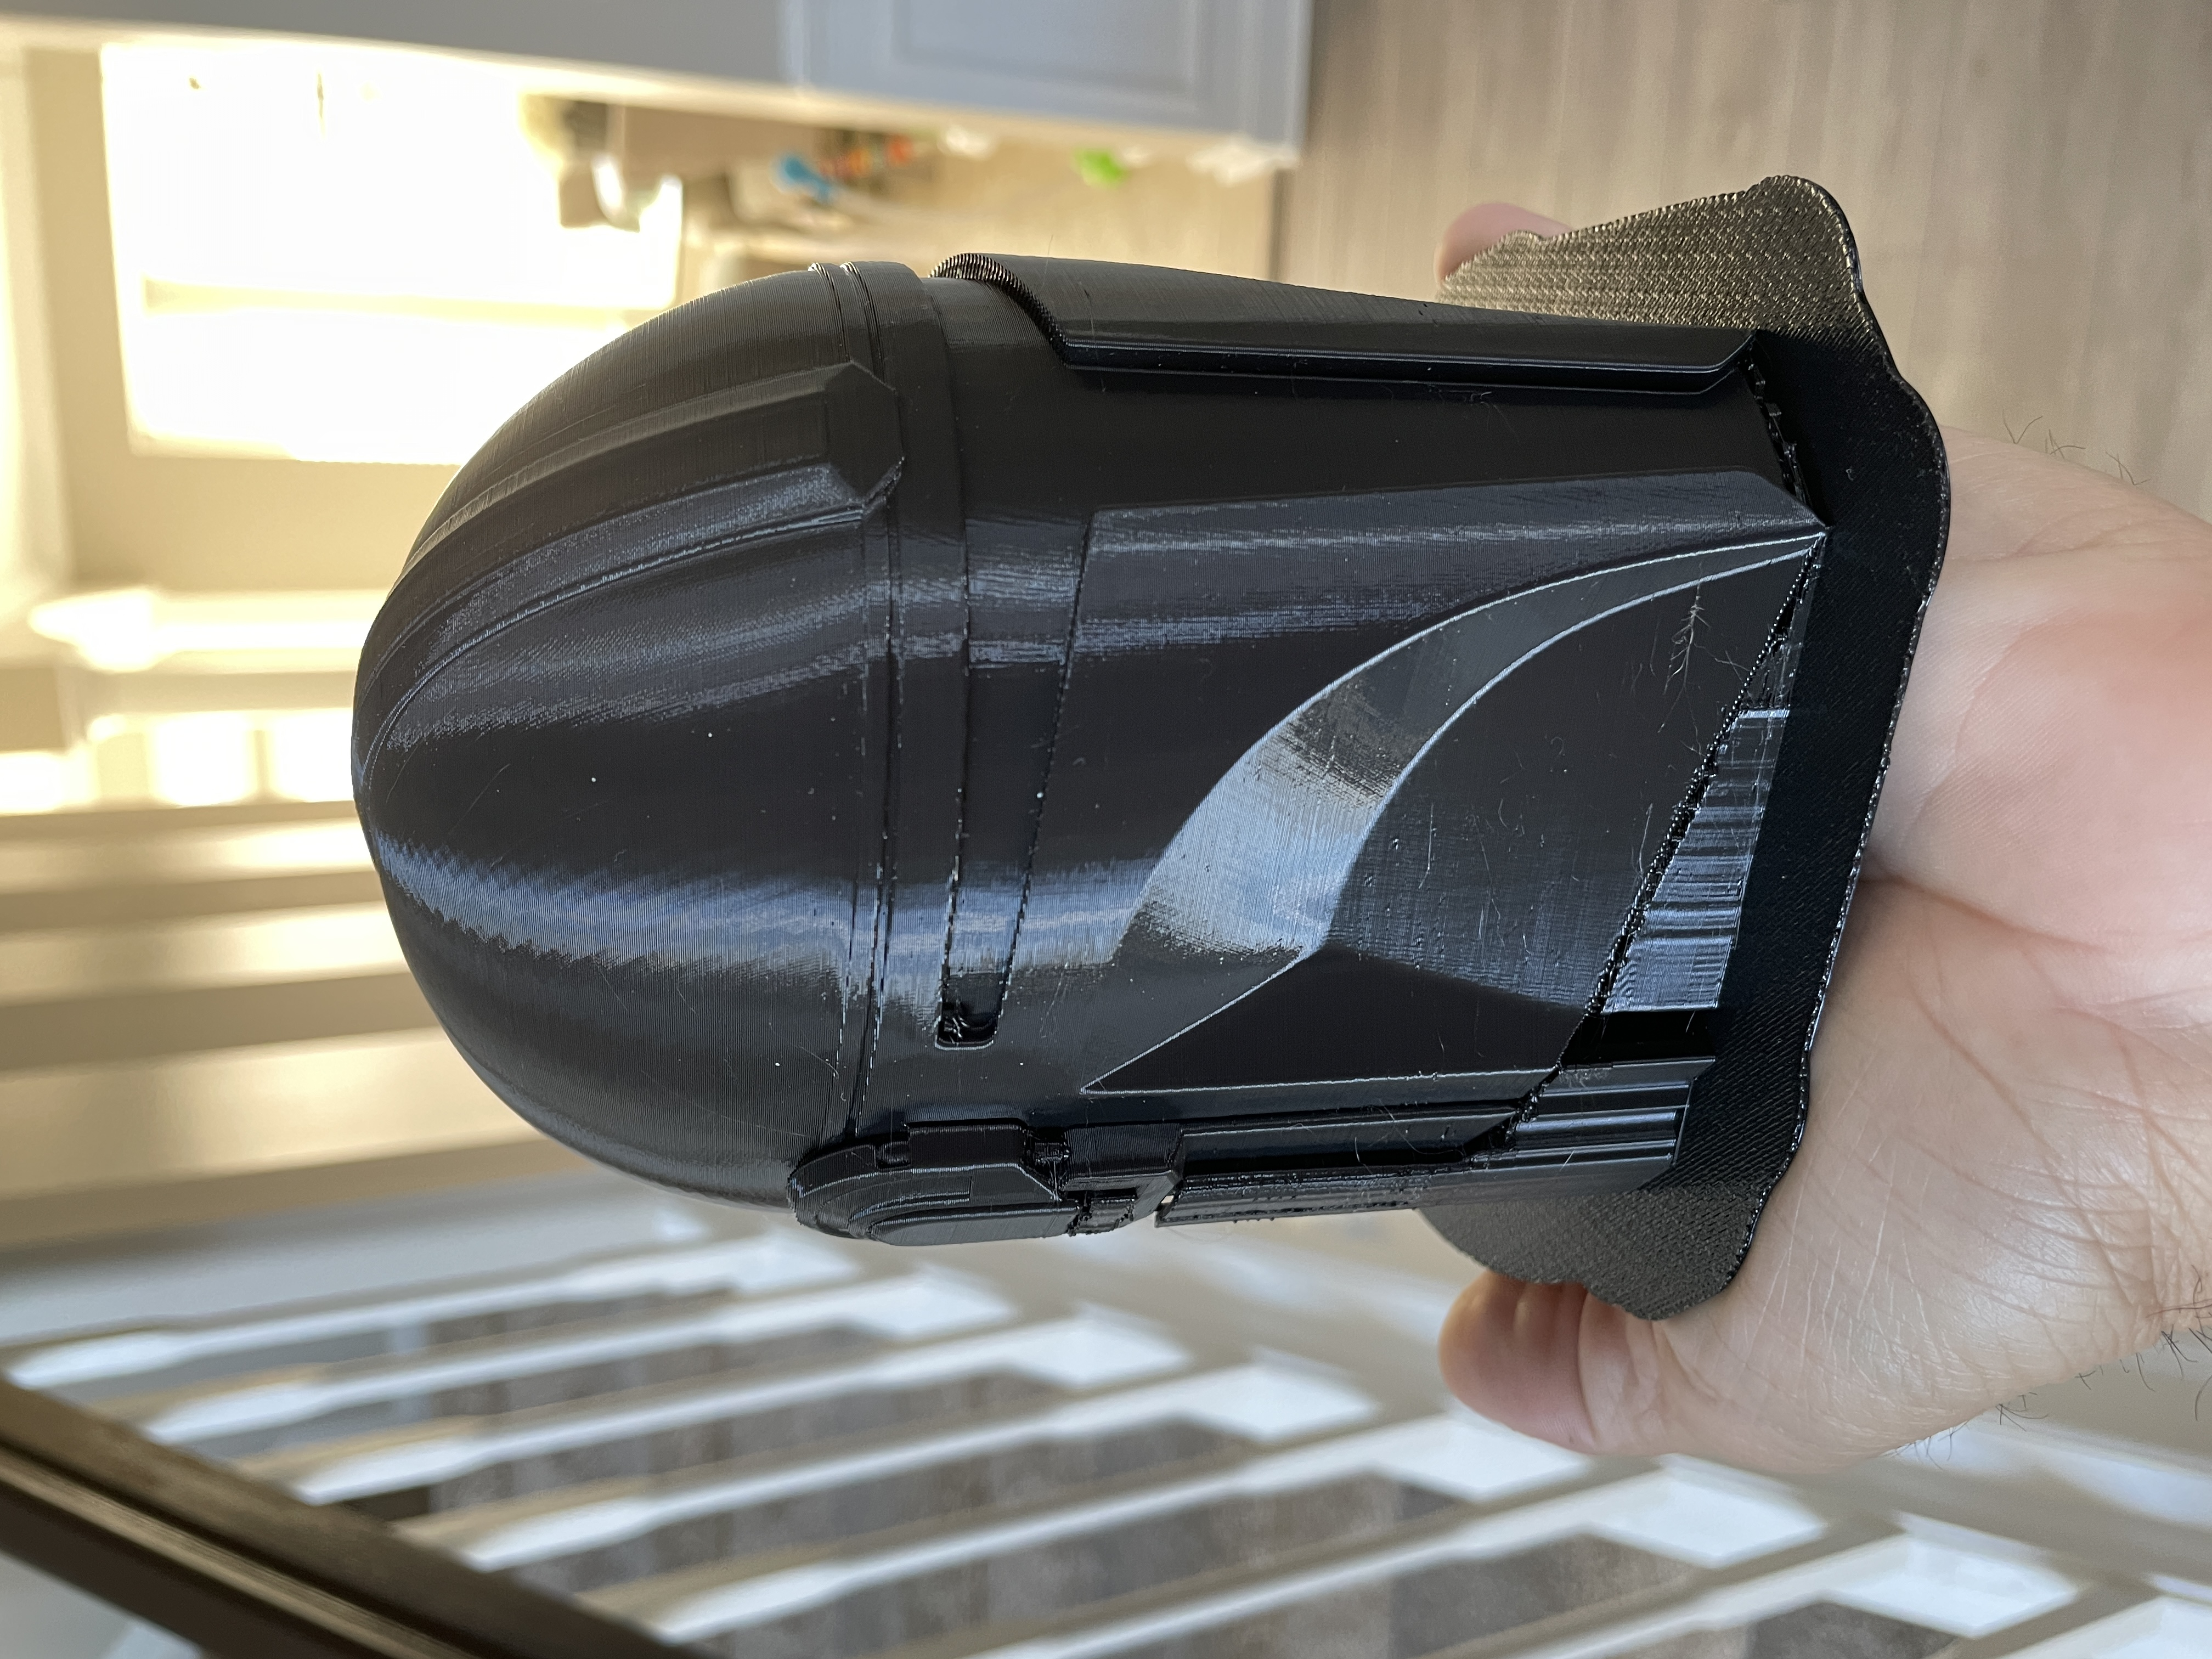
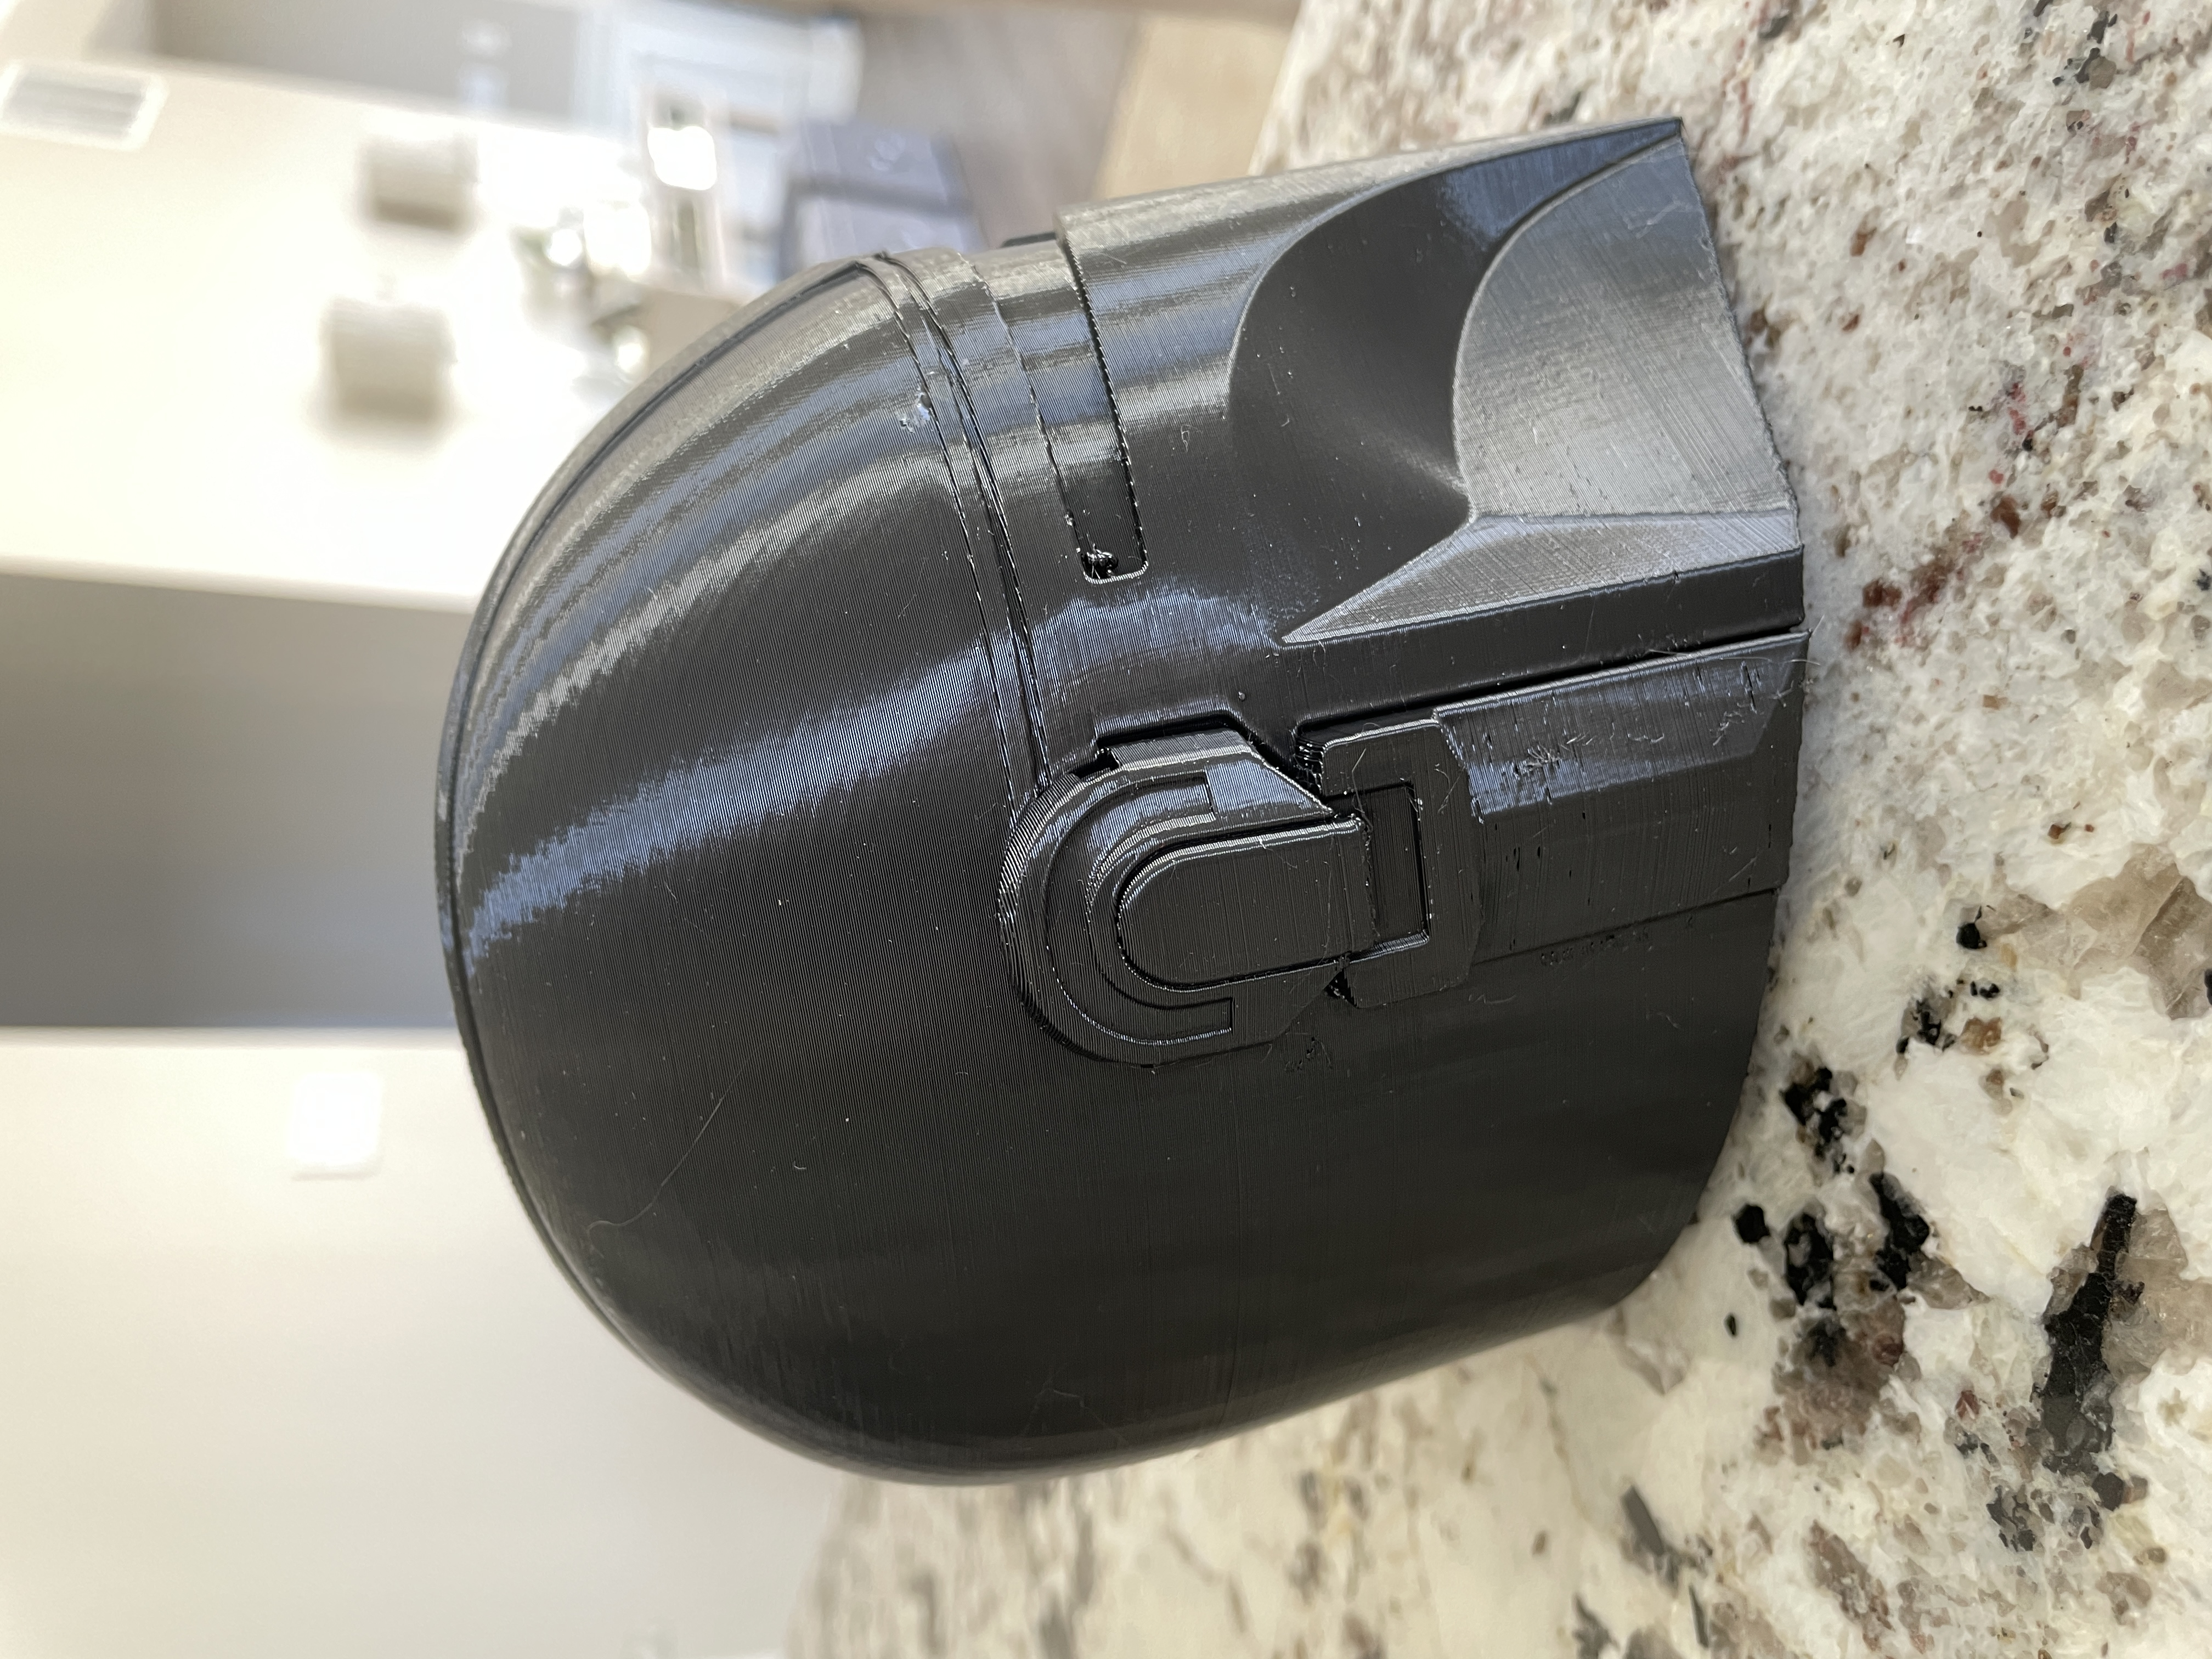
This happened two times at the helmet-8-piece-right-front-top. See picture. Somebody knows why? Greetings, Dave
Now sanding and paint Time !
Very happy with the end result. Thank you!
Awesome model ! Lot of fun !
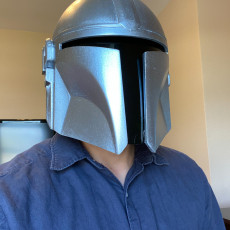
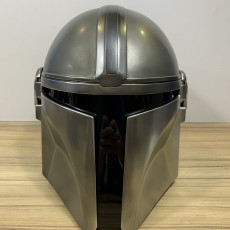
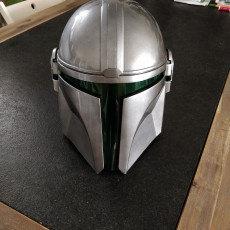
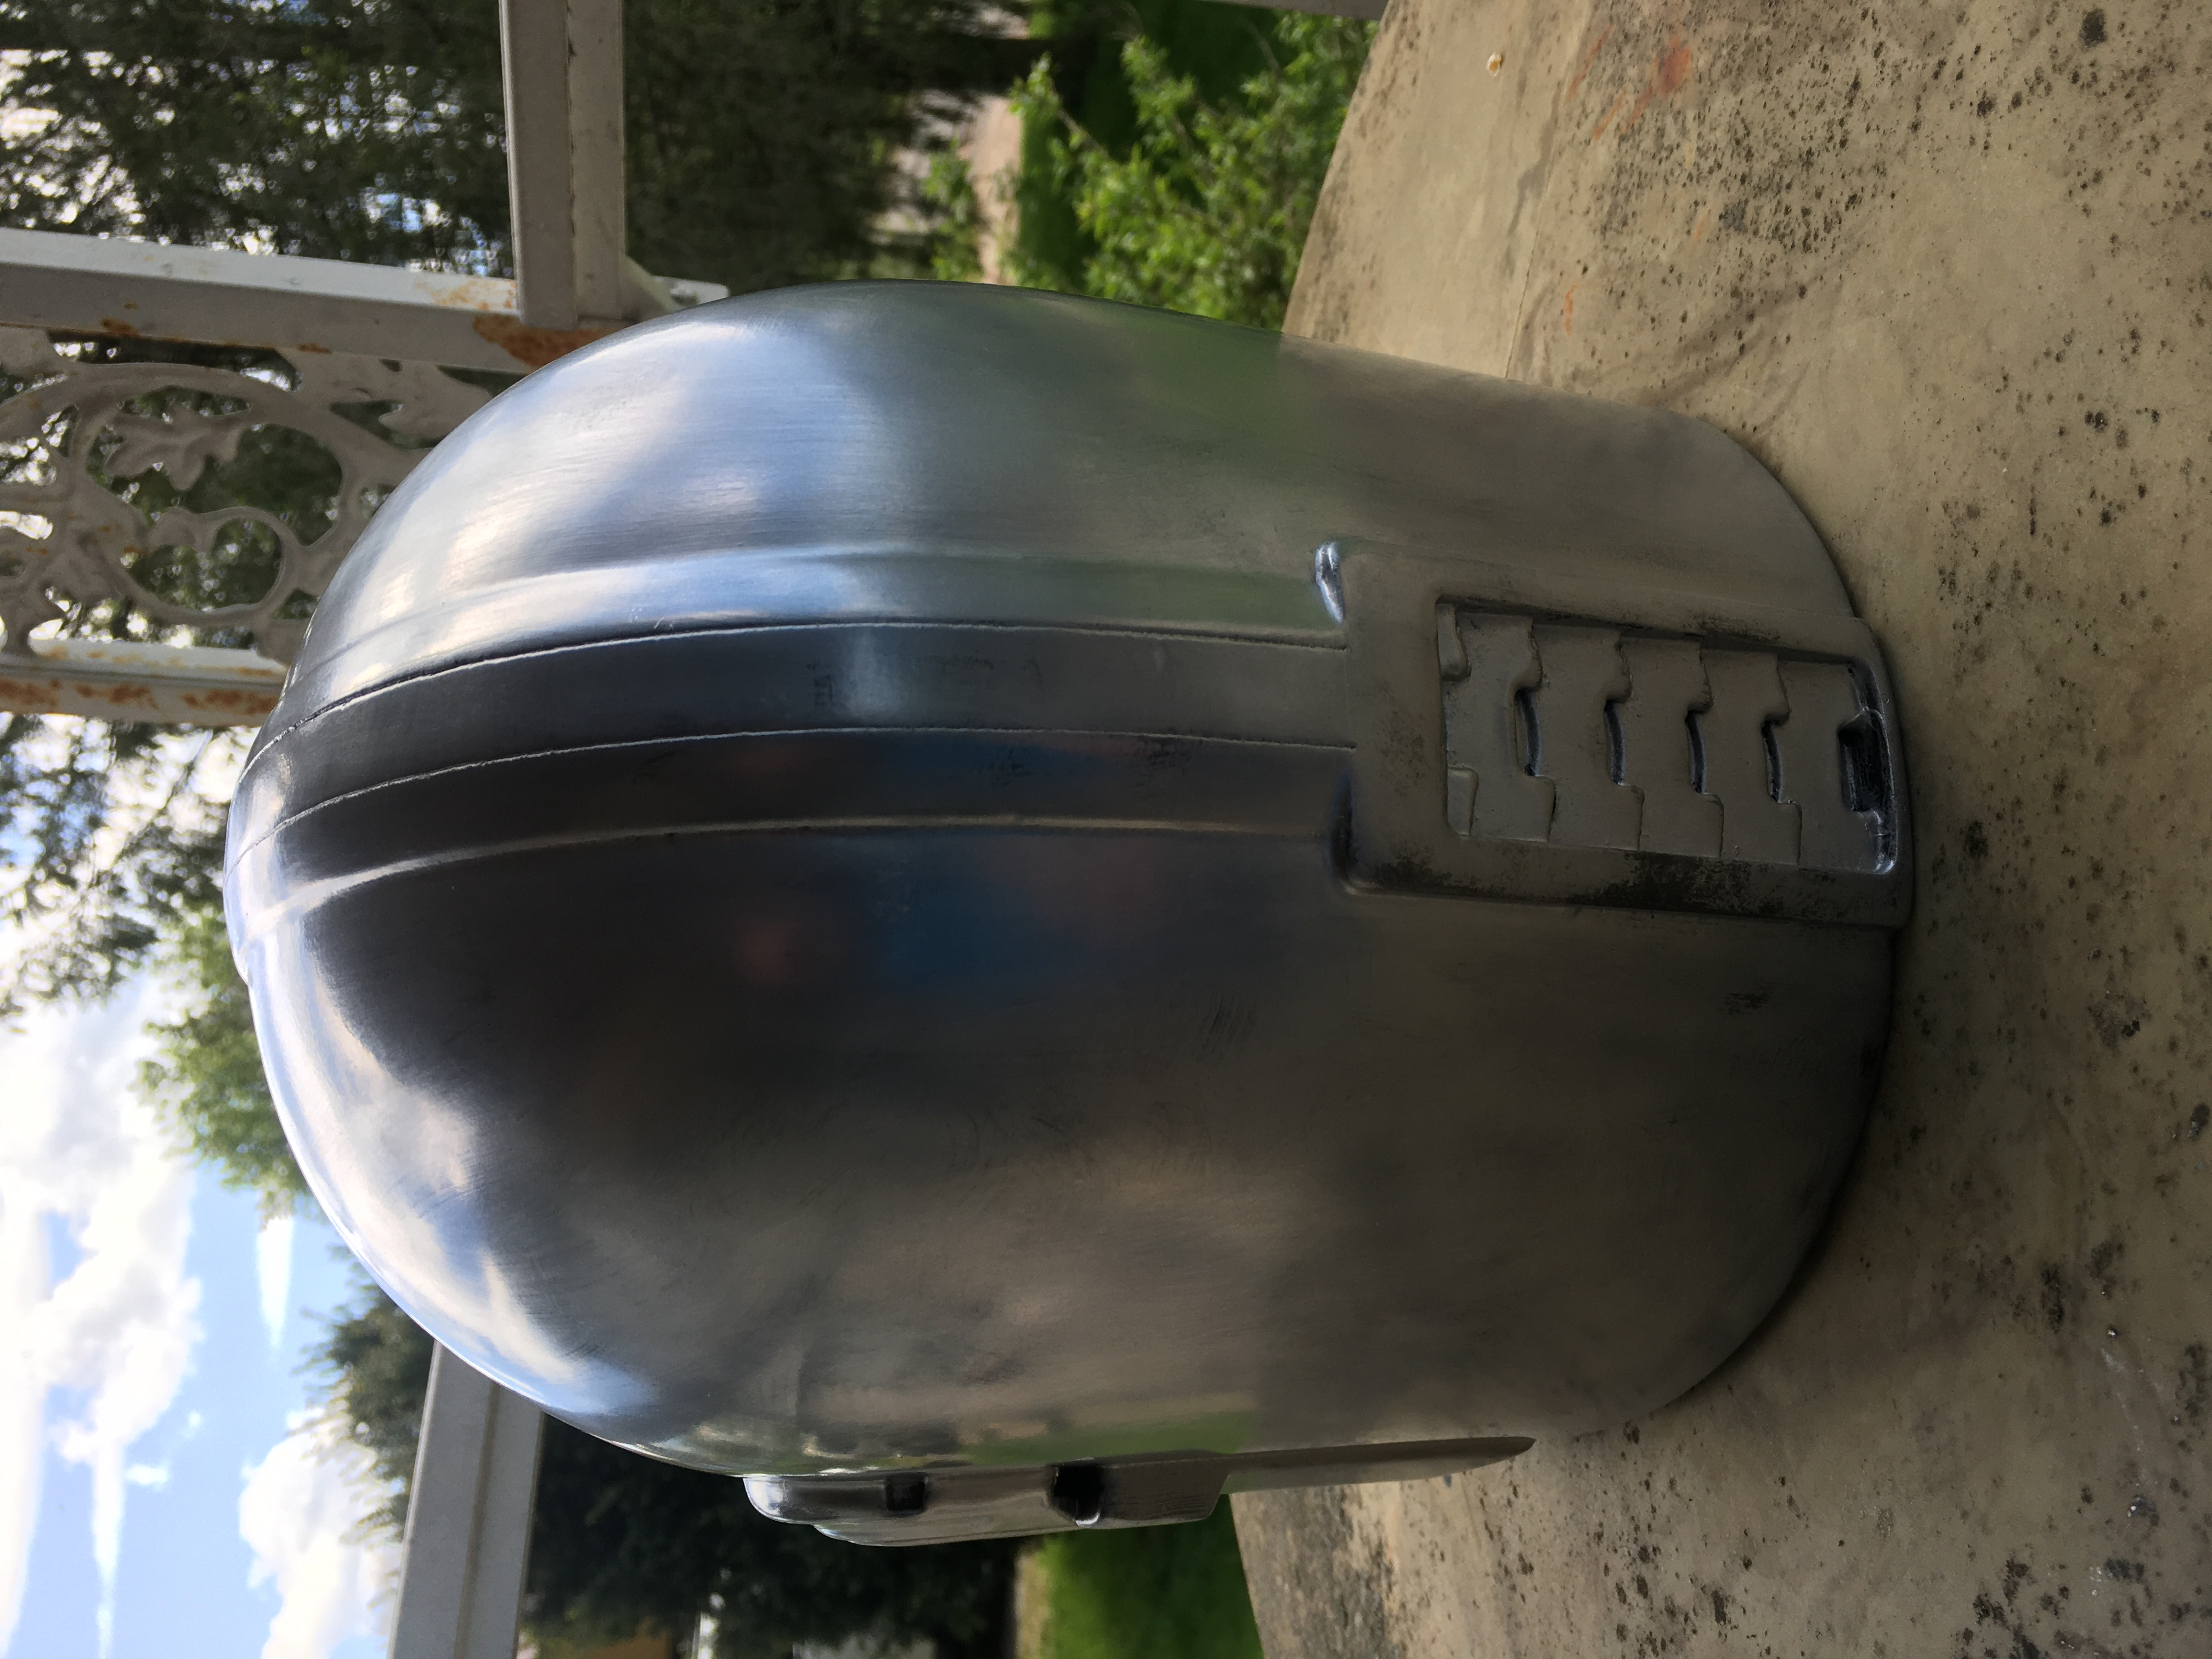
Great file. Printed on my Artillery Sidewinder X1 as a single print helmet. Endnotepad PLA+, 220/70. Sanded, filled with plastic wood filler and Bondo glazing putty, filler primer and a base coat of Rustoleum Semi-gloss Black paint-primer. Finished off paint with Rustoleum Bright Metallic Silver. Visor fabricated with a piece of 1mm acrylic, Gila window tint and secured with double sided tape.
Great file. Printed on my Artillery Sidewinder X1 as a single print helmet. Endnotepad PLA+, 220/70. Sanded, filled with plastic wood filler and Bondo glazing putty, filler primer and a base coat of Rustoleum Semi-gloss Black paint-primer. Finished off paint with Rustoleum Bright Metallic Silver. Visor fabricated with a piece of 1mm acrylic, Gila window tint and secured with double sided tape.
Finally got around to painting my helmet. Turned out nice. I printed it at 105% to fit my big head and it worked out great.
Printed at 50% at .2. I added the ears and visor in Meshmixer. First time trying that and alignment worked out pretty well. Support blocked the center and took 17 hours.
Thanks for this, Really appreciate; I made a fan art from this base model. do you have any tag on IG or FB to add you?
Made mine! Turned out great!
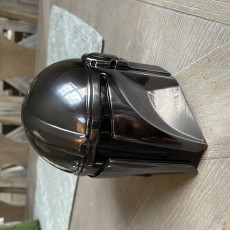
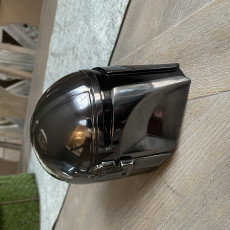
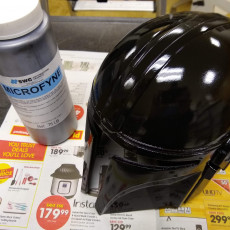
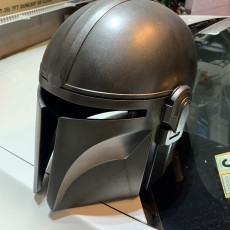
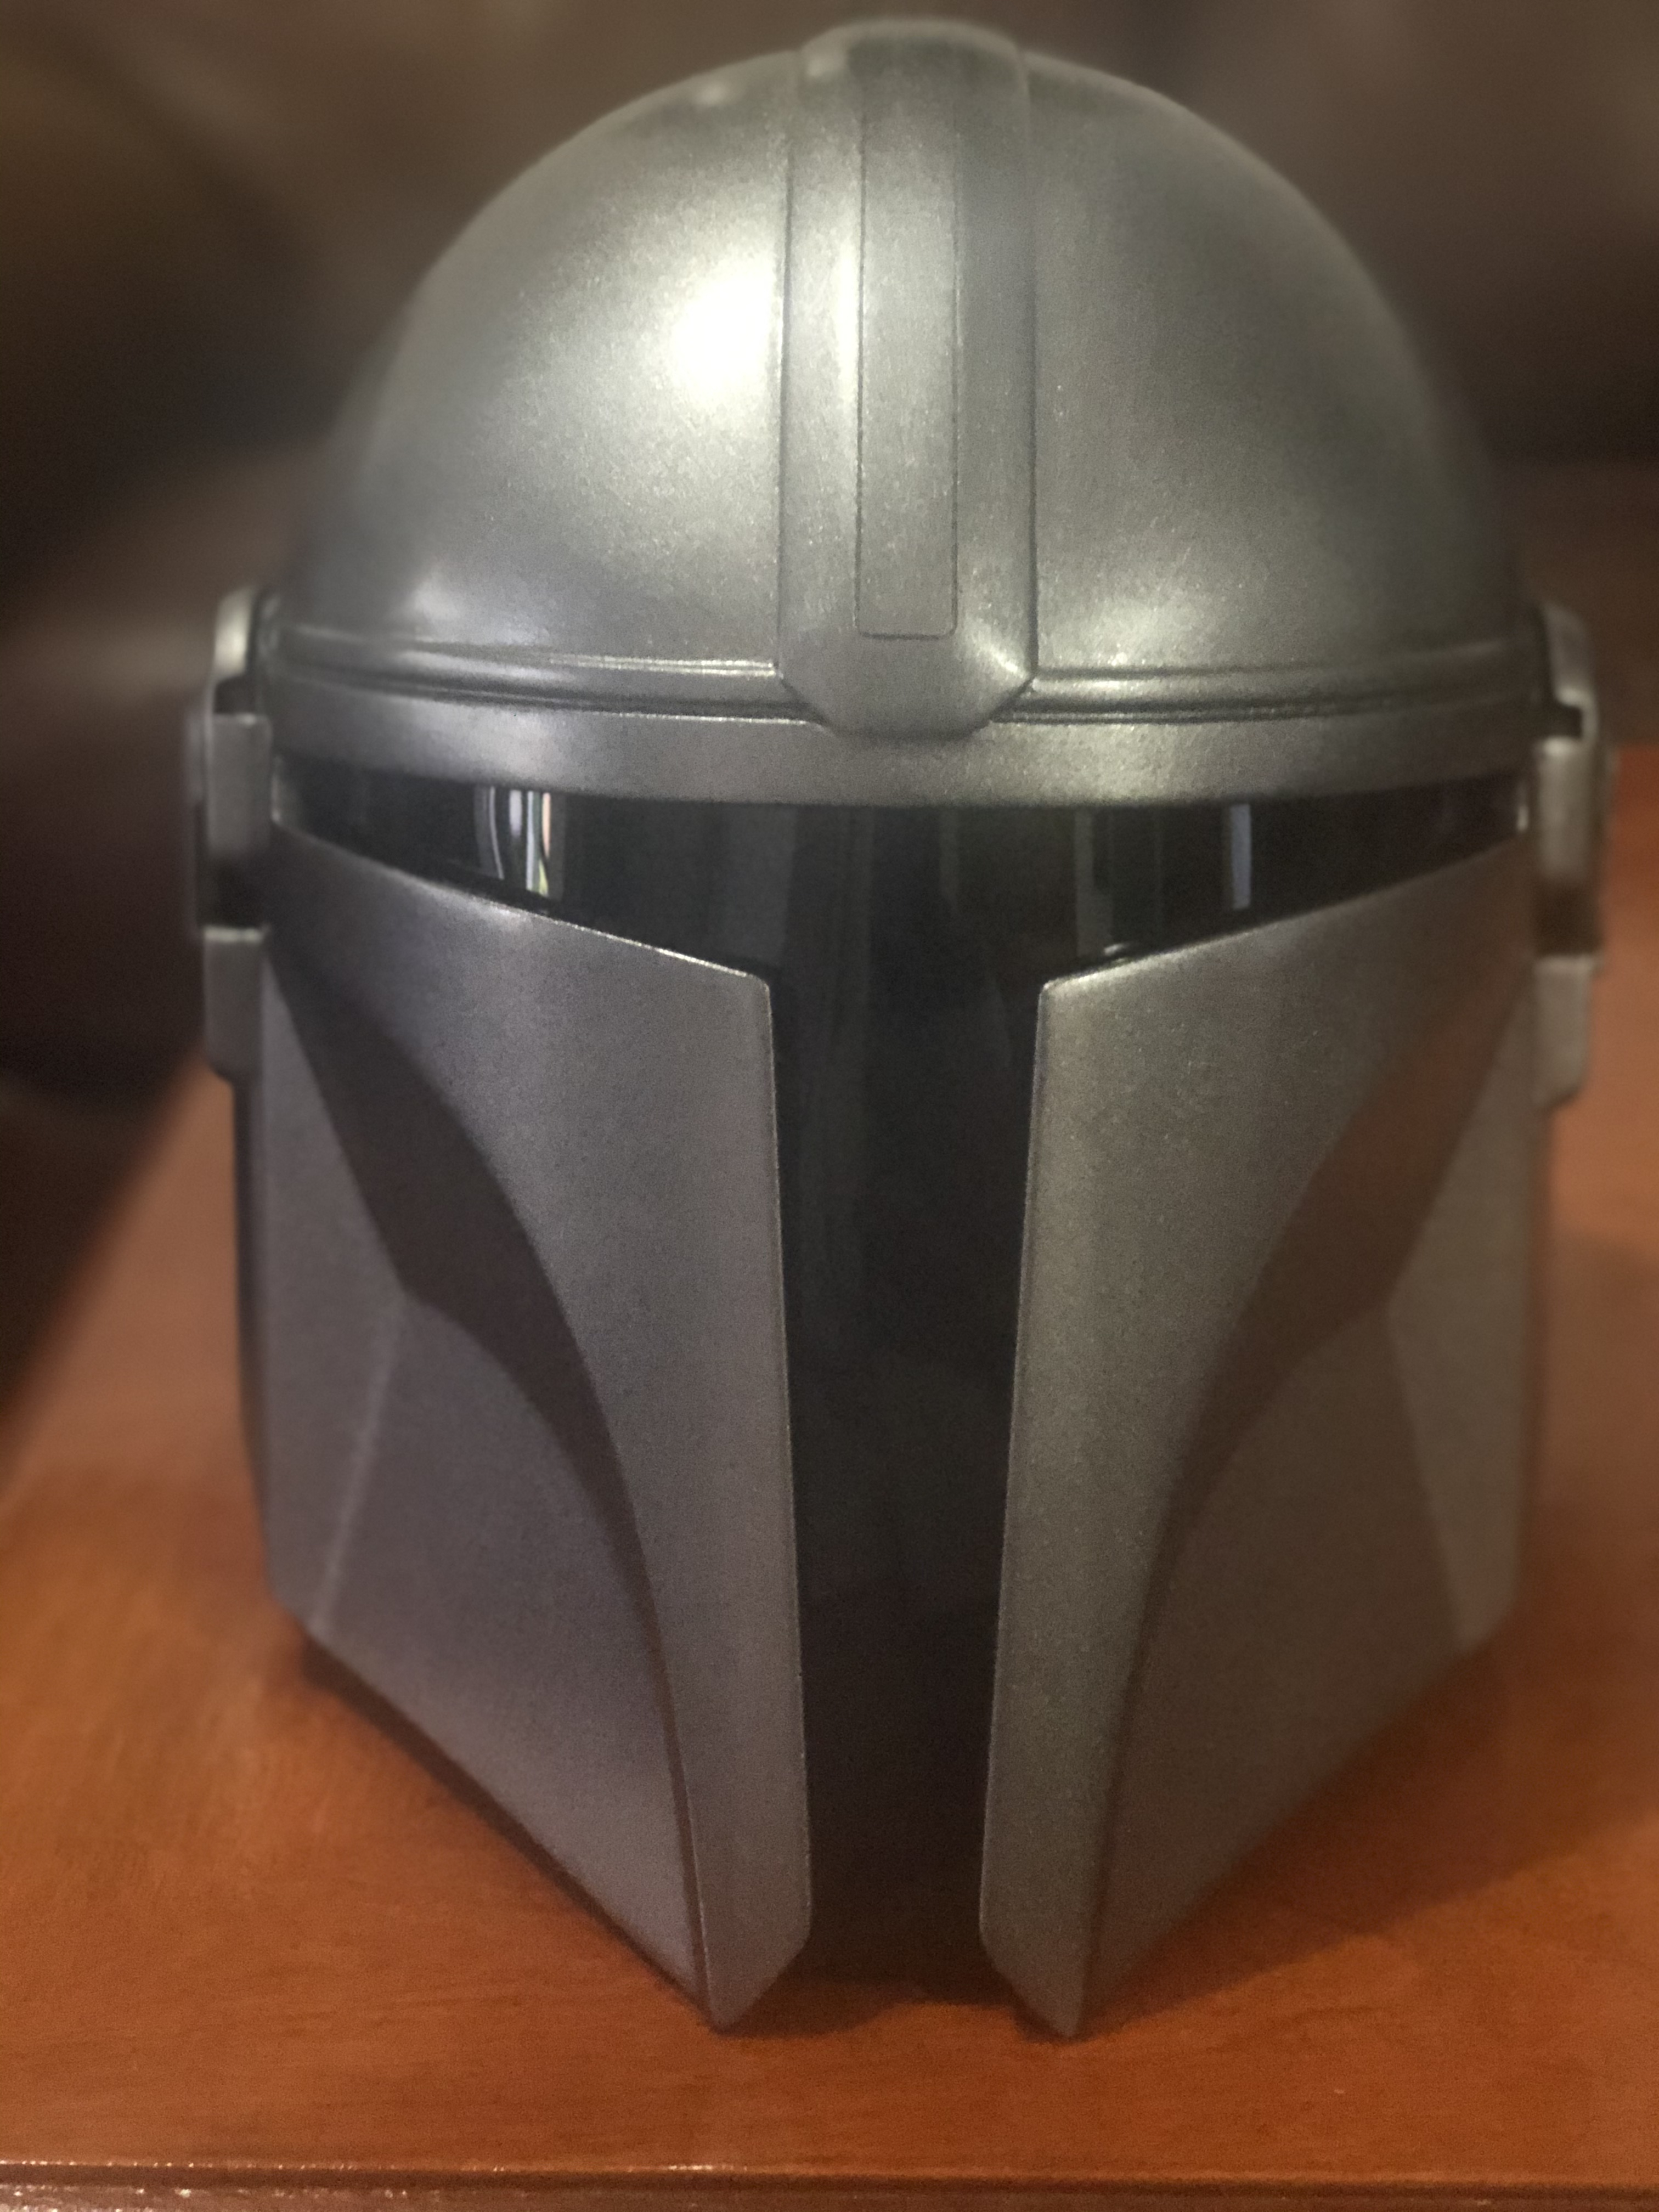
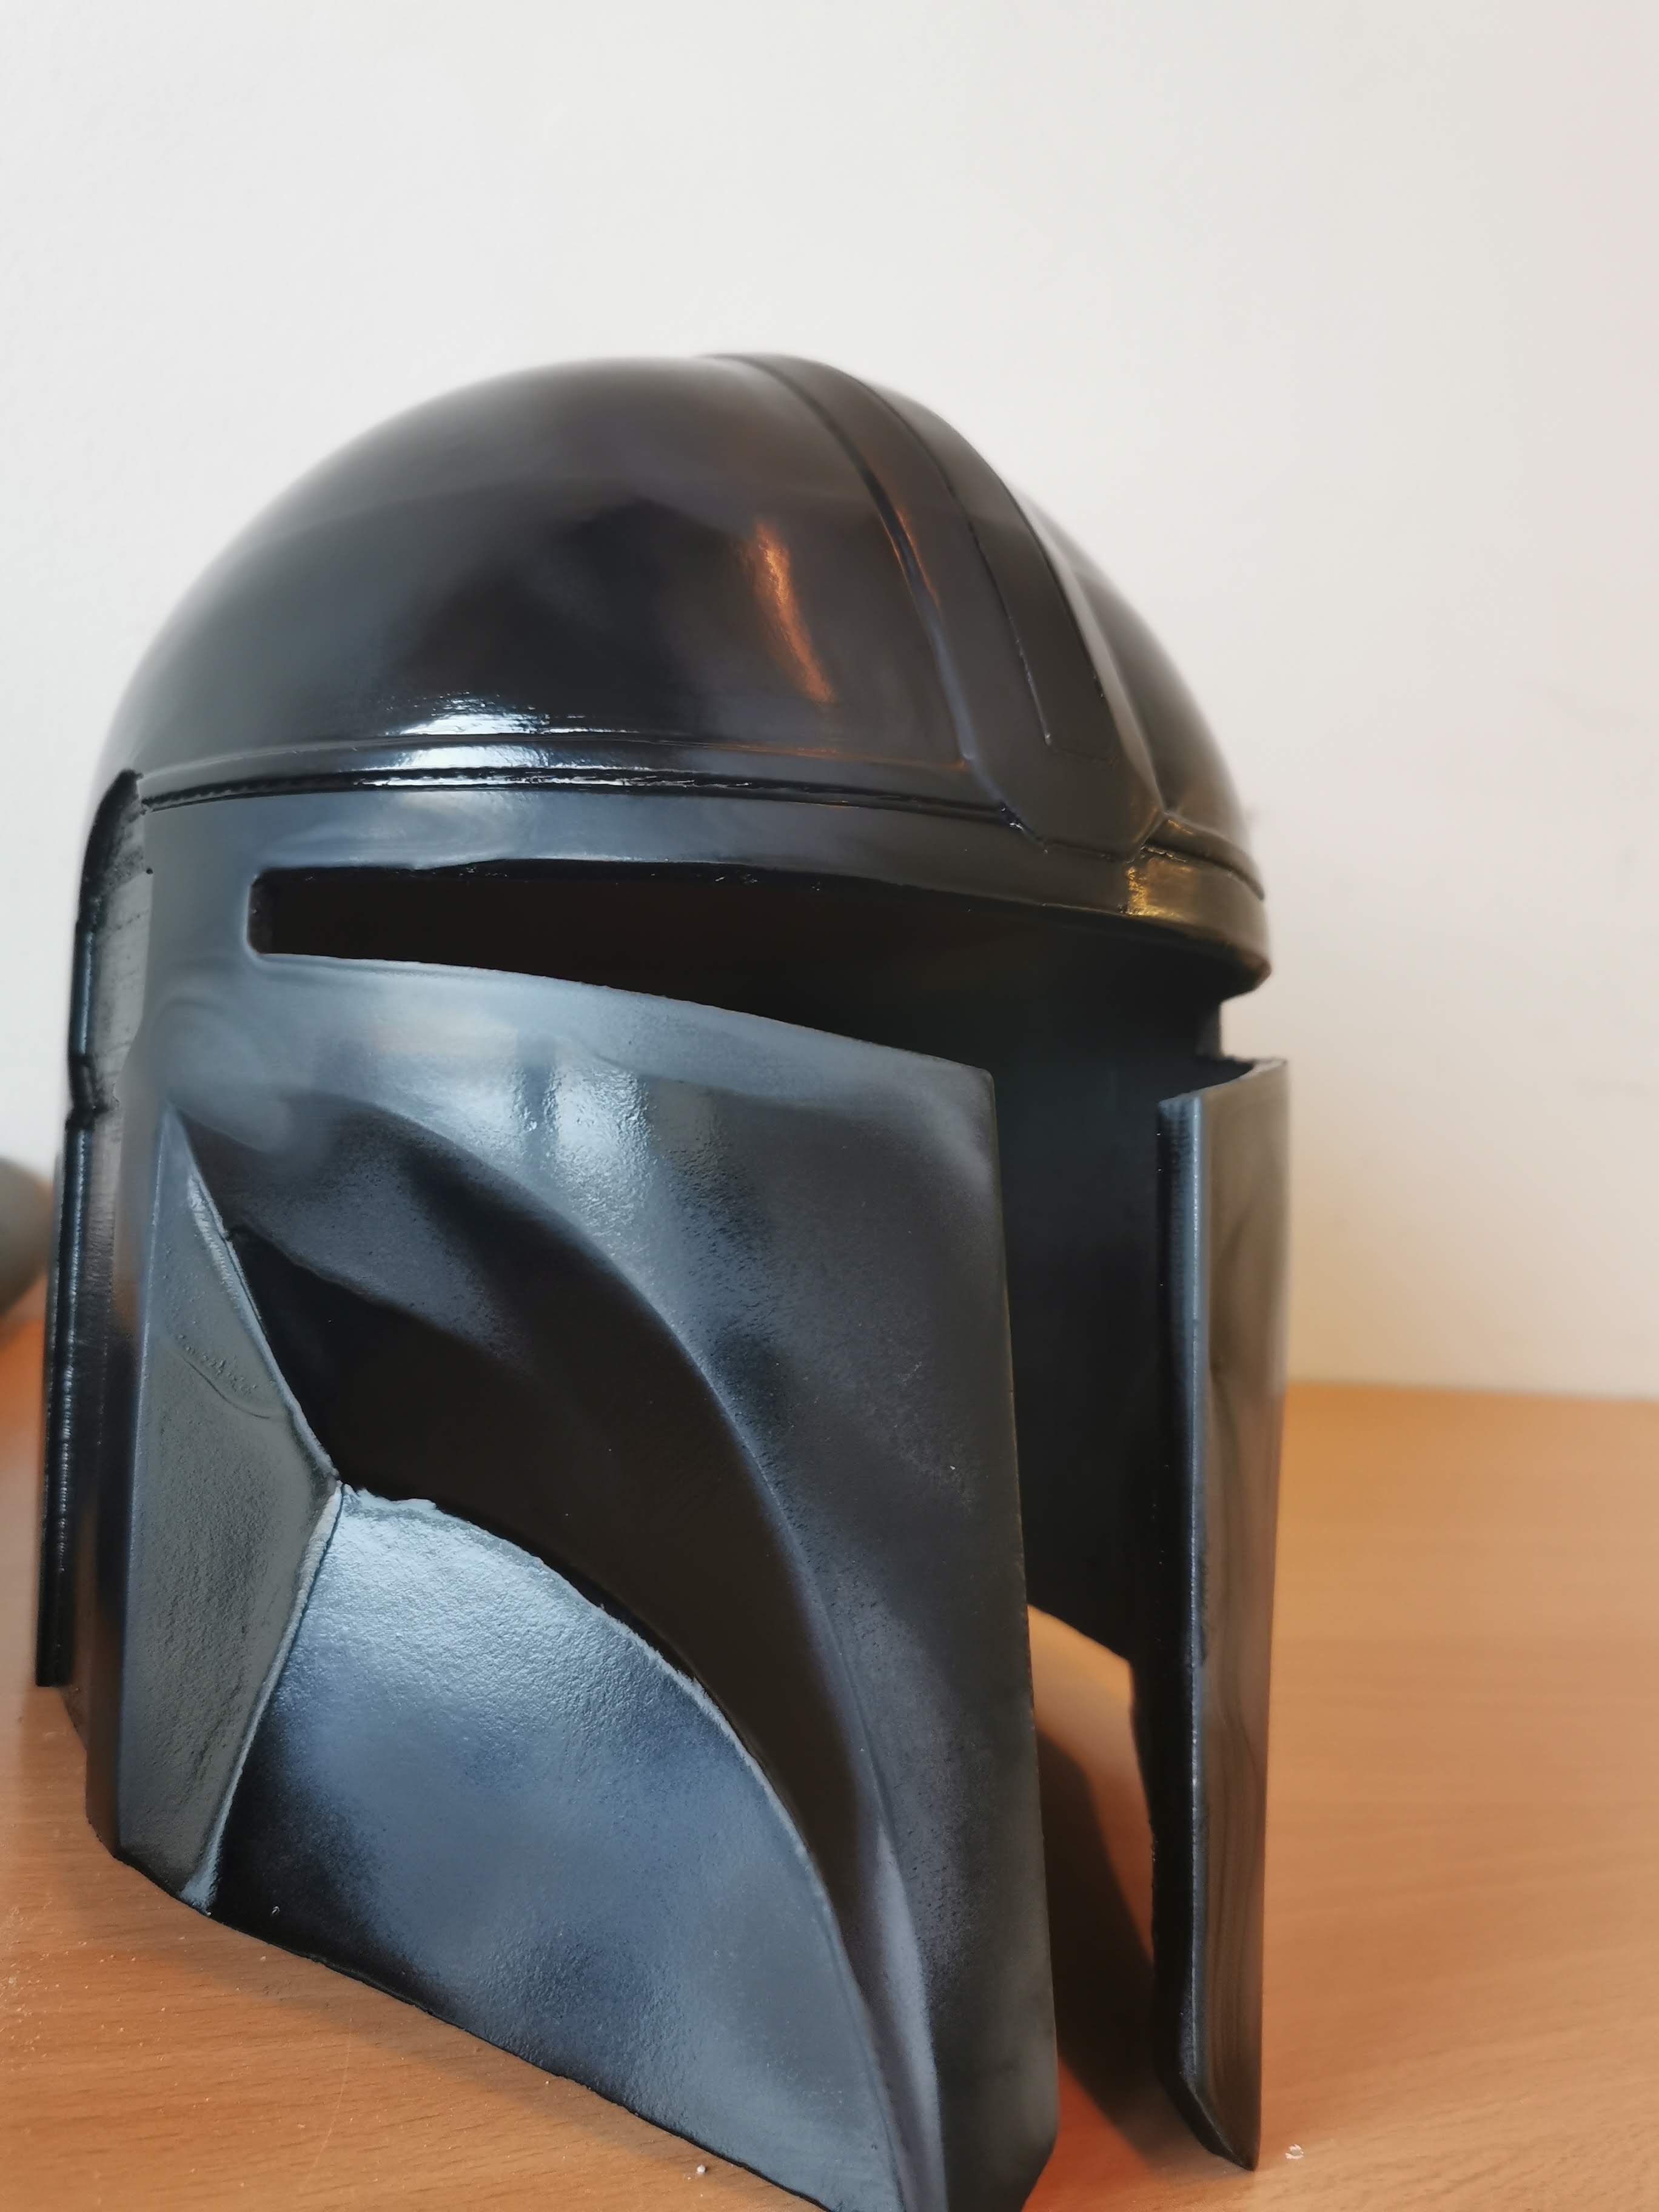
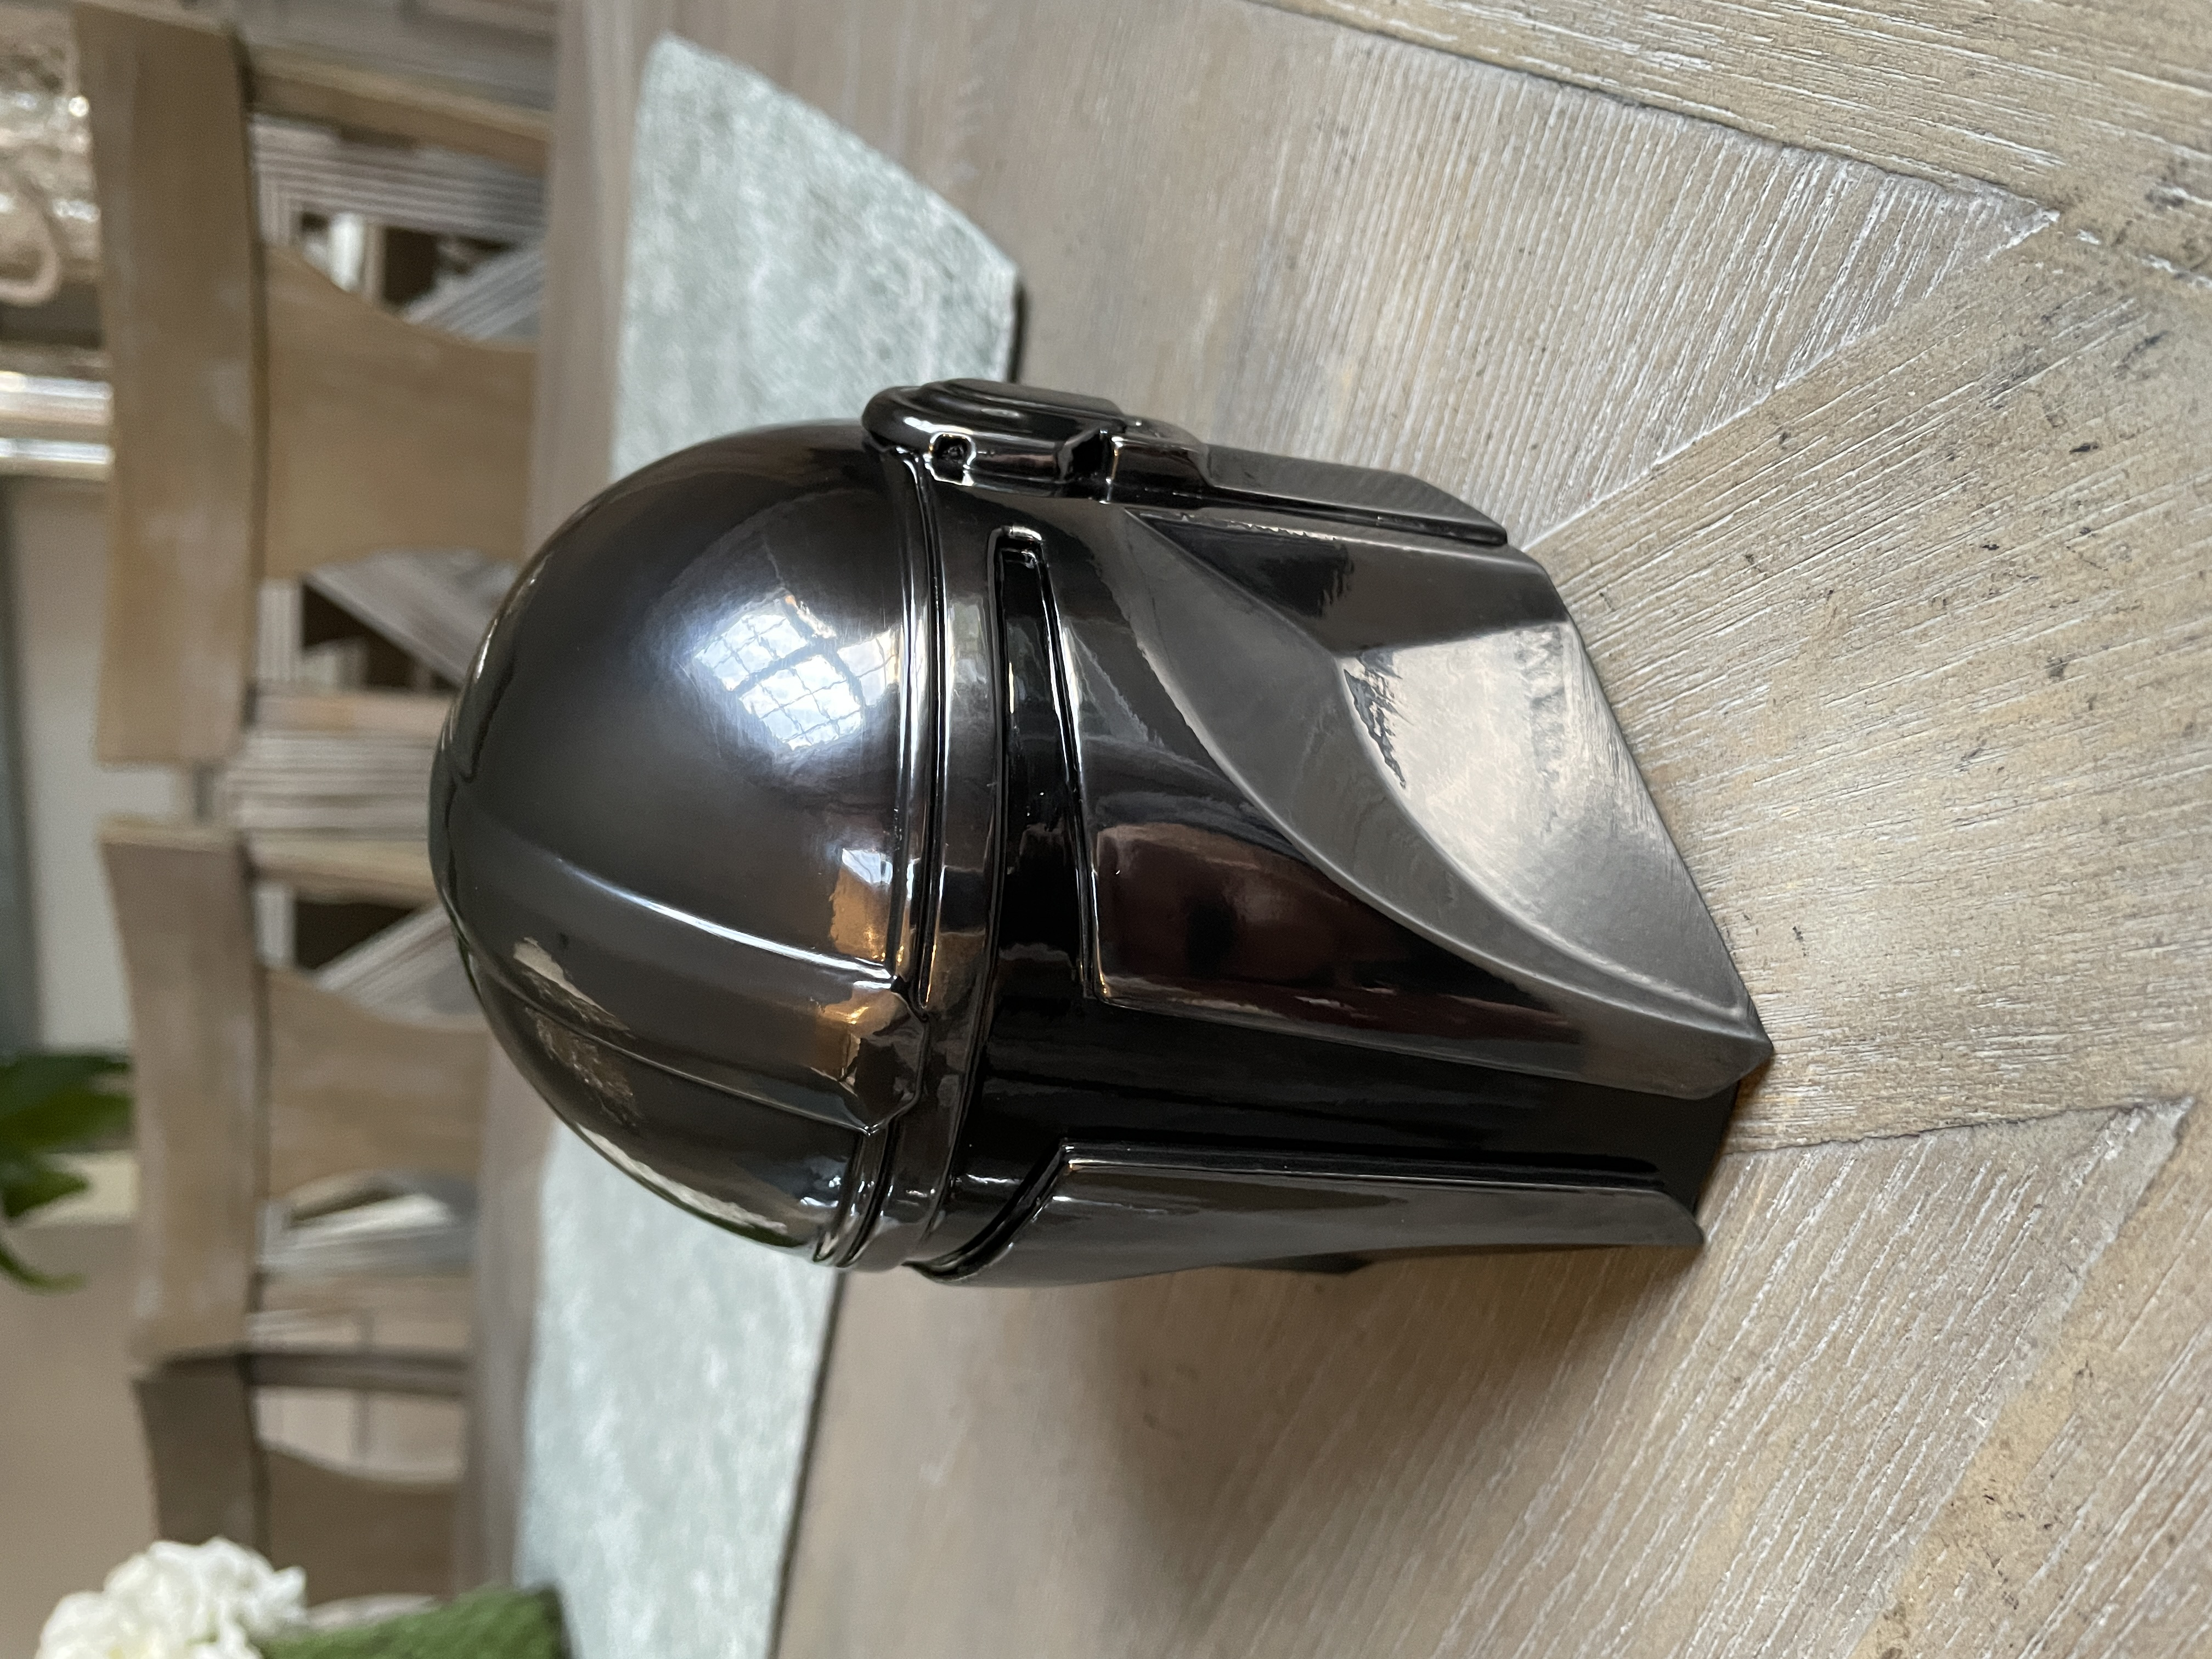
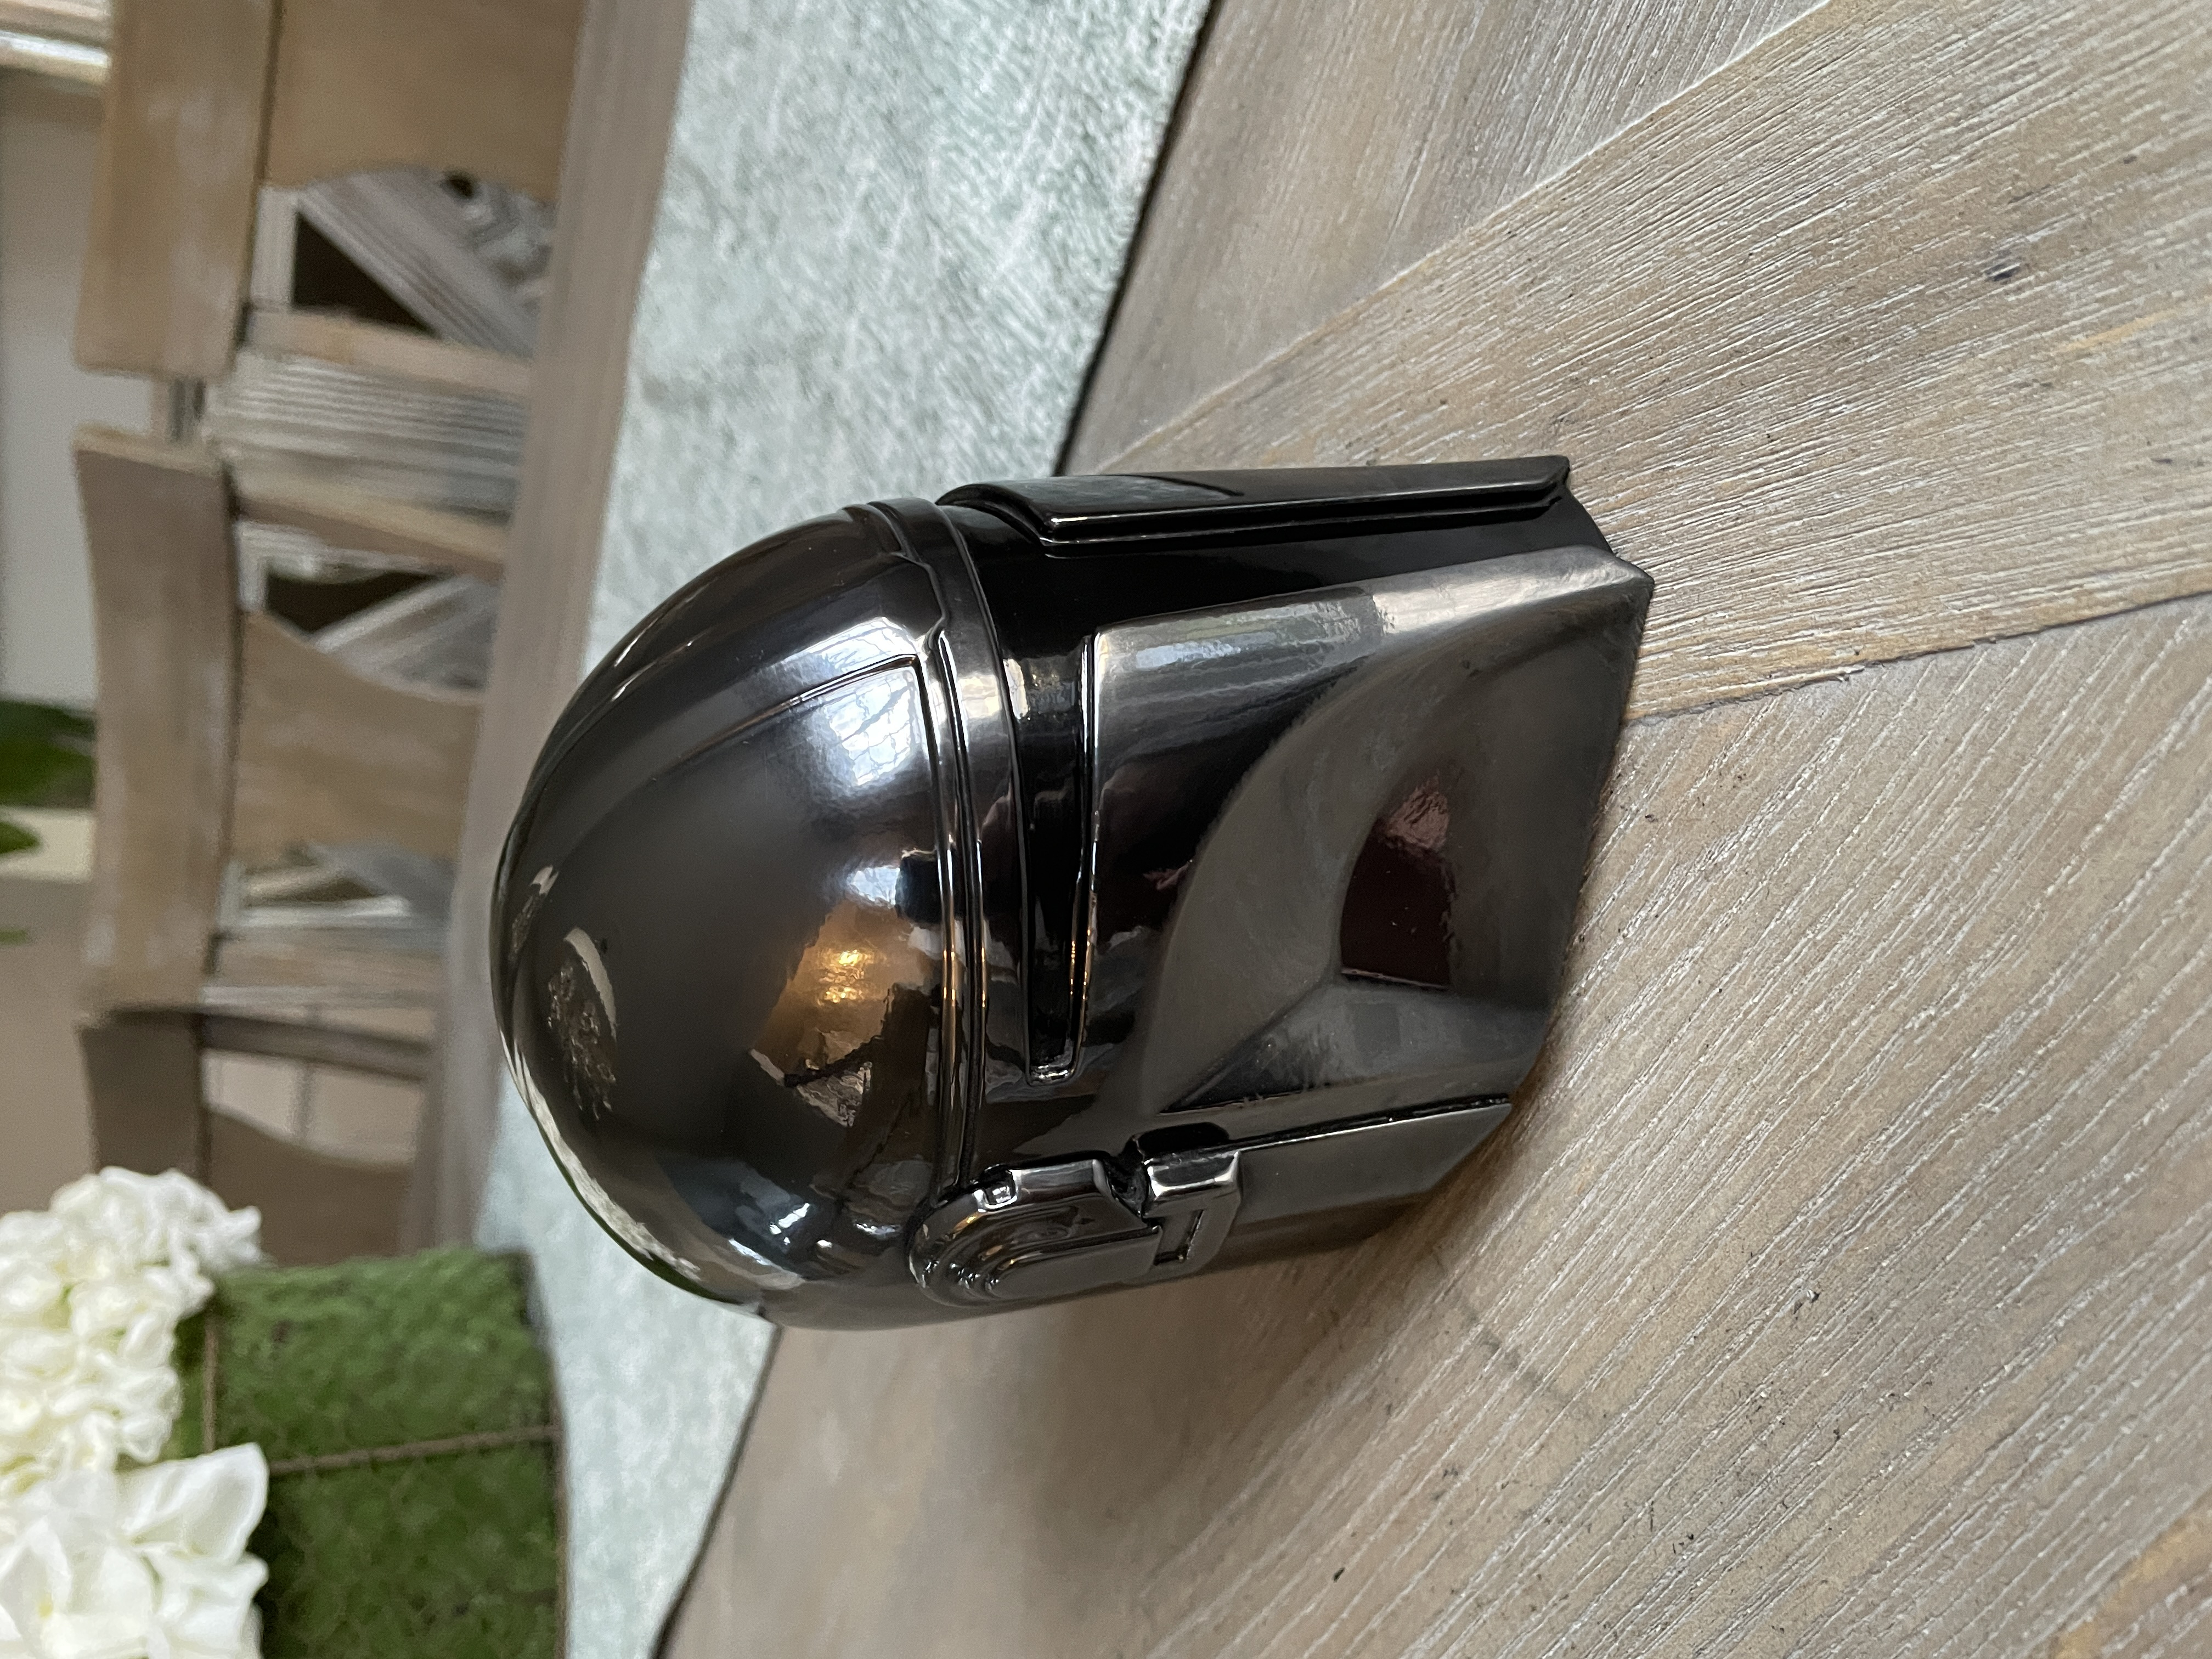
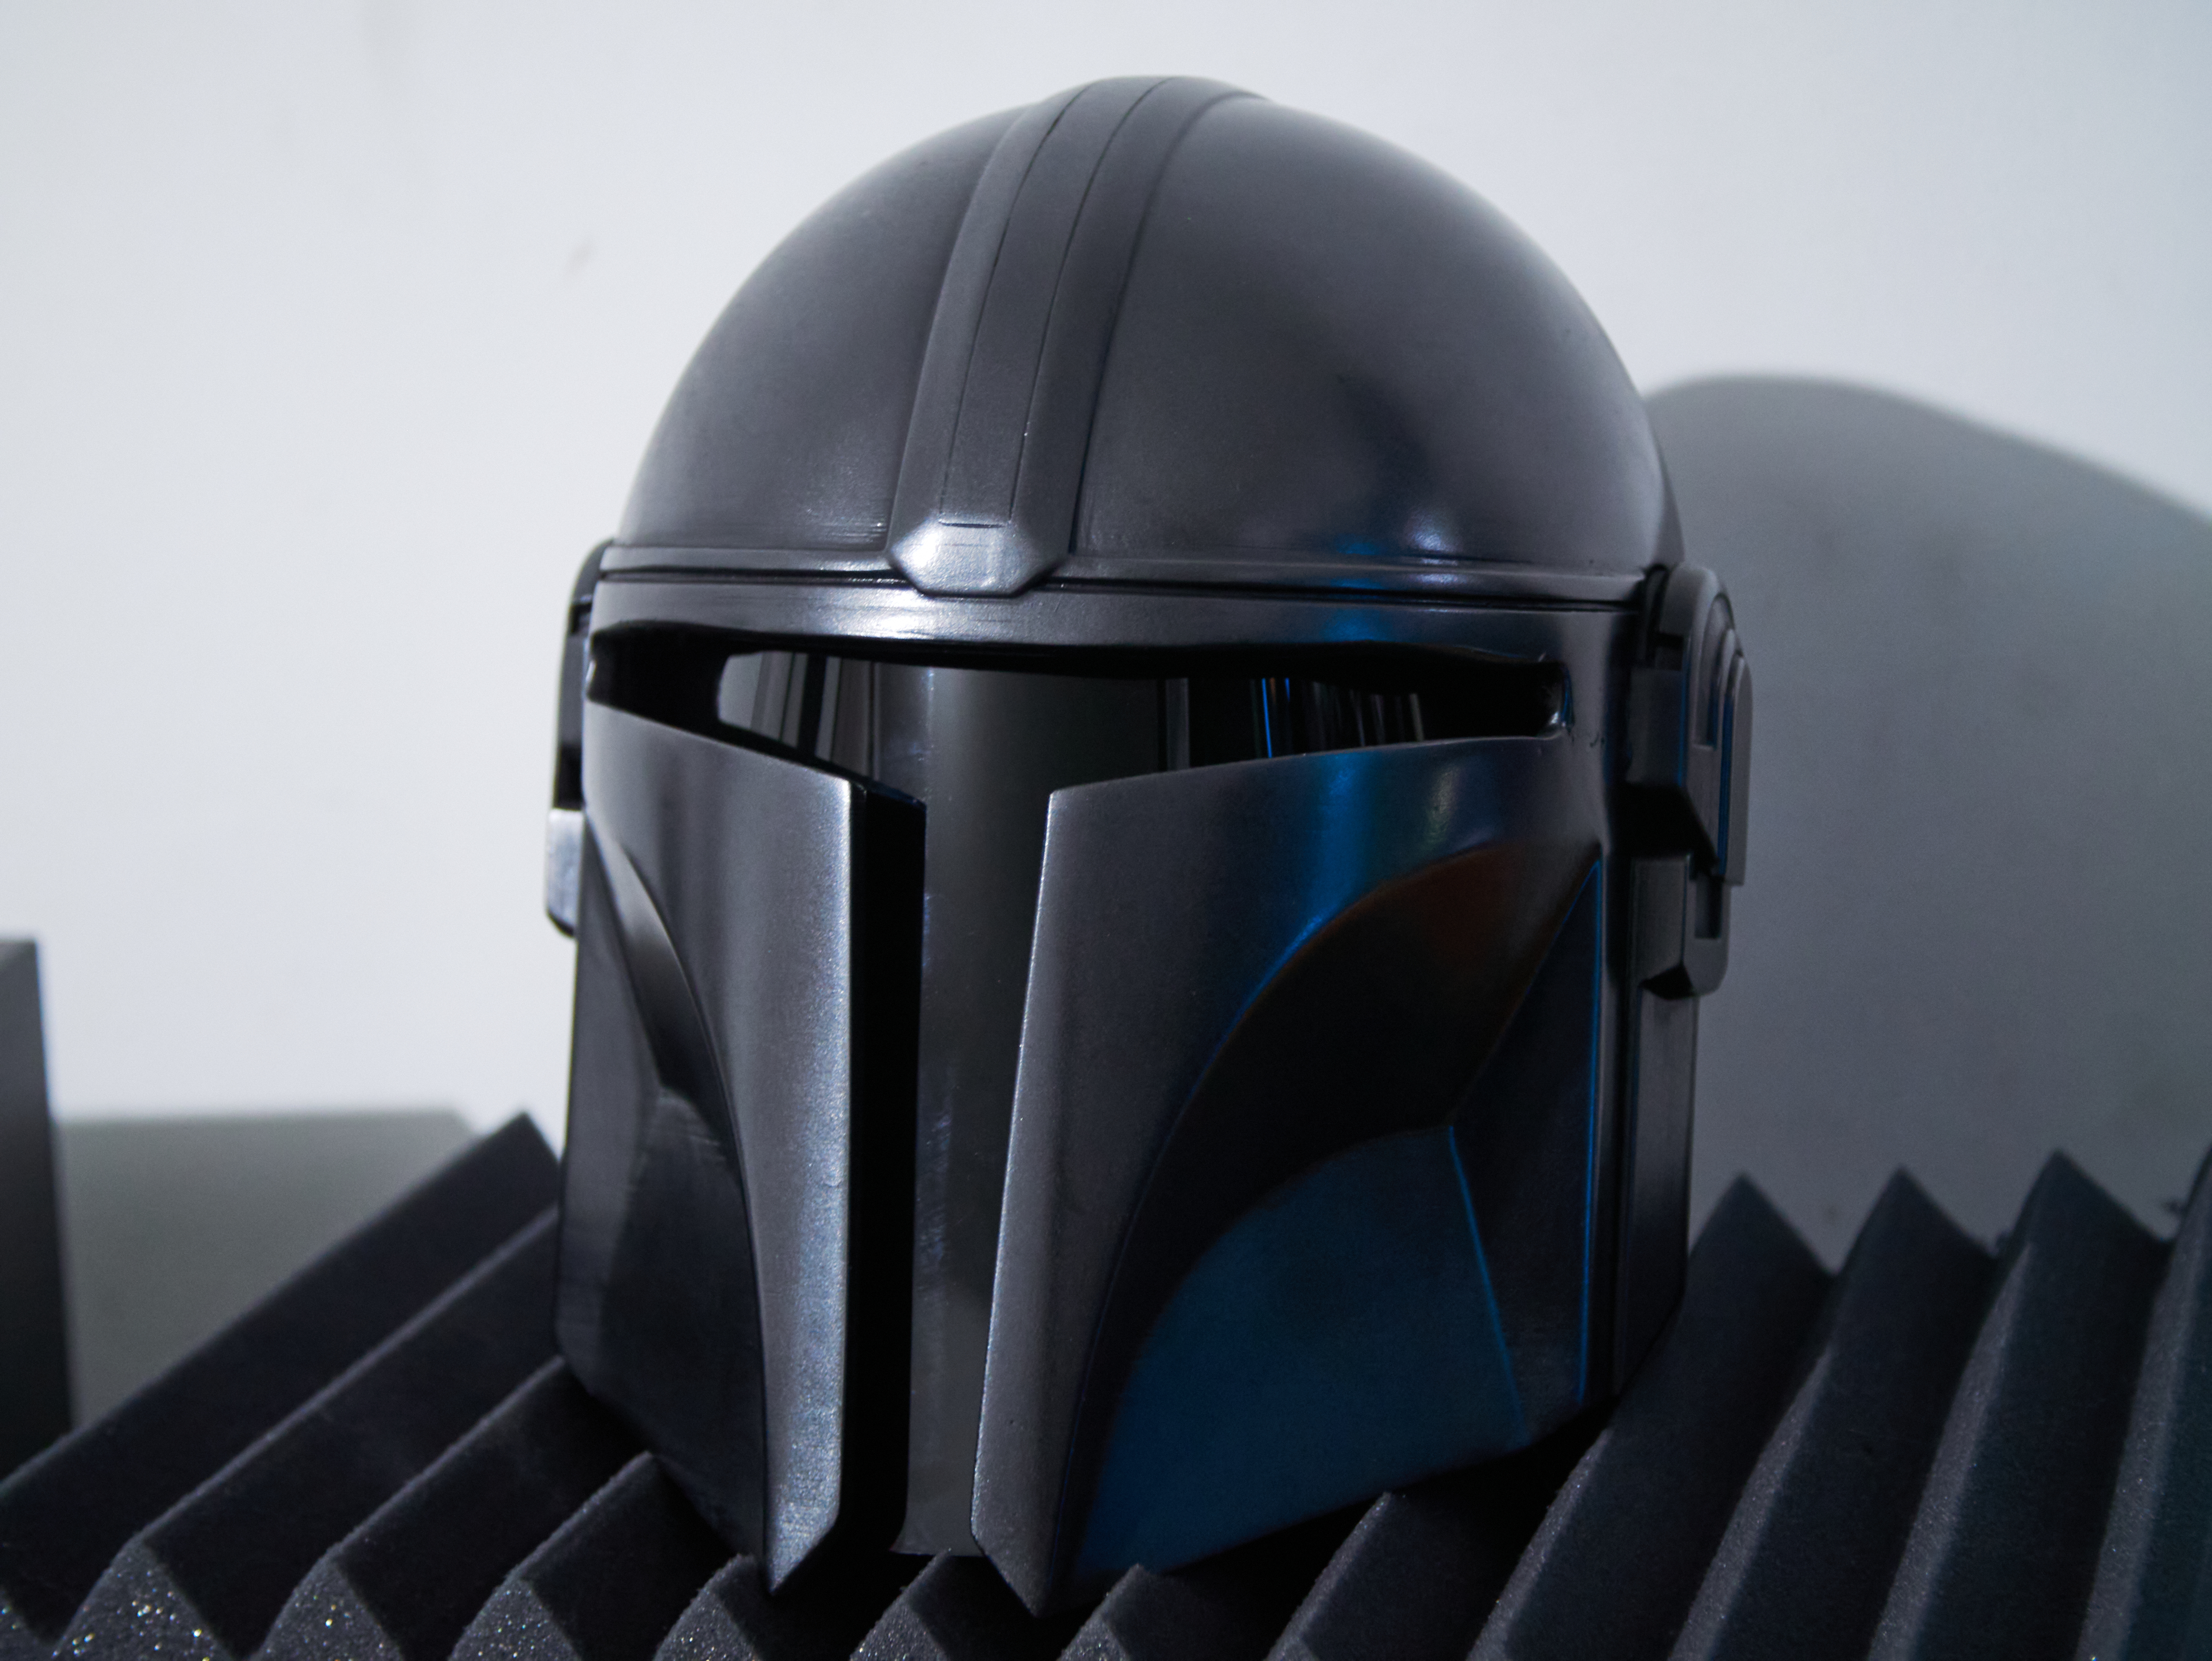
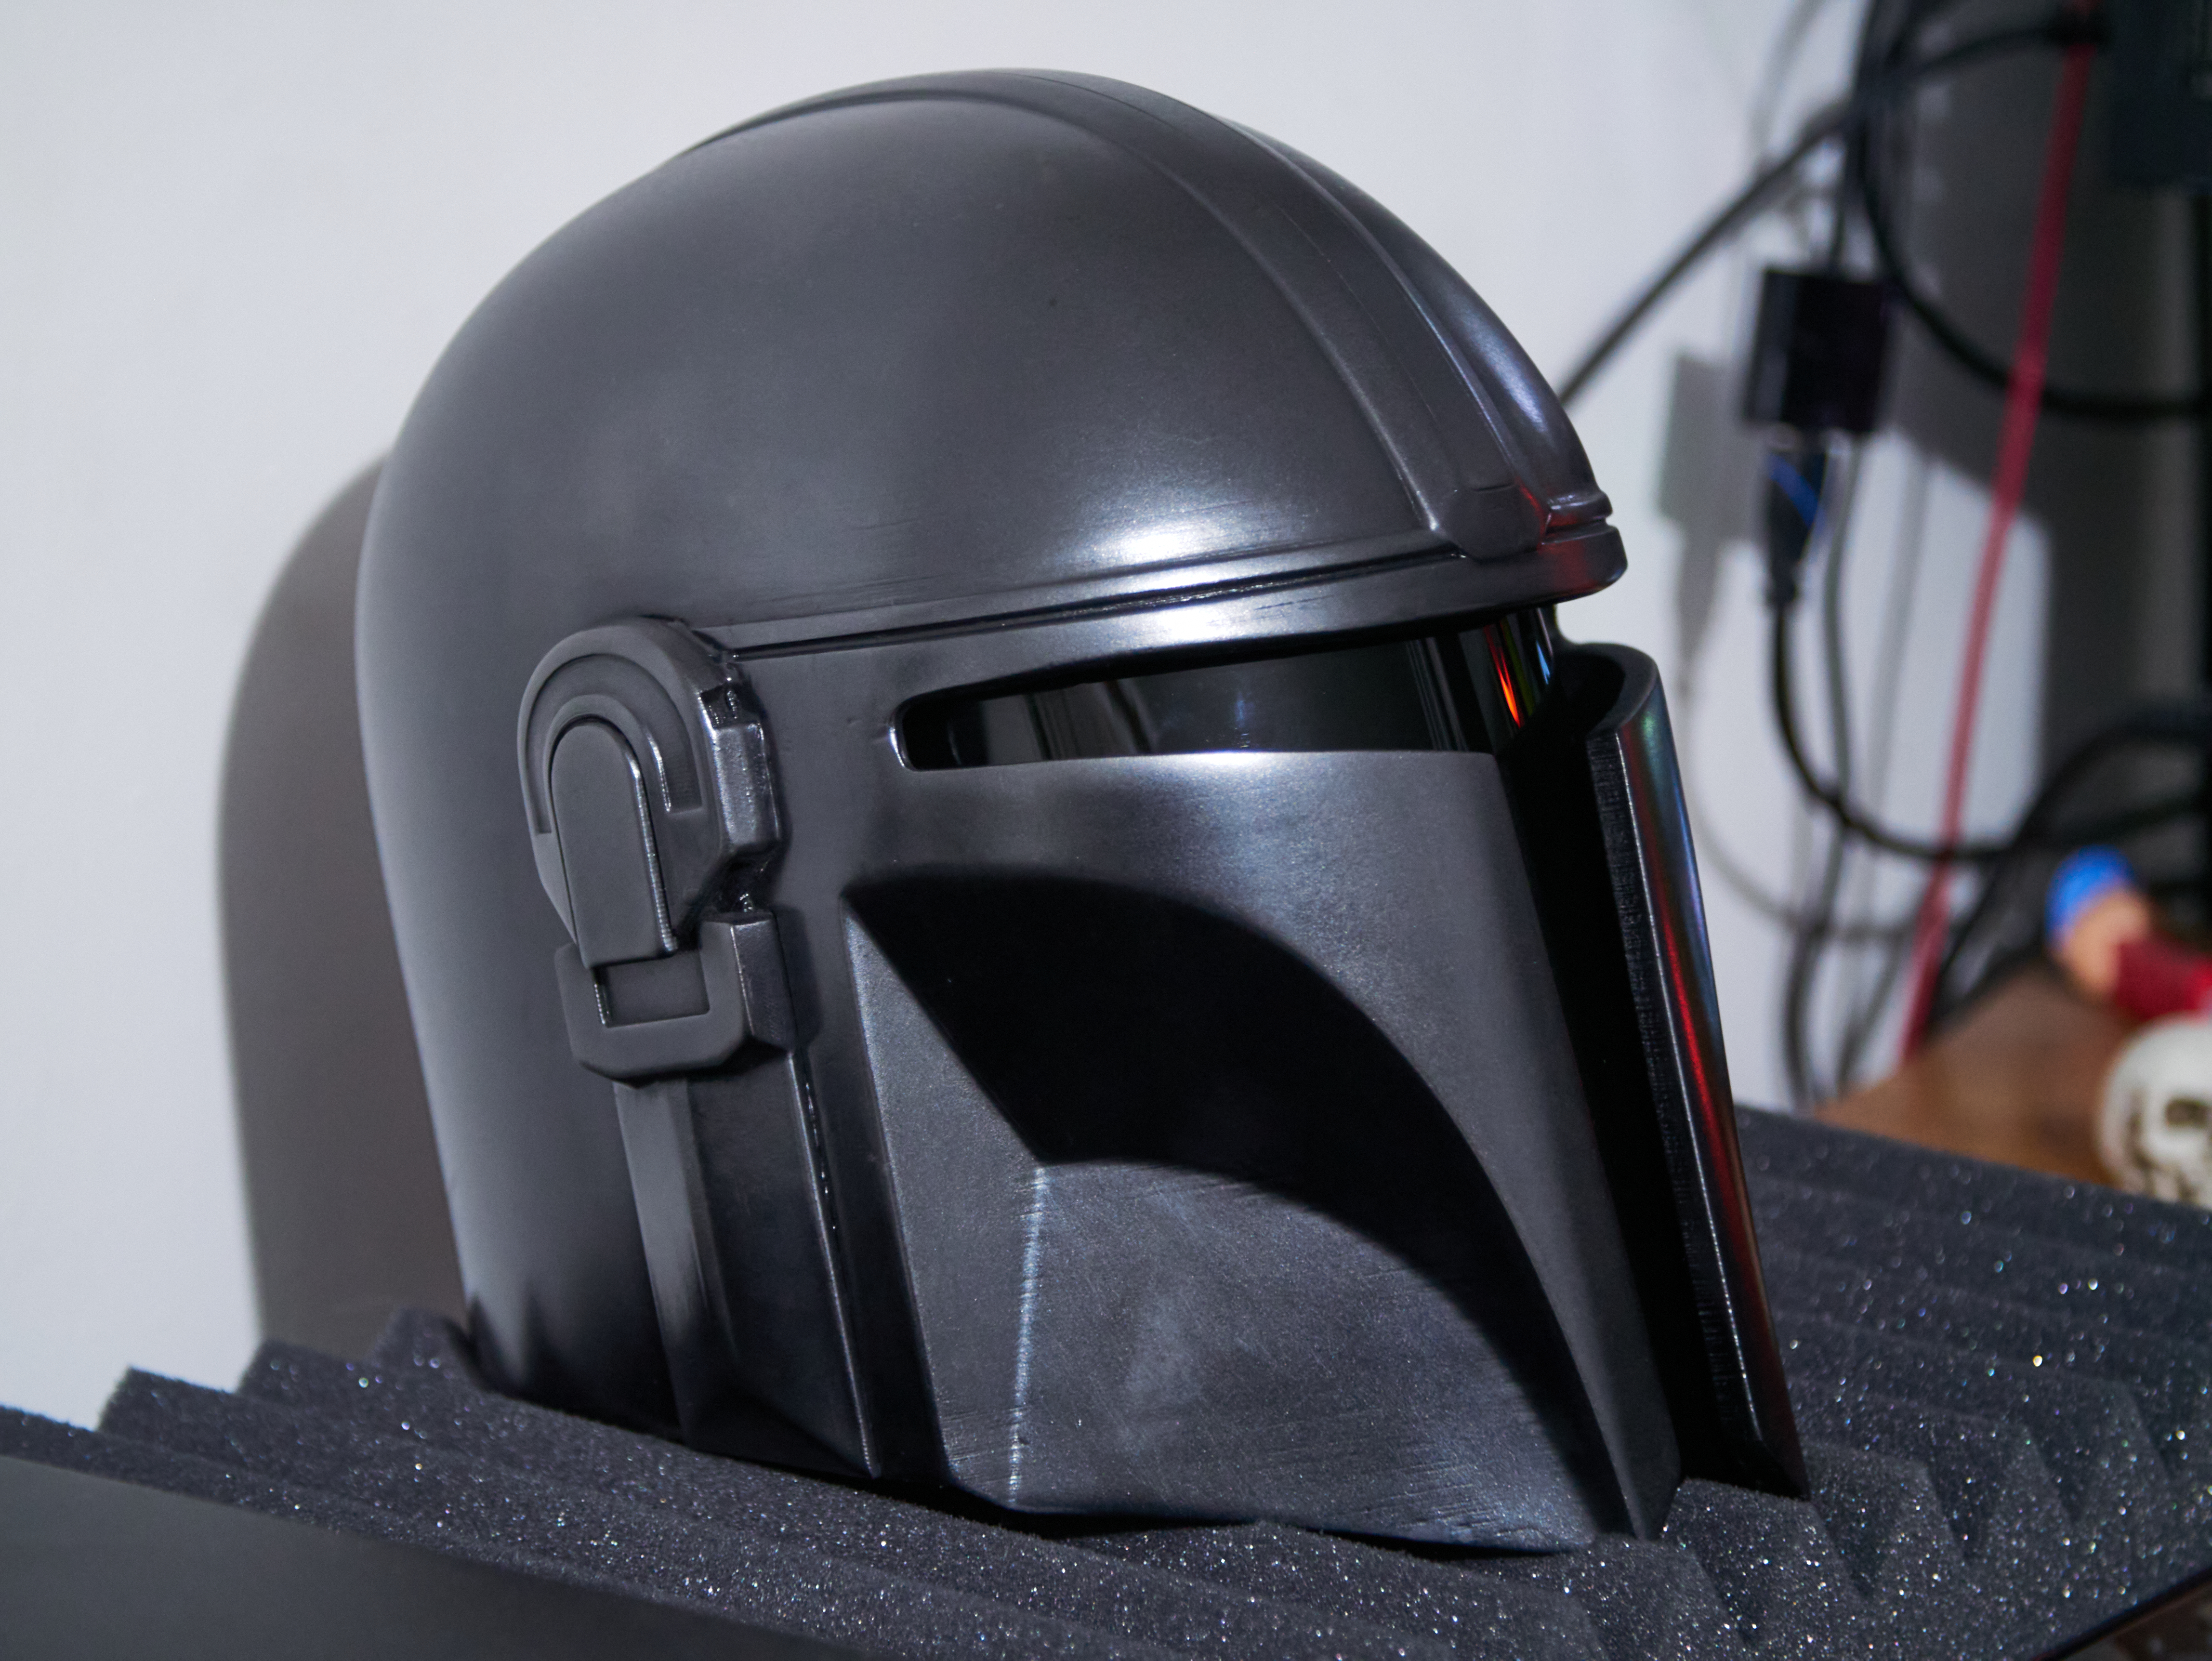
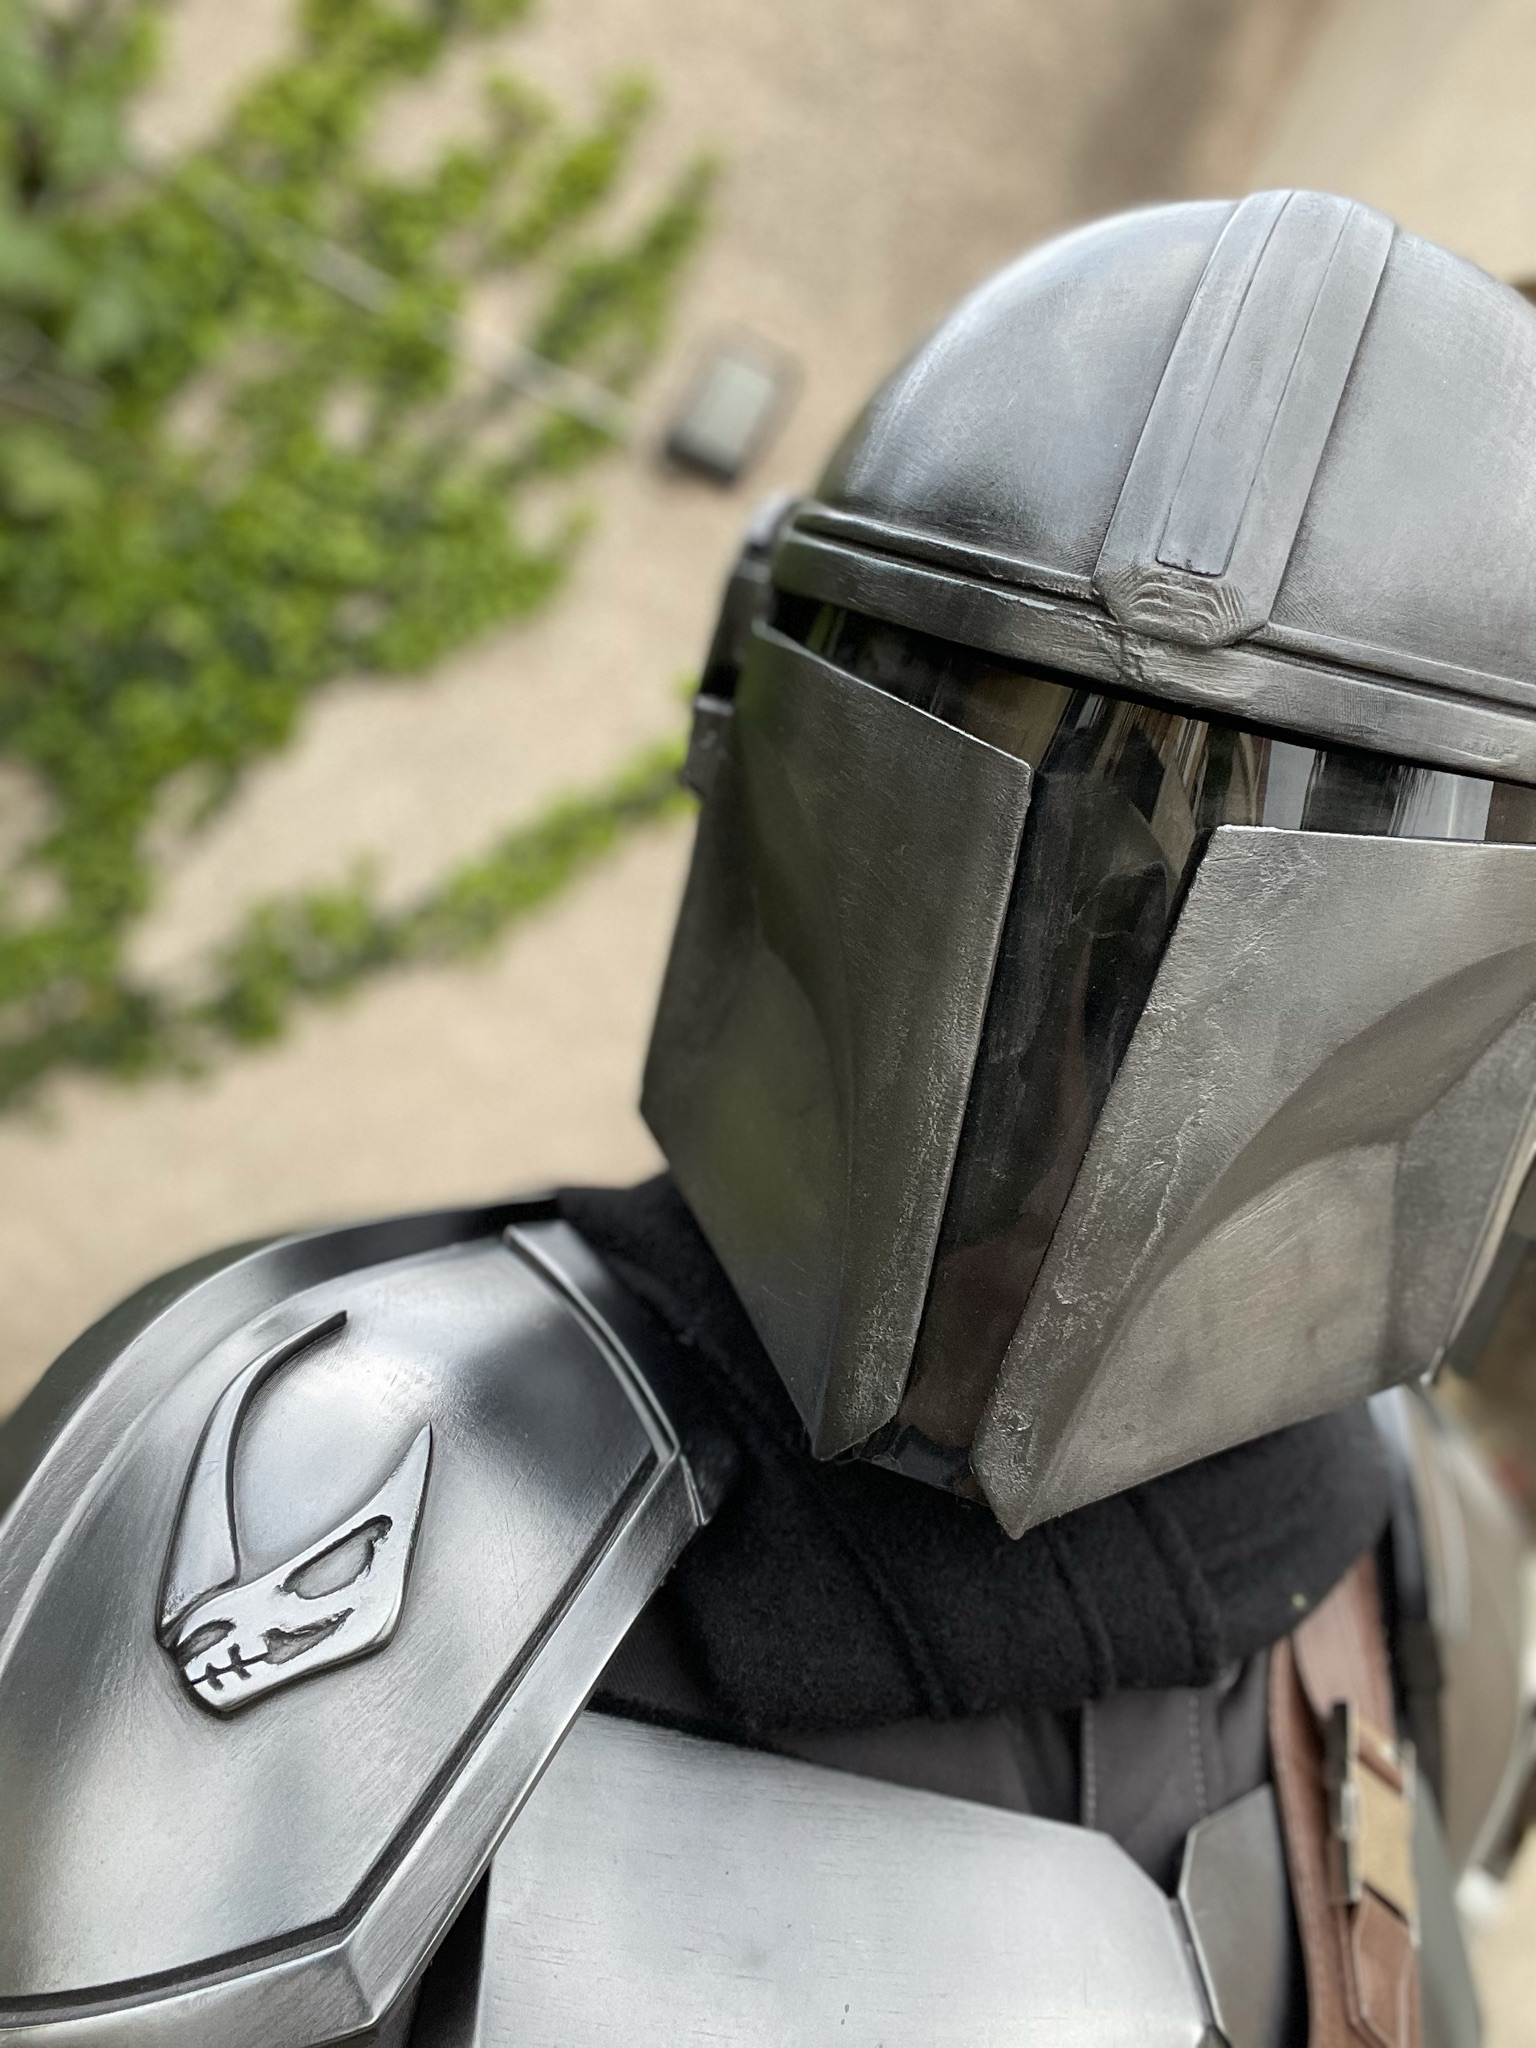
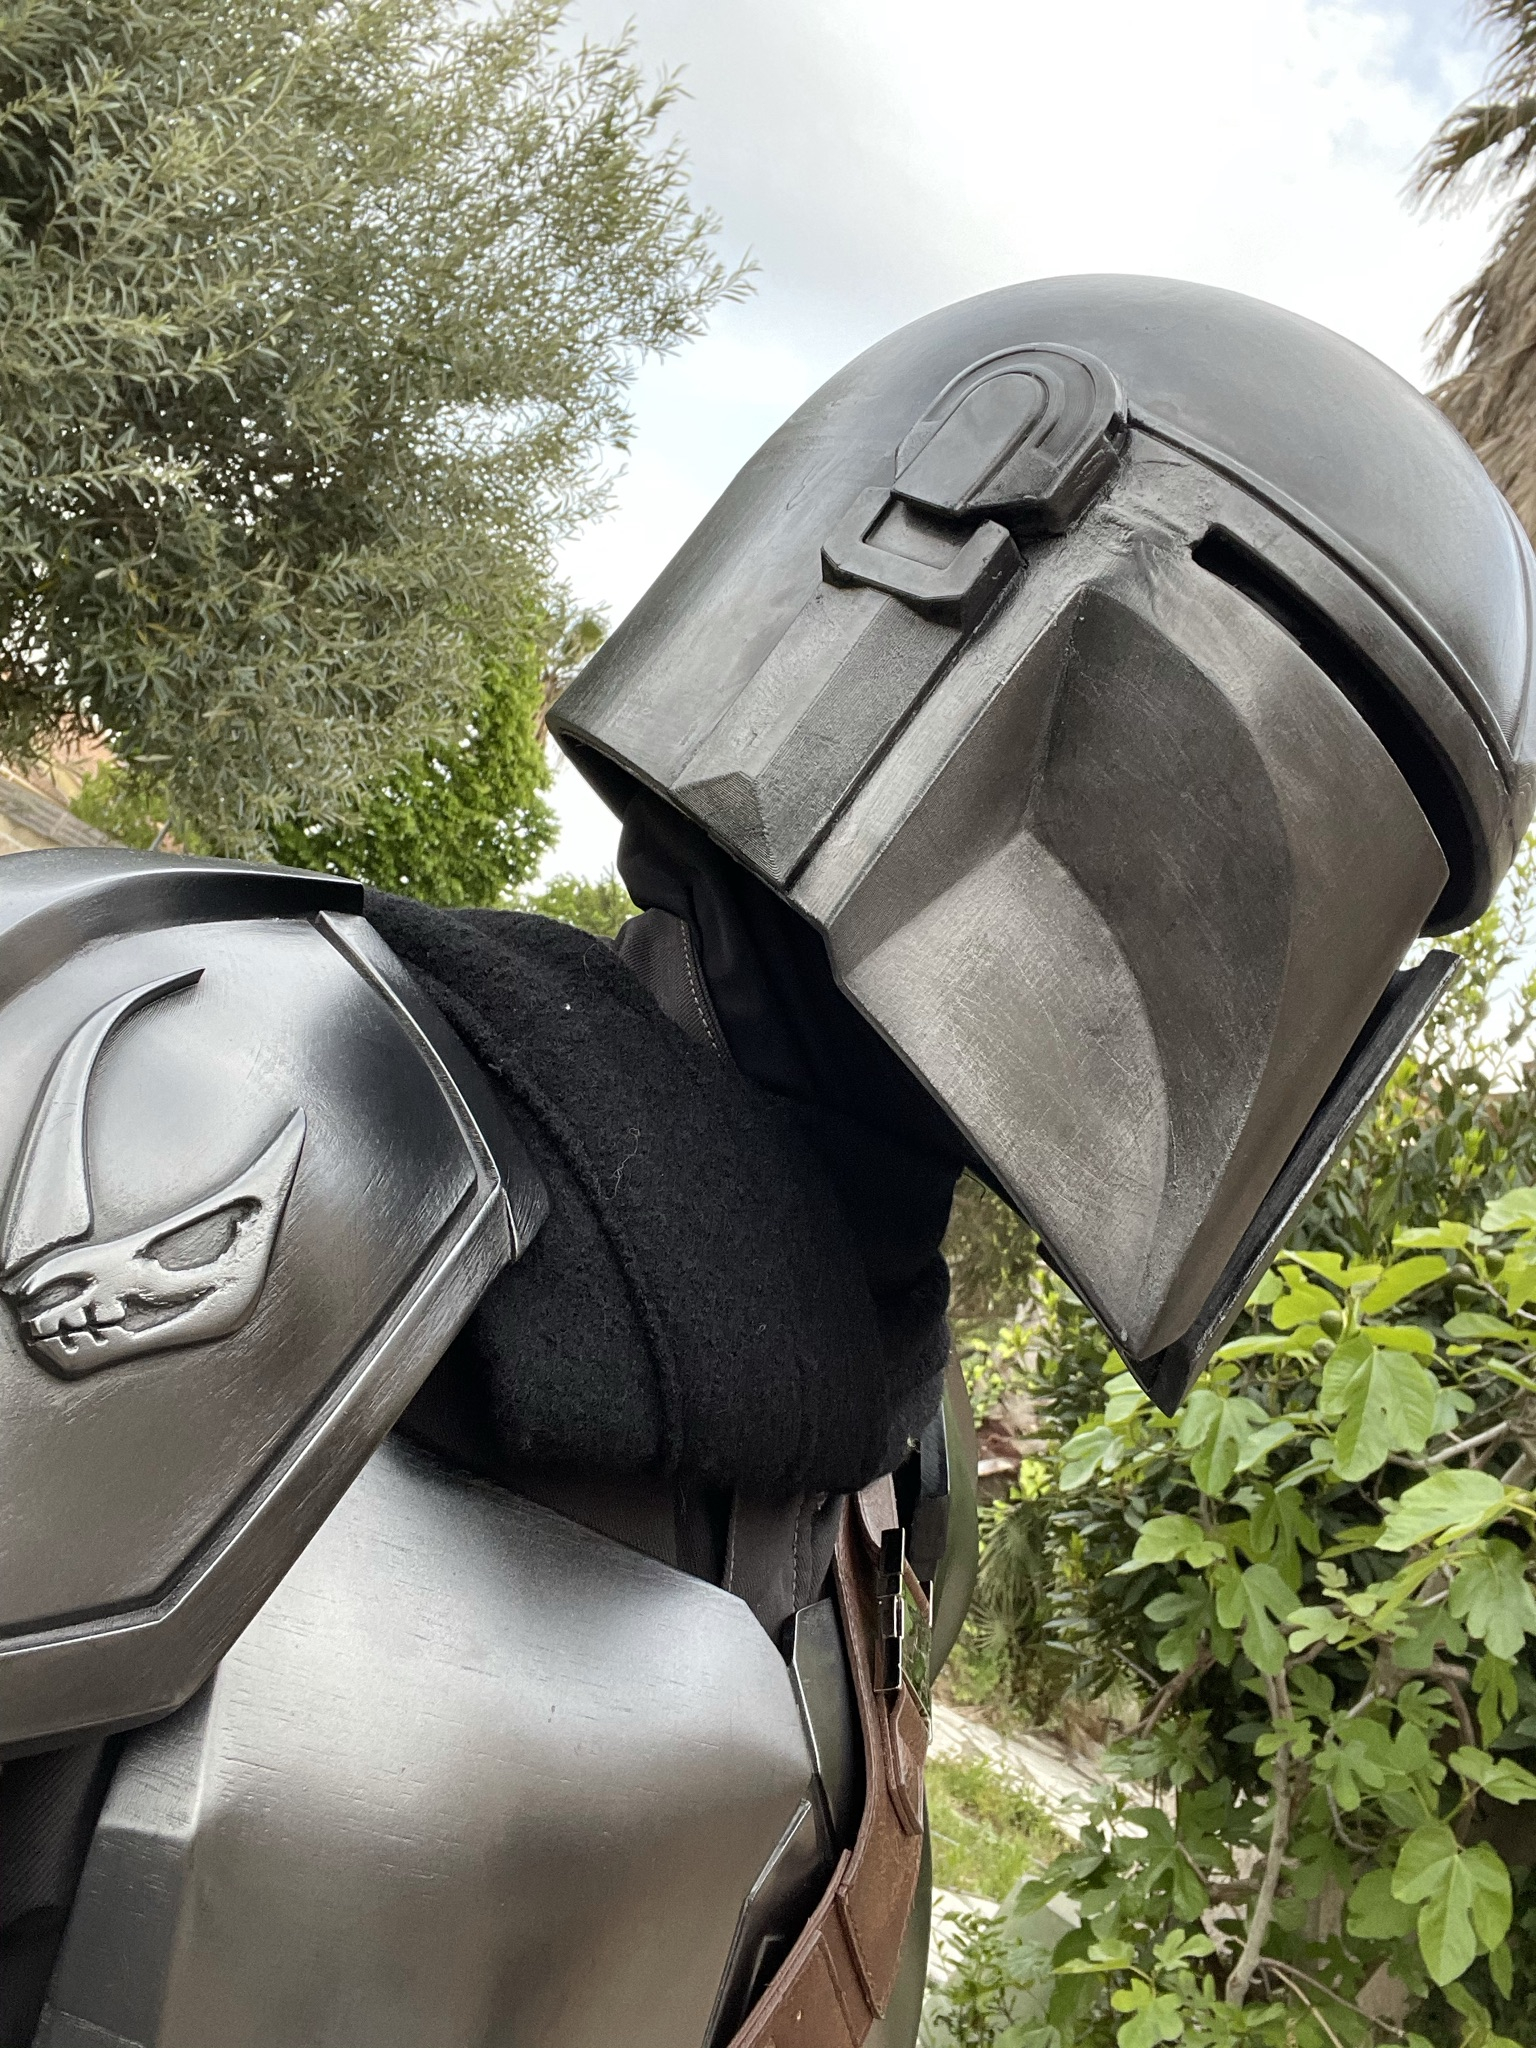
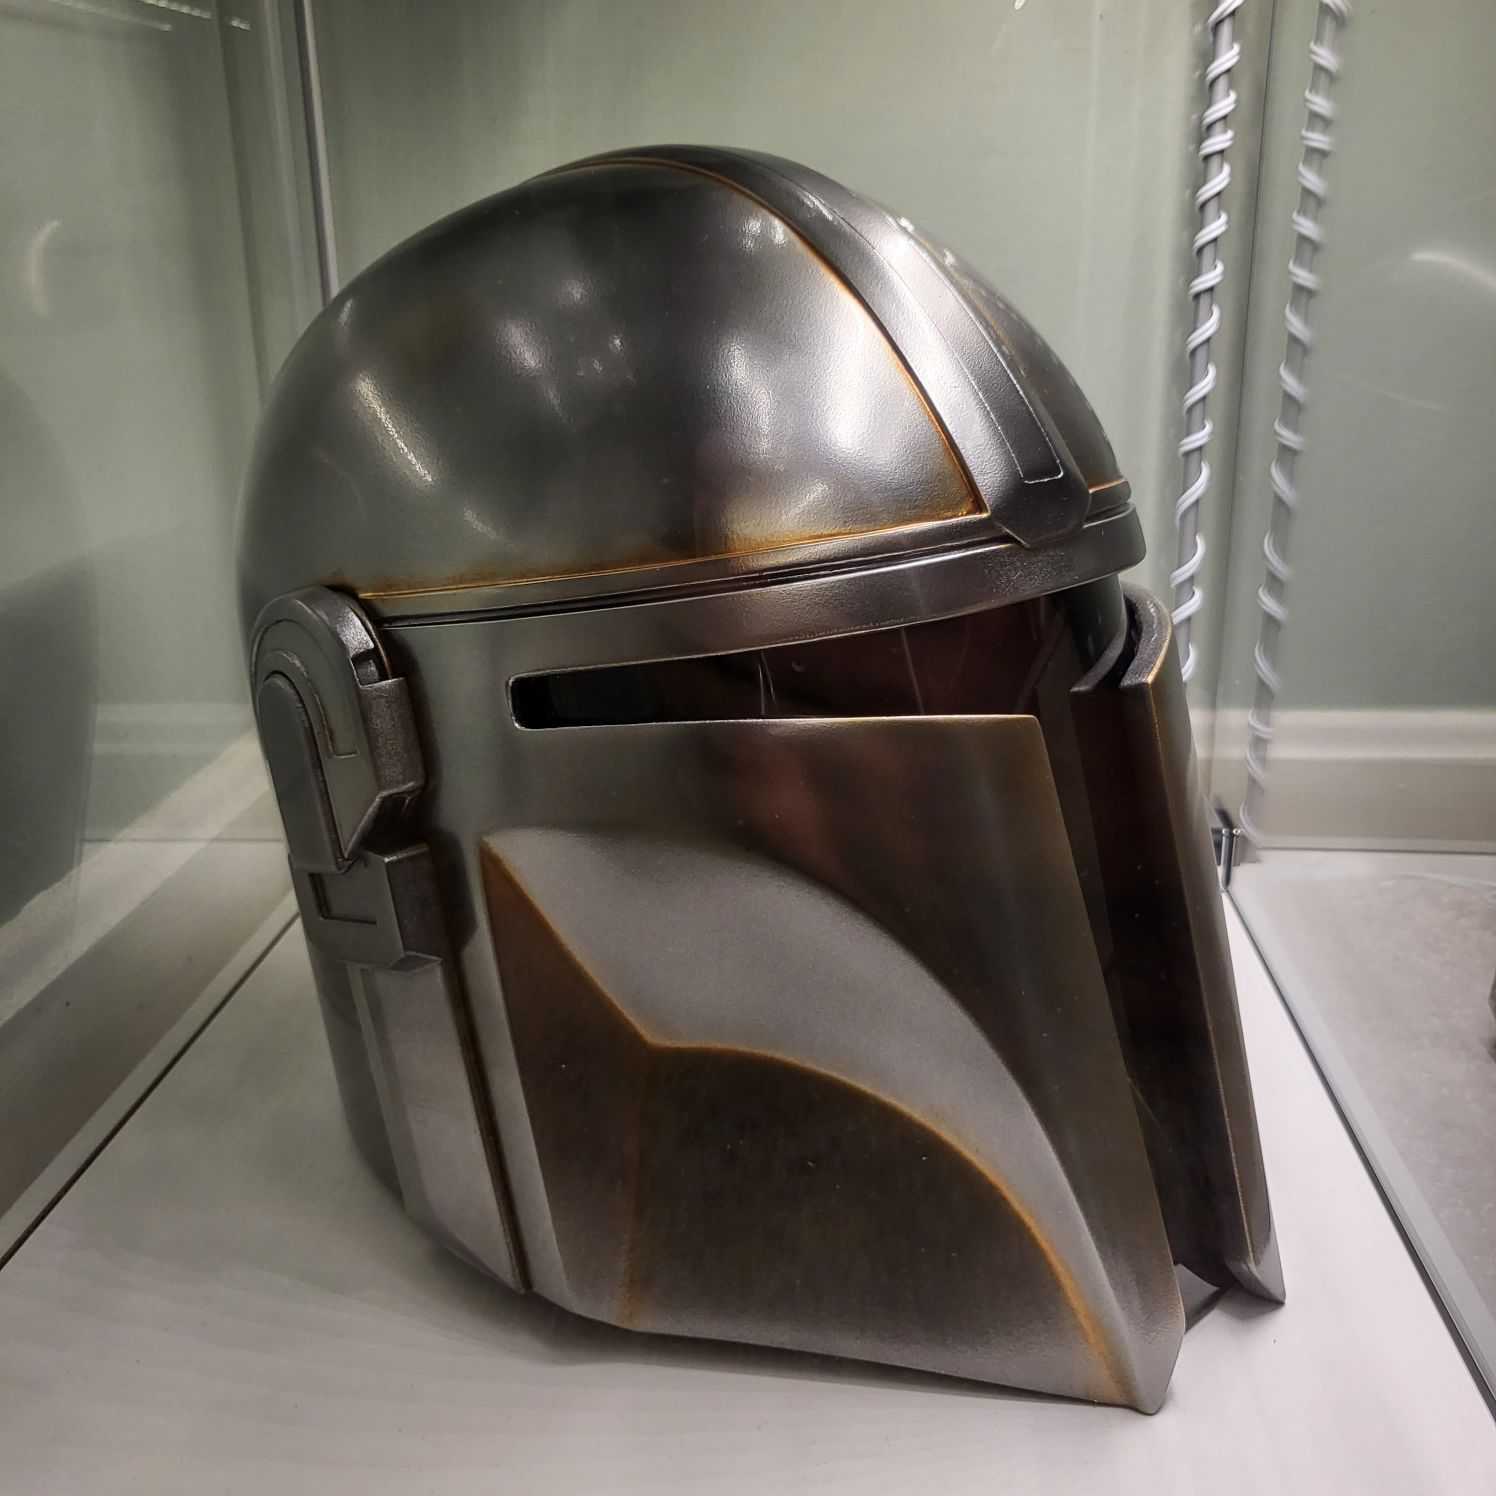
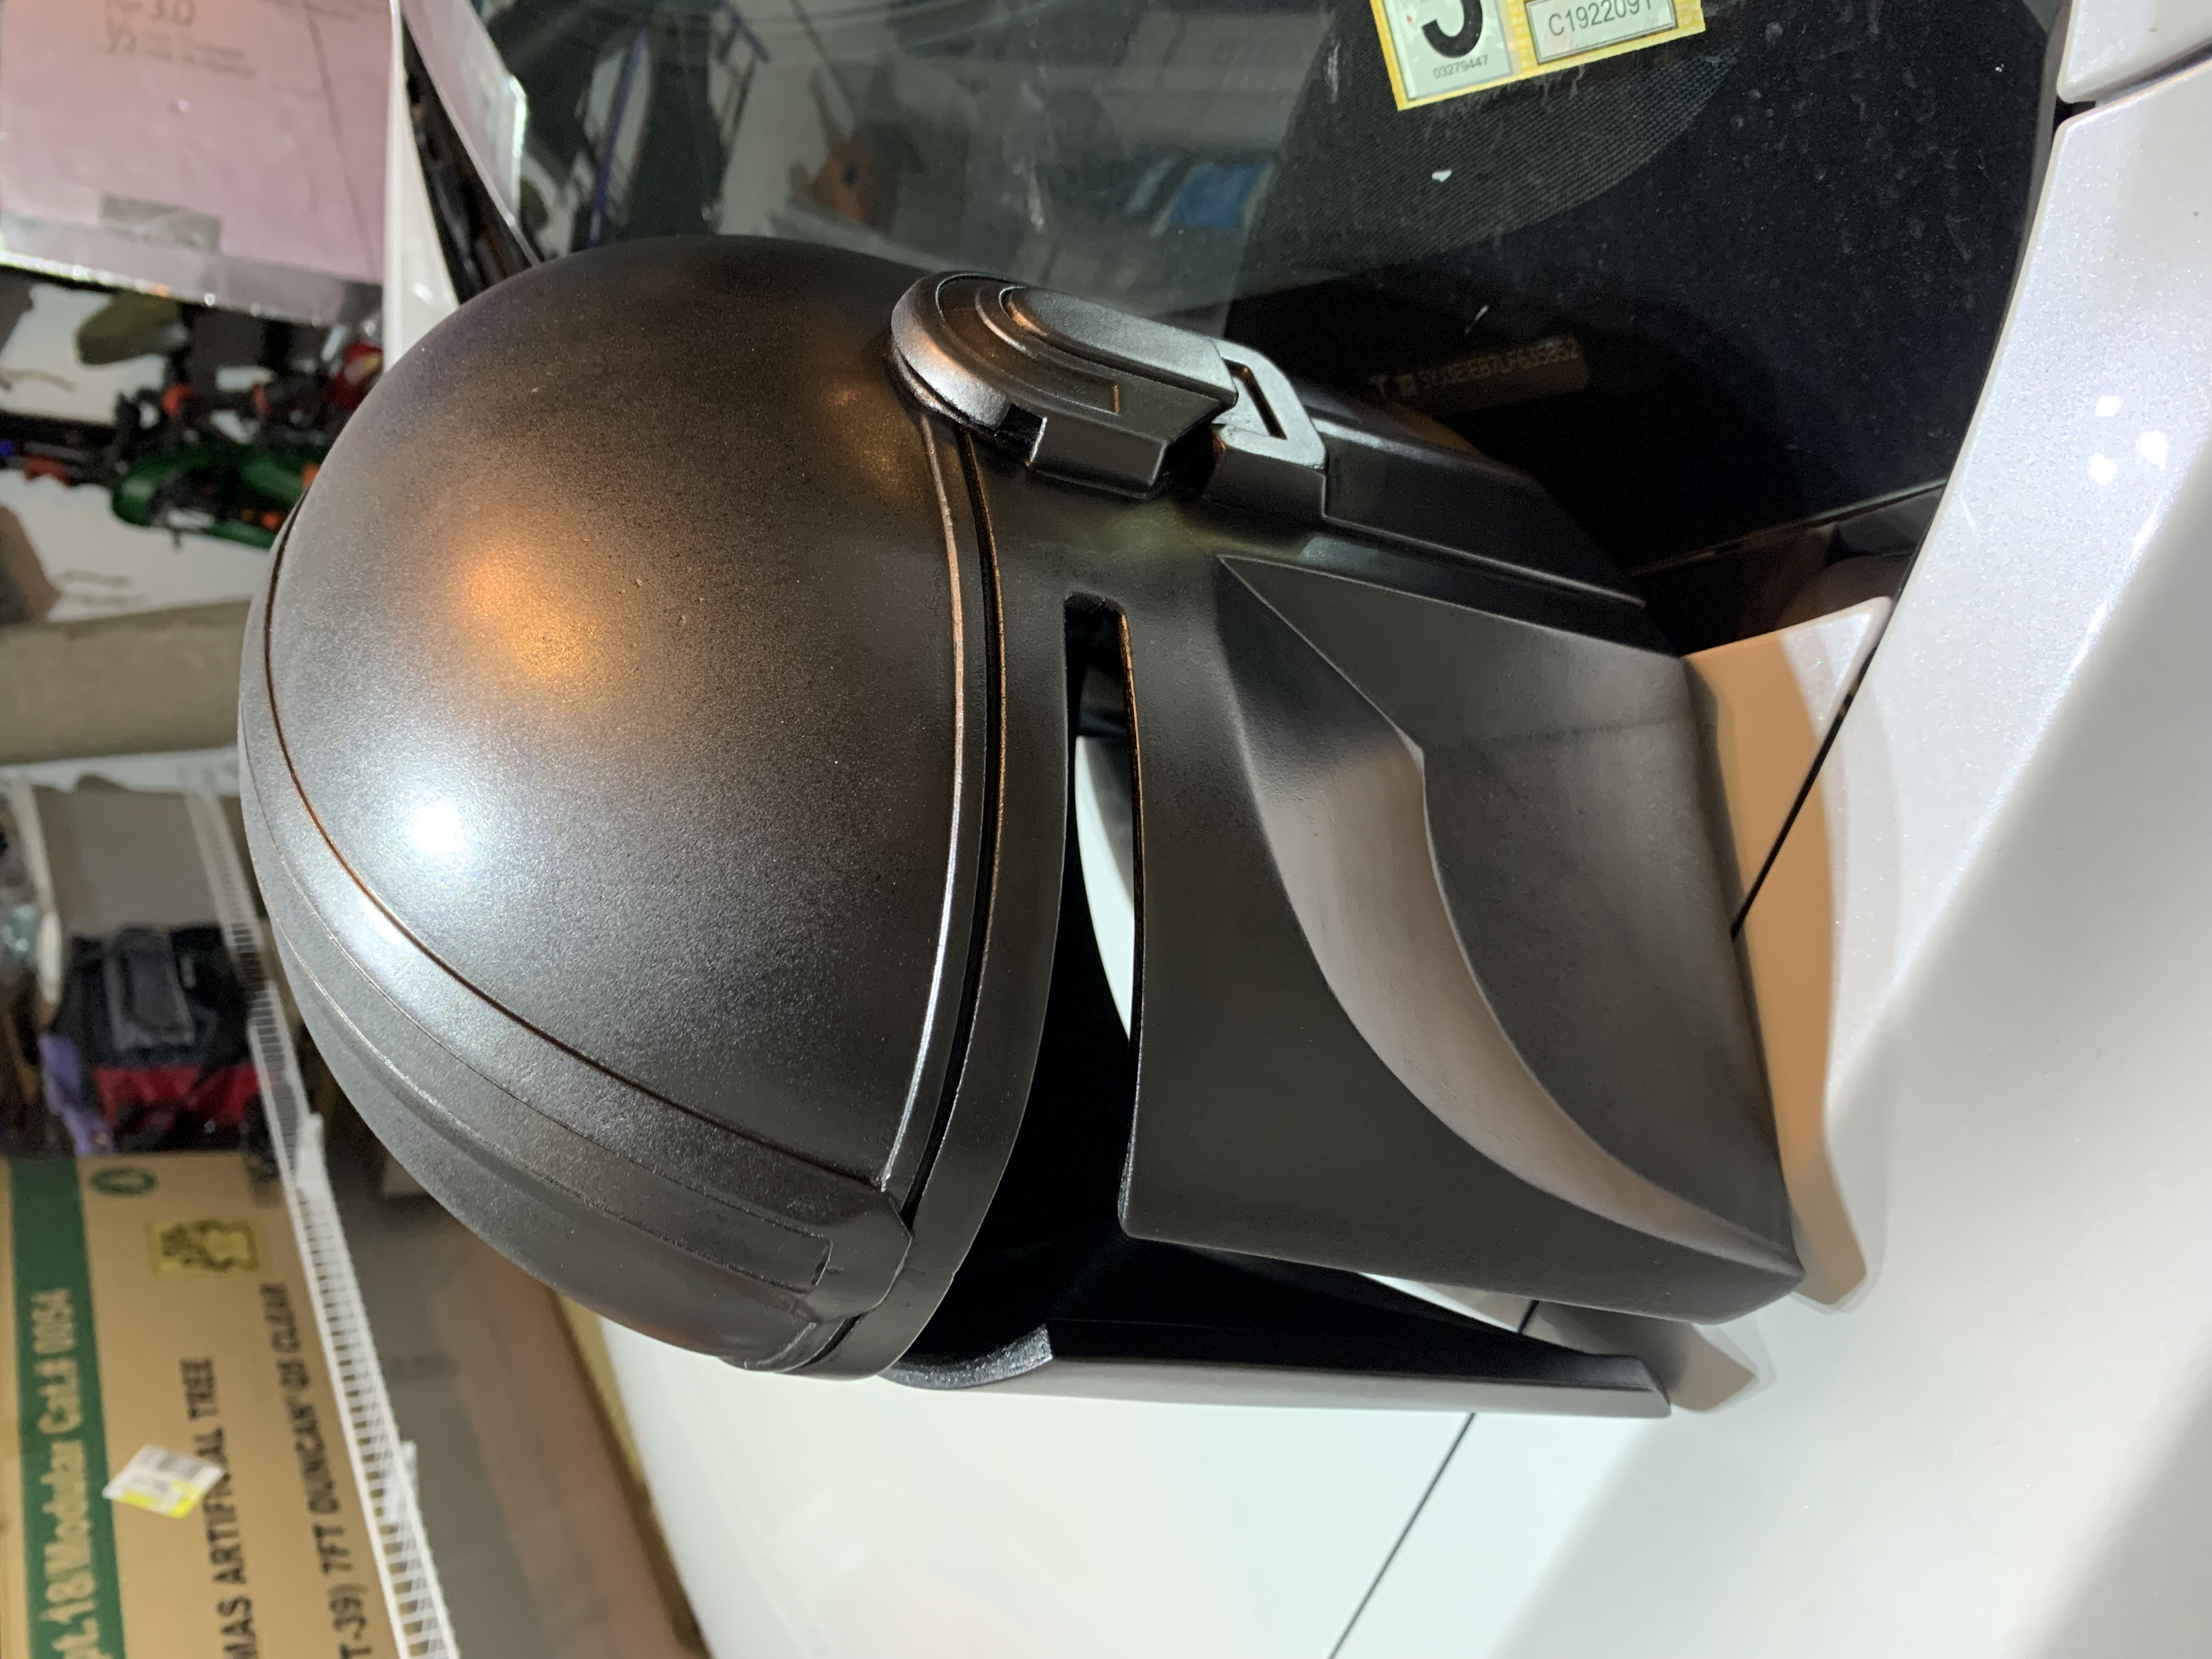
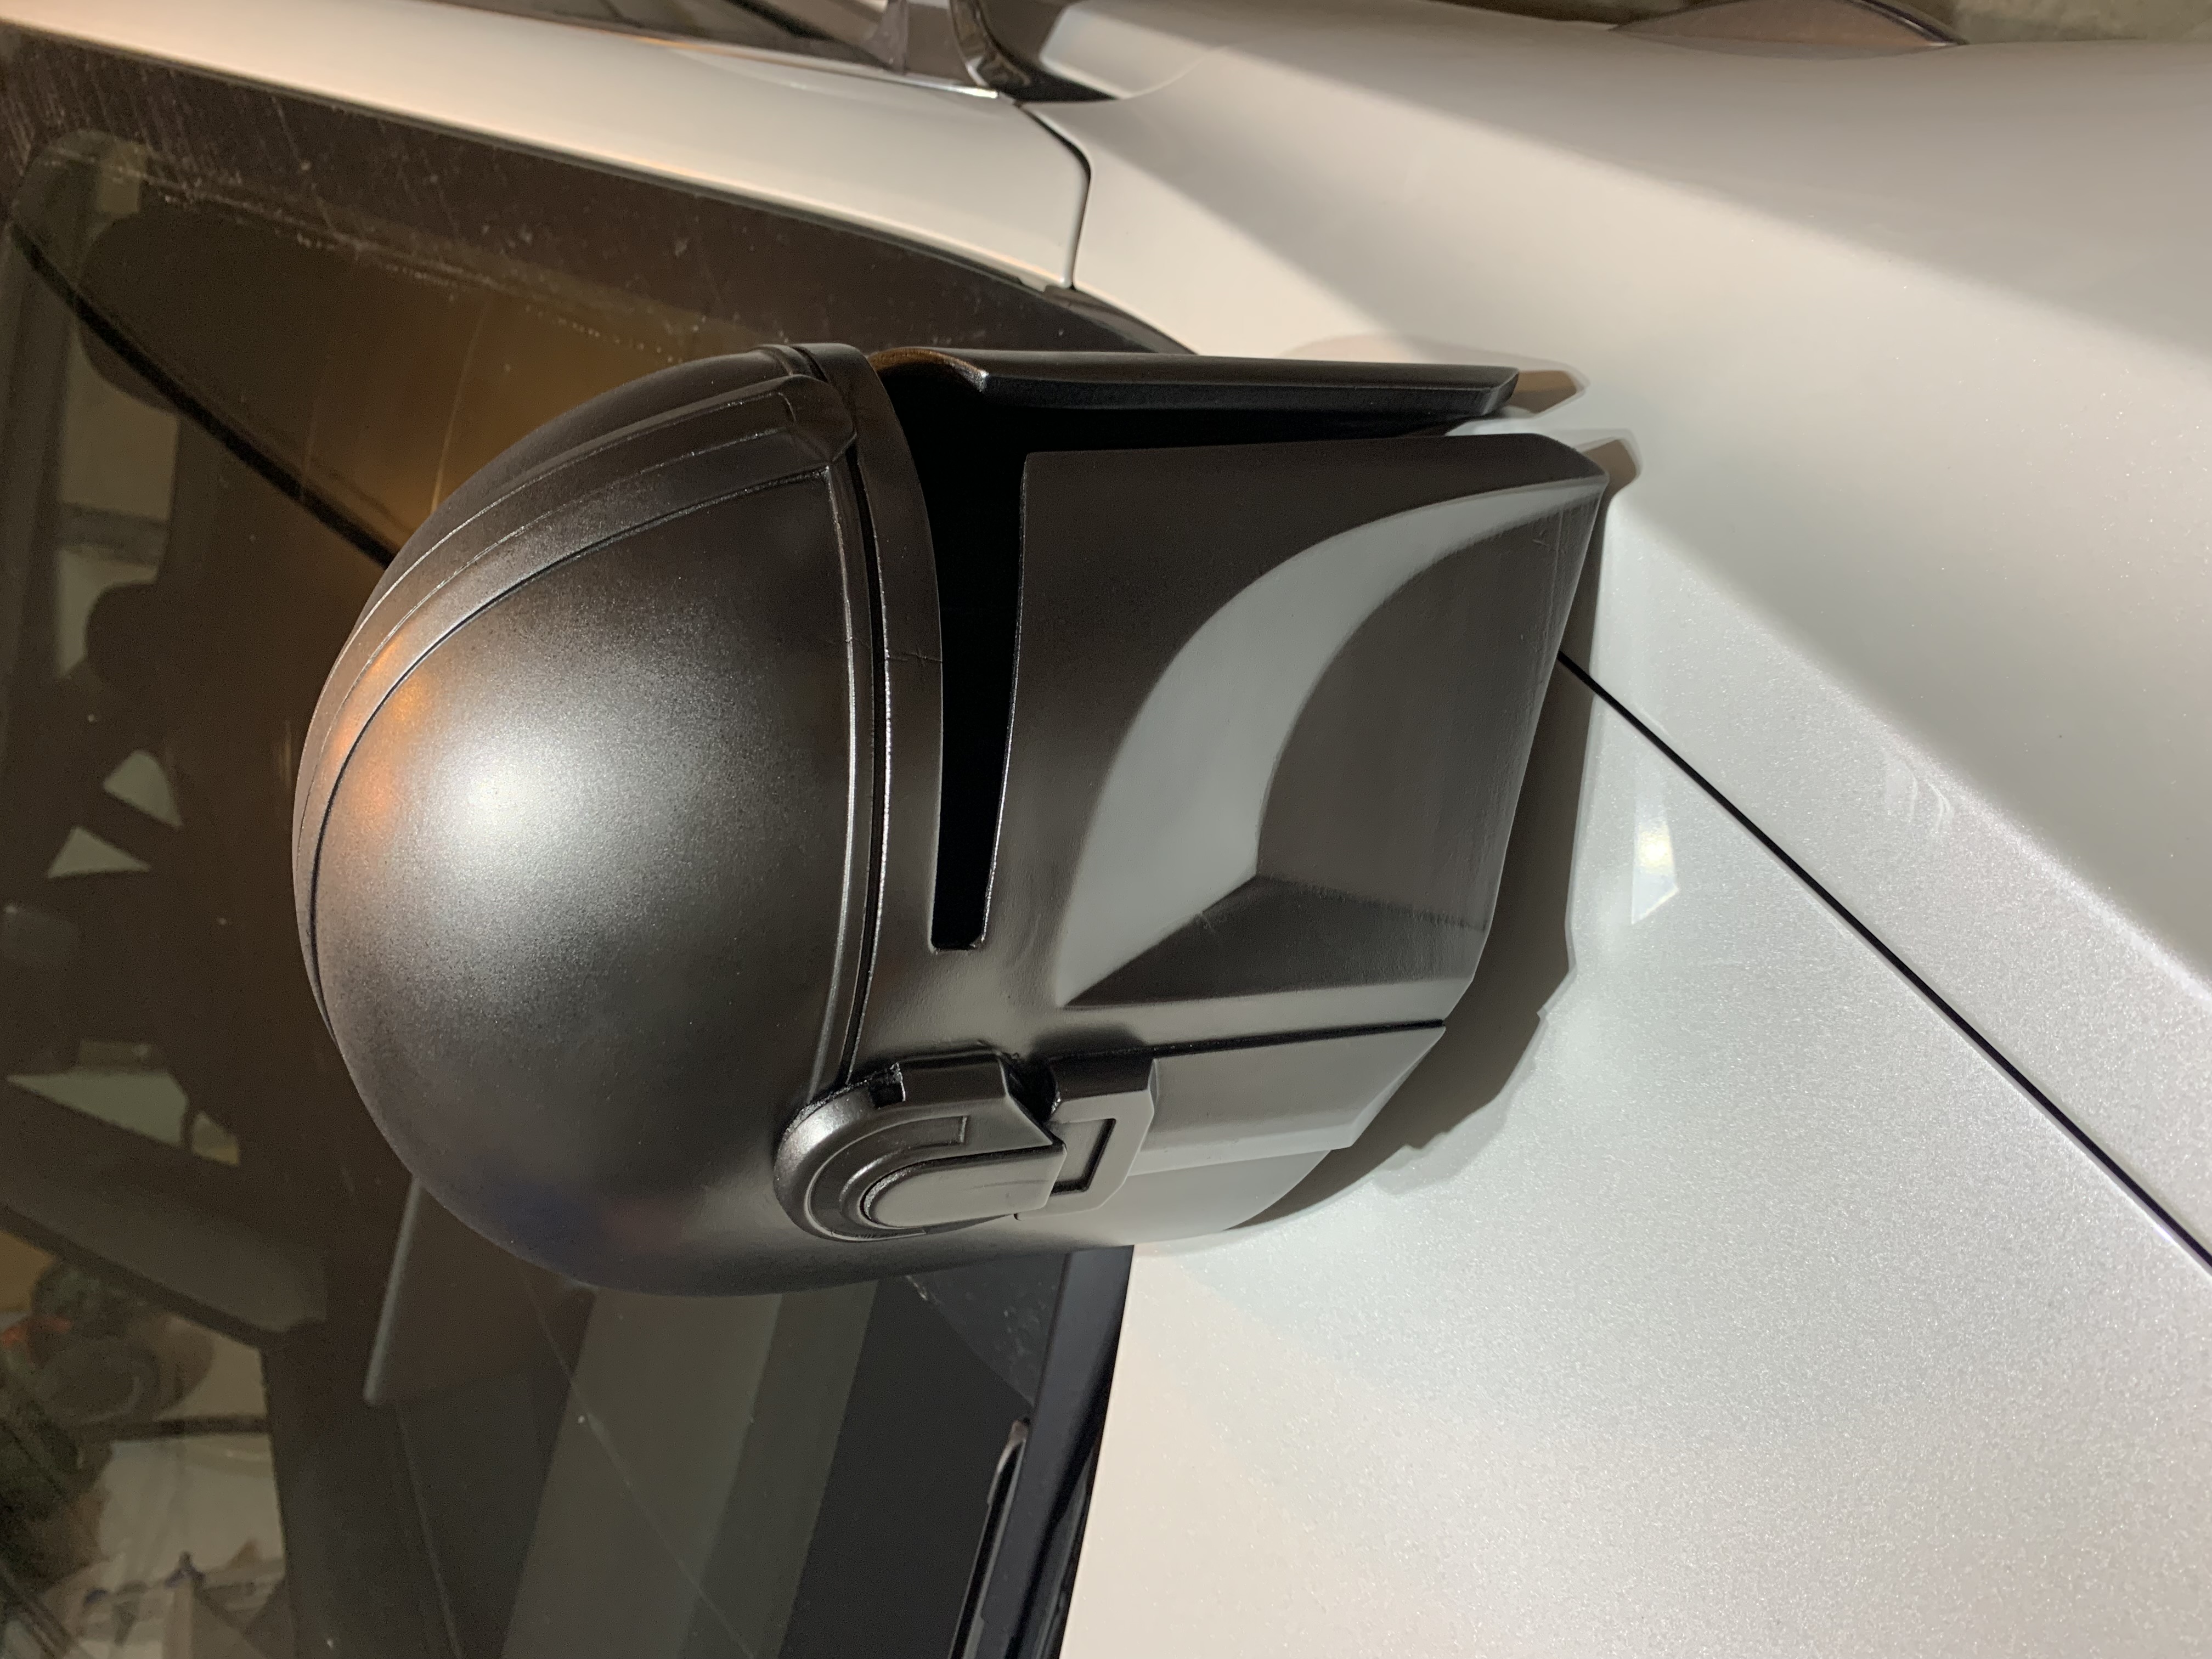
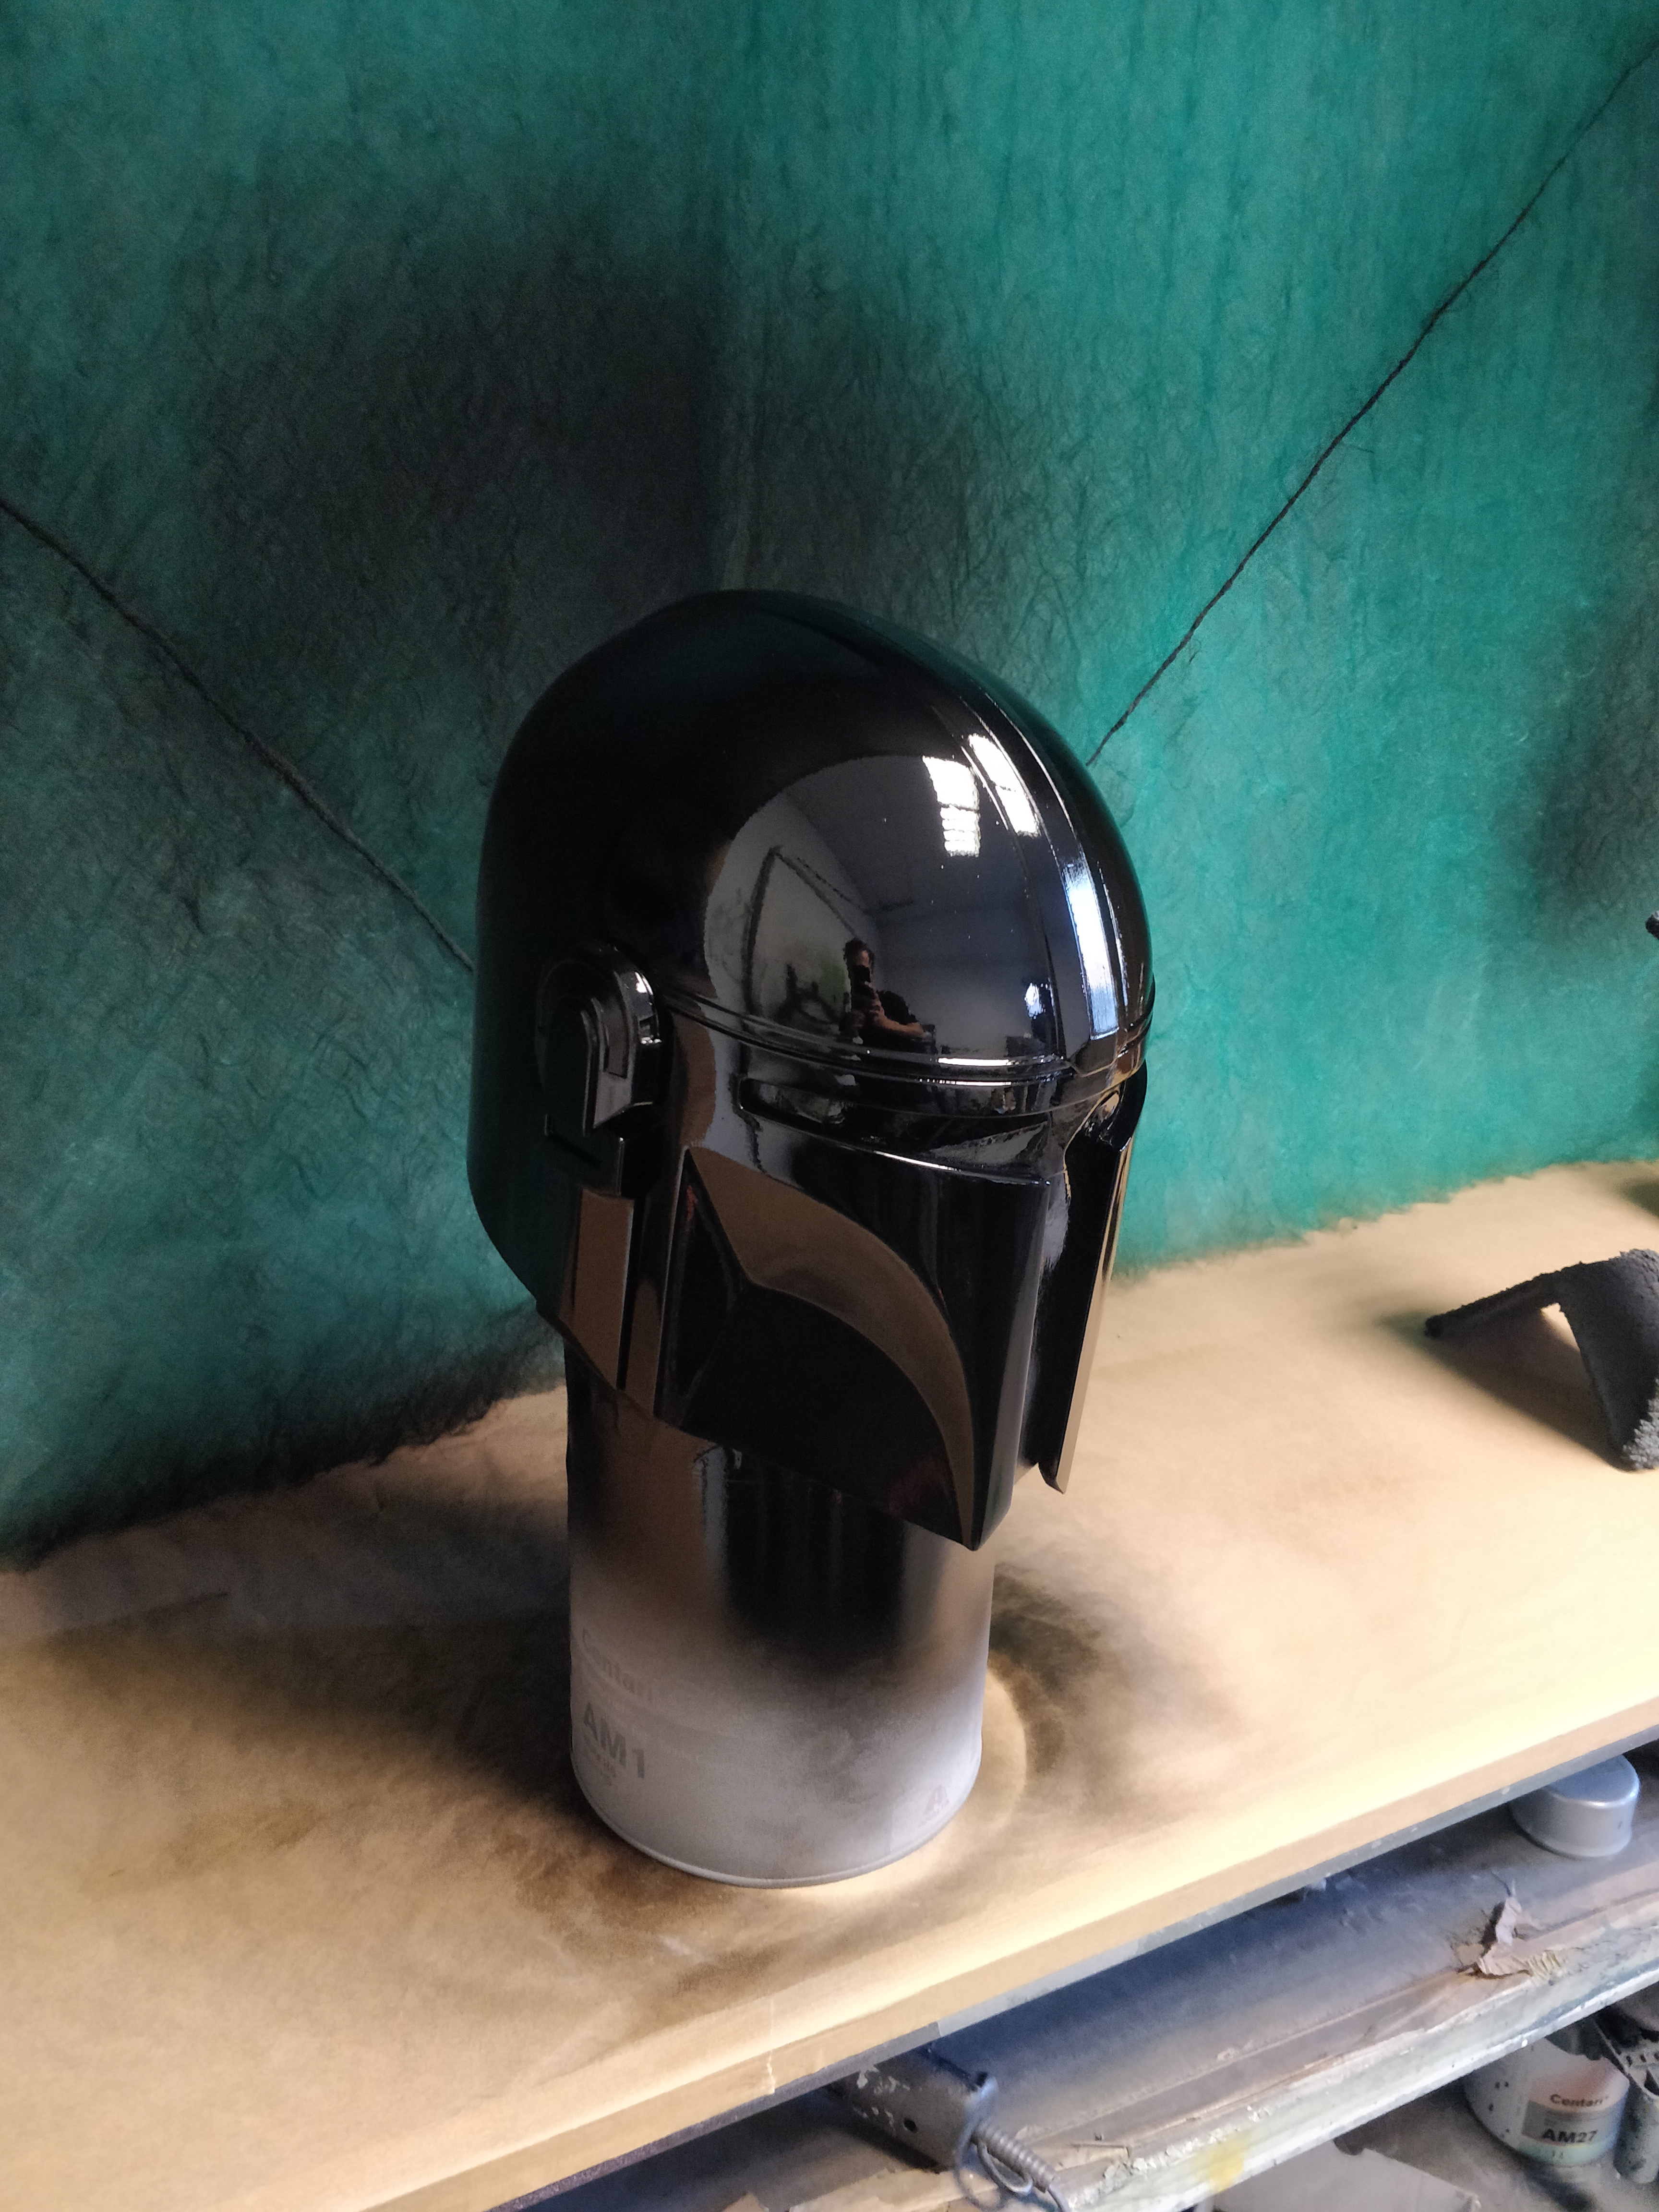
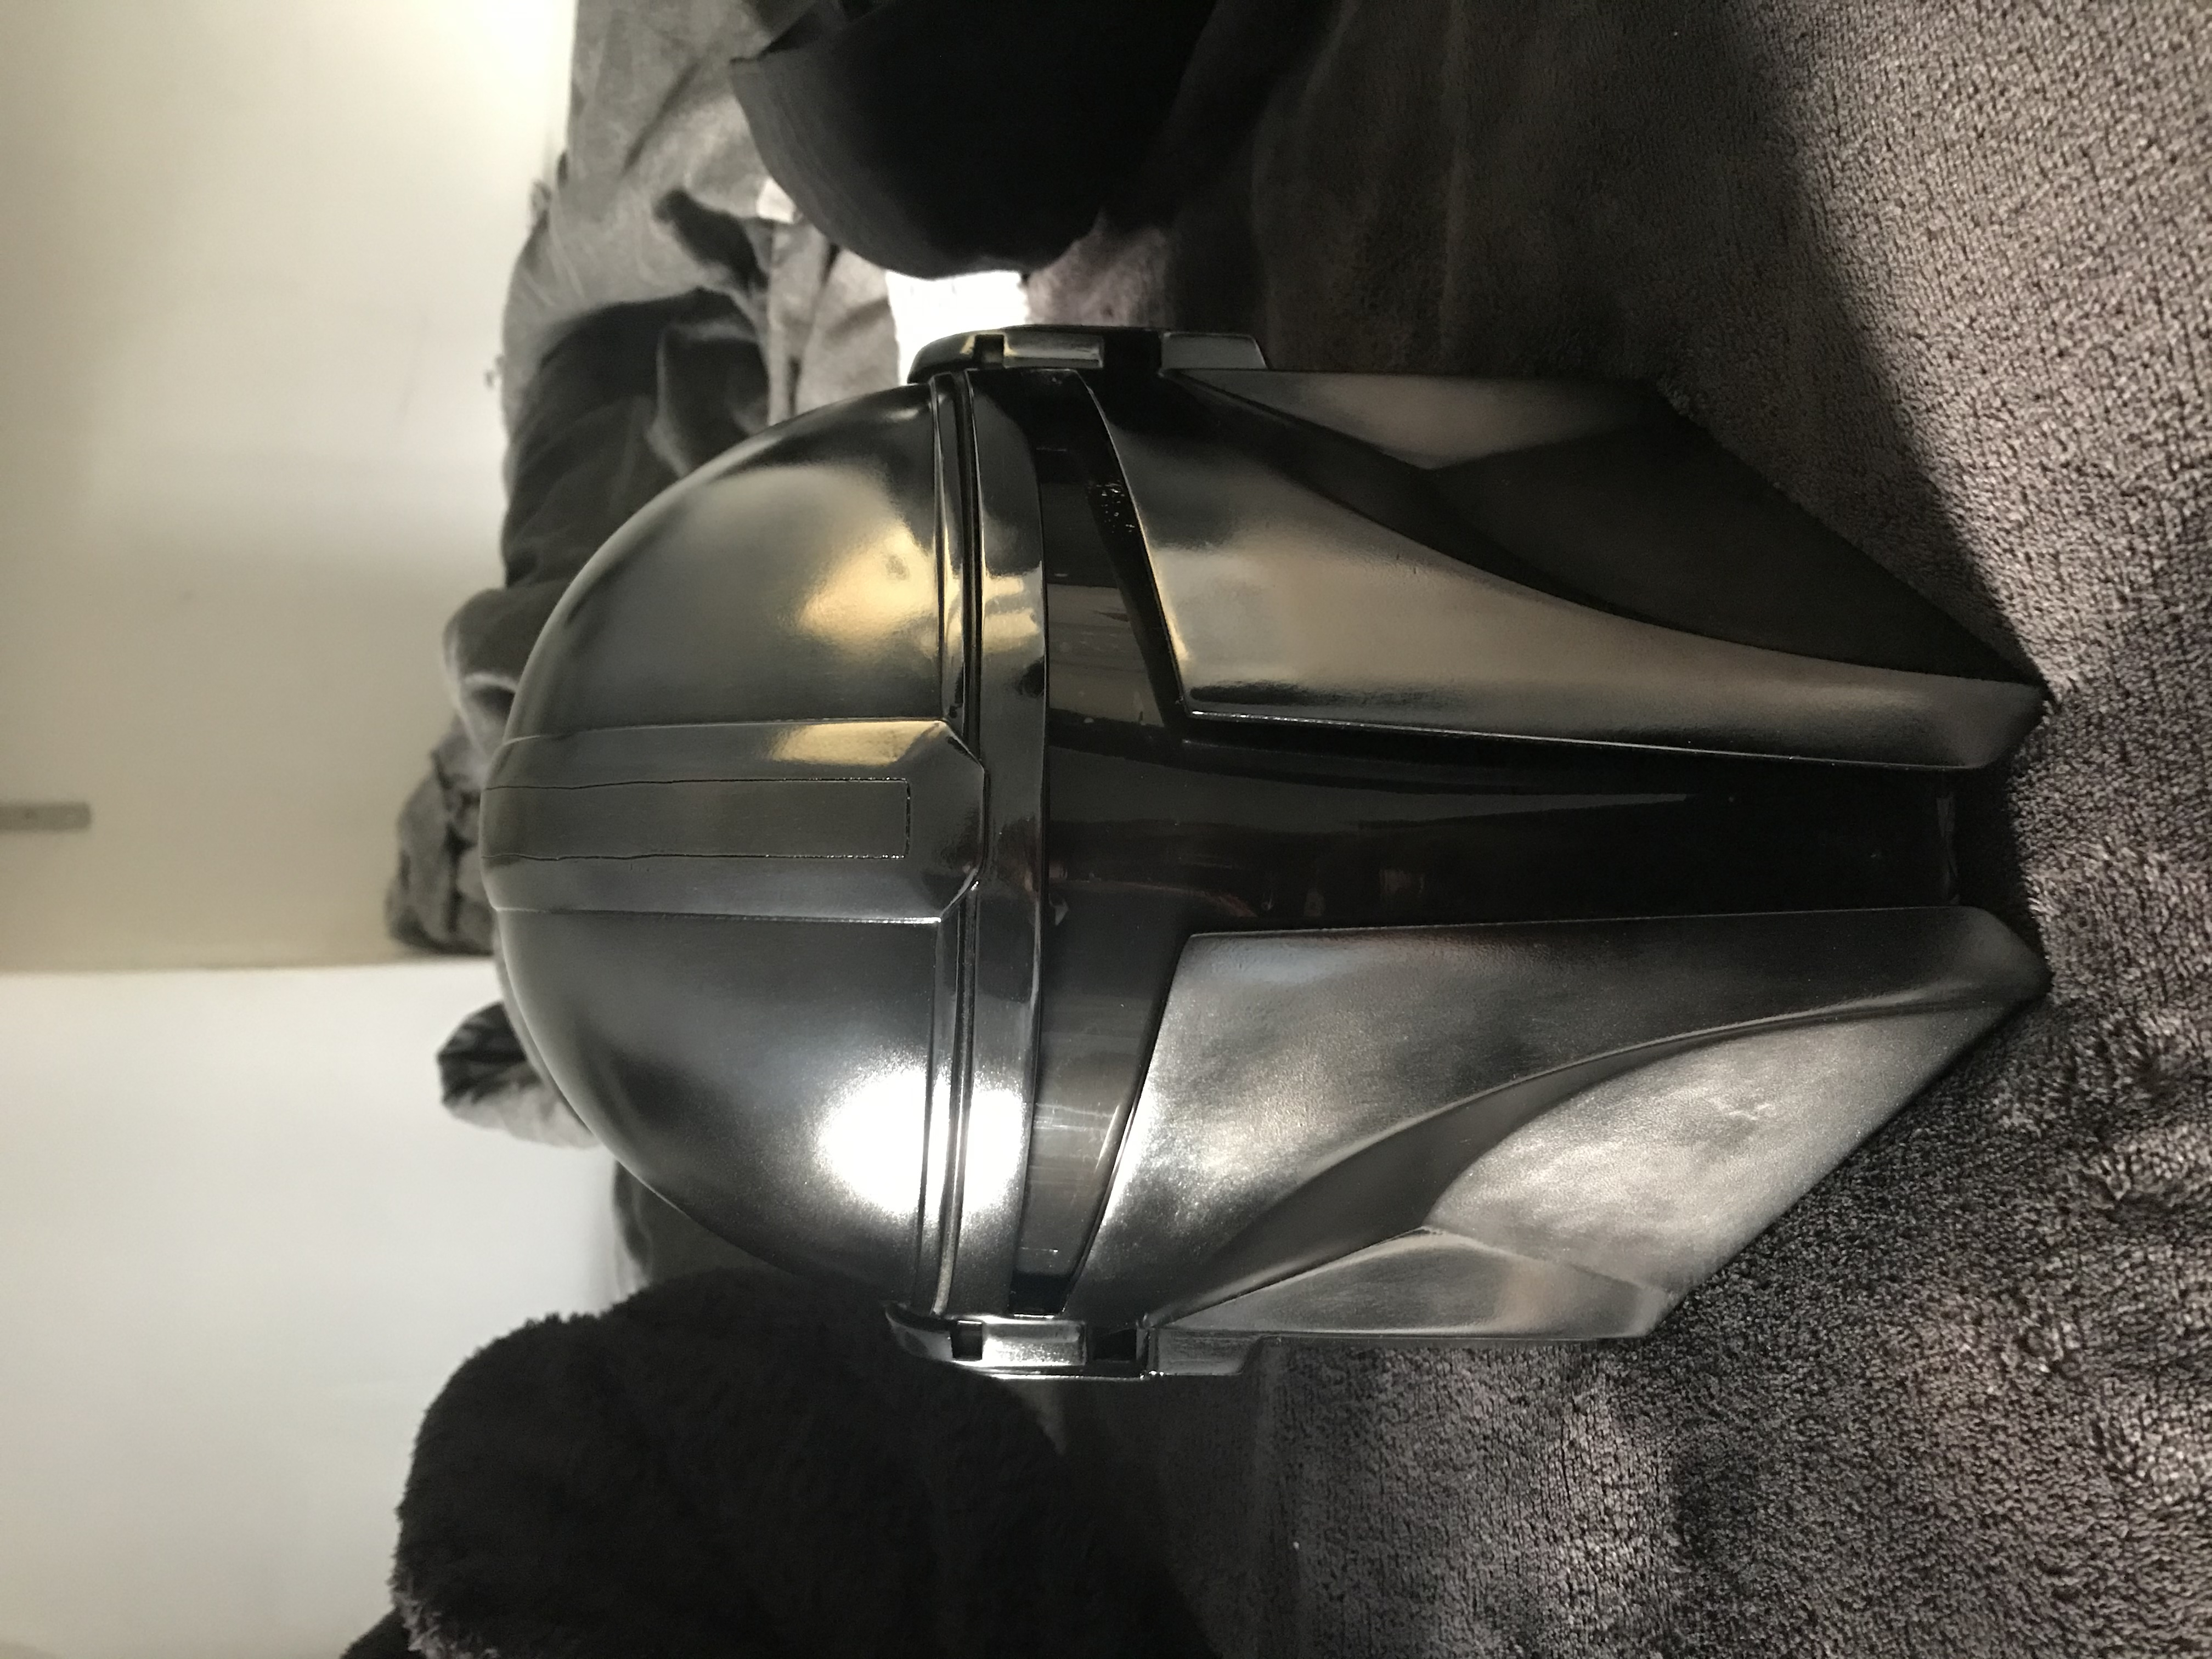
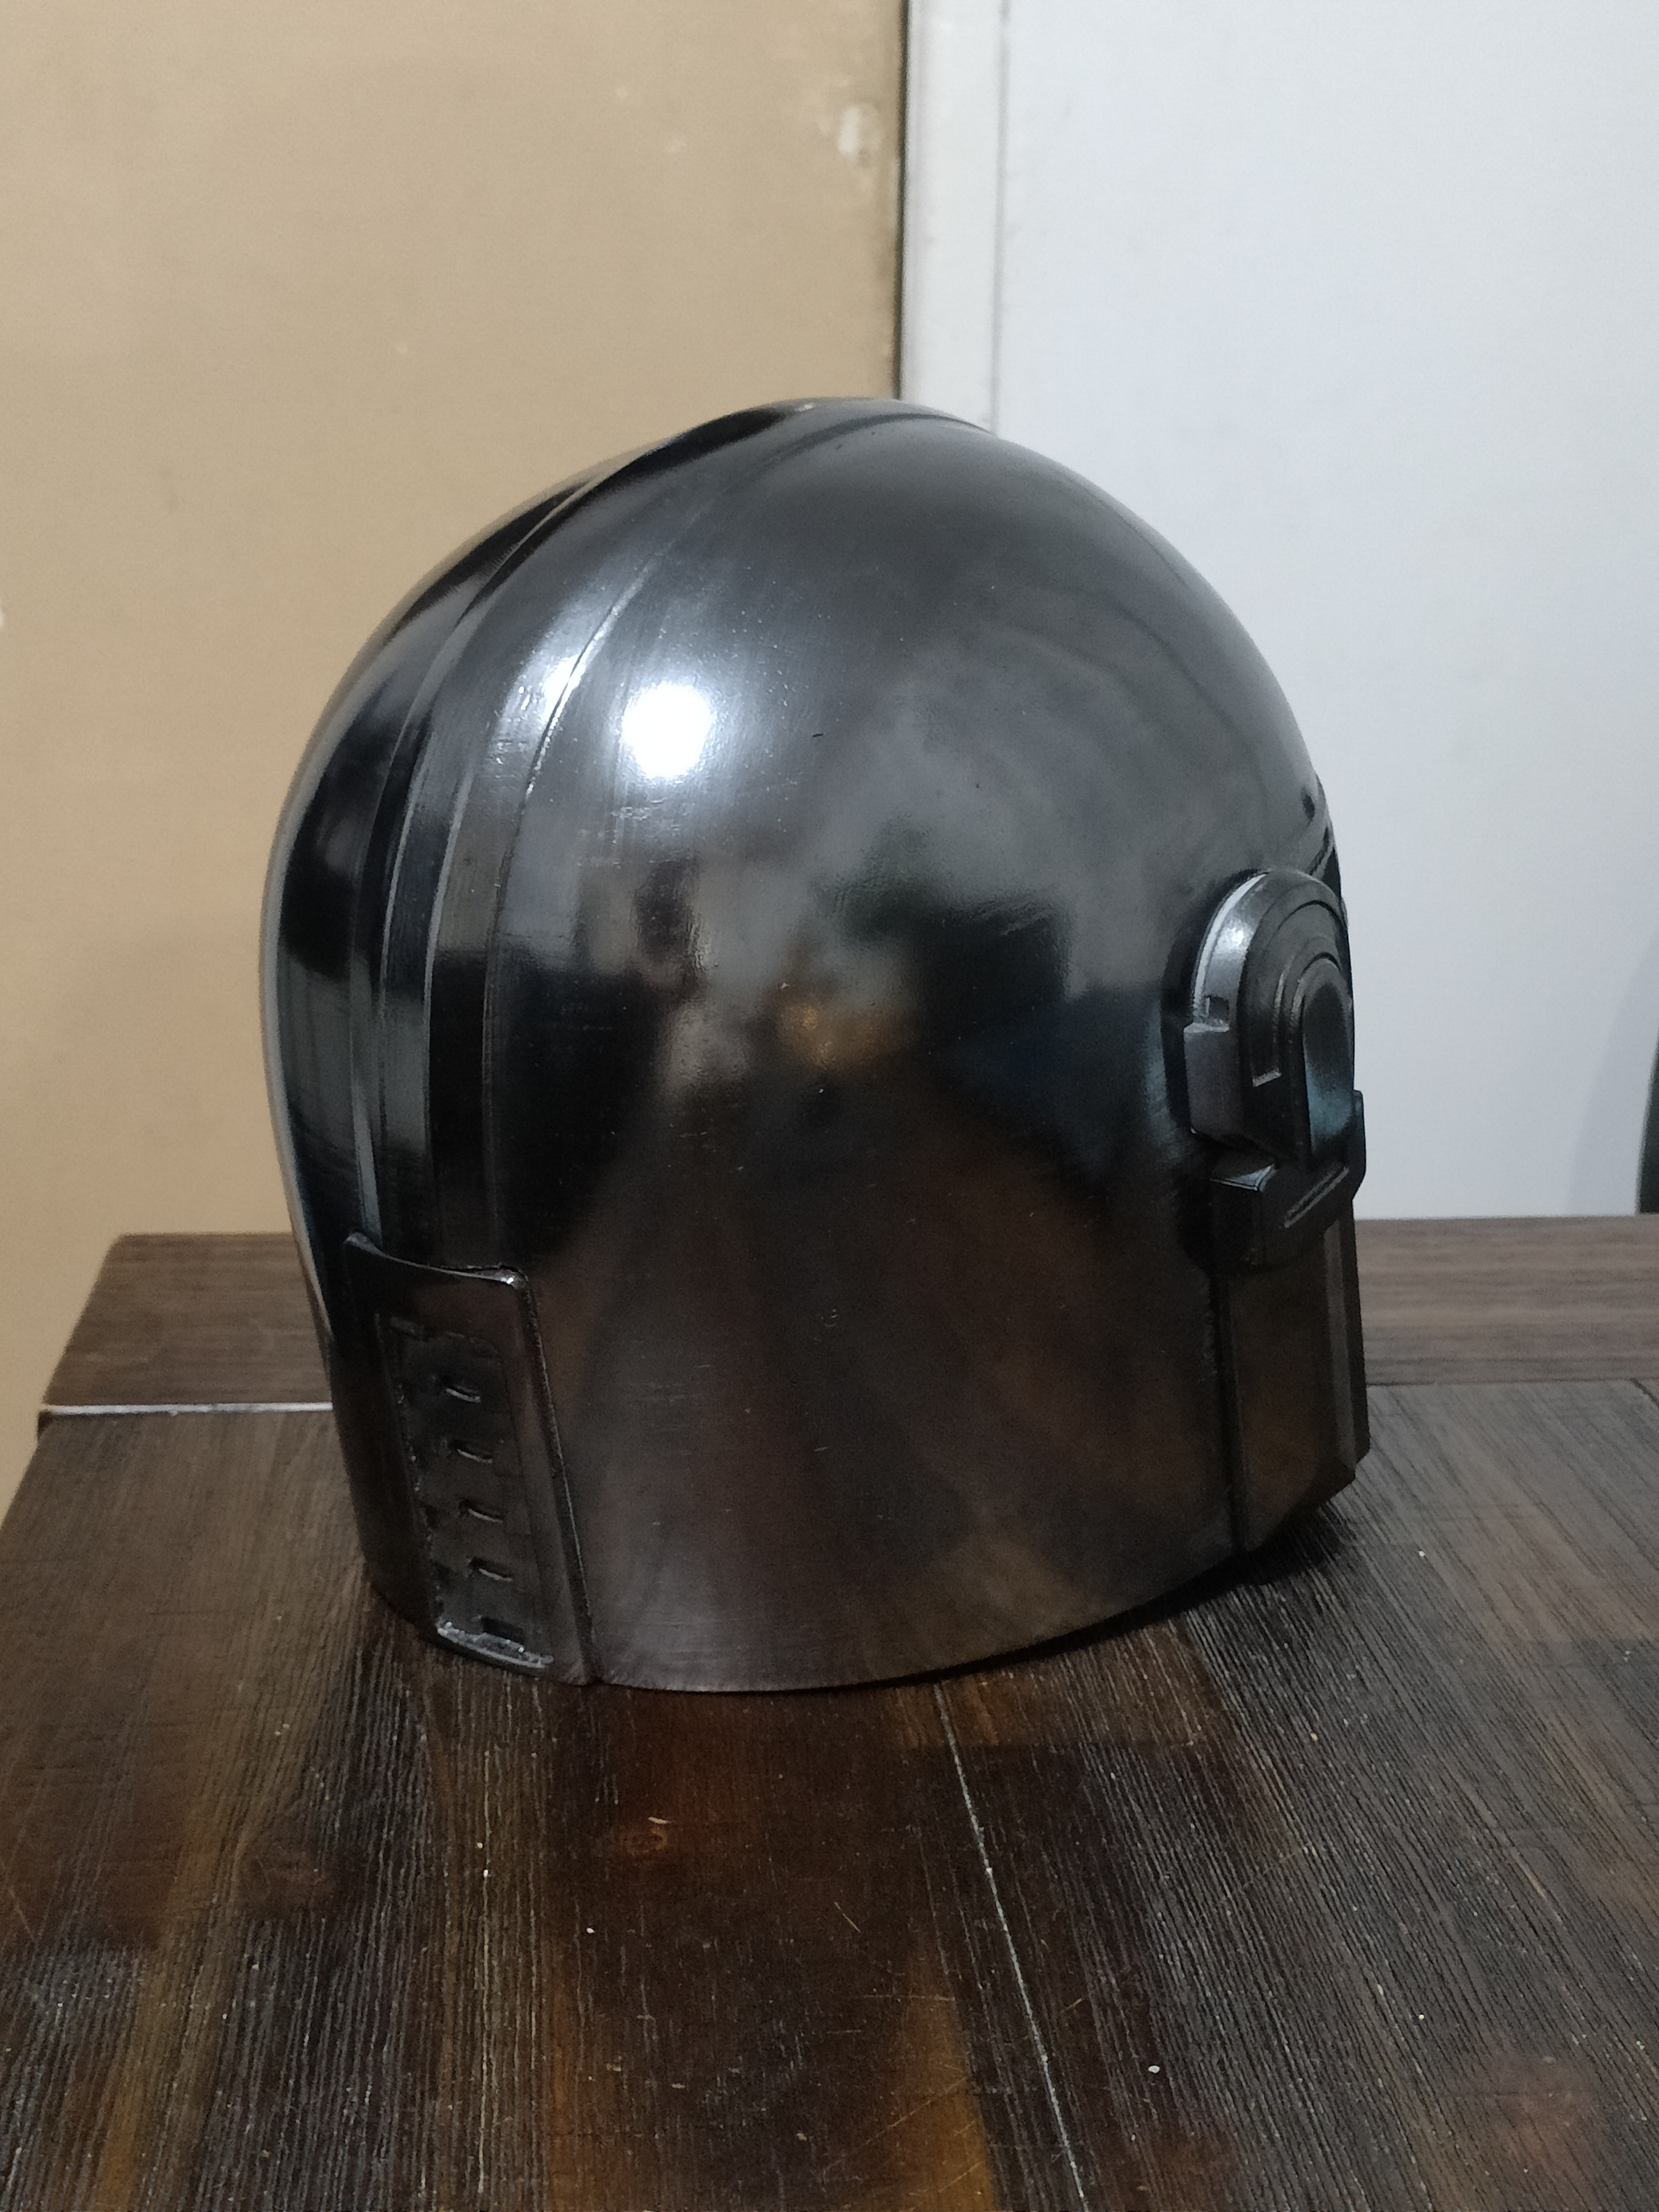
Tried the graphite powder over gloss black paint. I used Duplicolor black enamel. This stuff dries hard in a few hours and if you do it right you don’t even have to buff it. Then I rubbed graphite powder on and buffed.
Can’t believe this worked but painted black with Duplicolor black enamel and then rubbed graphite powder in it to get the chromish look. I joined the ears and visor to the helmet in Meshmixer and printed all together. Not sure why the pictures always show up sideways in this site. I even tried rotating them before posting and still does it.
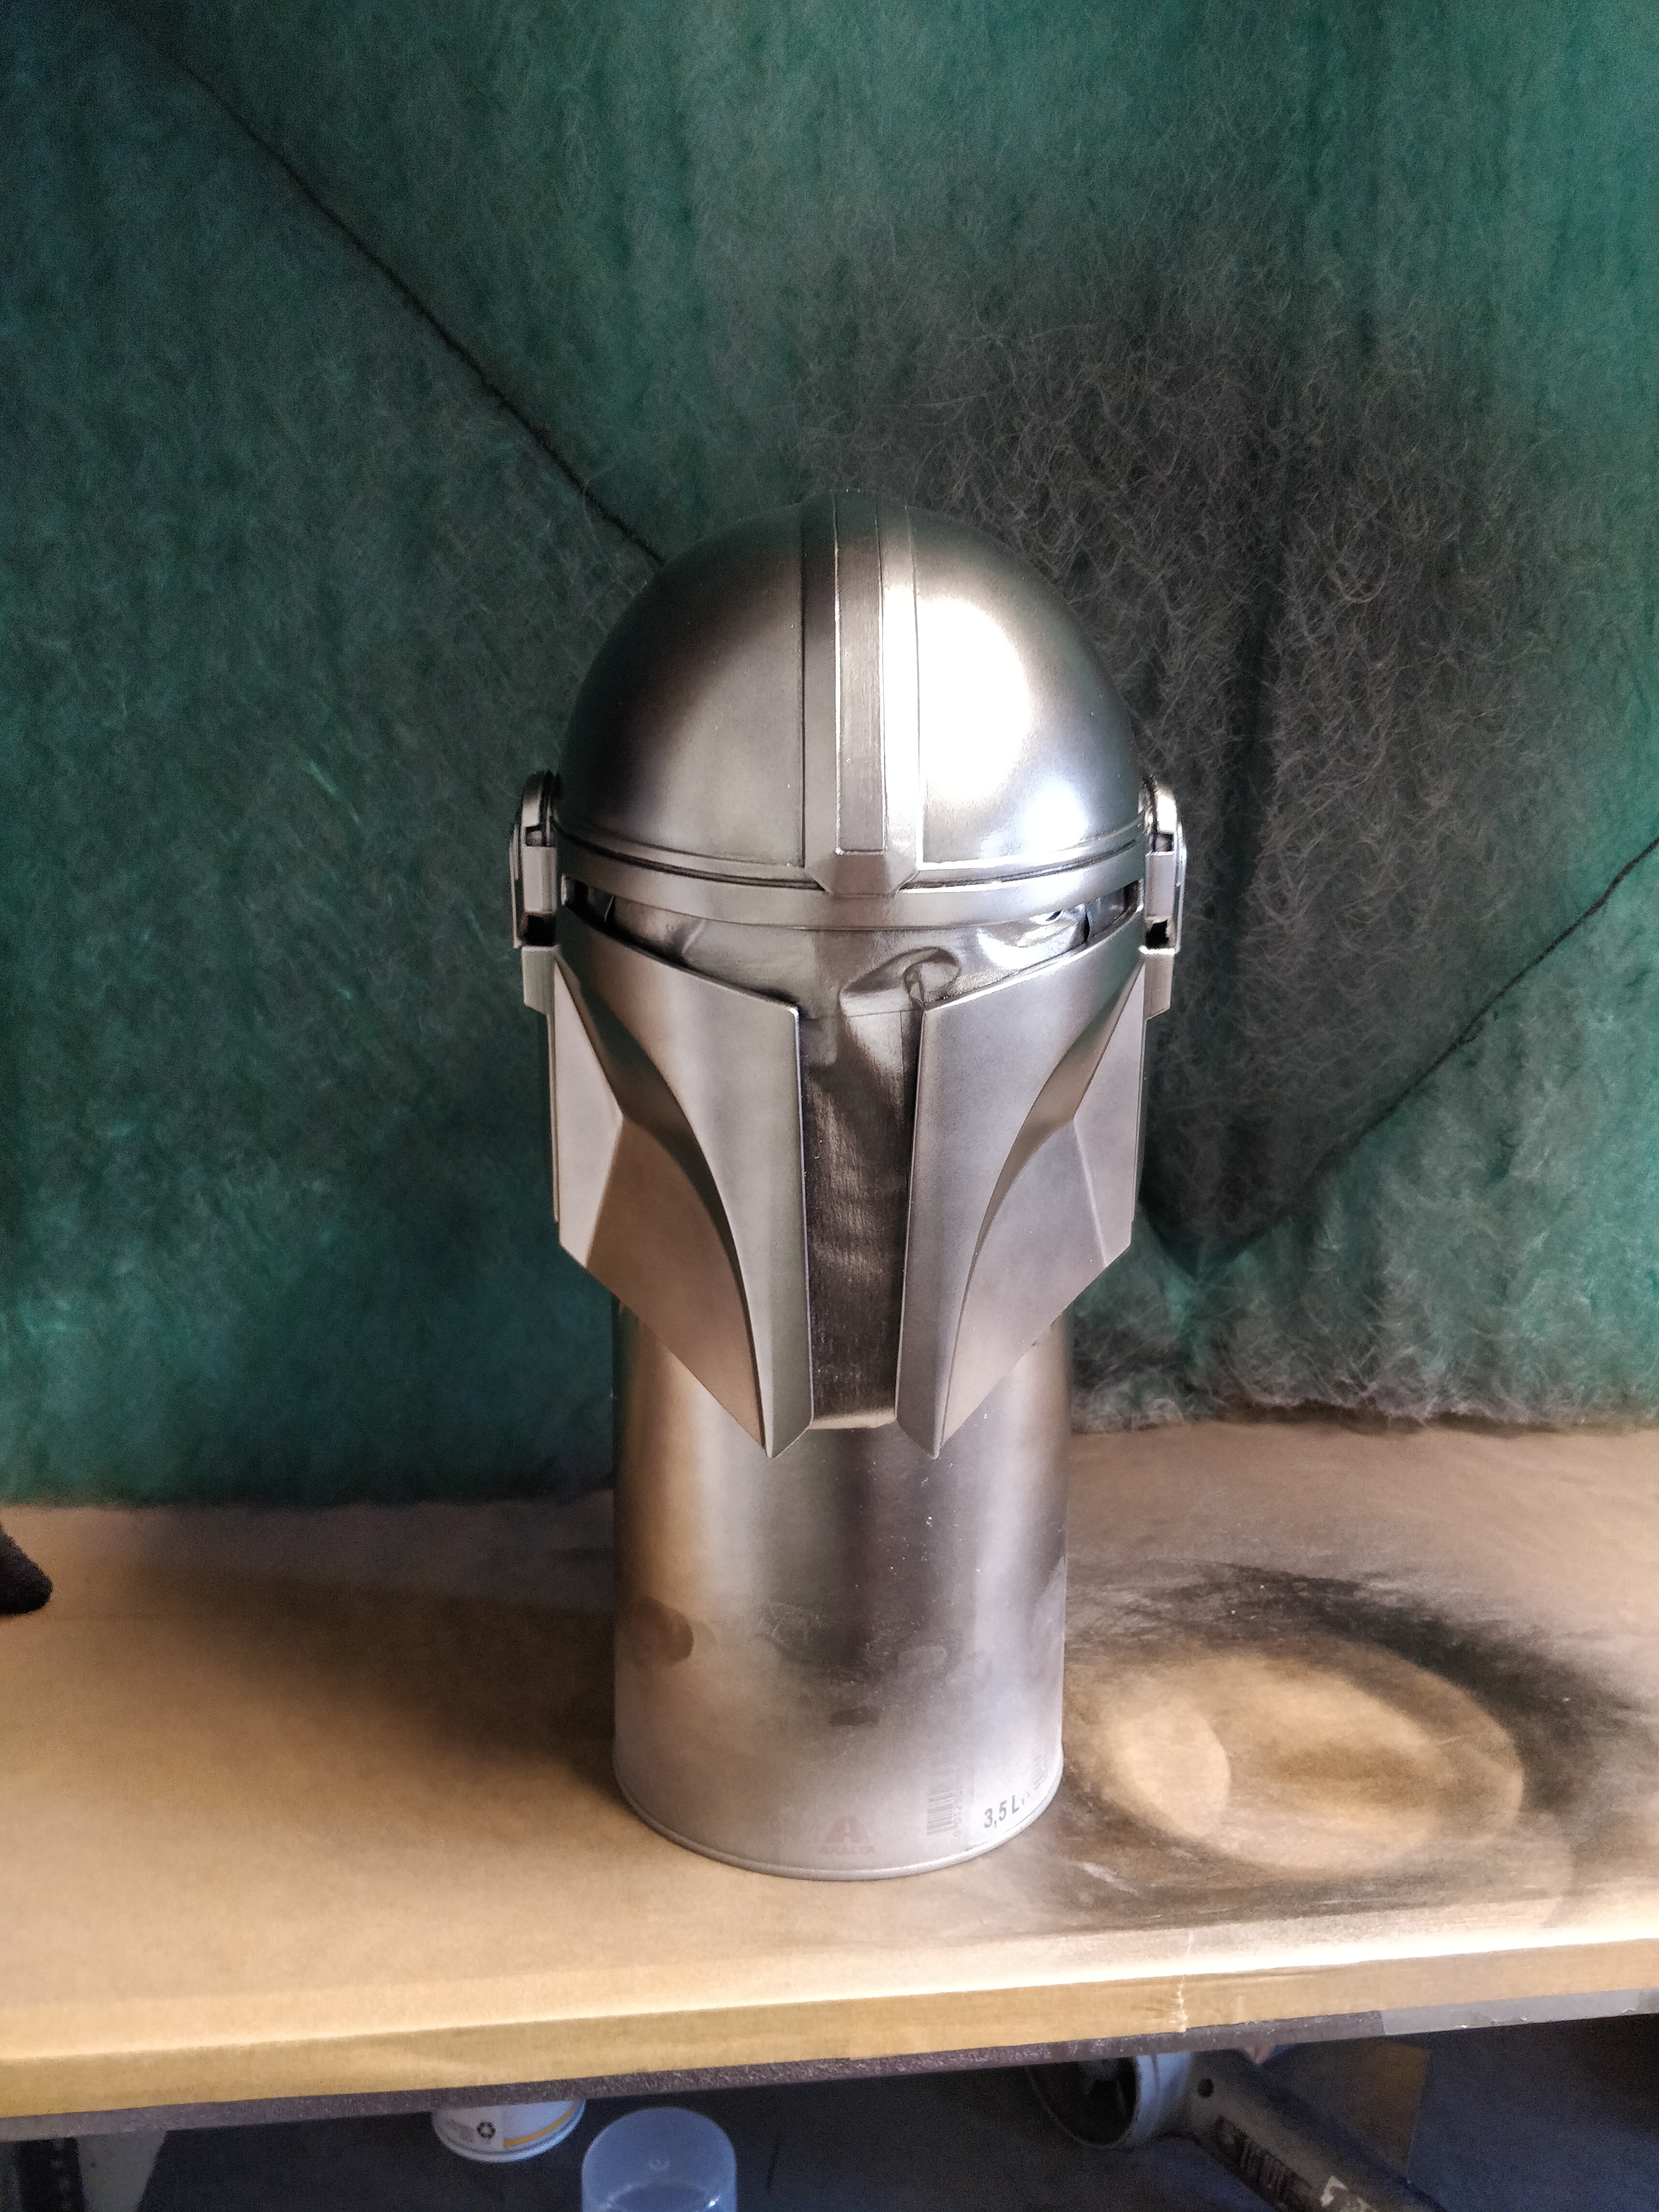
Here mine. Printed 0.3 layer height, 5% infill. Wood filler, a lot of sanding, Filler primer, gloss black spray, alclad 107 chrome.
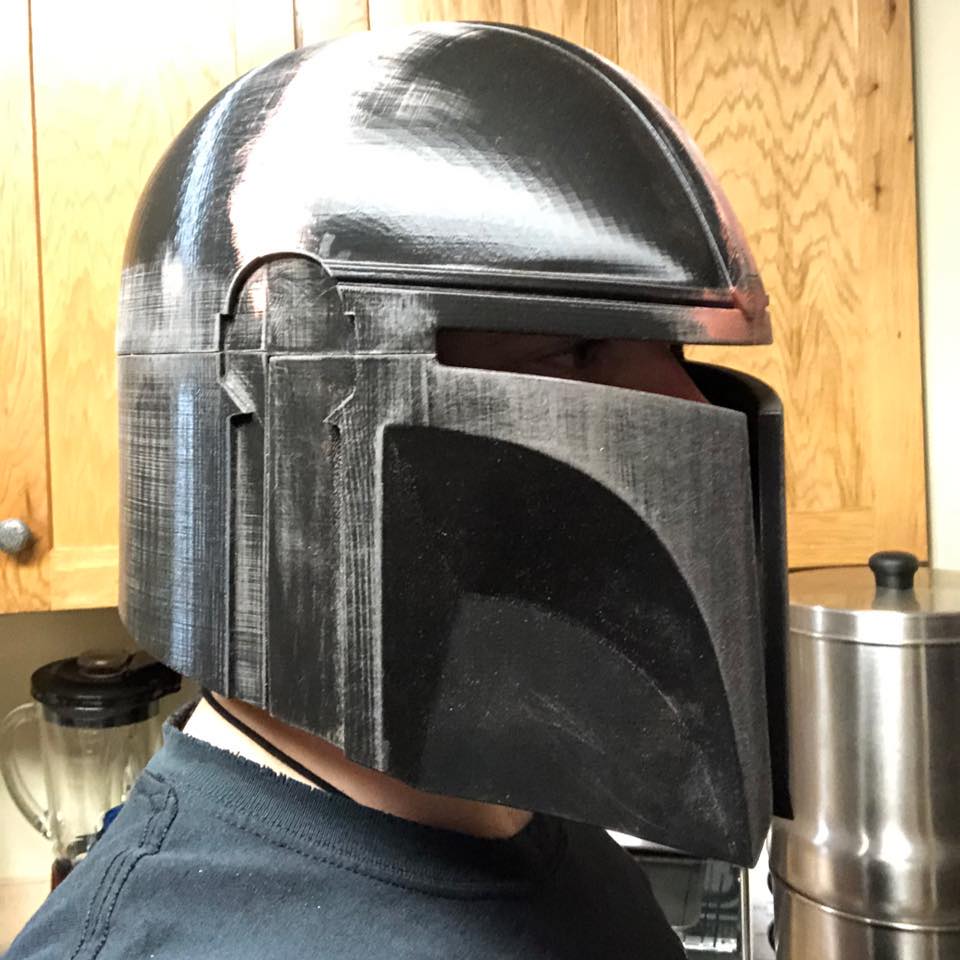
Grey PLA, filling primer, LOTS of sanding, black paint and graphite powder. Printed on a Tronxy X5SA Pro
Just finished mine, could've sanded a little more but it's OK :P
Definitely not the best but its my first 3D printed project
Six days of printing. It needs more cleanup, sanding and painting.
Printed on my Sovol SV01 in 8 pieces. It took a lot of work to get everything lined up the best I could & the sanding, spray painting, etc. I'm just happy to have it finally finished.
Printed at 83% for a 7 year old. (85% wouldn't fit my bed, LOL). Finished in black gloss with a graphite rub.
Could have done with a bit more sanding, but its turned out pretty well. Thanks for the STL. :D
Really good files. Although I rushed the processing part (didn't sand enough) it gives the perfect look. I should have added little registration holes to make the gluing easier (I printed it in 8 different pieces). I used super glue to glue the parts together, but it was kind of a bad idea as this glue glues in a few seconds : 5 min epoxy is easier for this task.Anyway, thank you very much for this file!PS : done in PLA with the Prusa MK3S+. Used graphite powder for the finish.
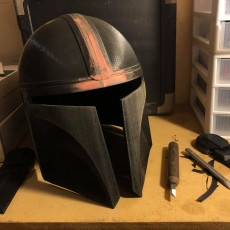
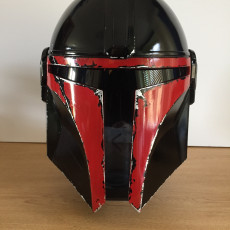
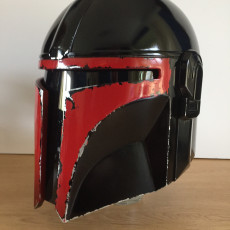
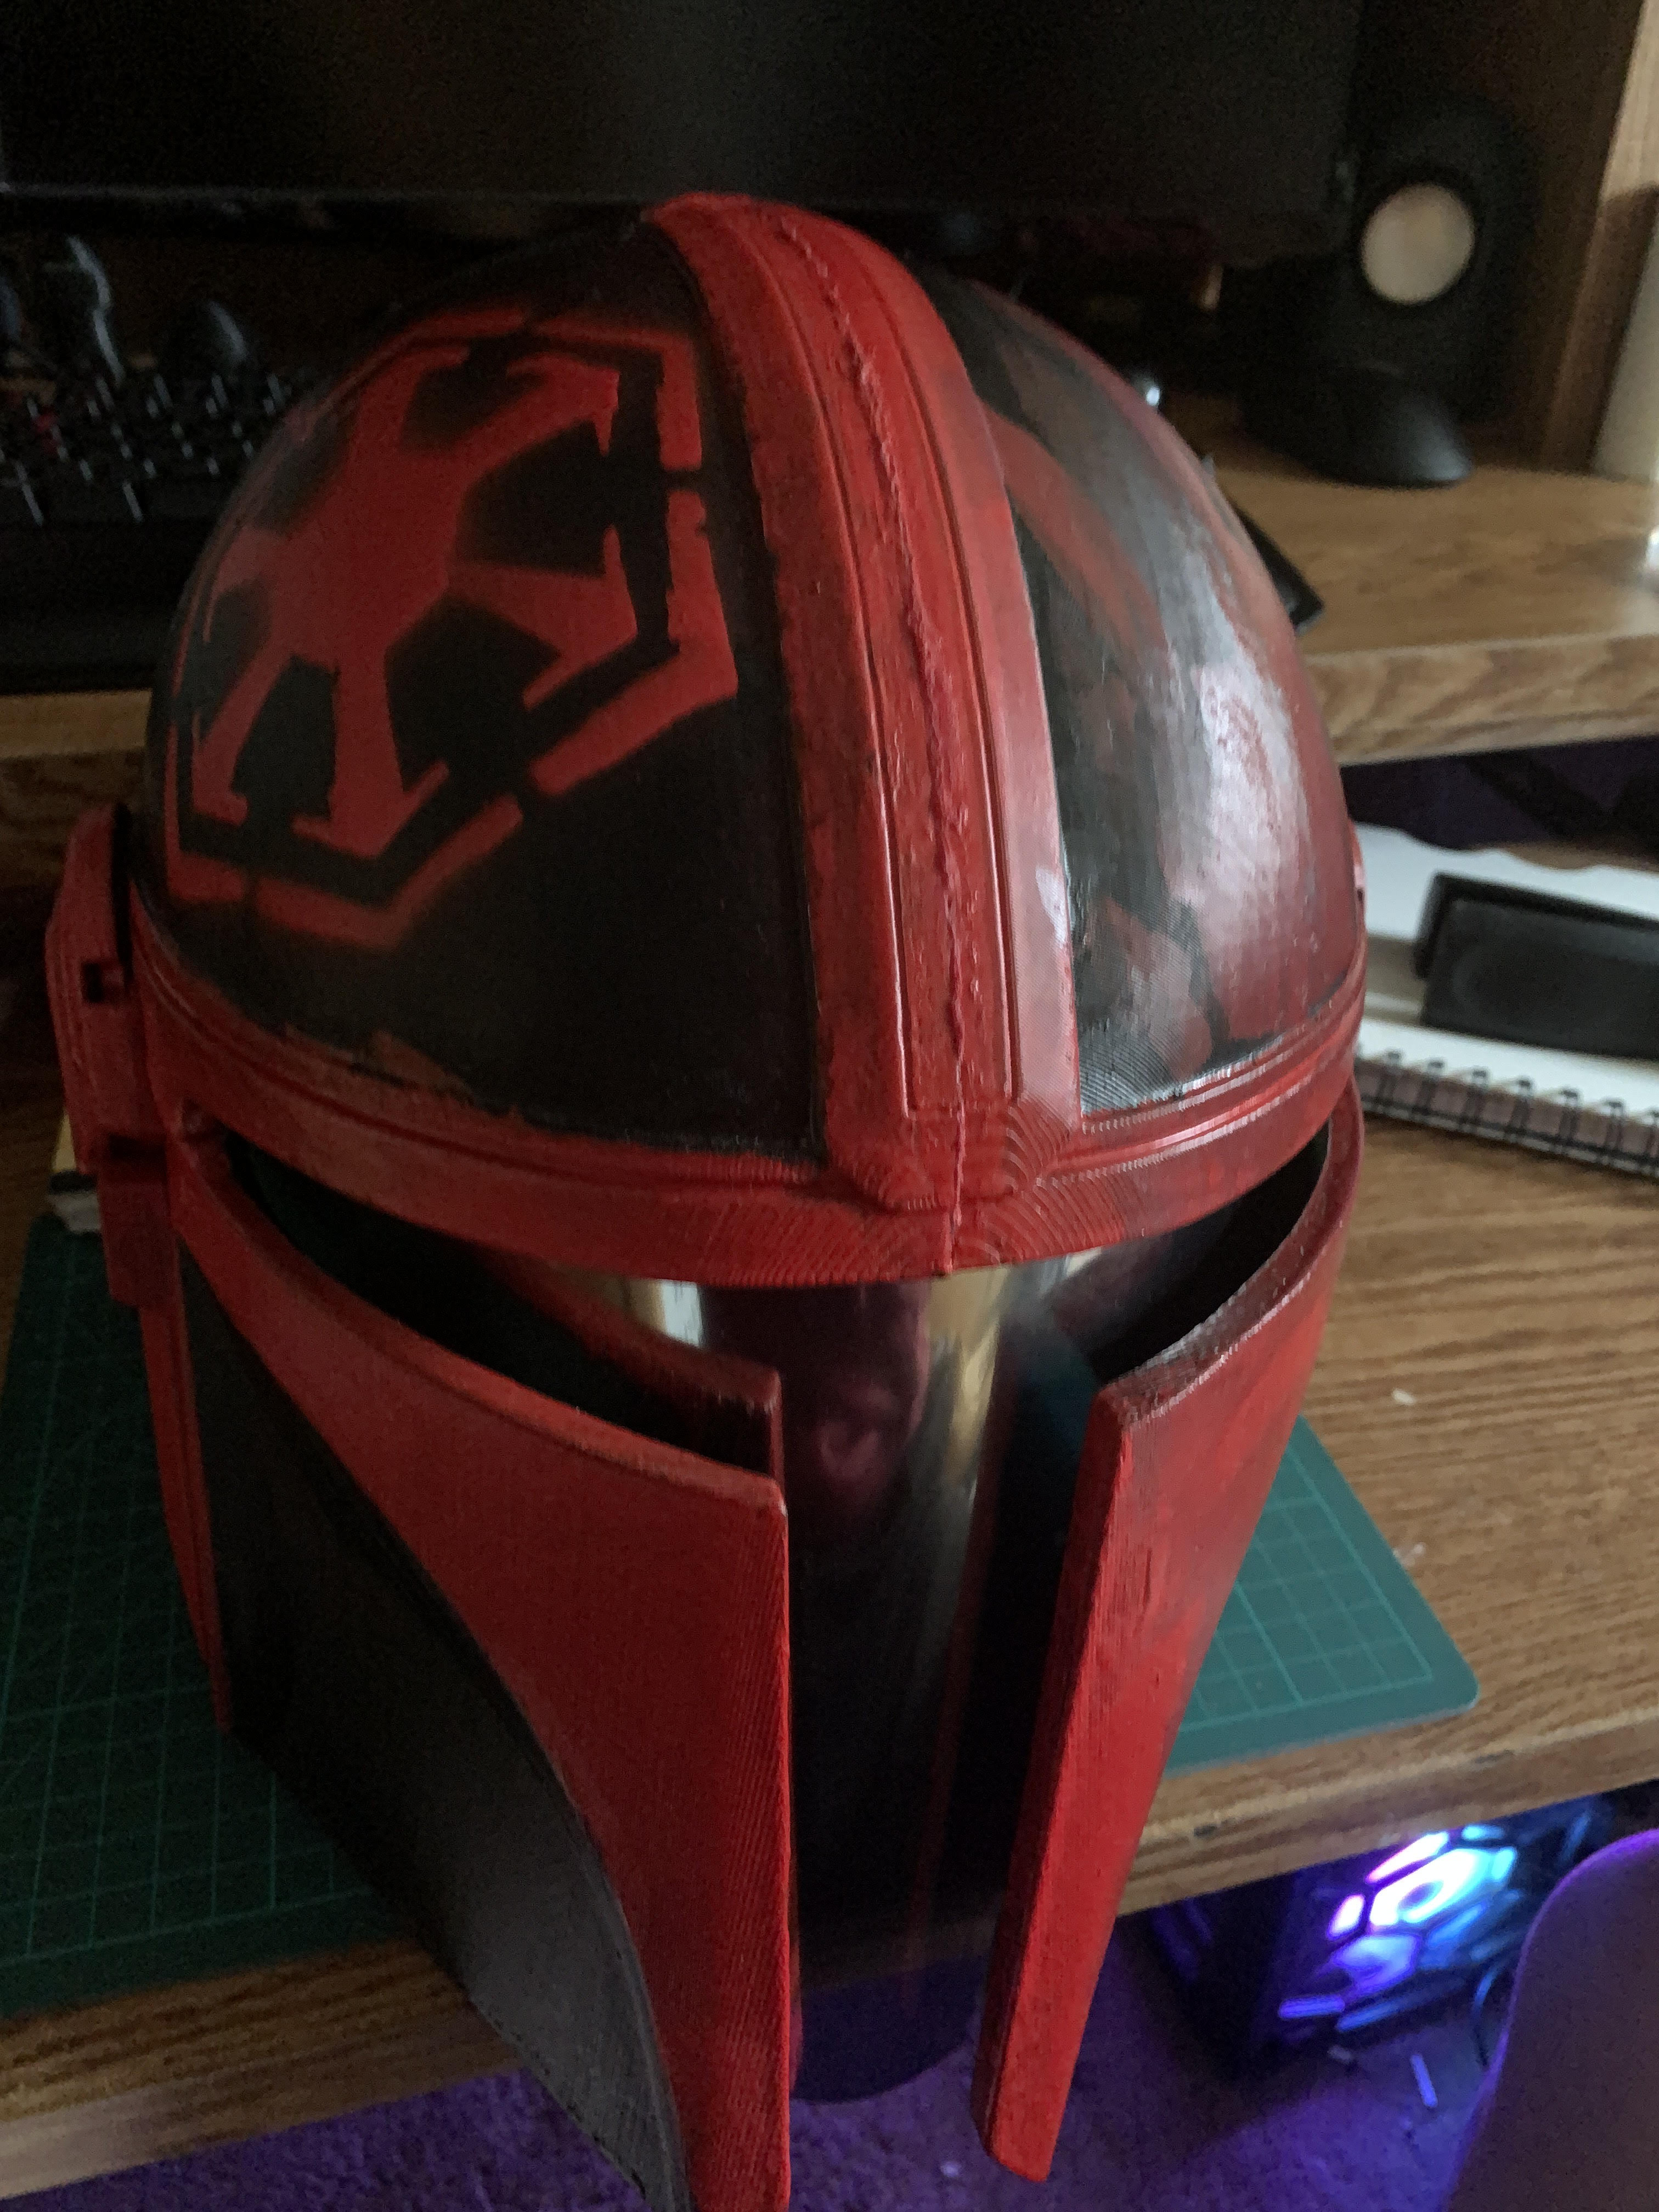
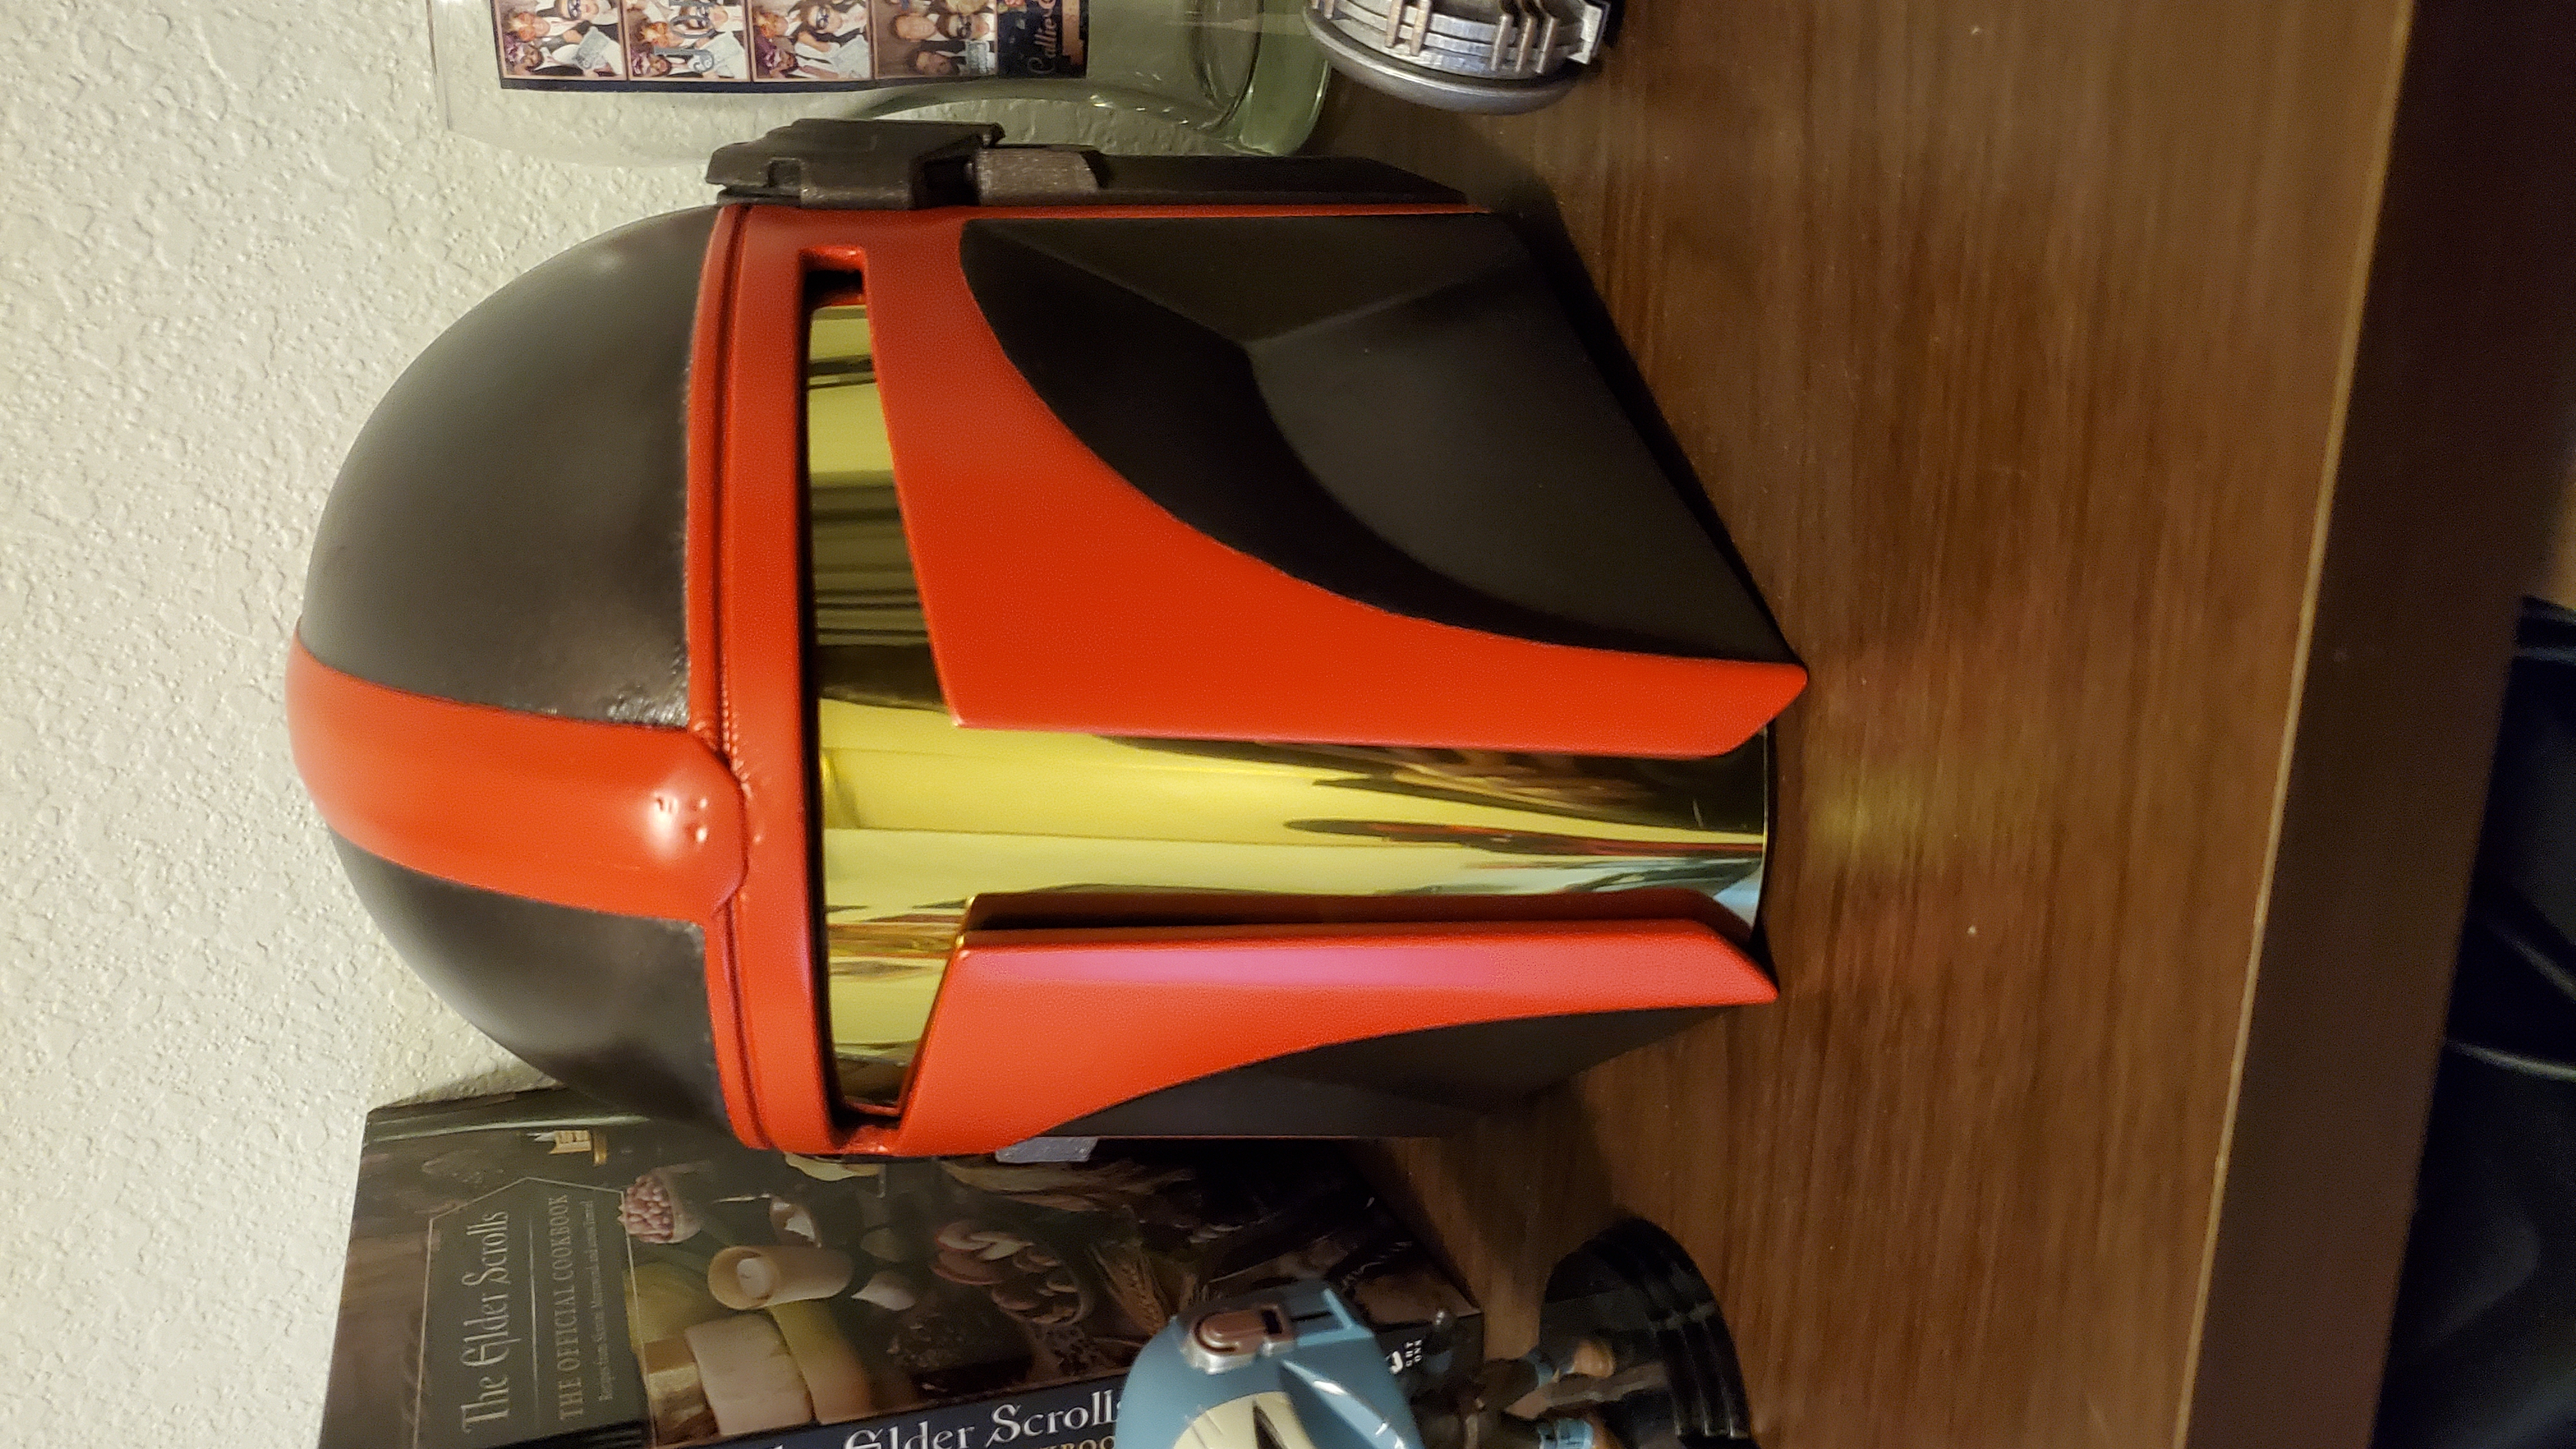
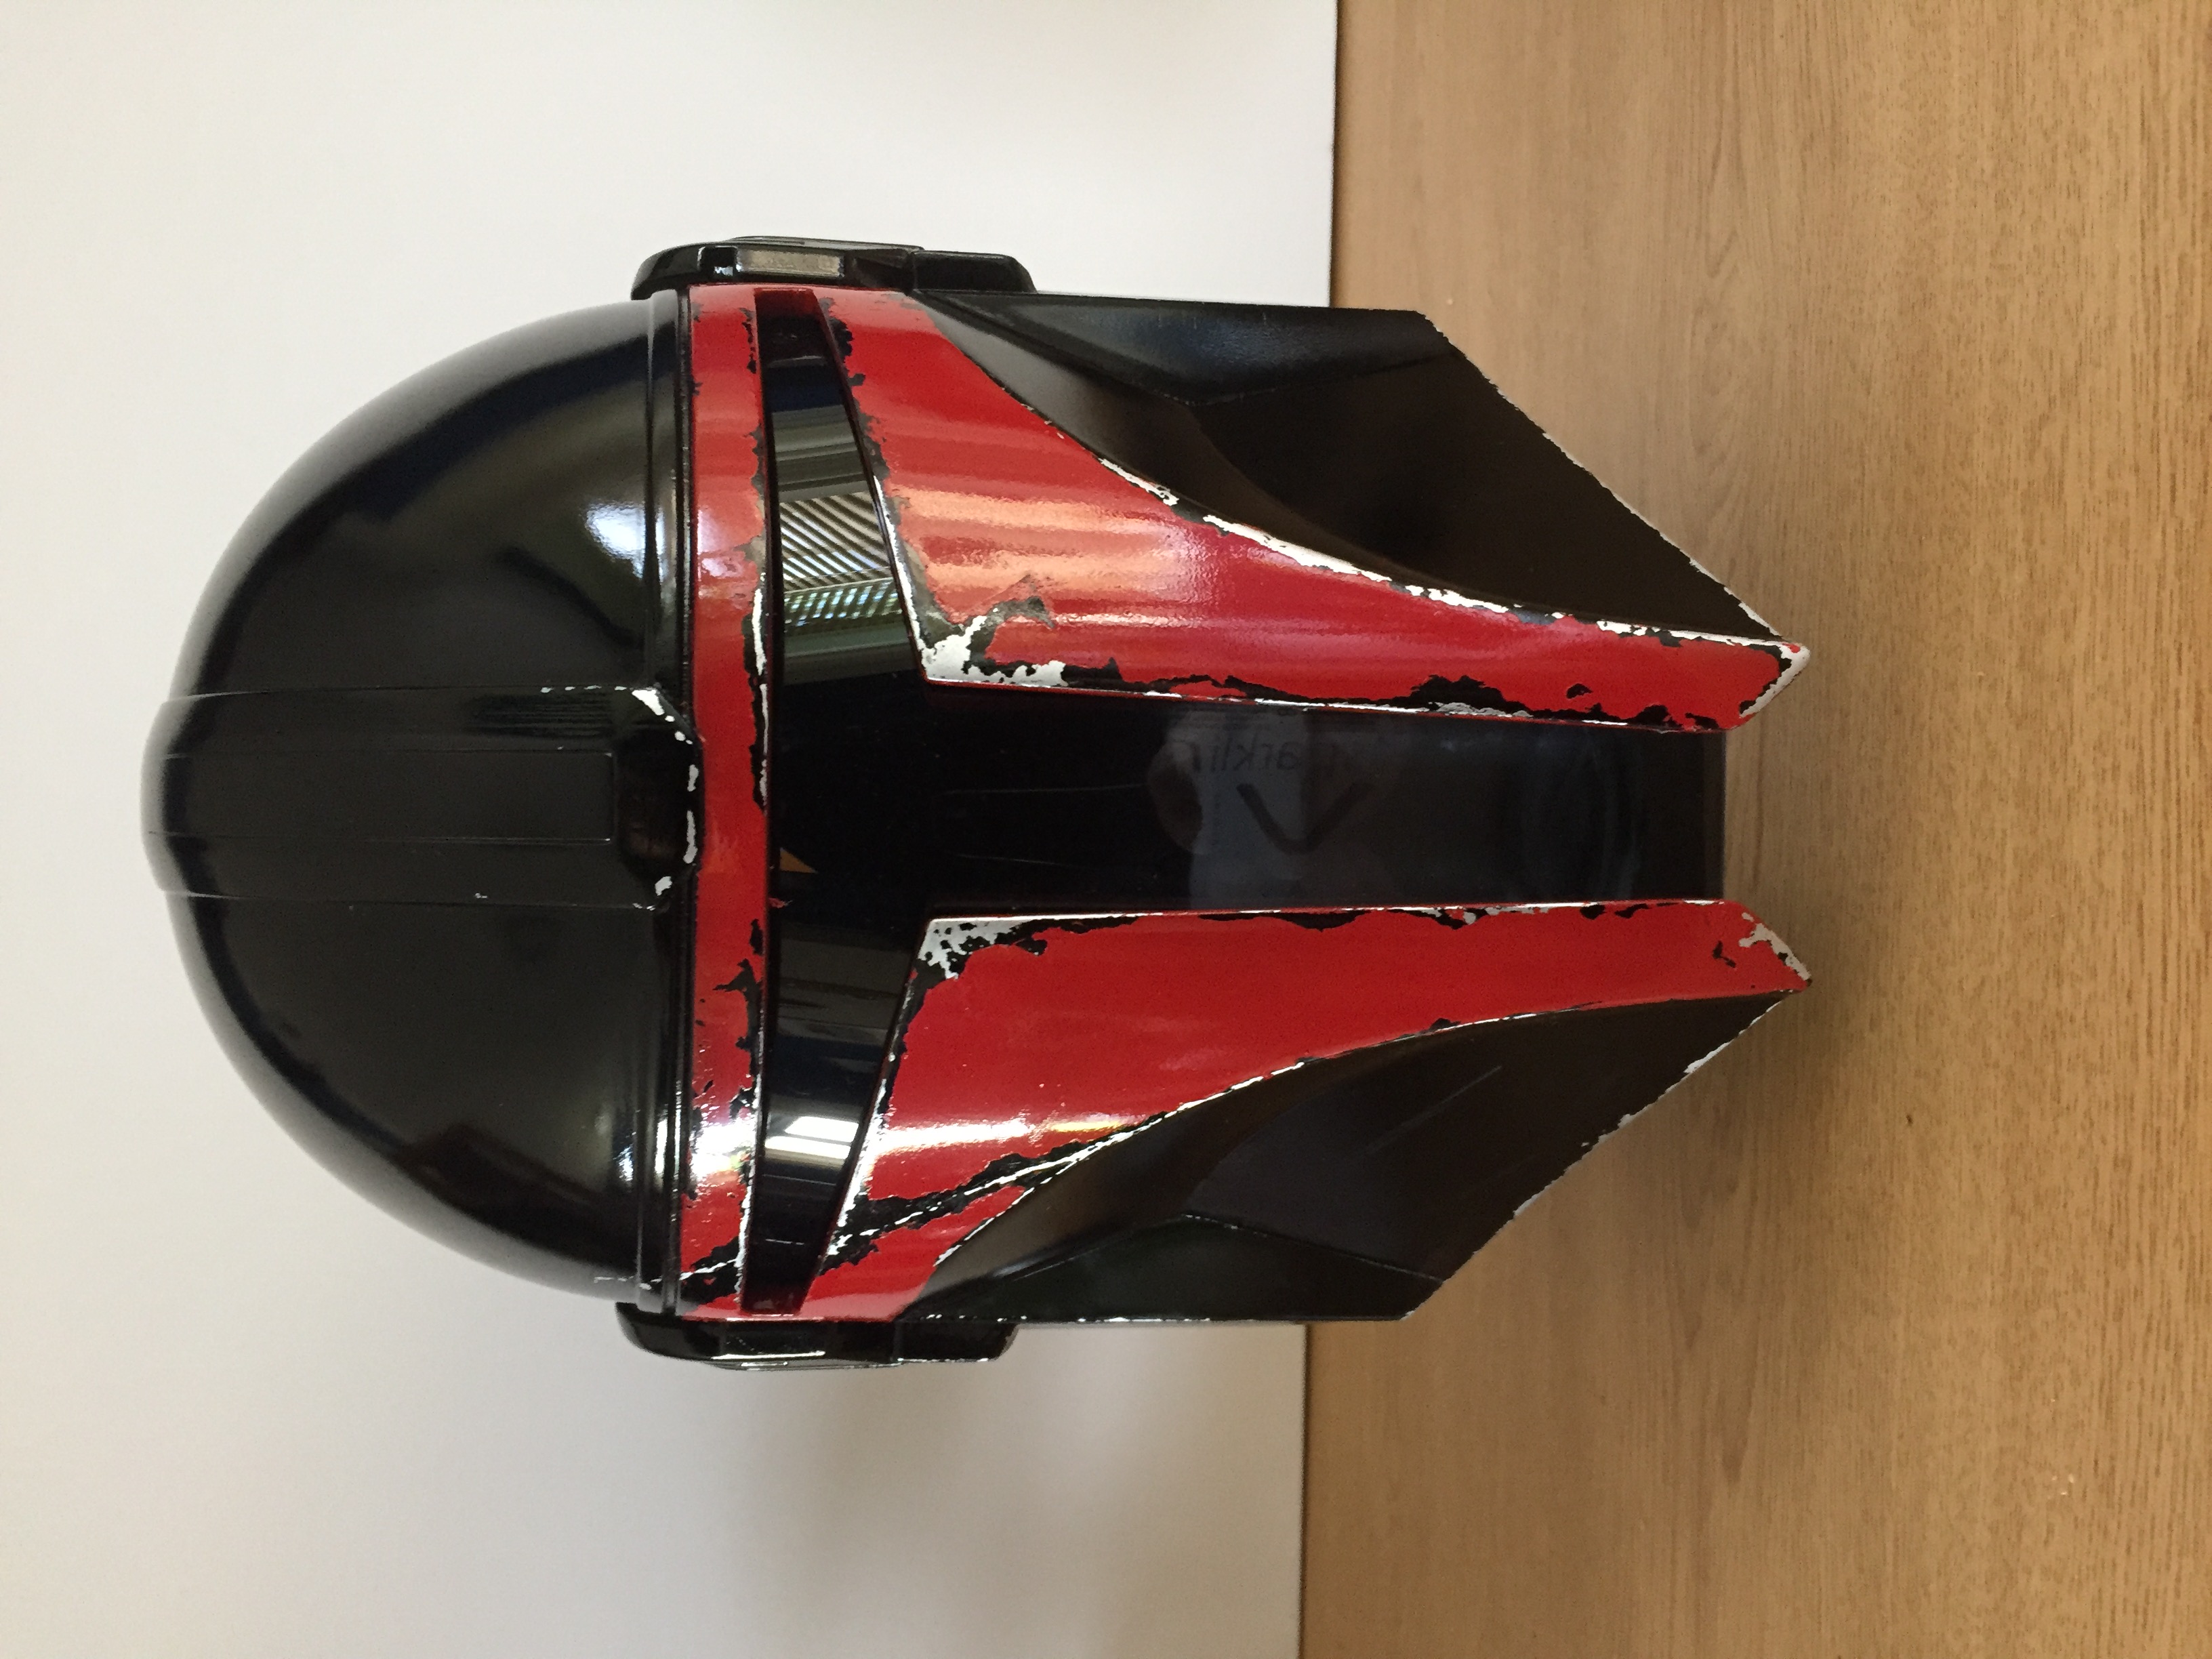
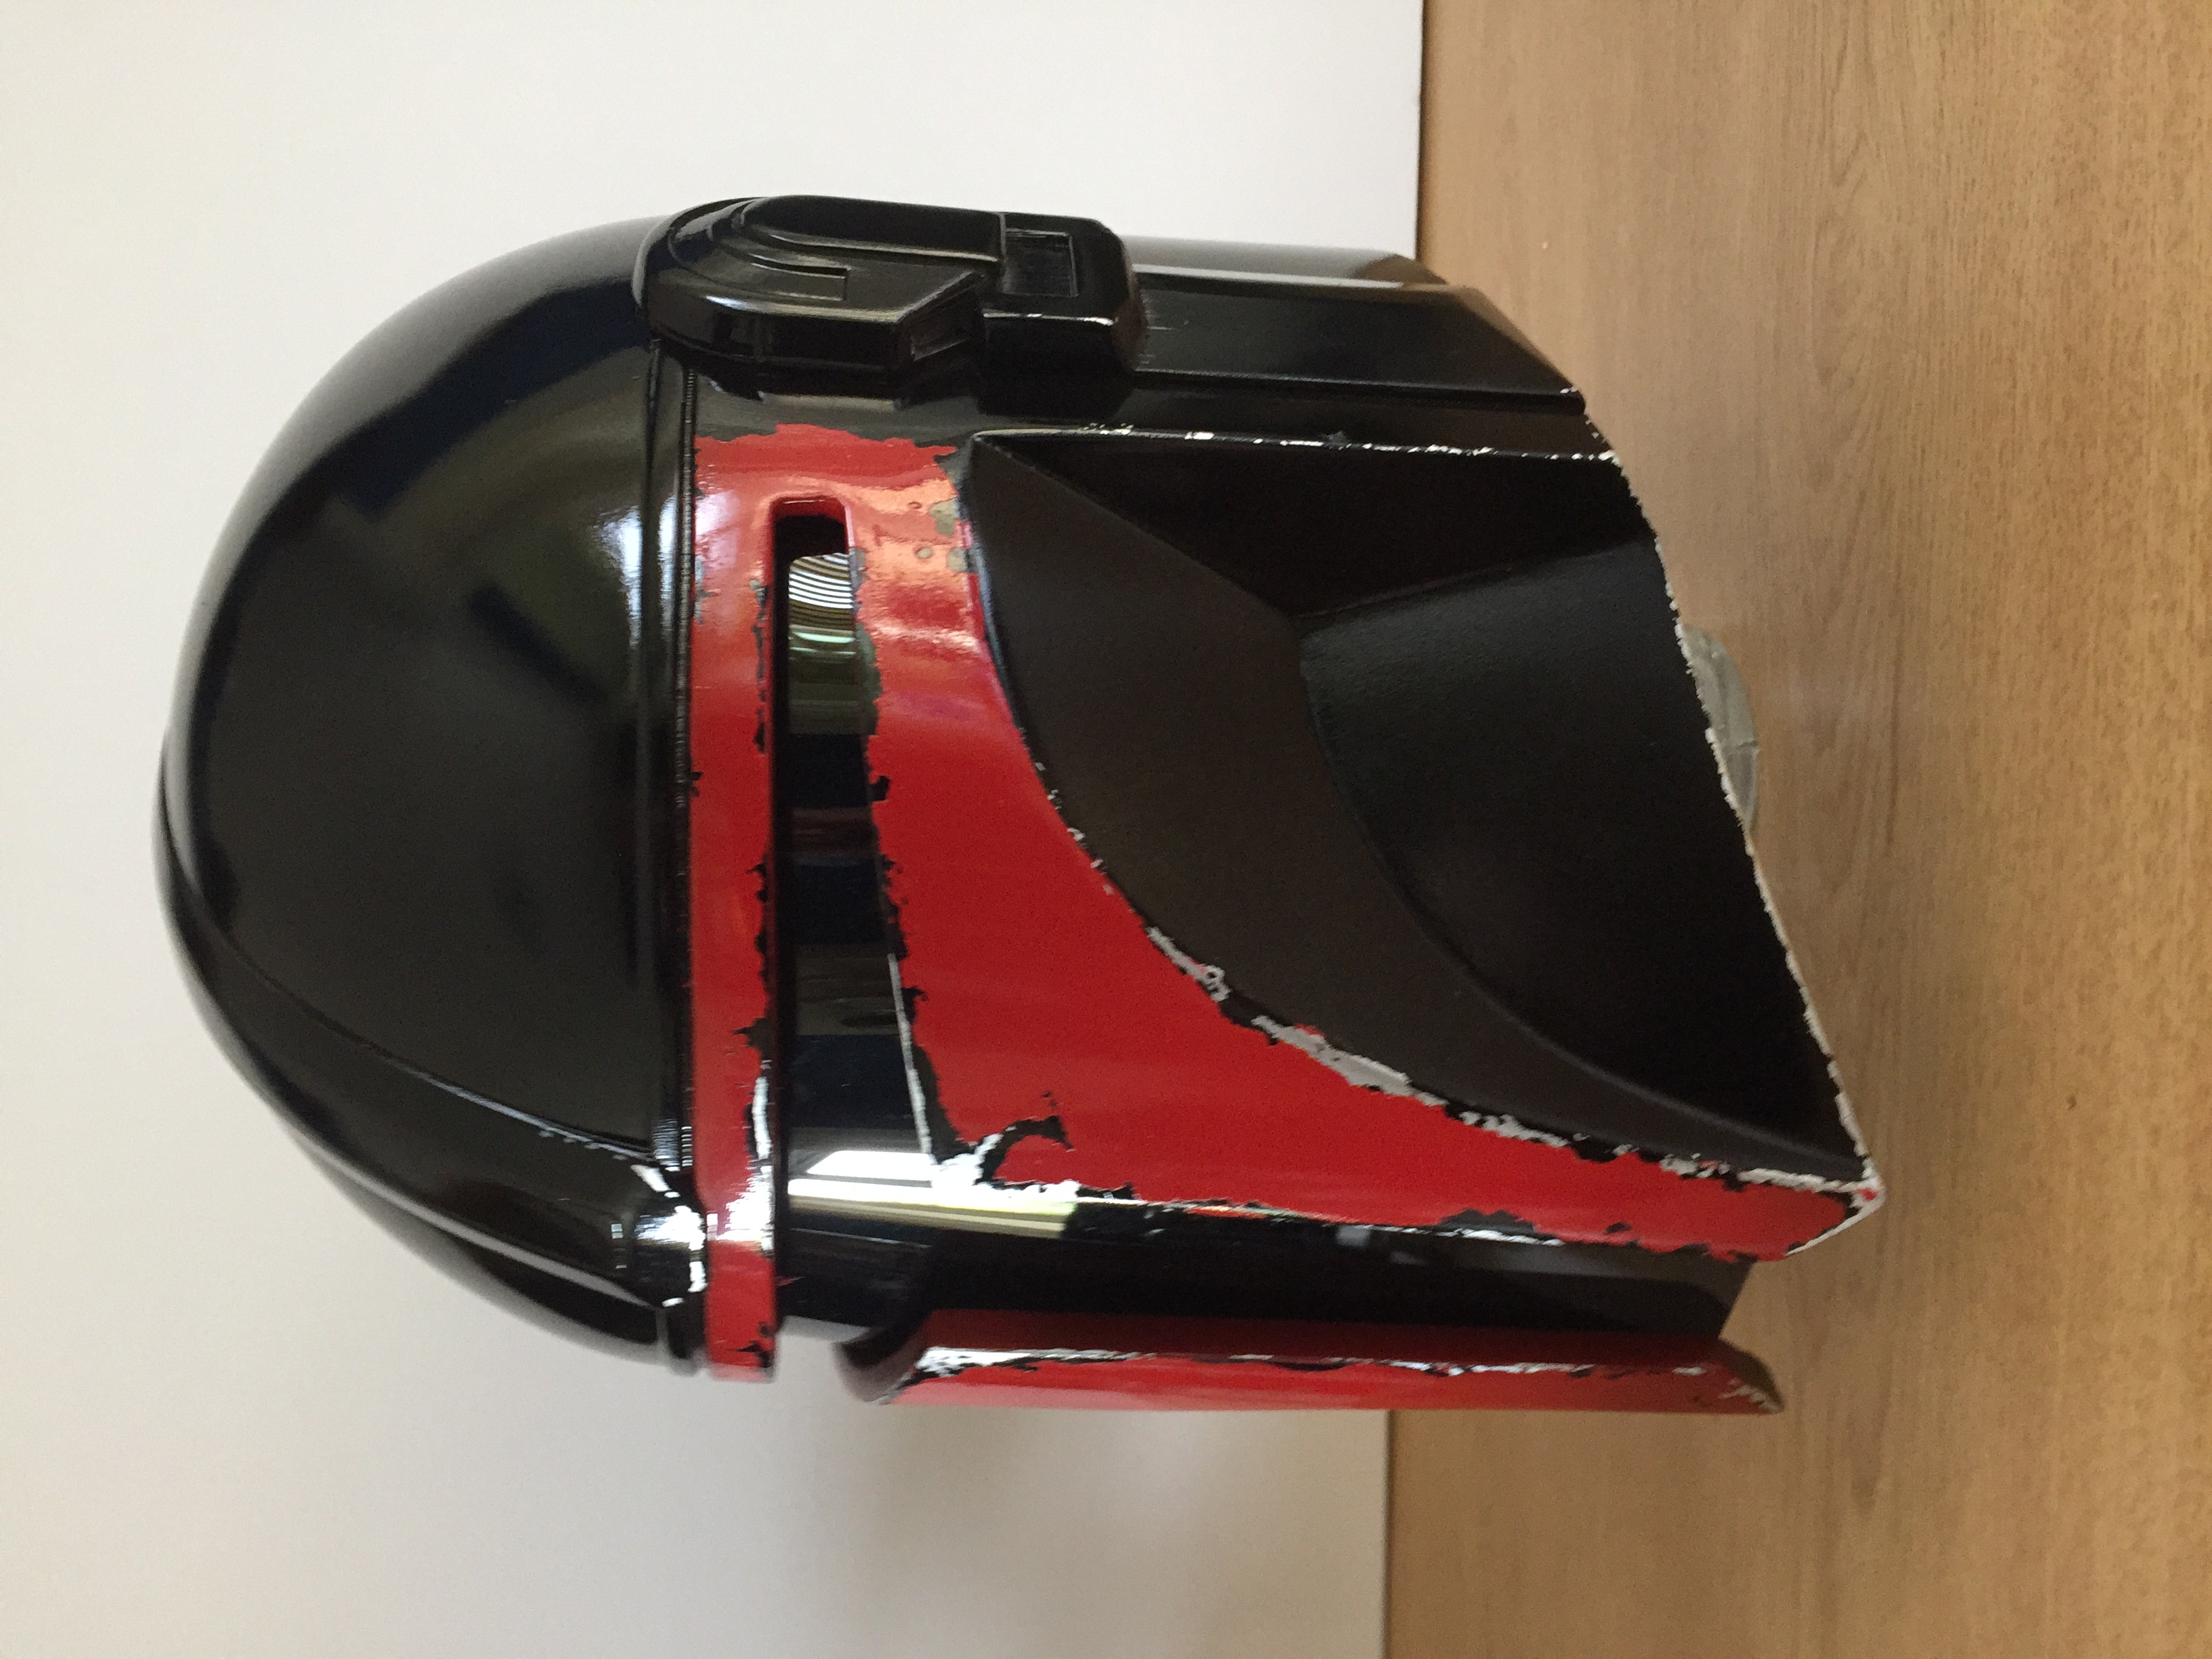
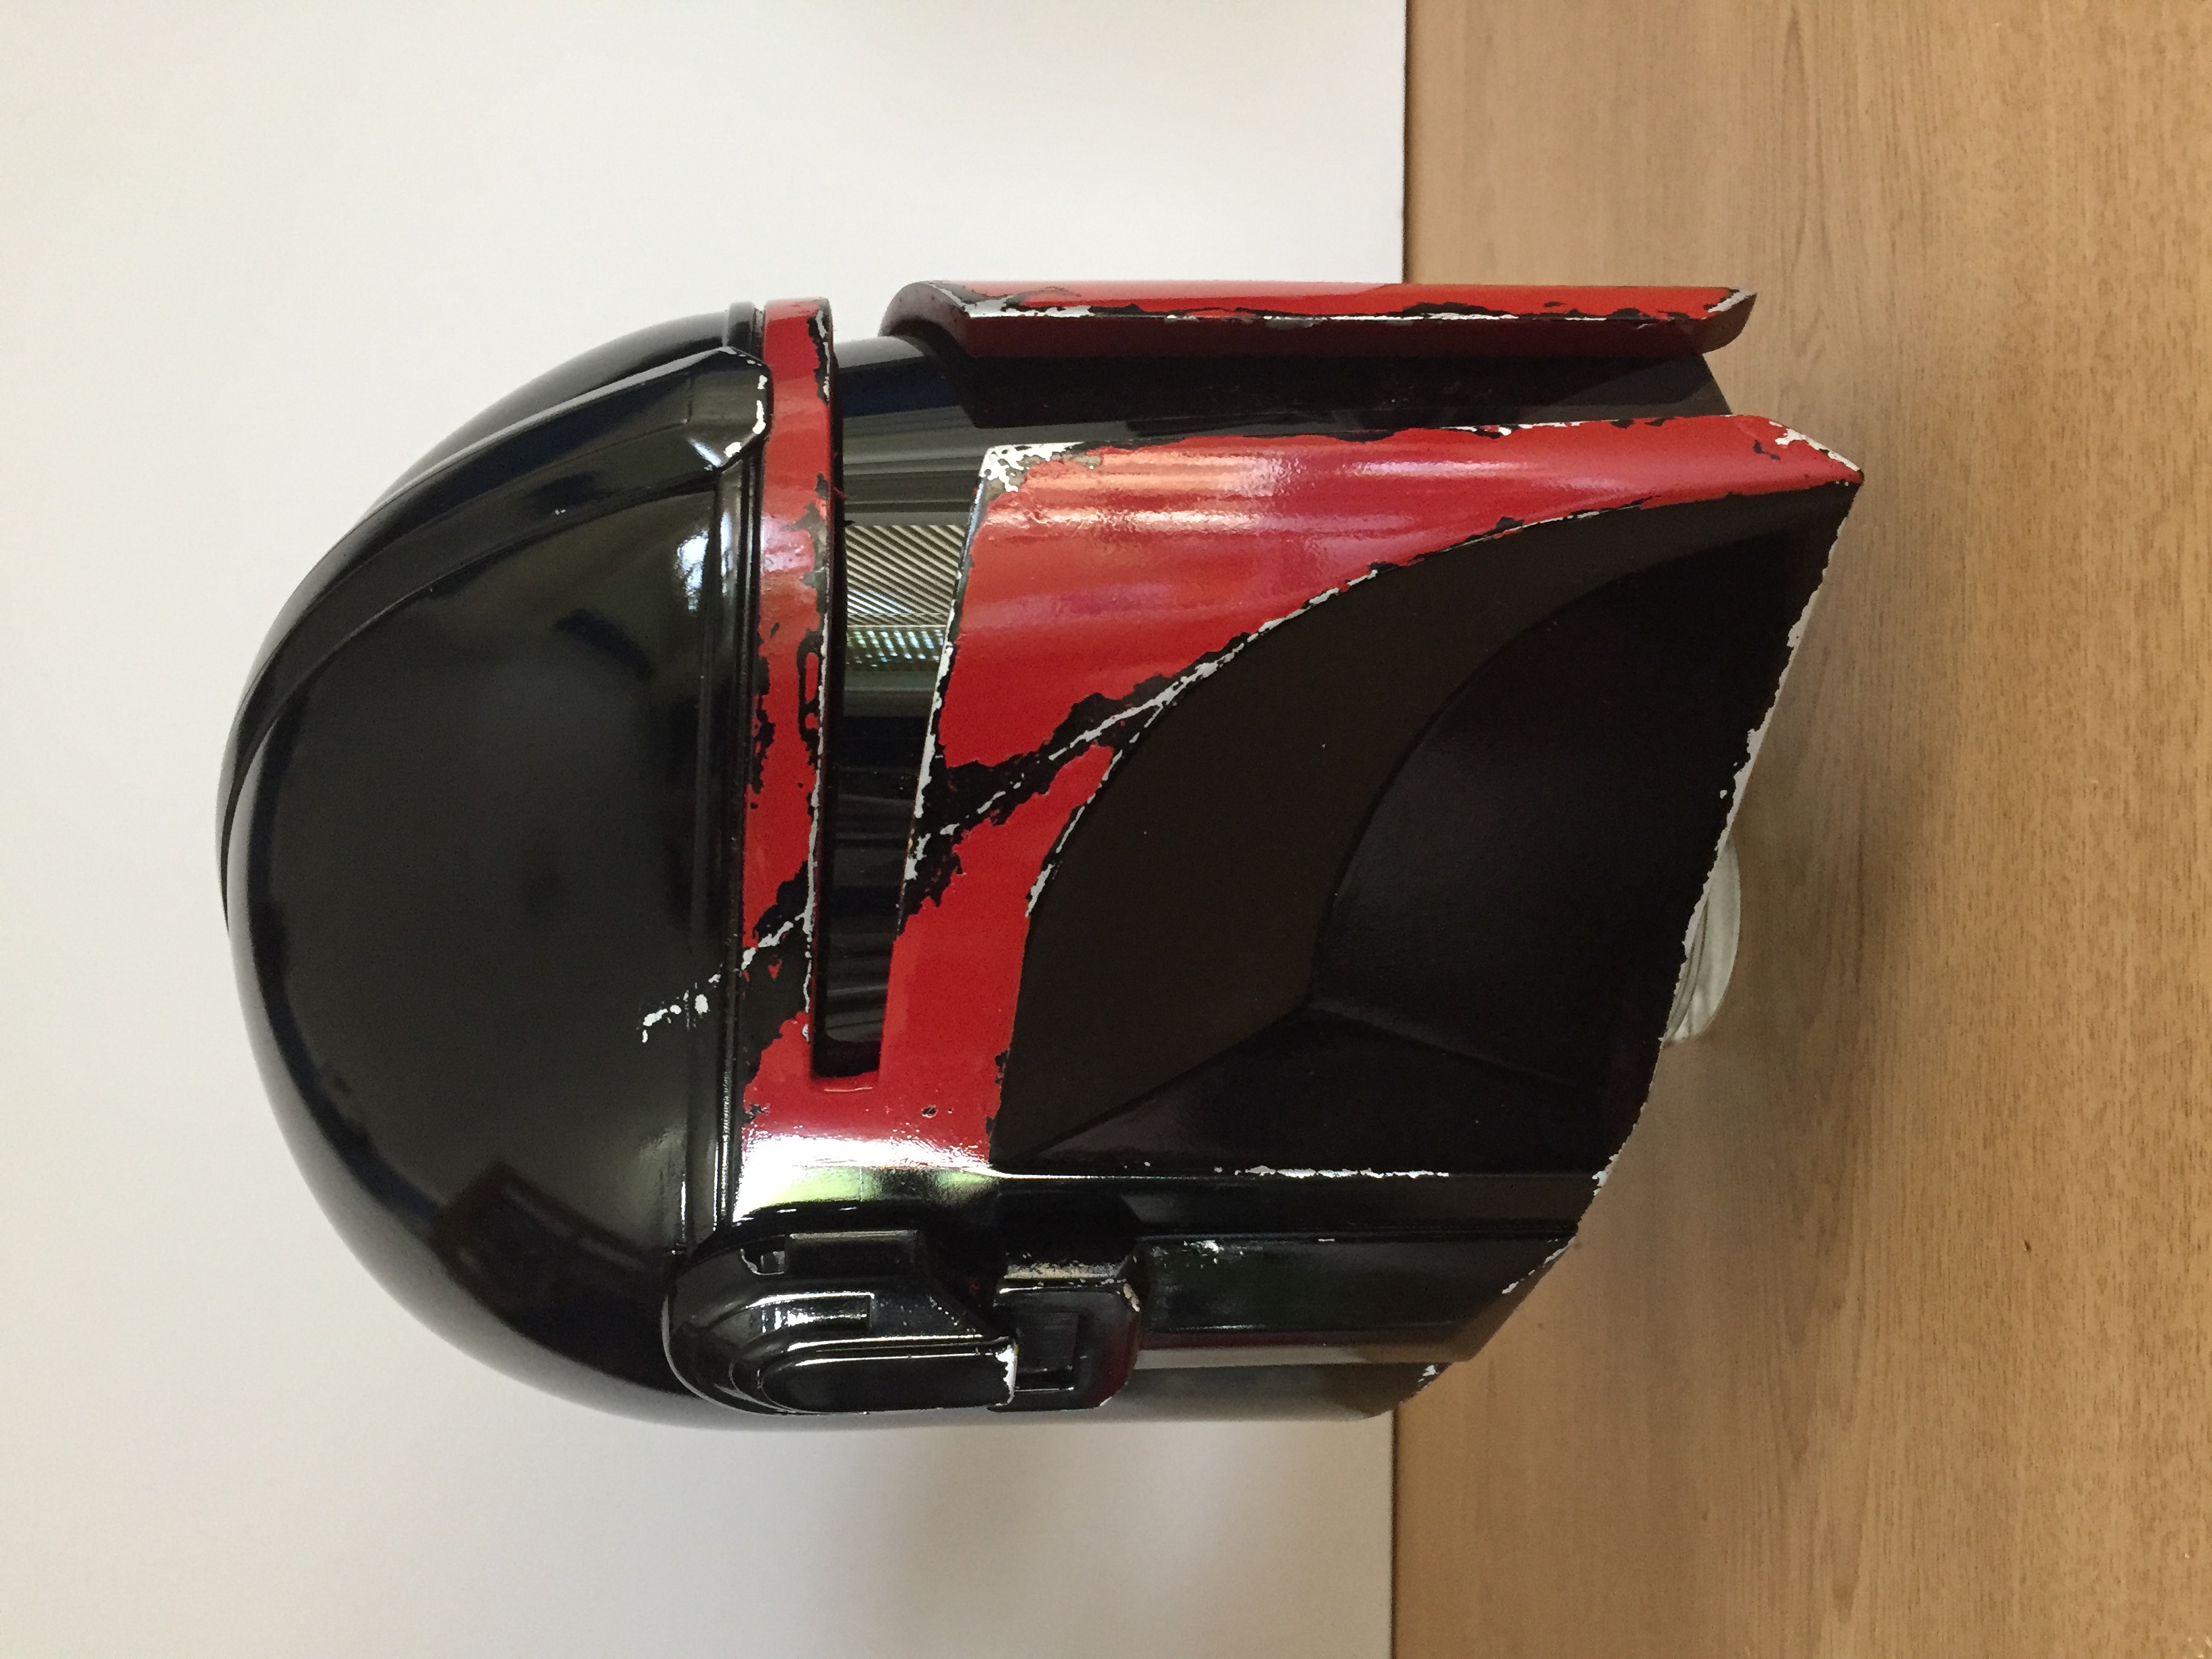
Black for justice, gold for vengeance
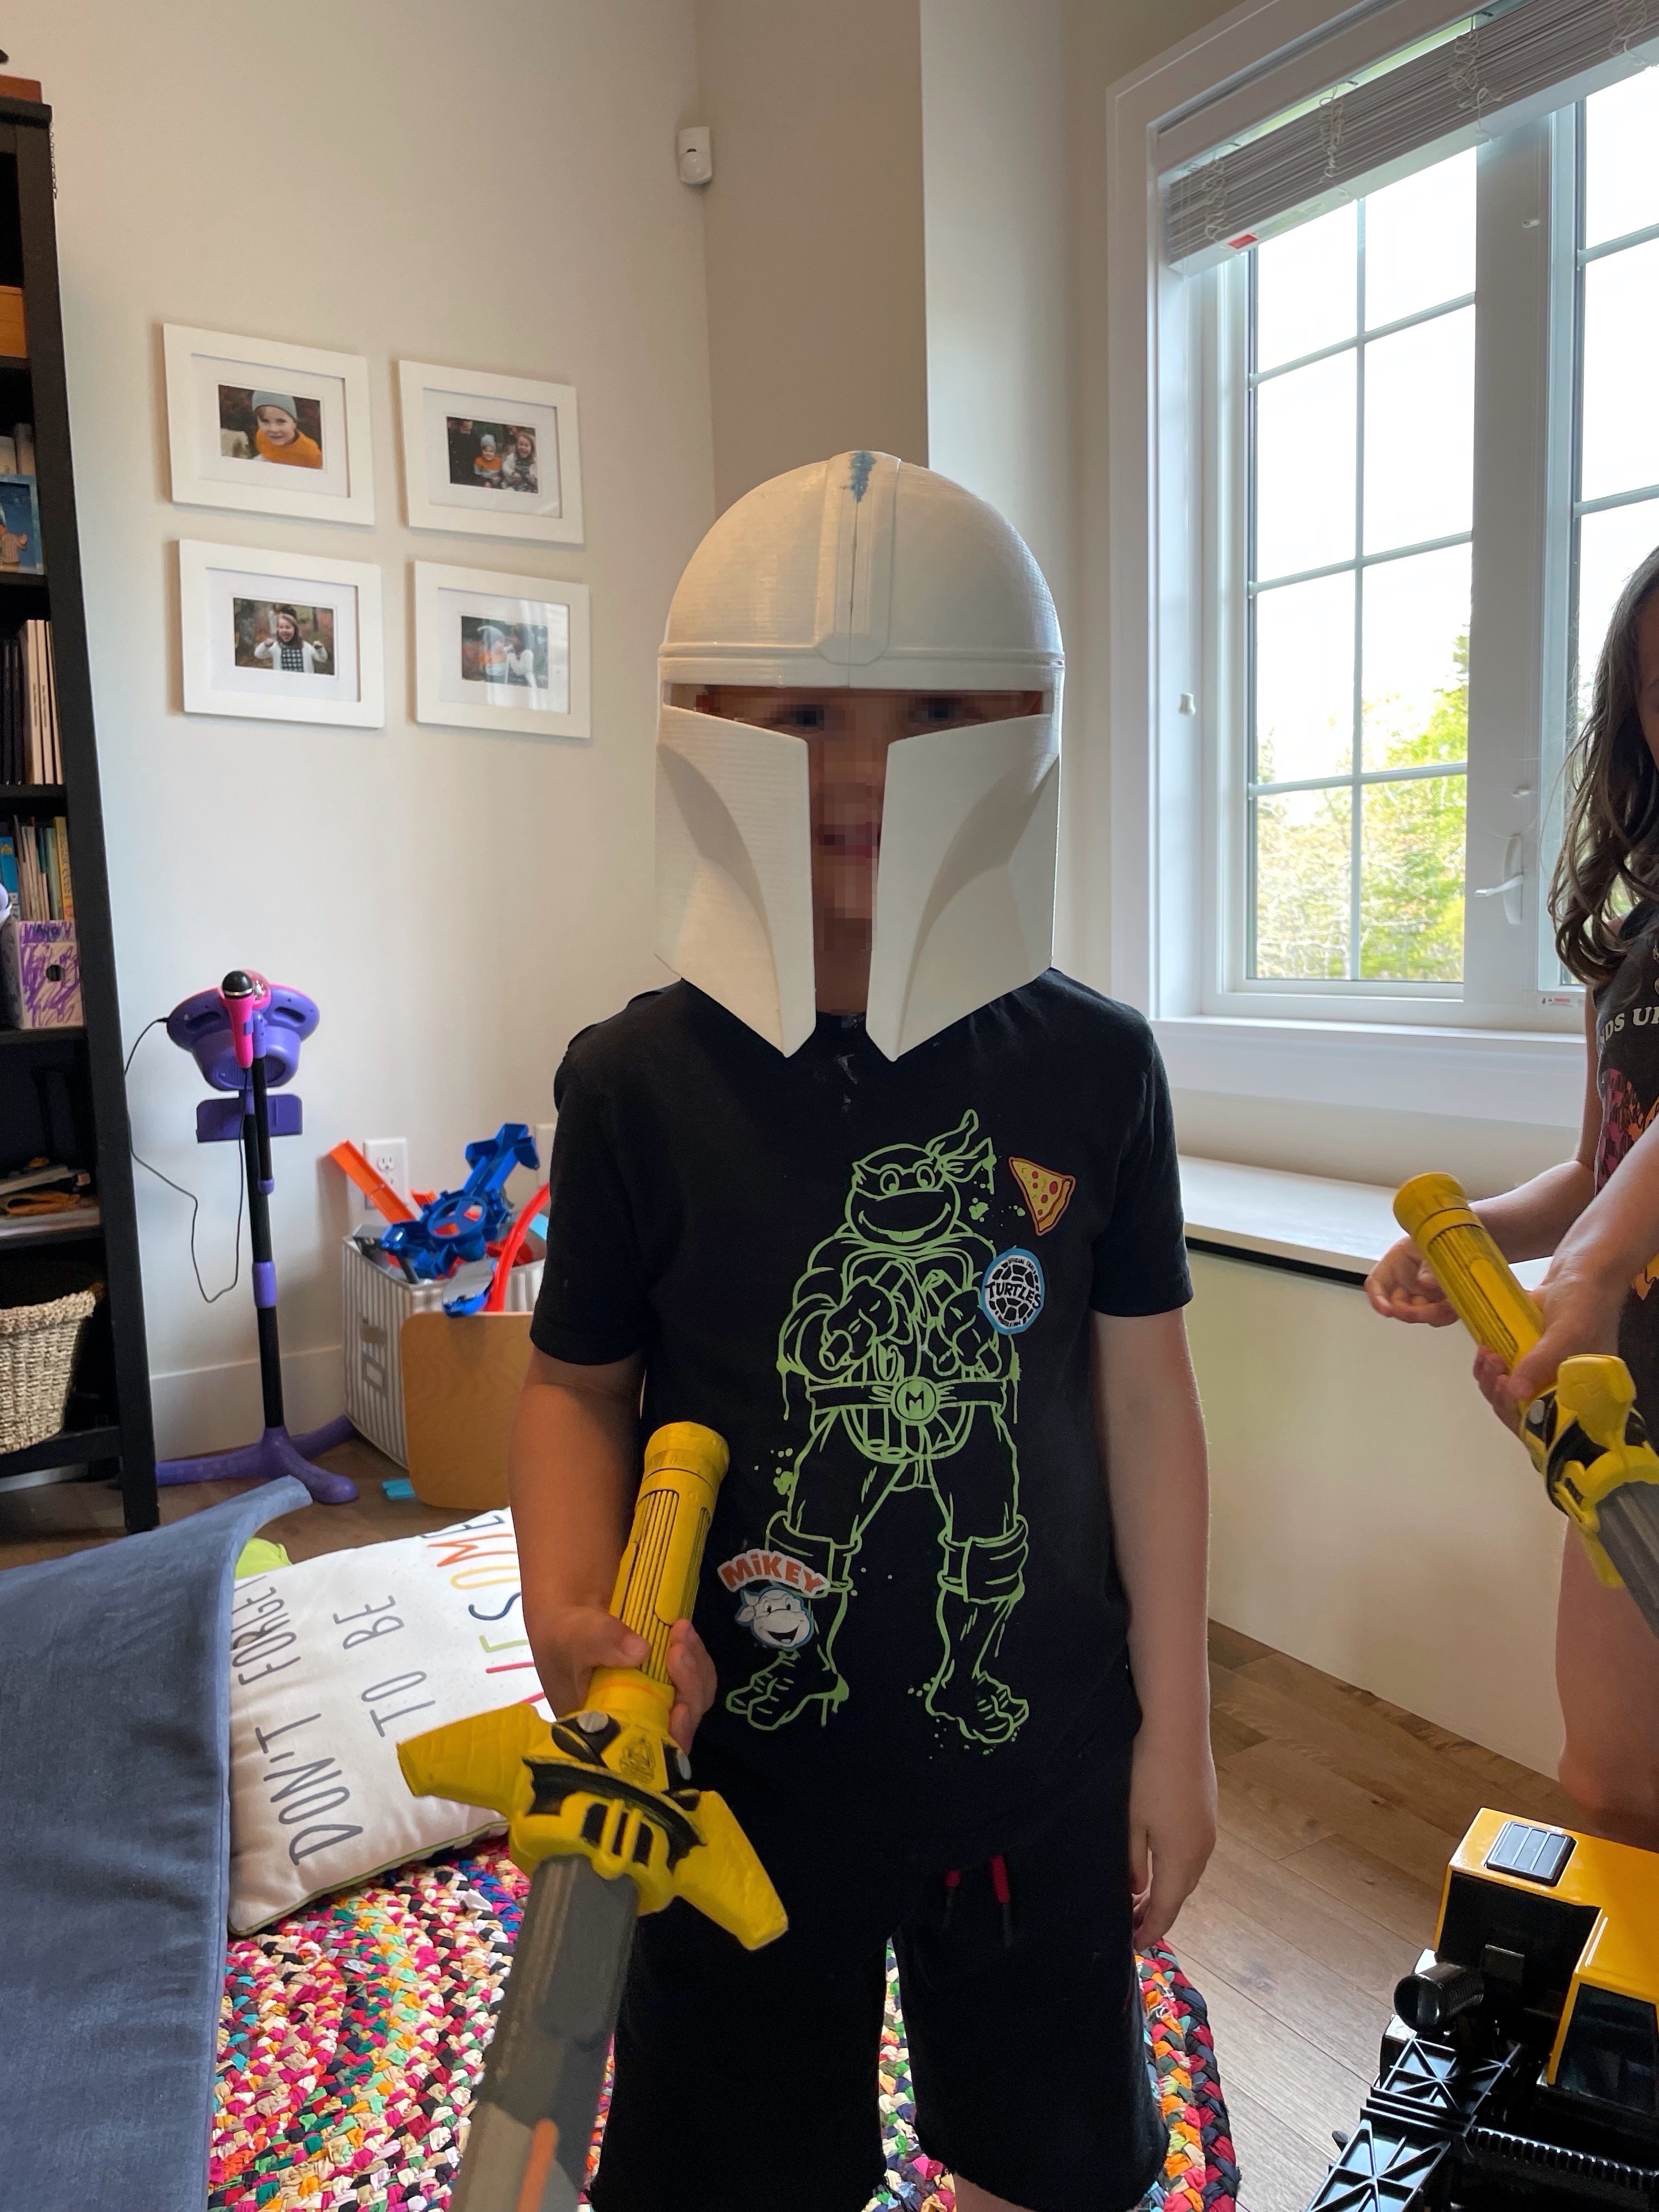
I managed to print the 2 piece on an ender pro 3 v2 (scaled to 85%) for my five year old and it was still pretty big on him. (I can fit it on my 35 year old head). I've sliced the 1 piece scaled at 78% so I might give that a try as well.
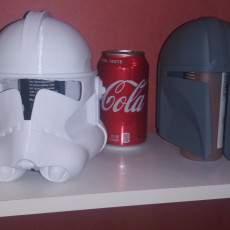
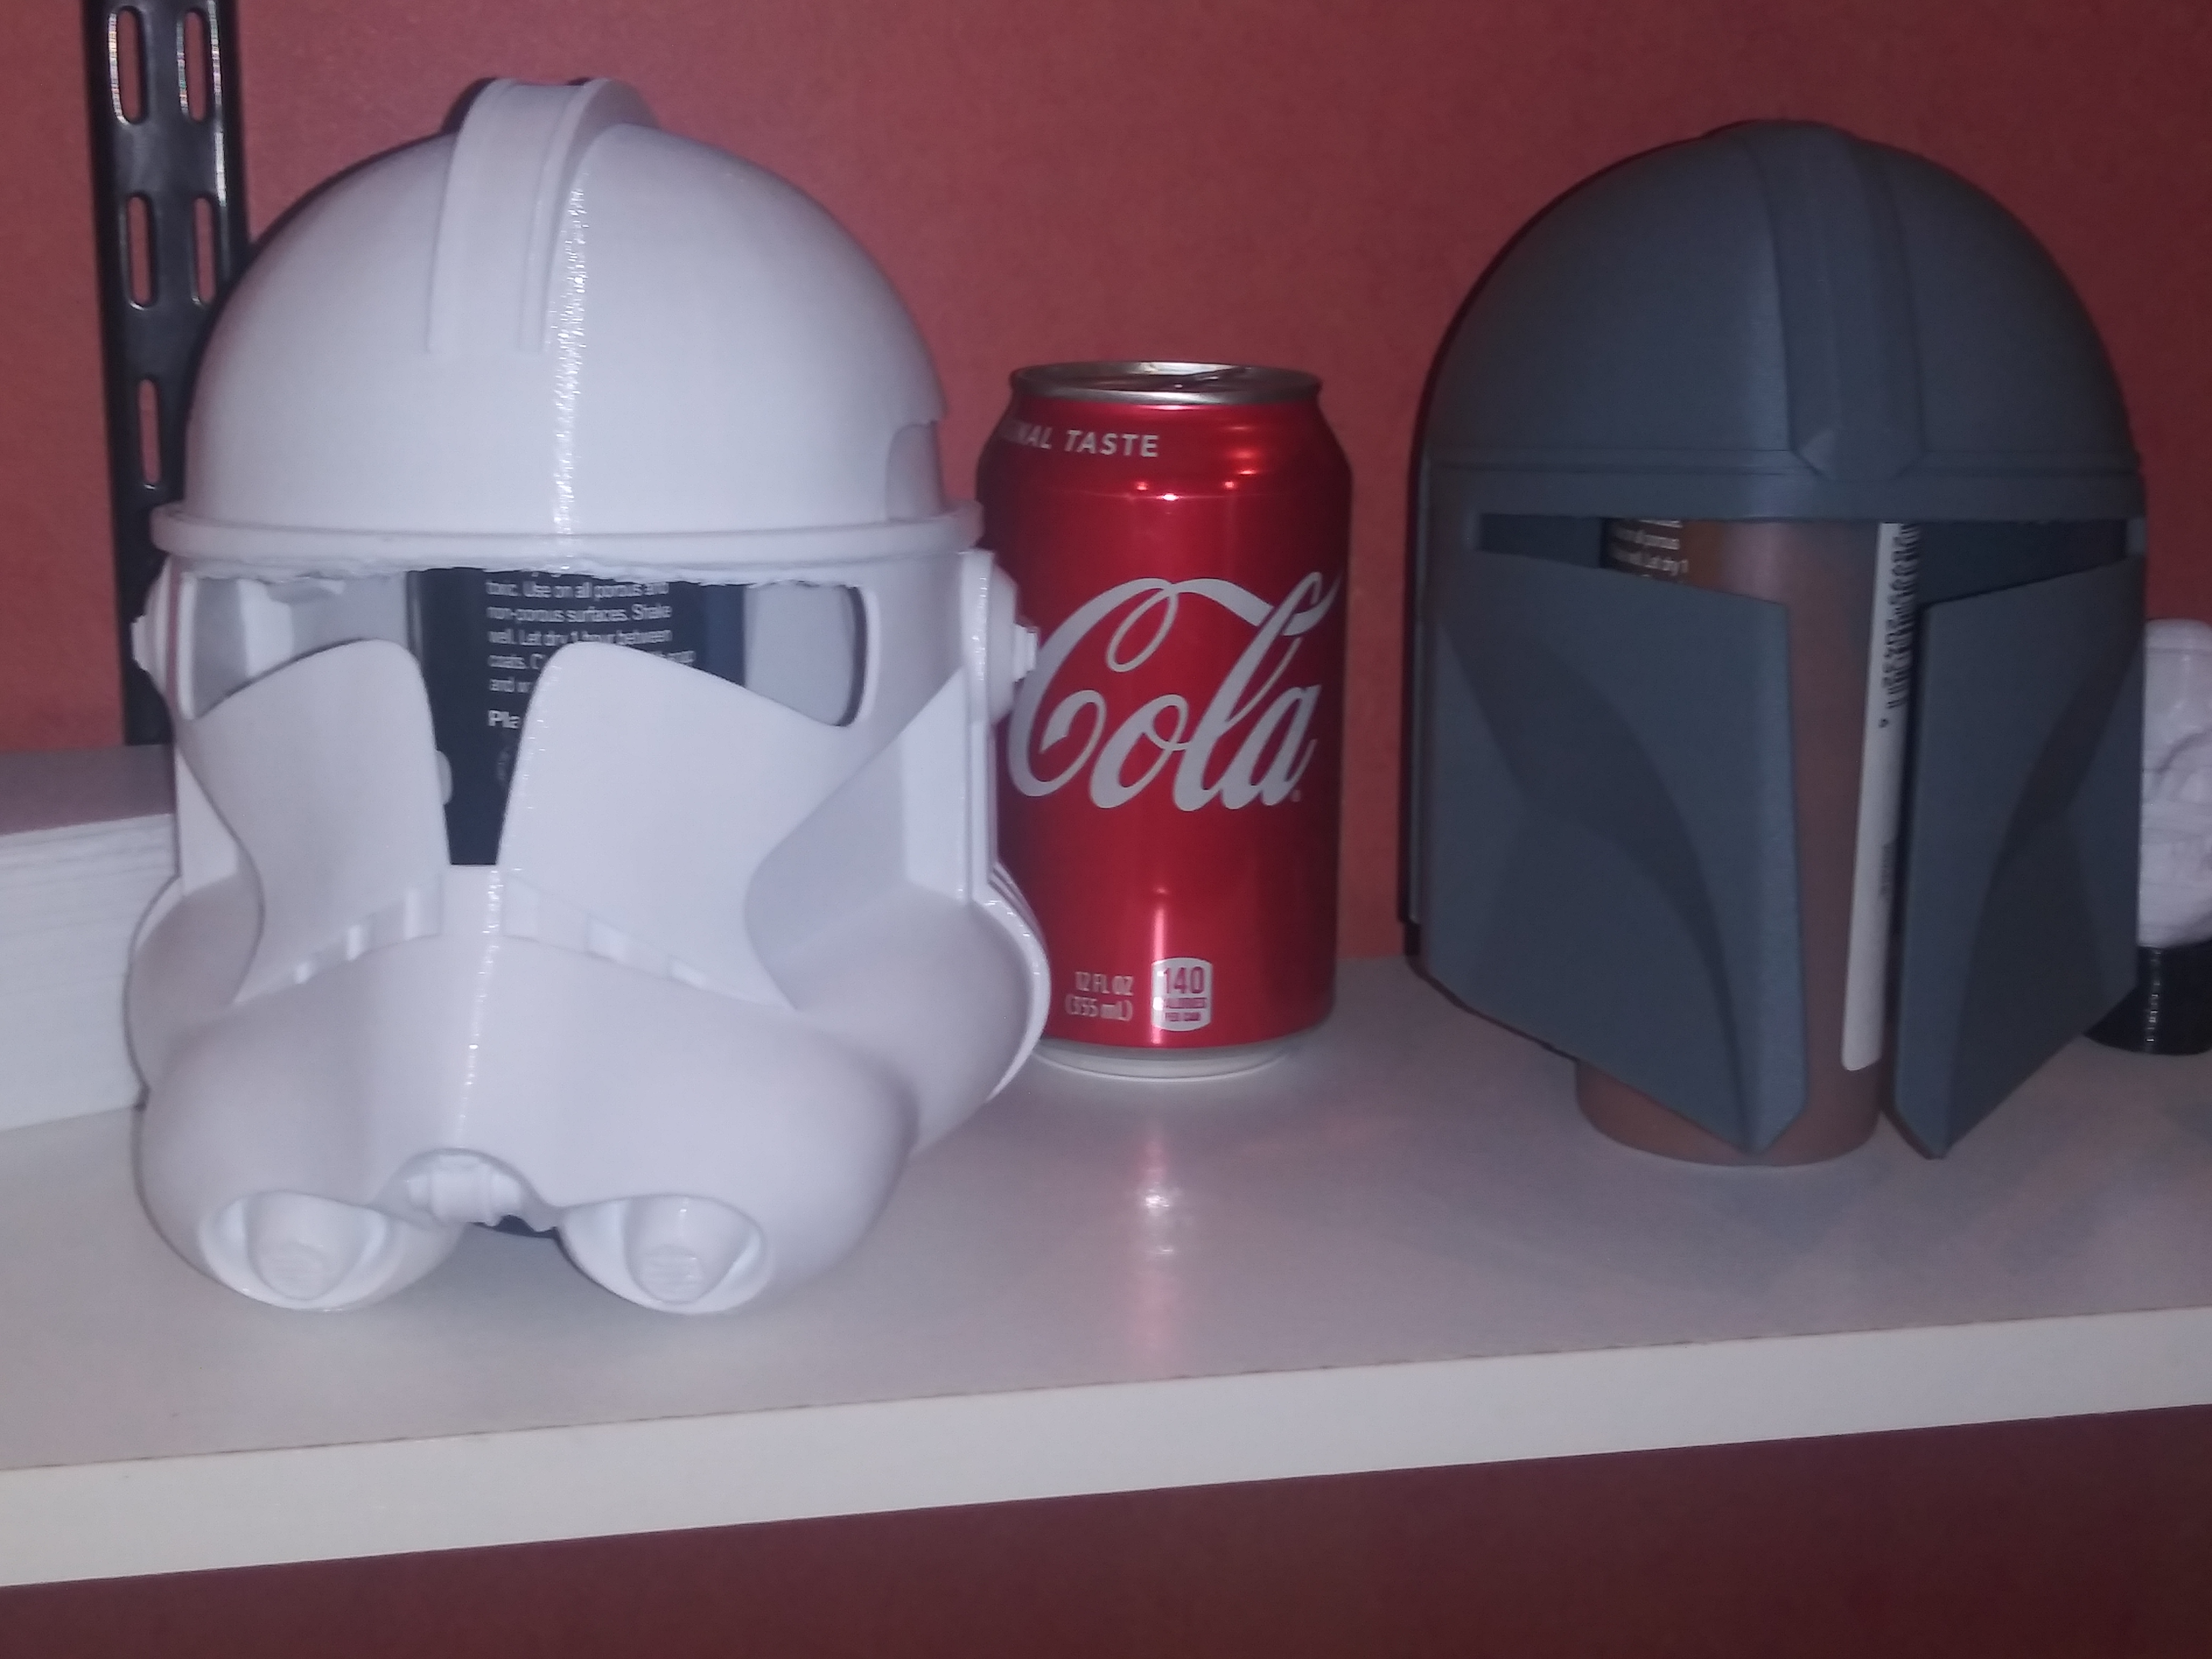
I printed it at 54% to go with my phase 2 clone trooper helmet. I used my cr-10s pro v2 to make it.
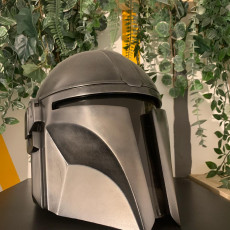
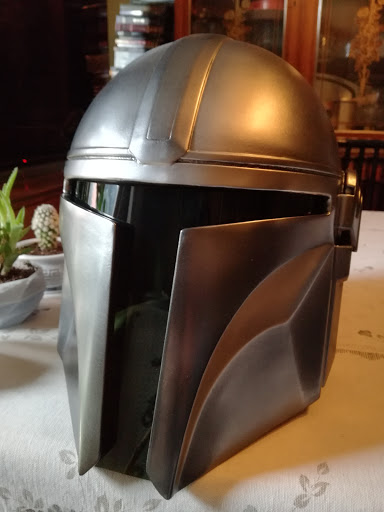
Printed on my CR-10. I used HTPLA from Proto Pasta. Base coat was automotive engine enamel which produces a high gloss base. Followed by Alclad Chrome 107. Put a clear high gloss lacquer to seal it and gave it a polish with automotive compound. Weathering was a burnt sienna from winsor and winton.
Thank you for sharing the model @robpauza. From an 8 part print on an Ender 3 v2! After a month long printing, assembling, sanding, priming, sanding, painting, sanding, and graphite coating, my first ever helmet build is nearly done! Next is Spraymax 2k coating, more graphite coating, and last coat of Spraymax 2k, followed by oil-based weathering.
Awesome helmet
I started working a for a 3d printing manufacturer and knew the first thing I had to print on one of the large format machines: this helmet! It came out beautifully, it's an incredible design. Can't wait to finish it. This is the Way.
Thank you for sharing this model! It was an exciting 2 day long print but ended up well
Love the models! Print great on any printer when printed in pieces. I lost a bit of detail thanks to the many many layers of primer/paint I used.
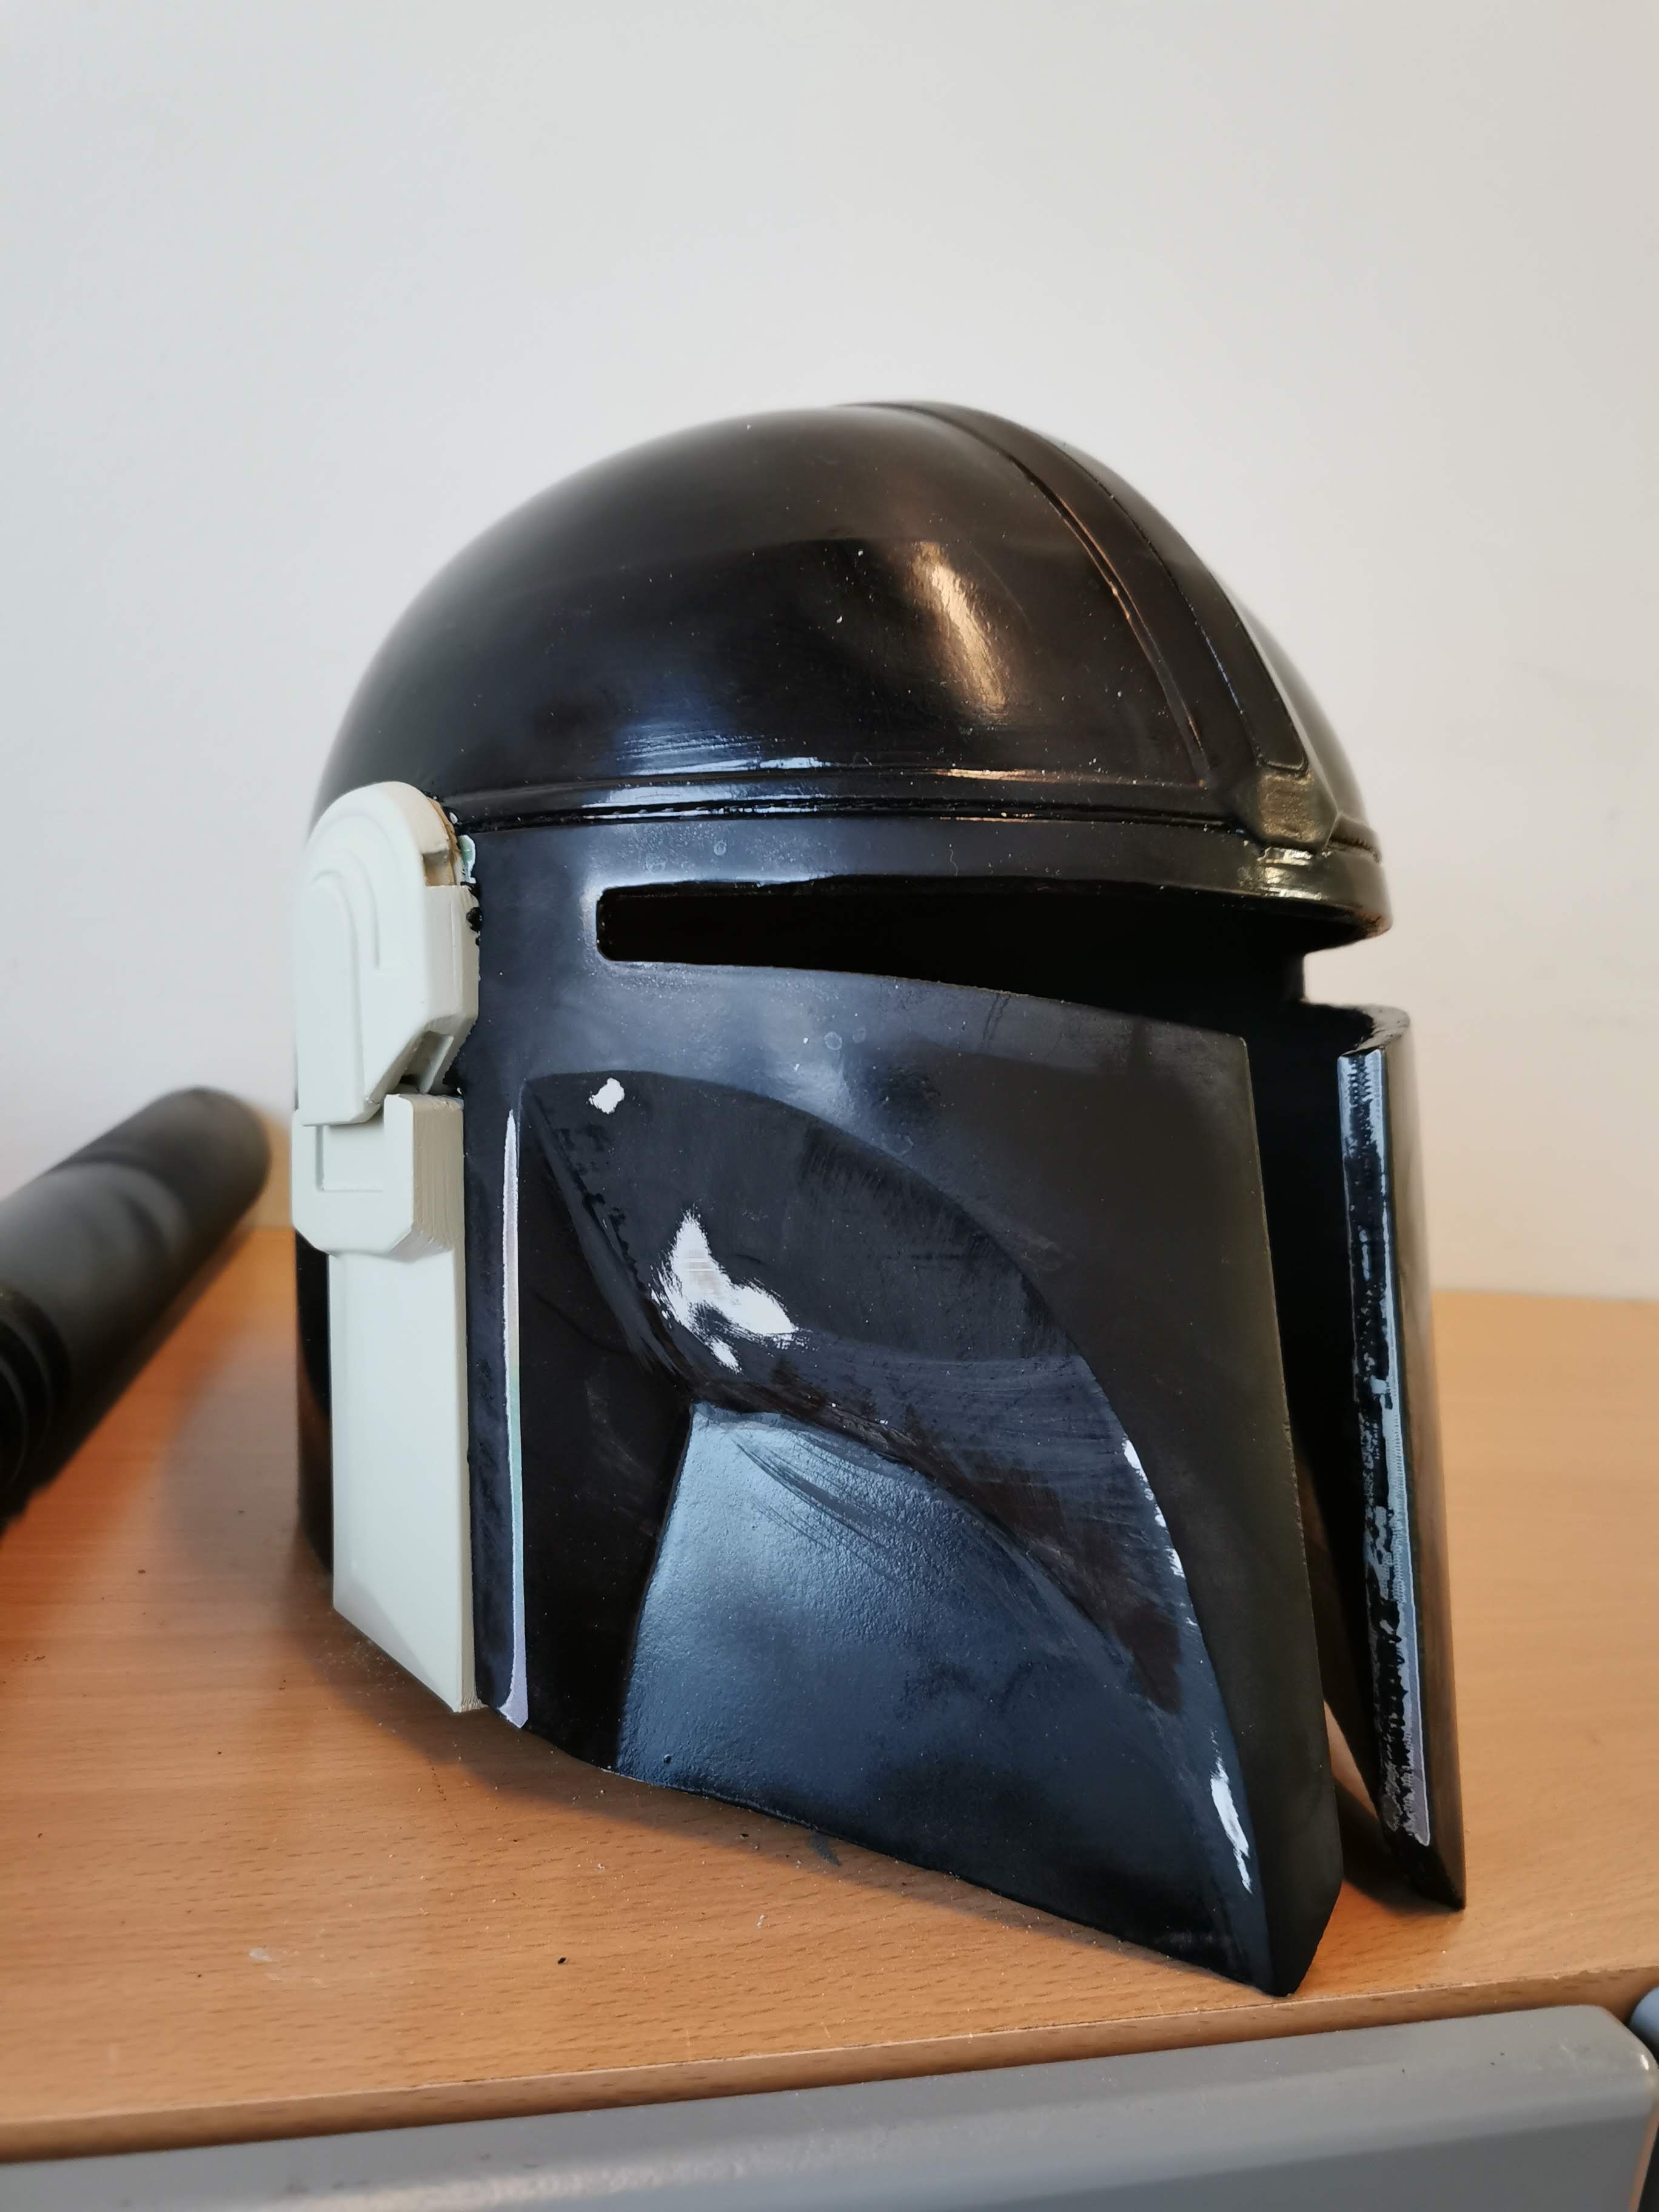
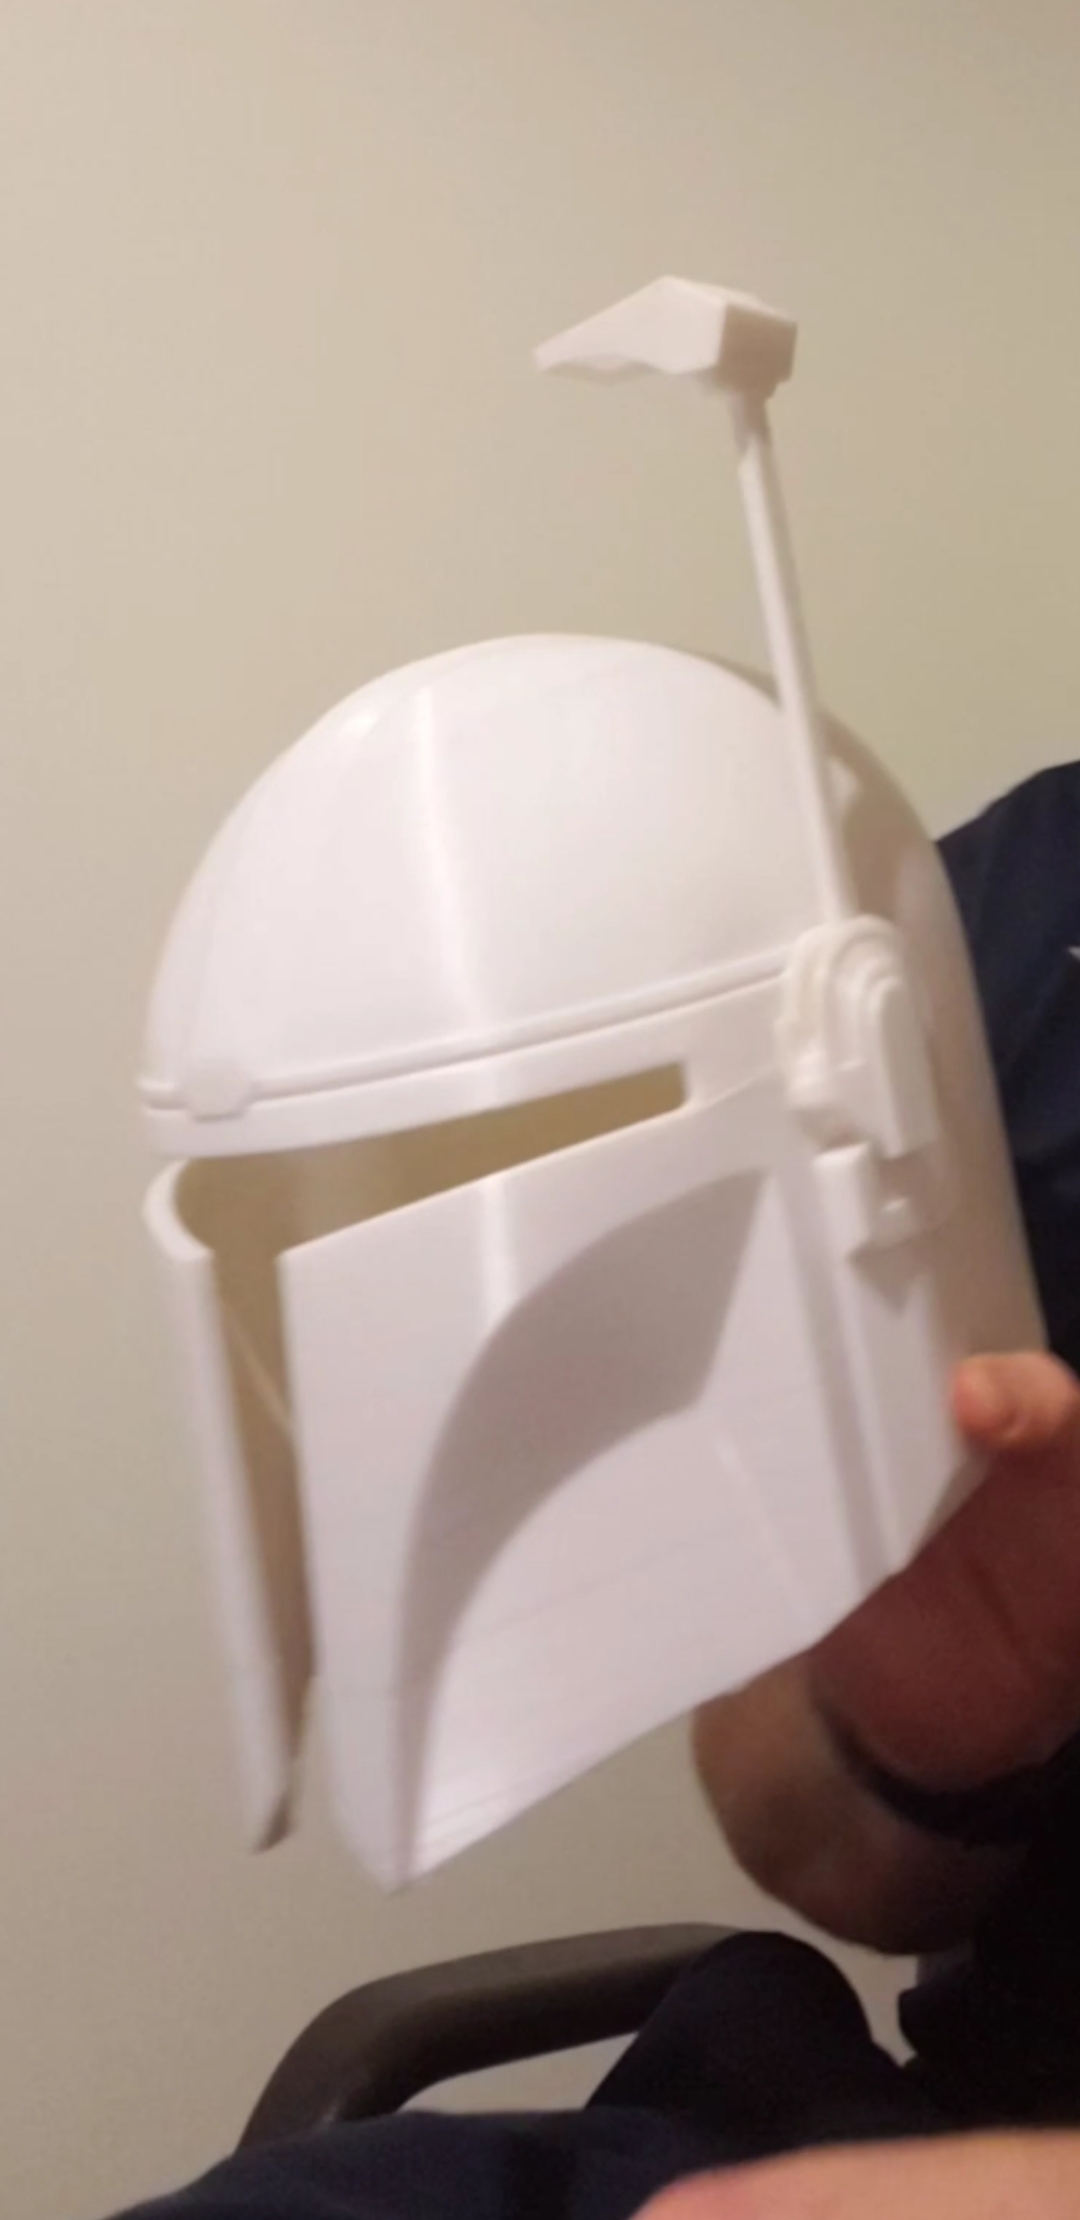
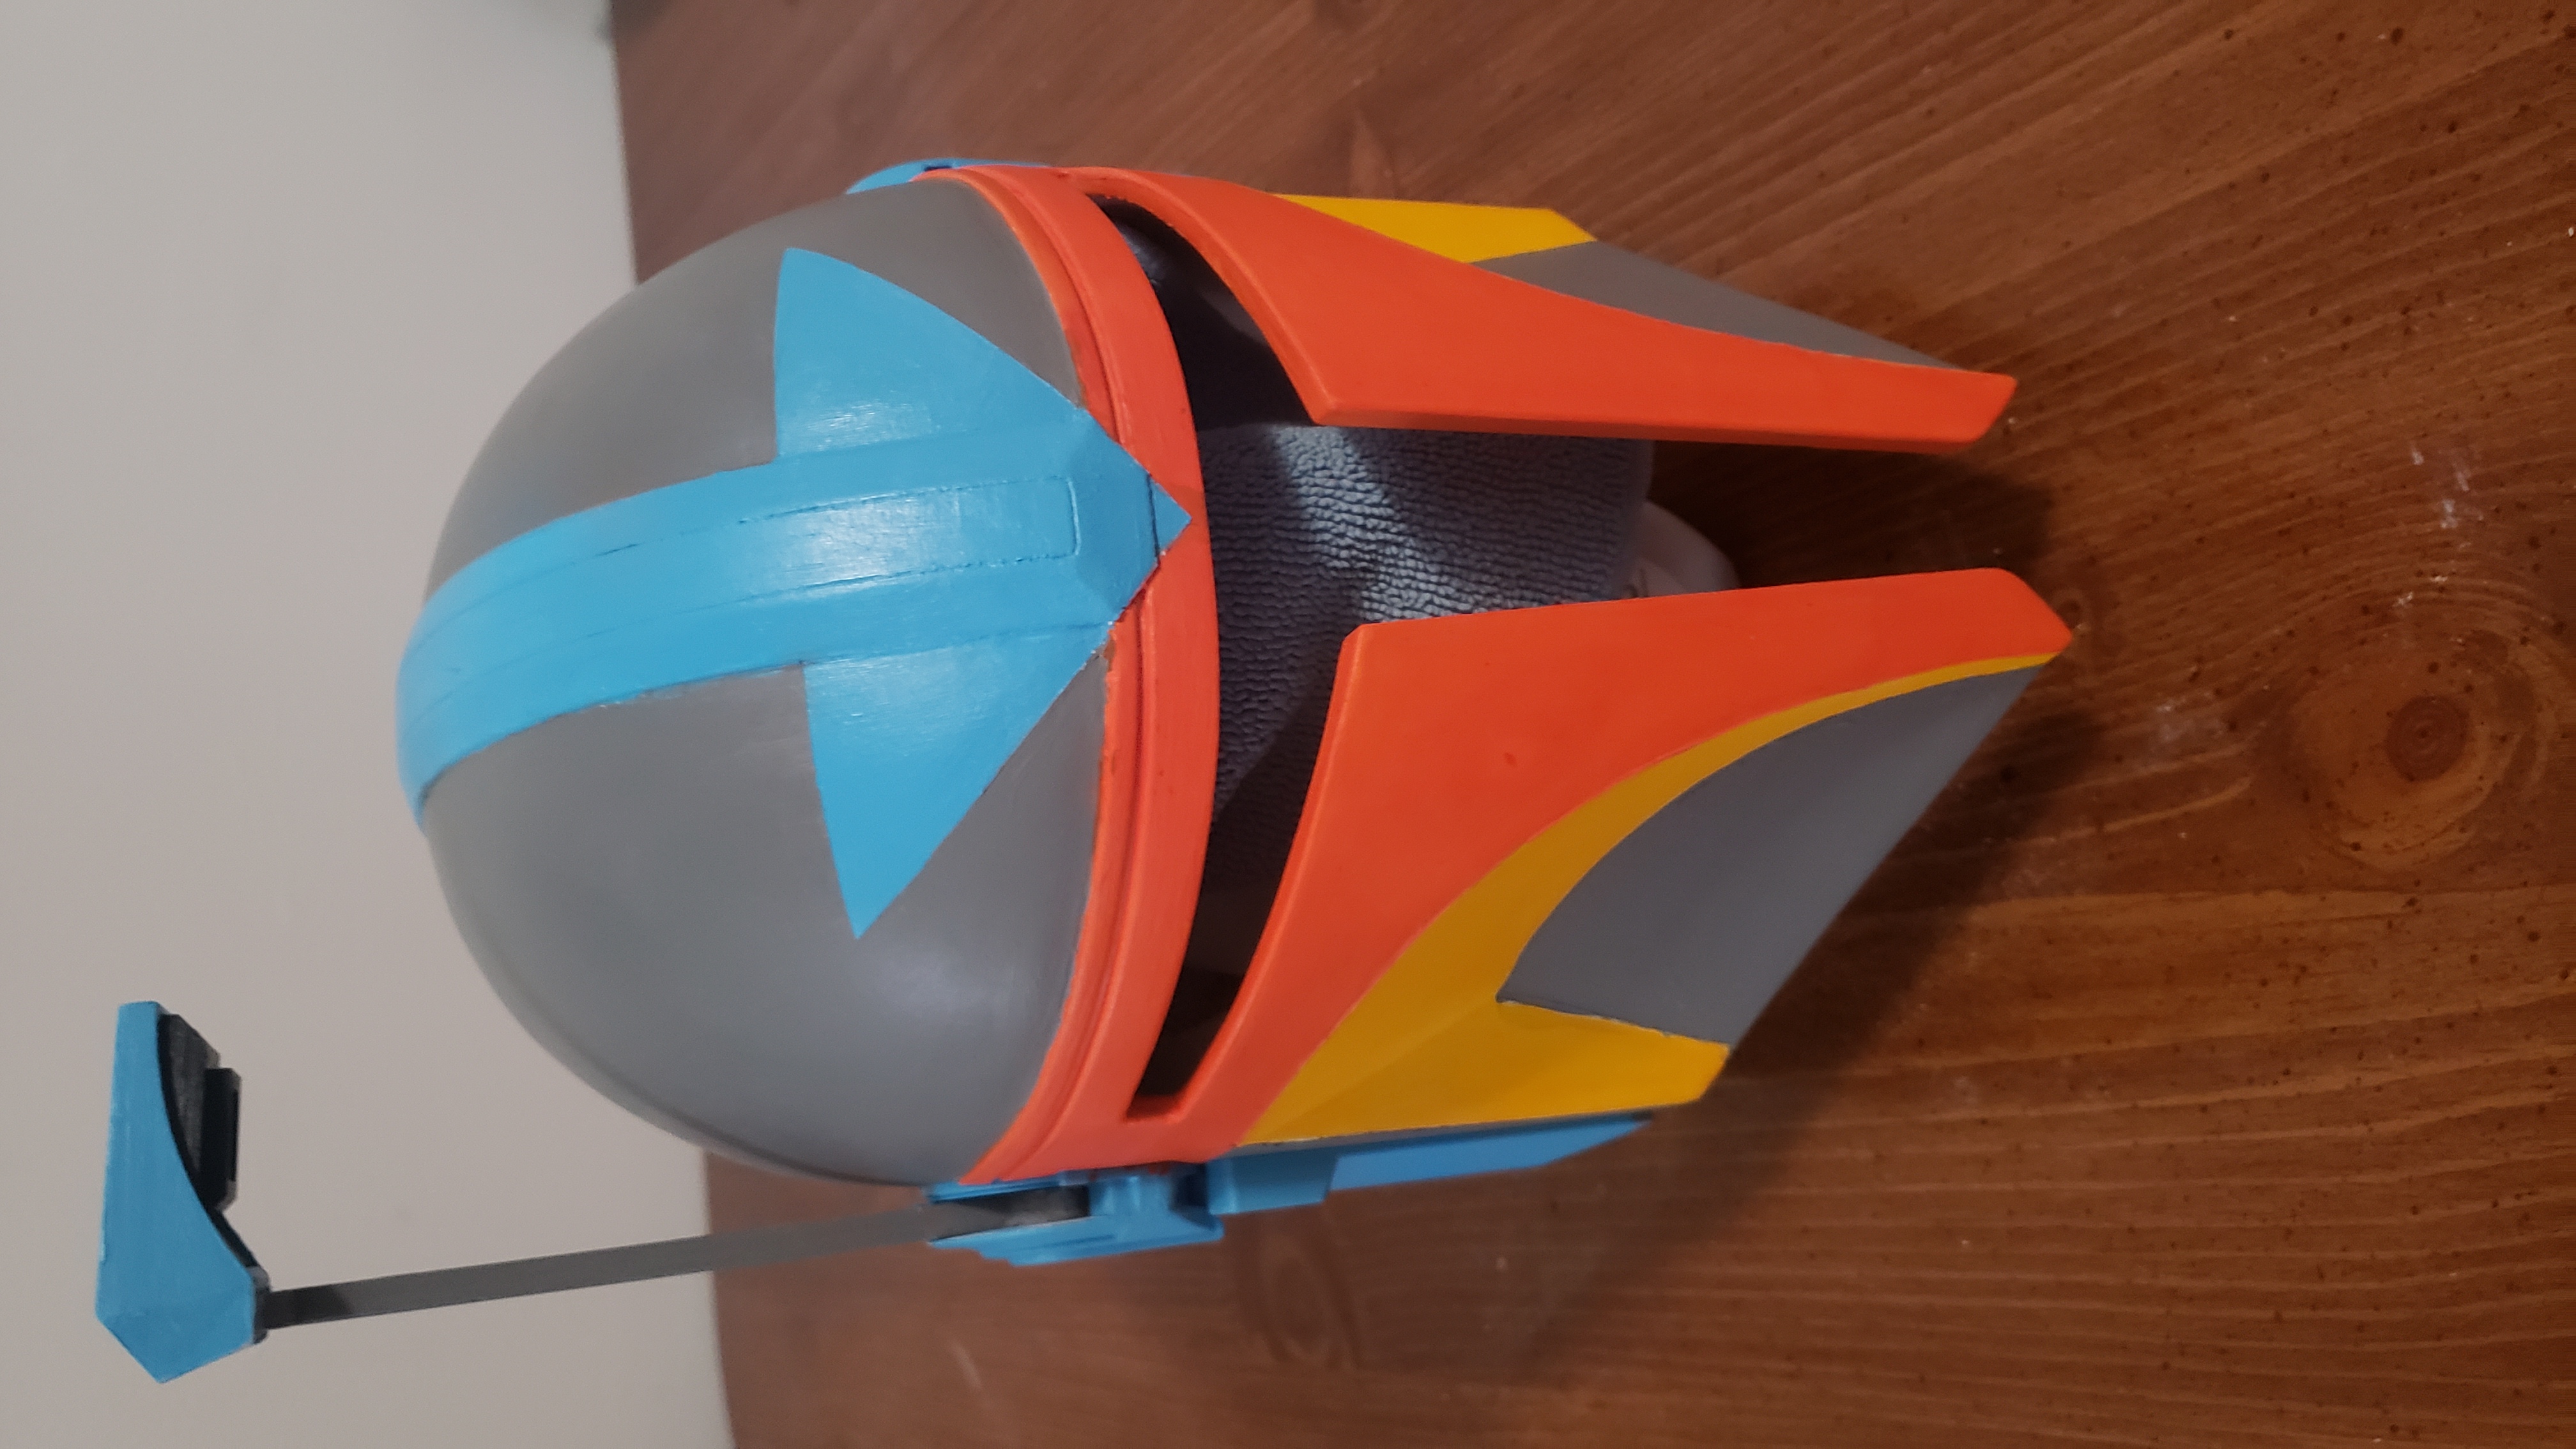
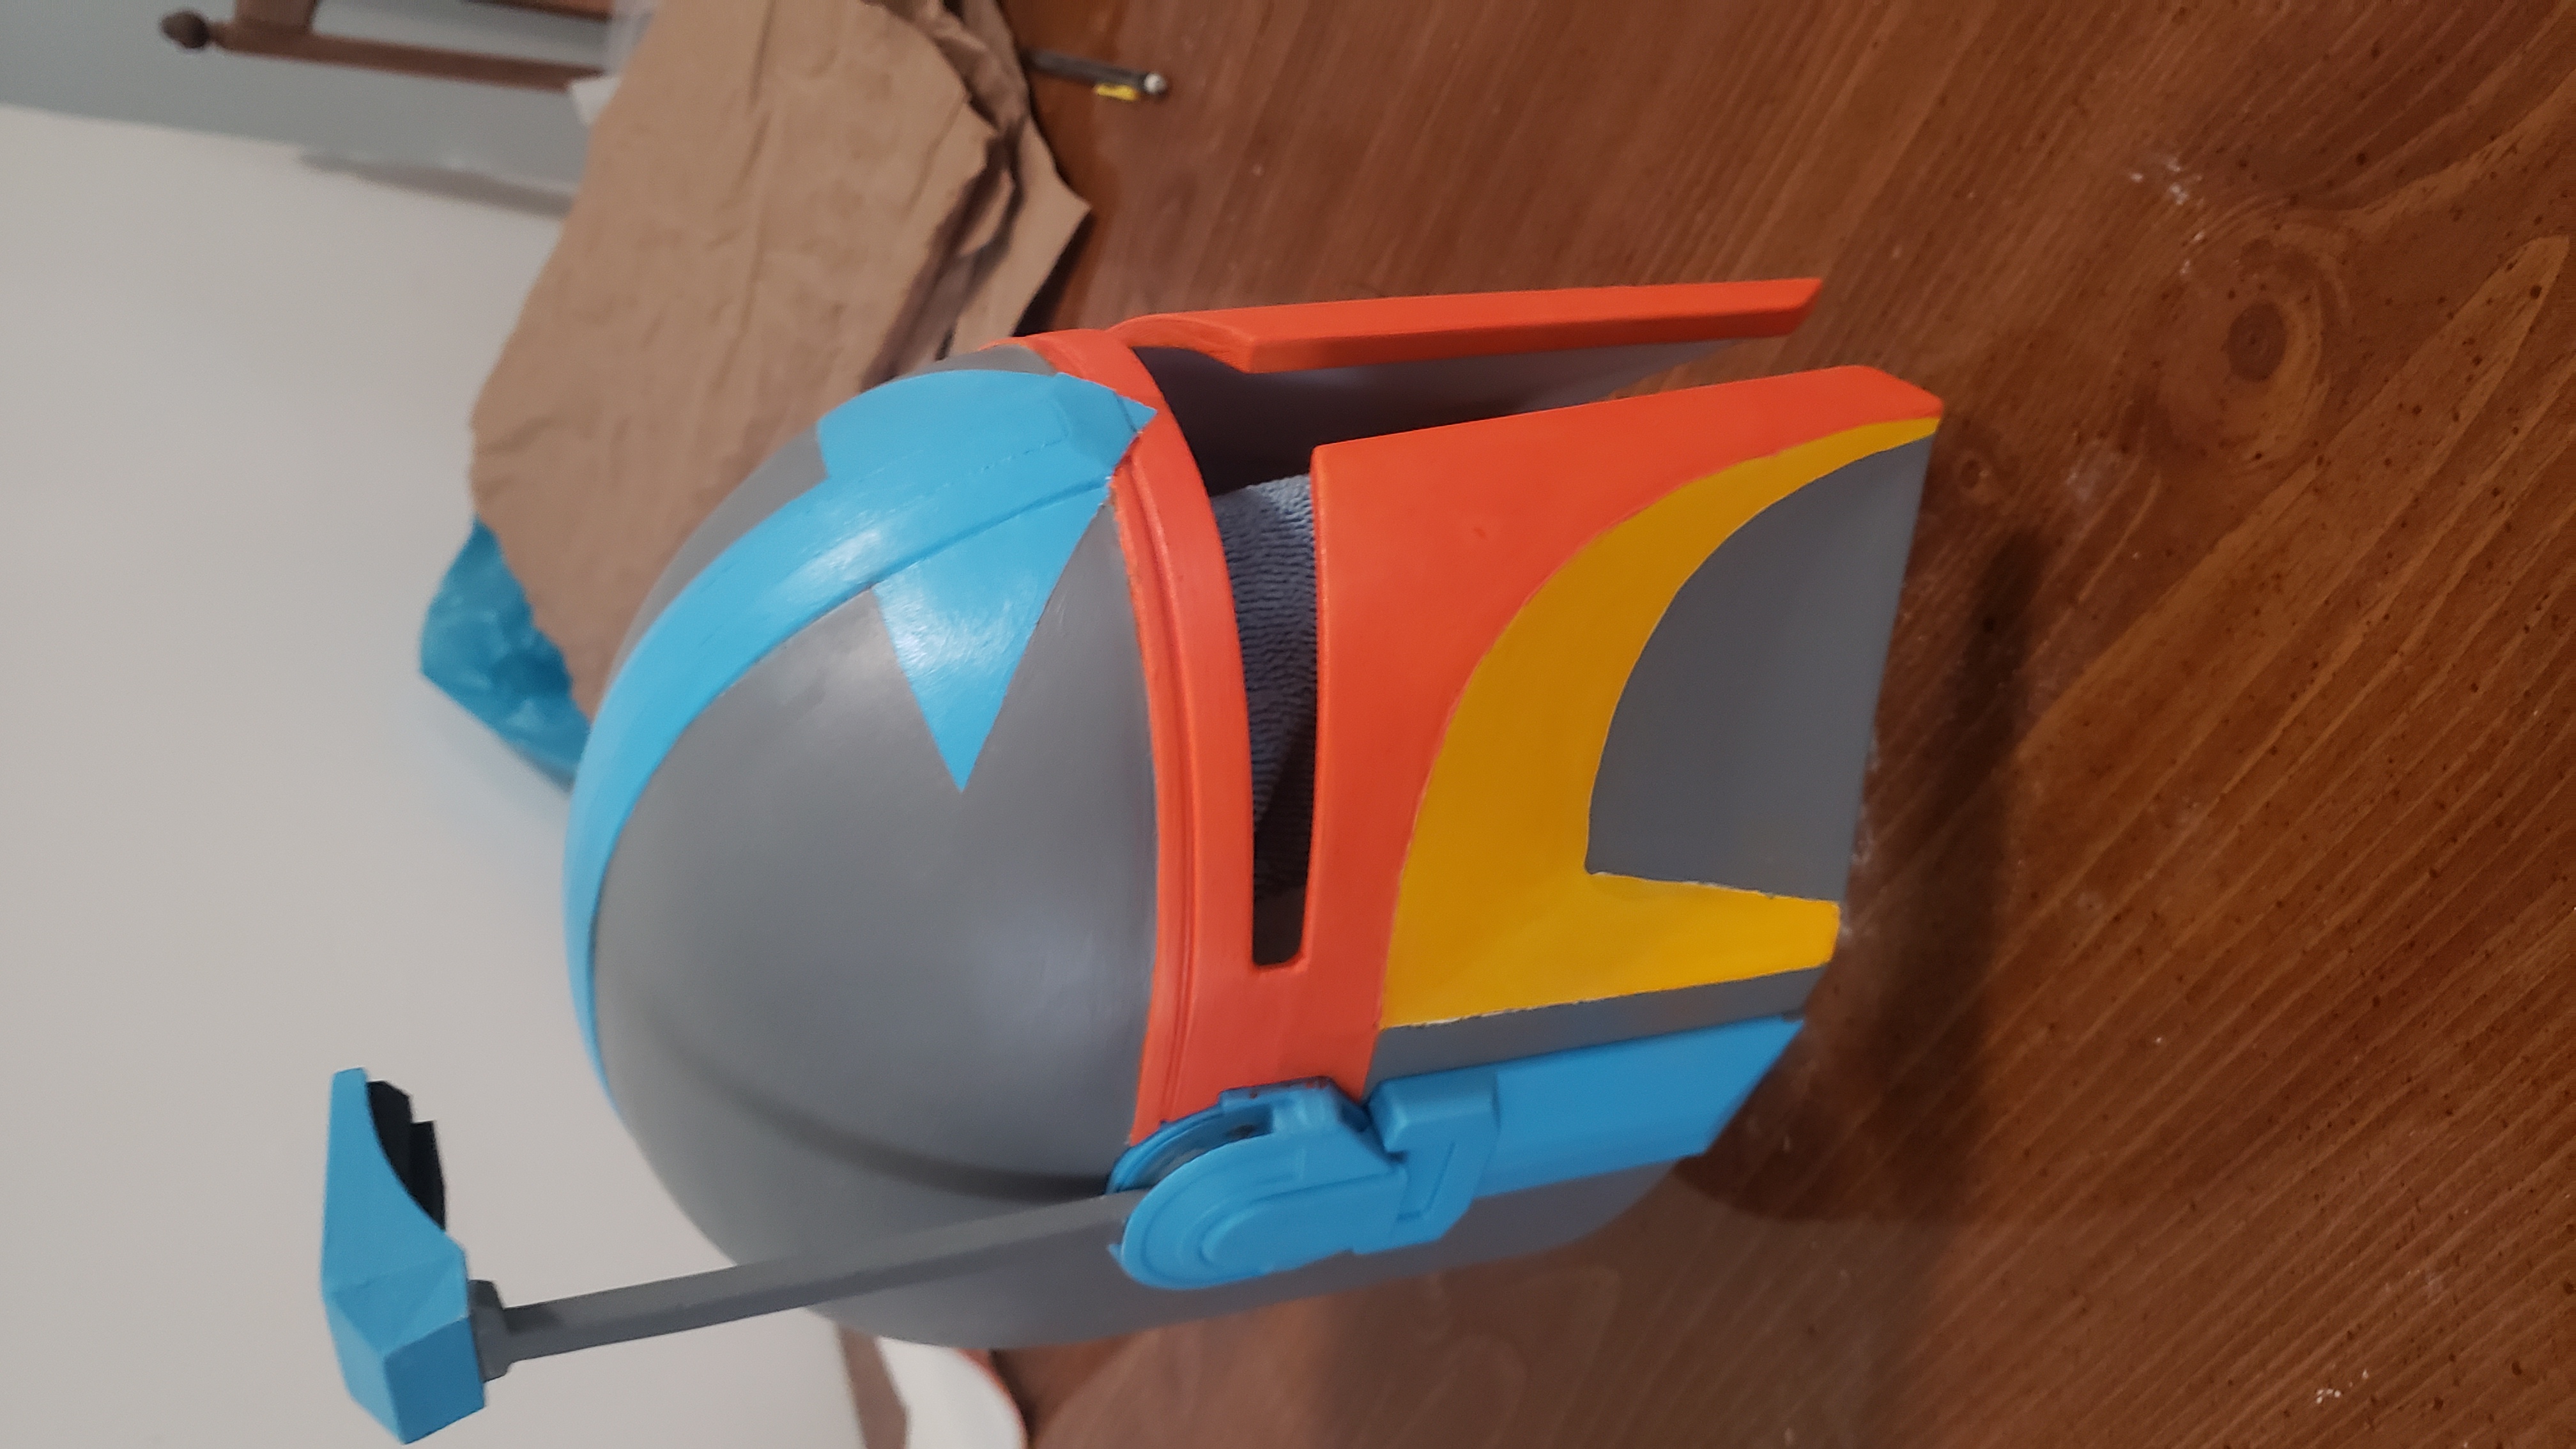
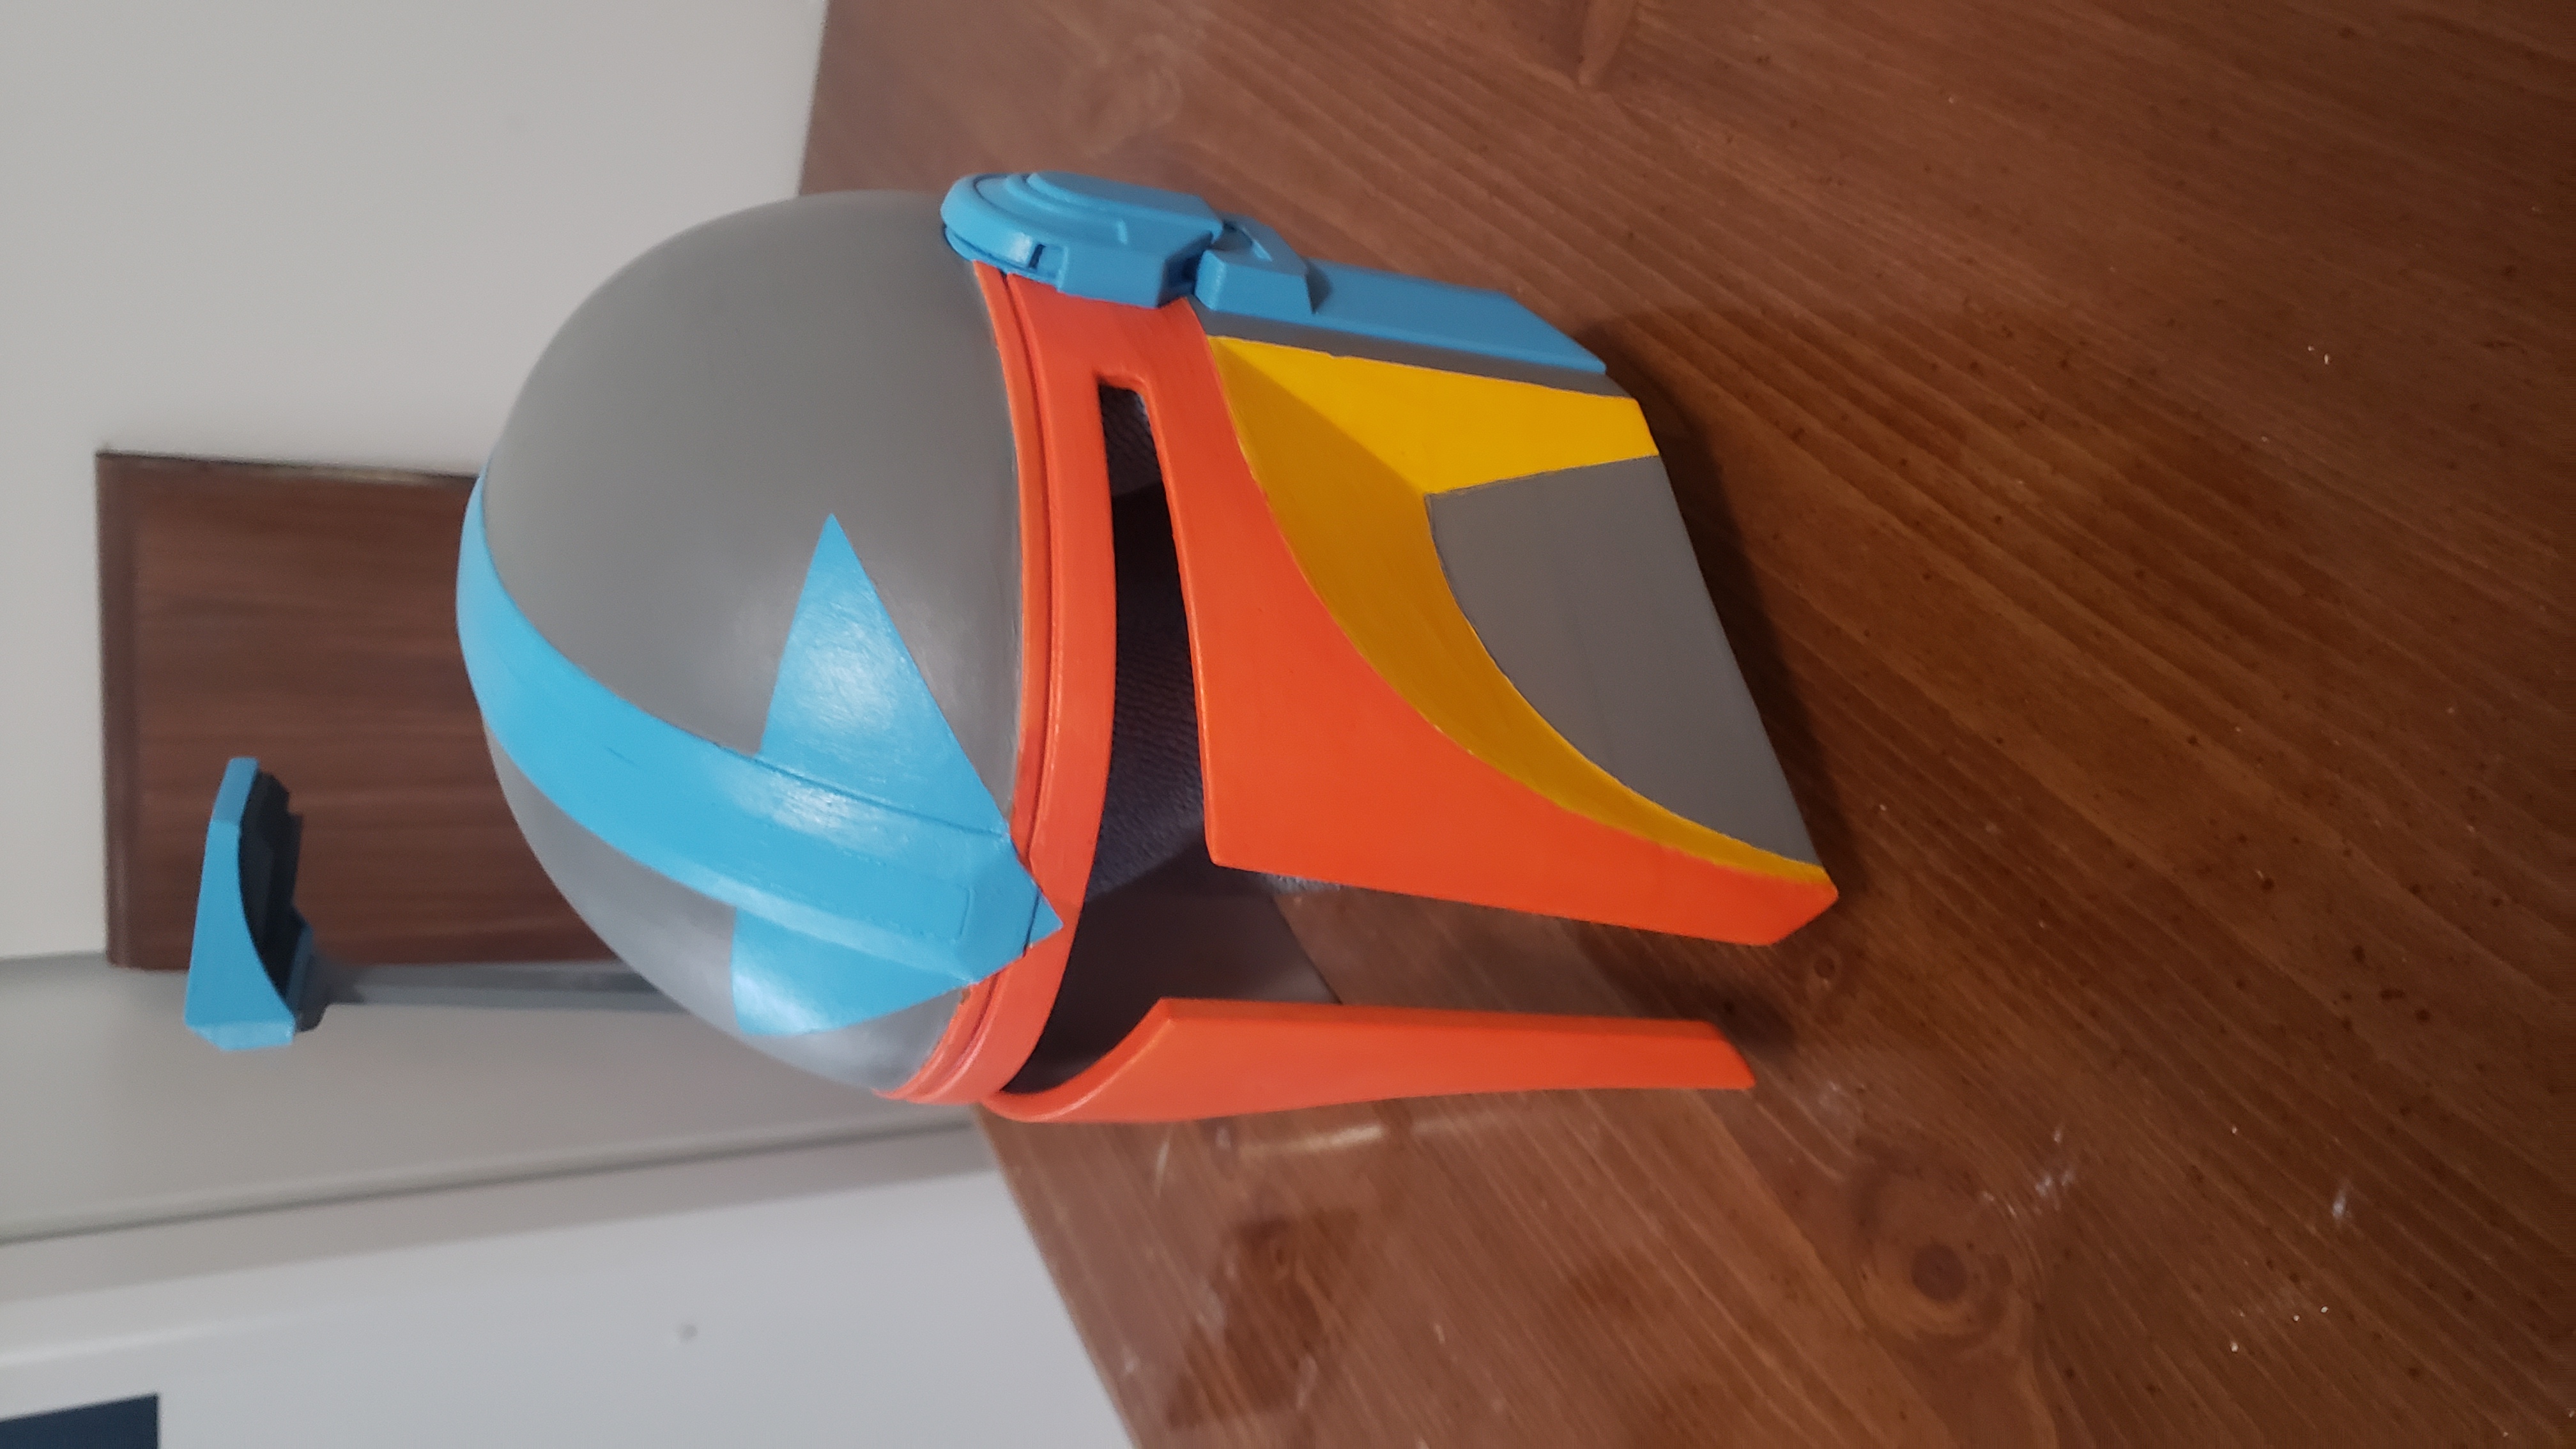
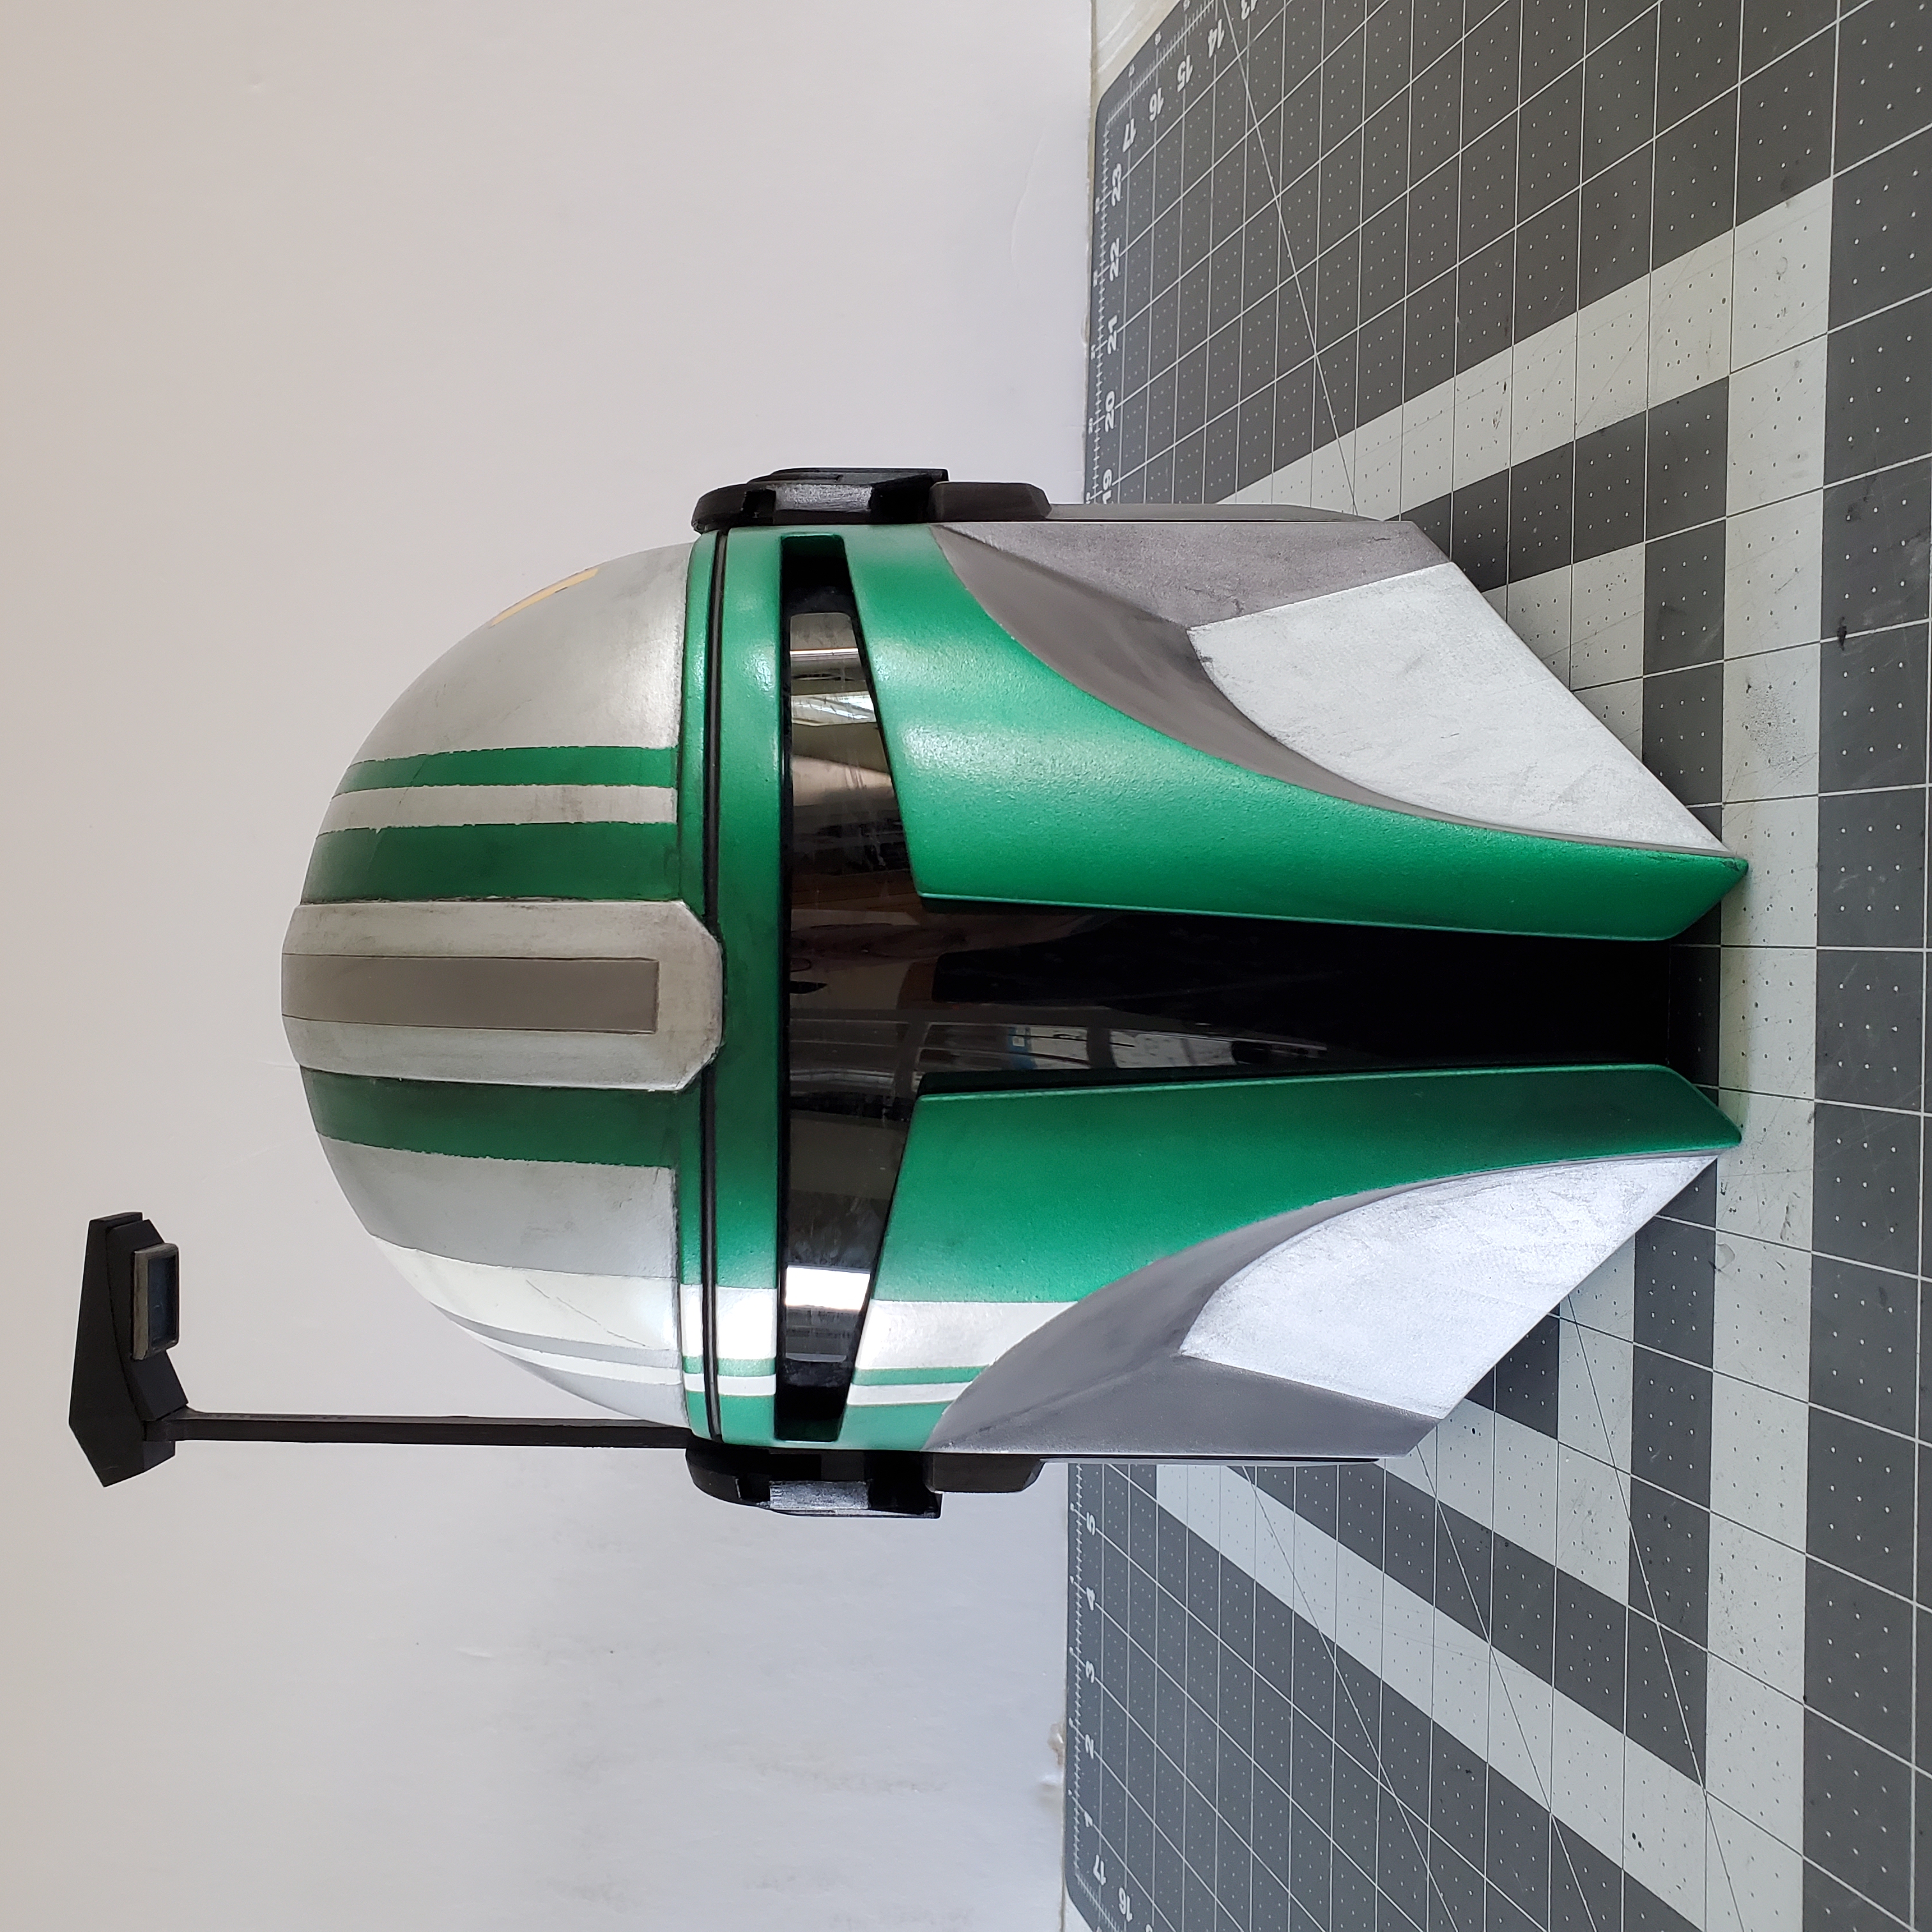
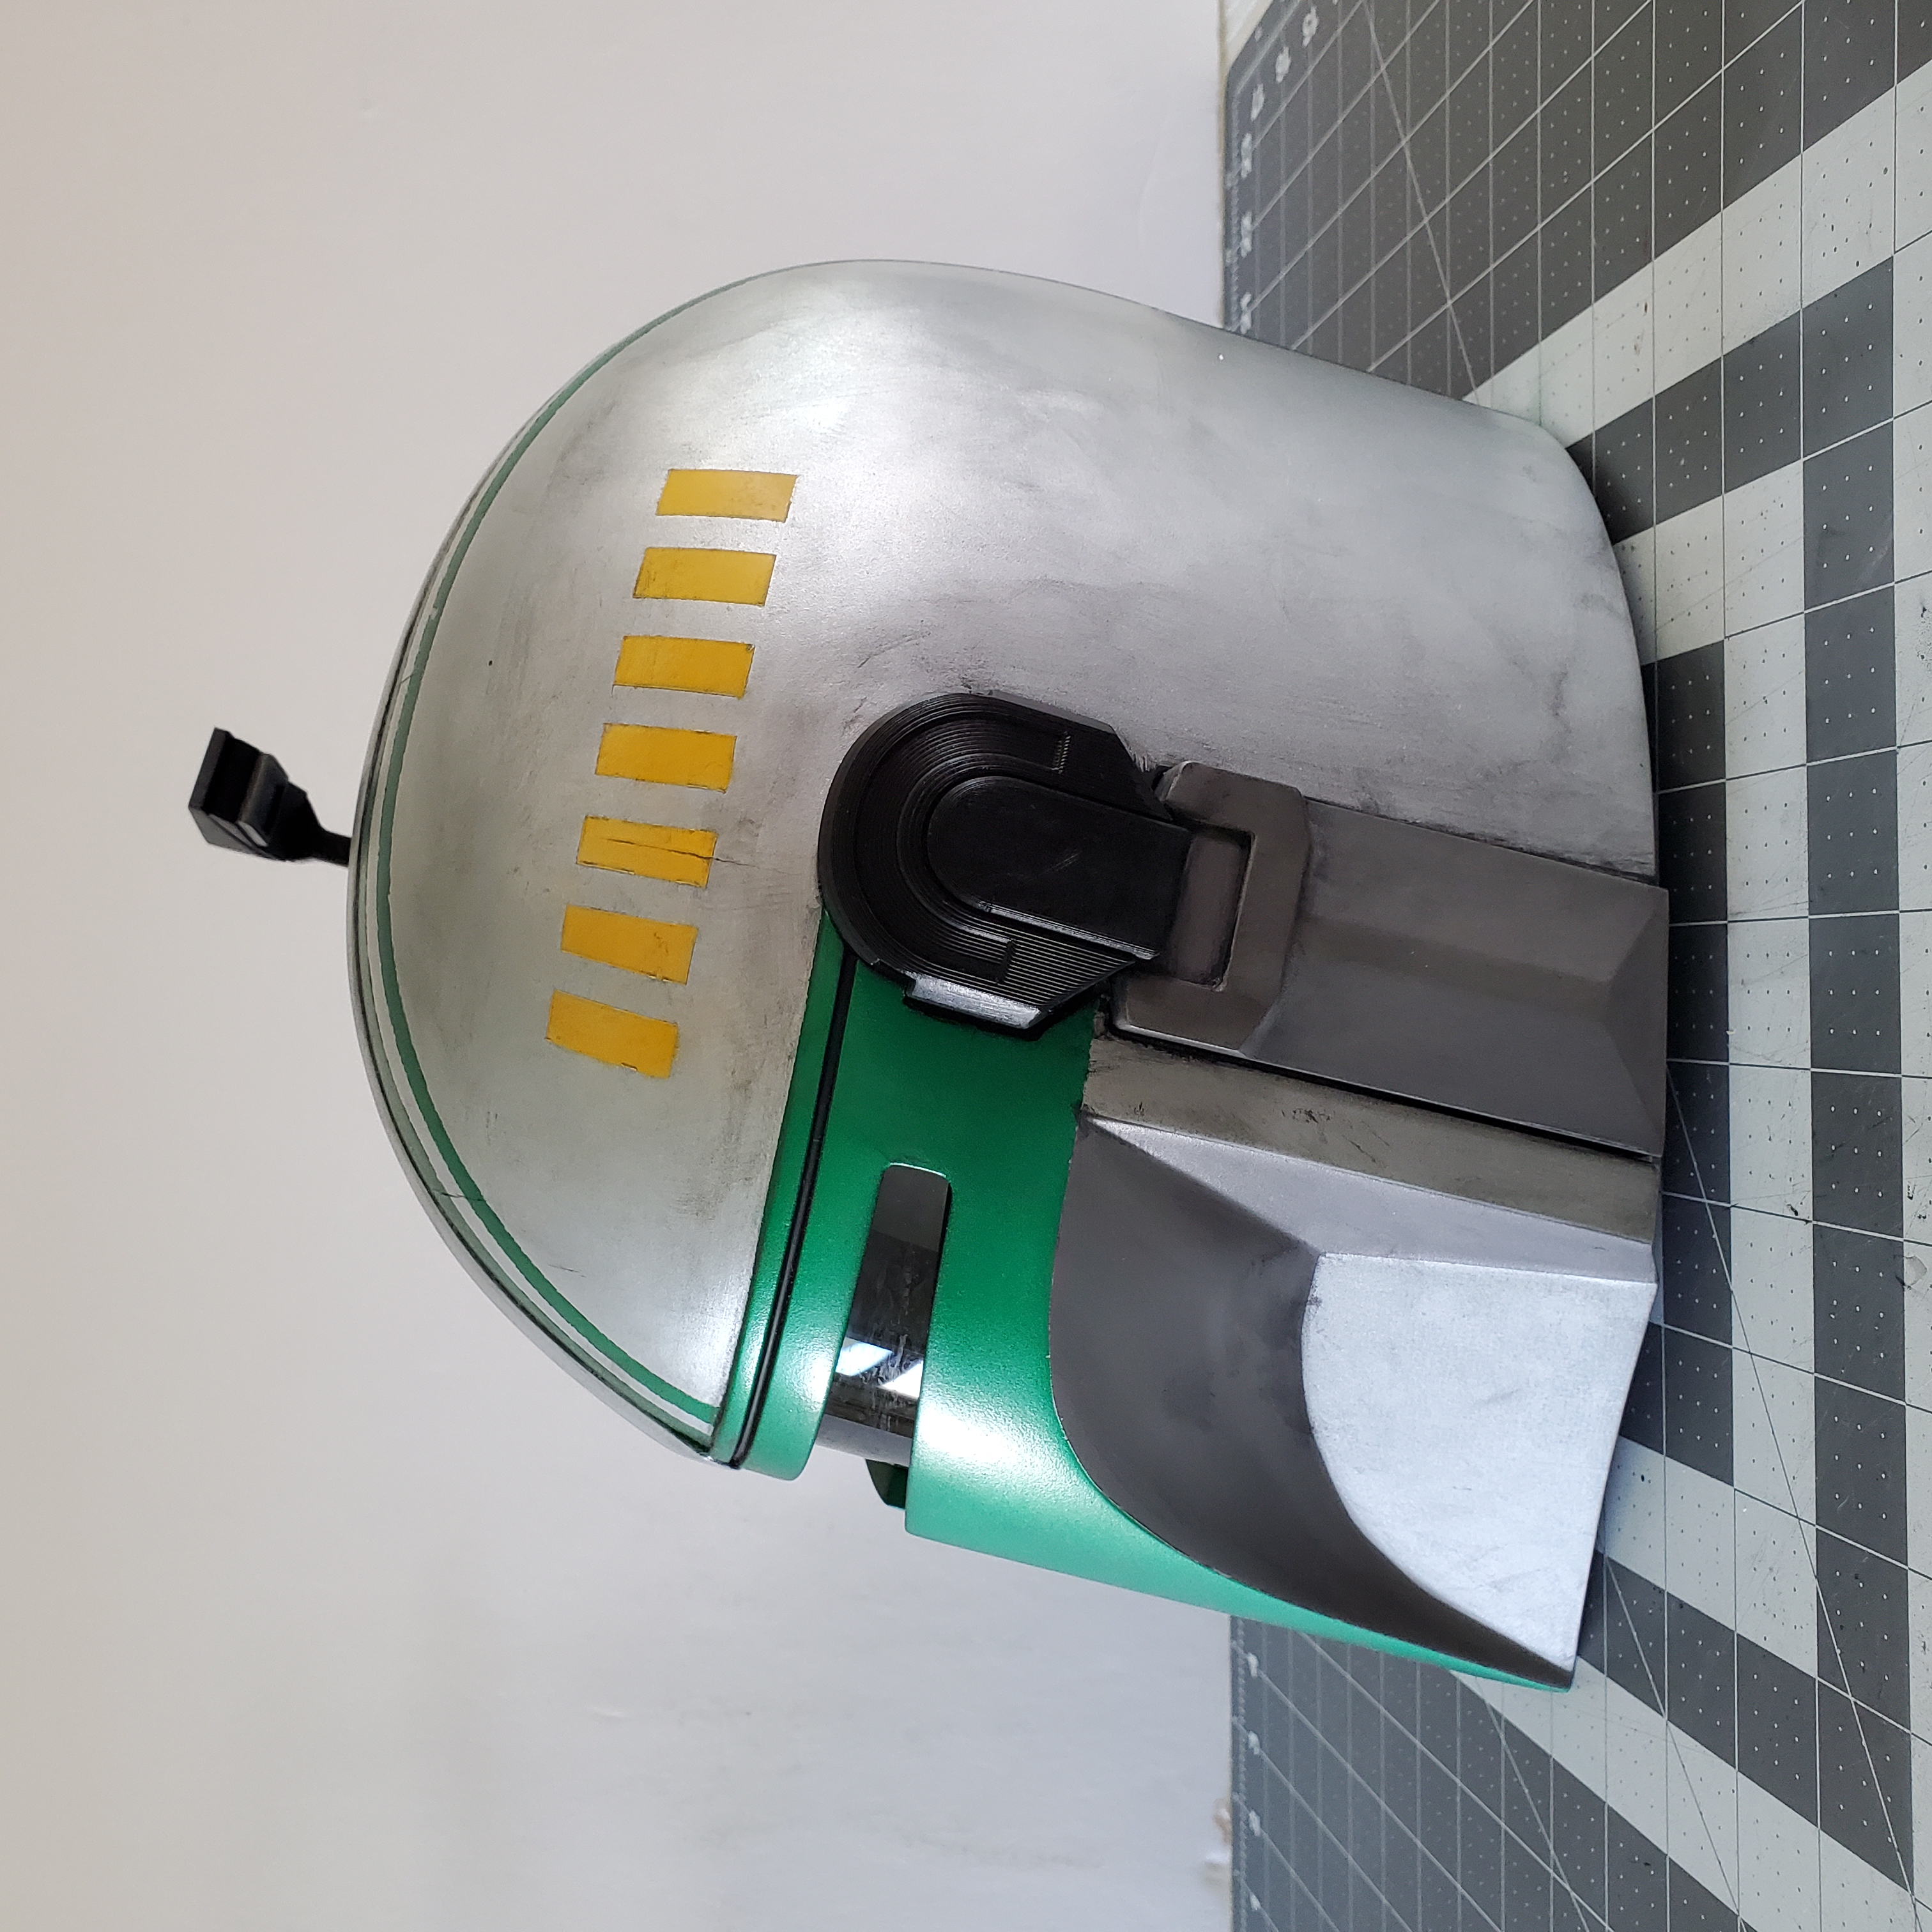
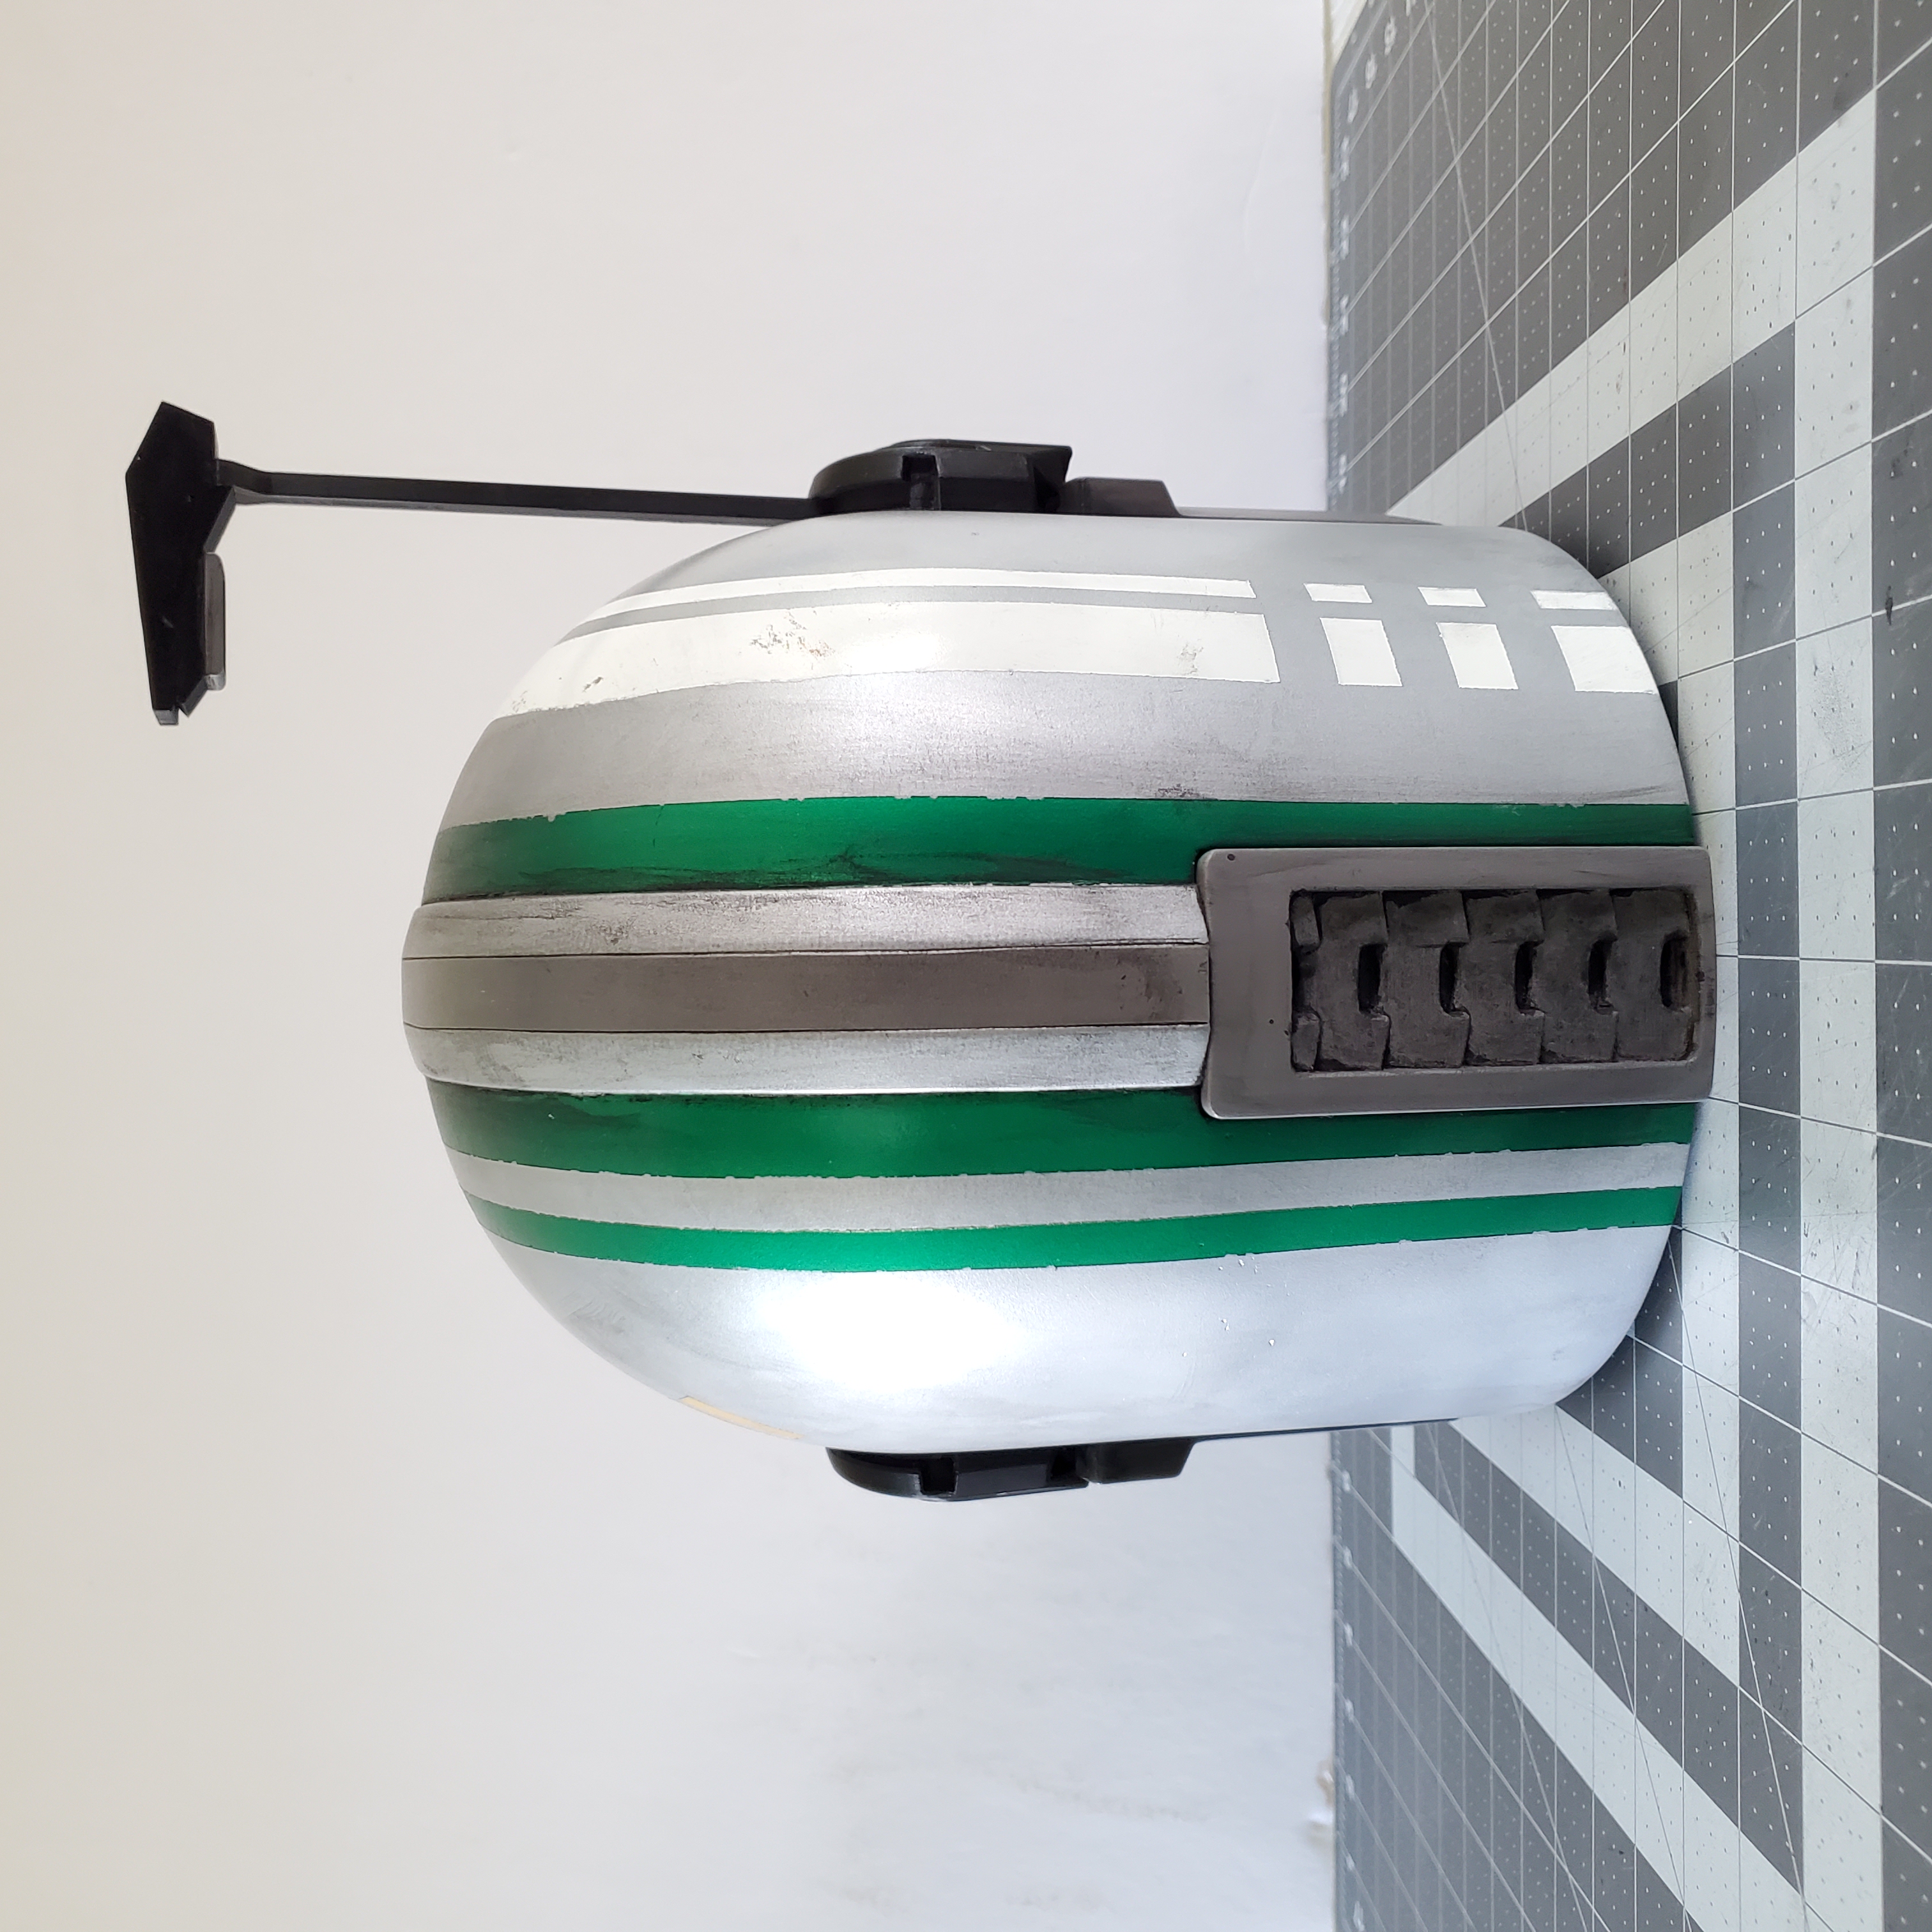
I love this .stl! I personally wanted a range finder so got permission from rob to modify the right upper ear piece and share what I made, feel free to message me if you'd like the files! Here is a crappy picture of how it turned out. Ill share more as I put things together.
Printed the 8-piece slices at 100% on my son's new Ender 3 v2. So far so good! Next up - epoxy then sanding! https://www.tiktok.com/@dapperjackdanger/video/7076645699055652138?is_from_webapp=1&sender_device=pc&web_id=7073577687130457643
Printed the 8-piece version on my son's new Ender 3 v2 printer at 100%. So far so good! Next up - epoxy assembly! tiktok.com/@dapperjackdanger/video/7076645699055652138
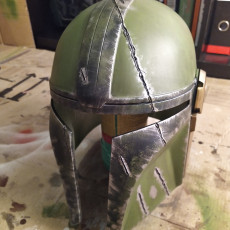
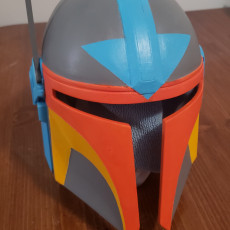
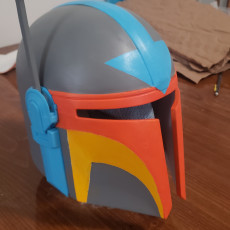
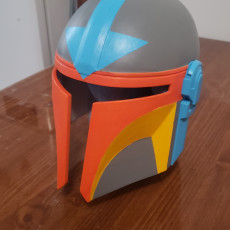
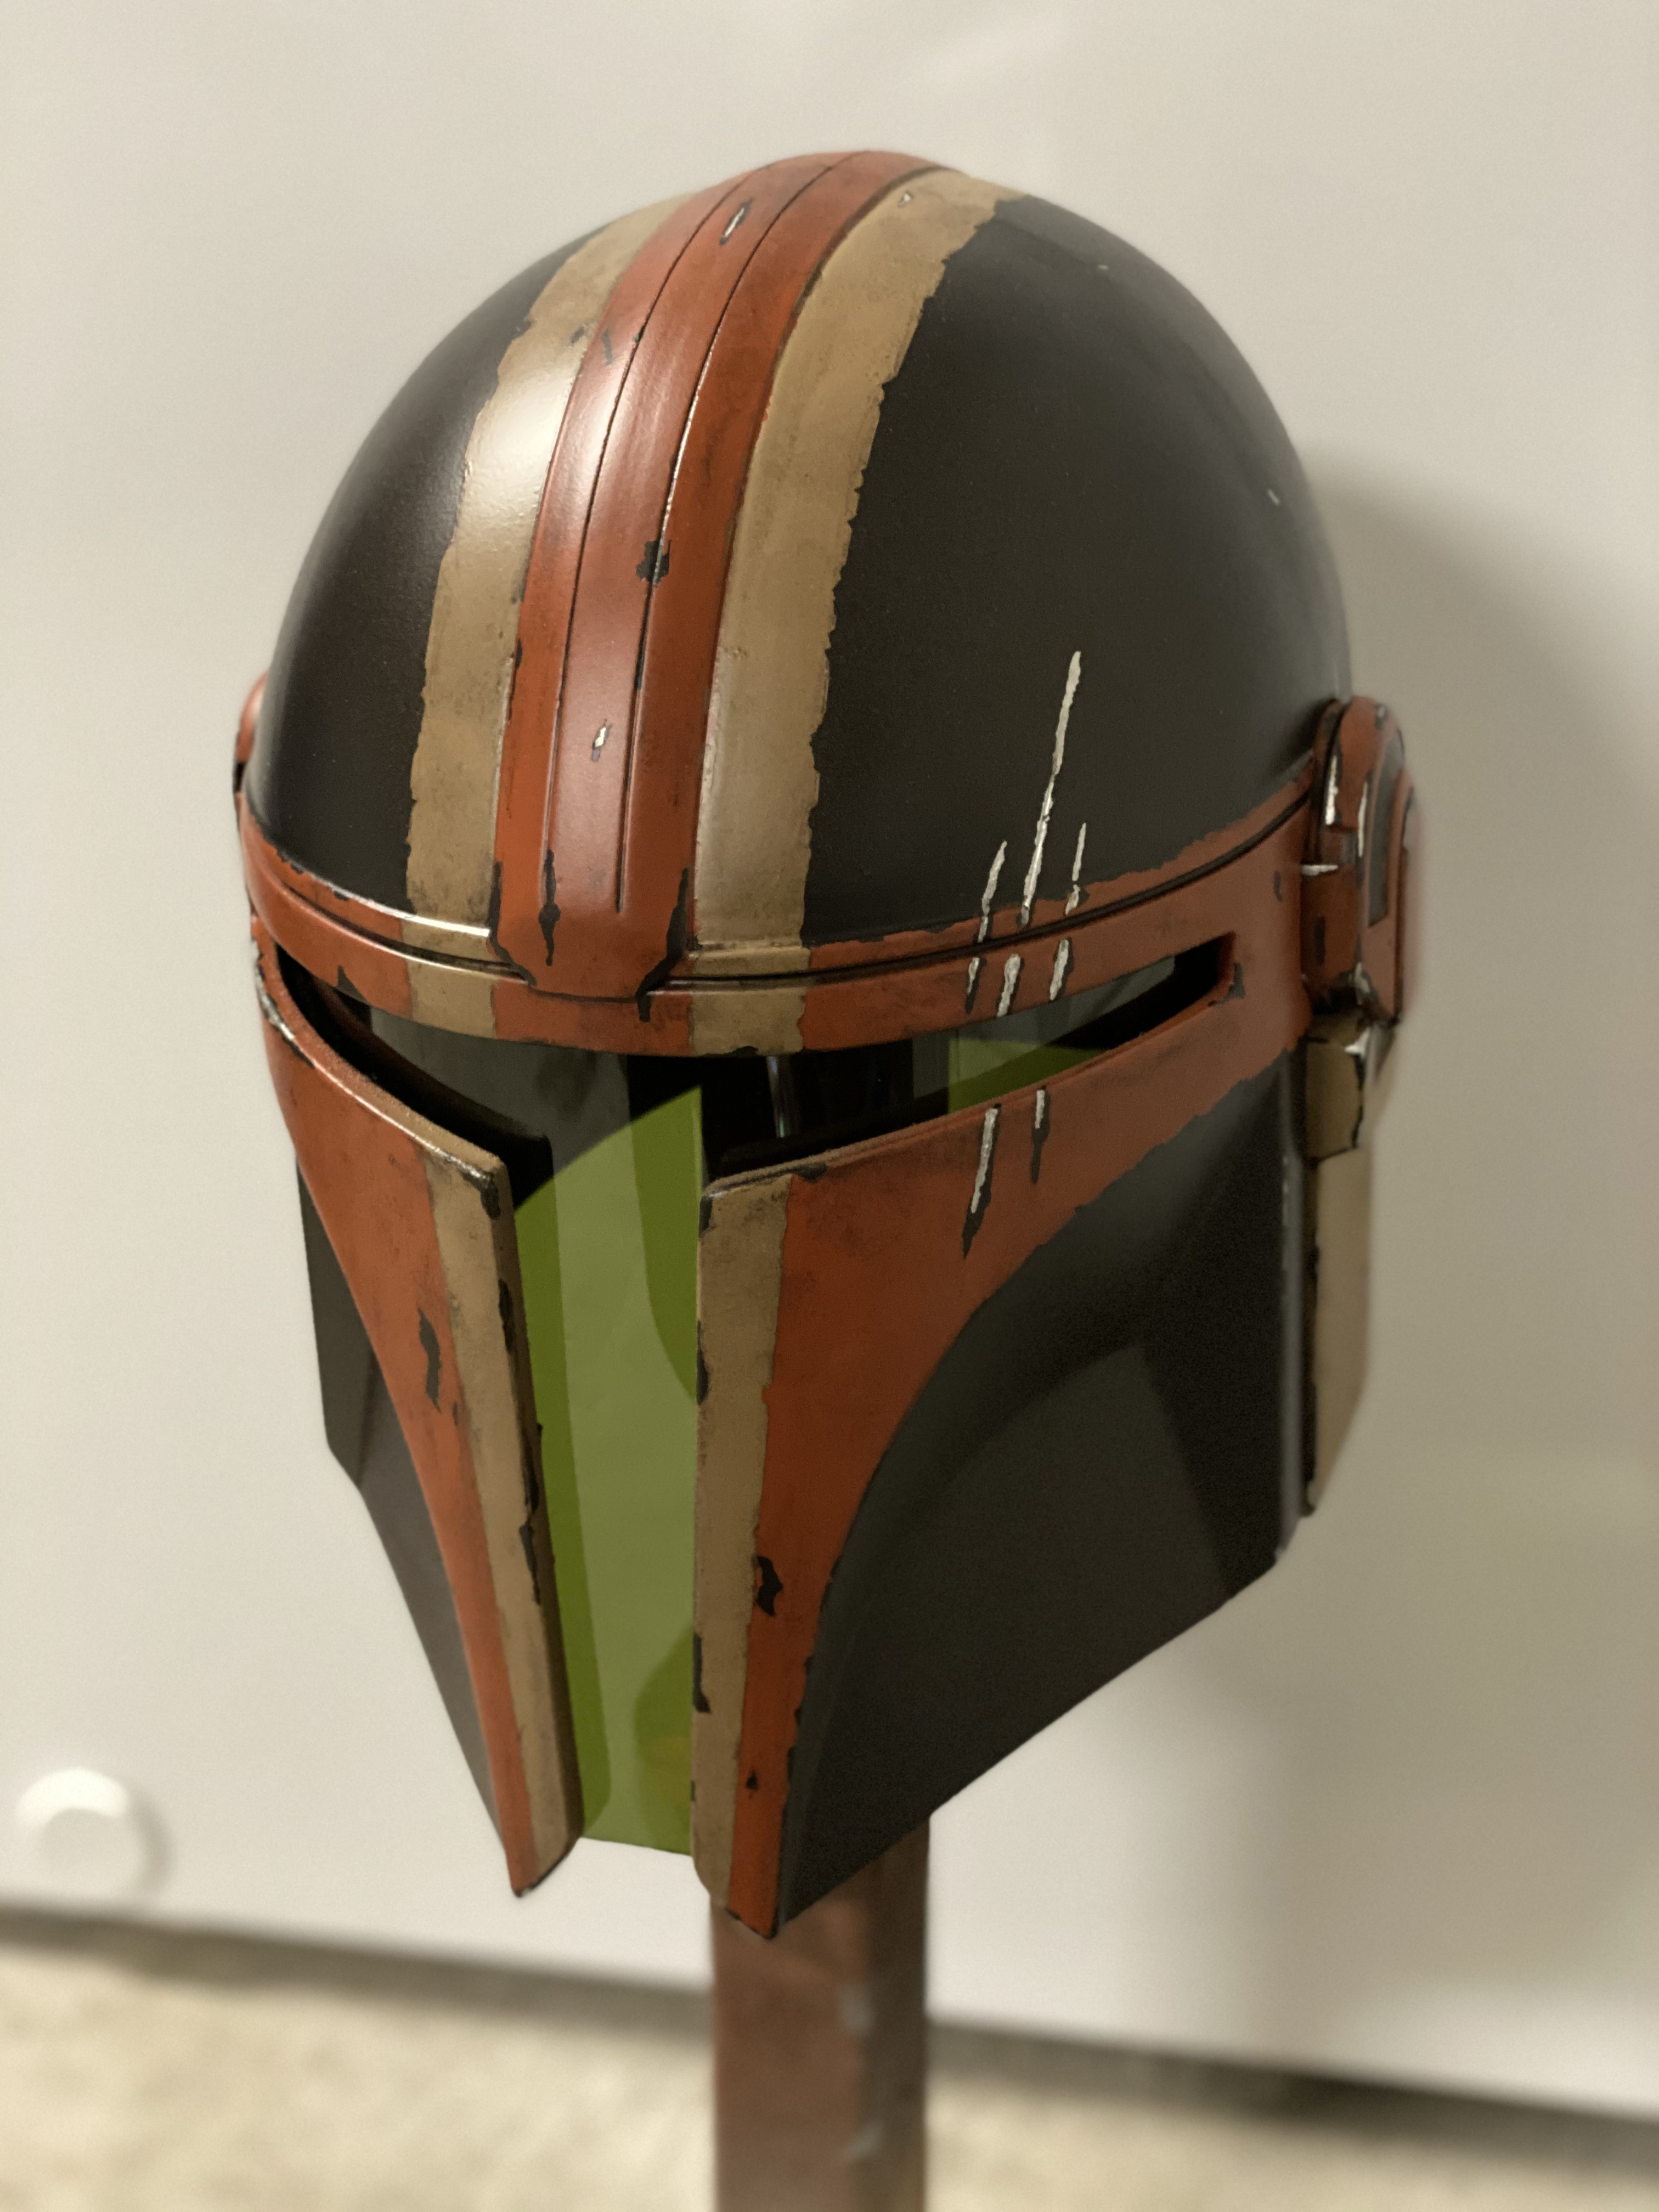
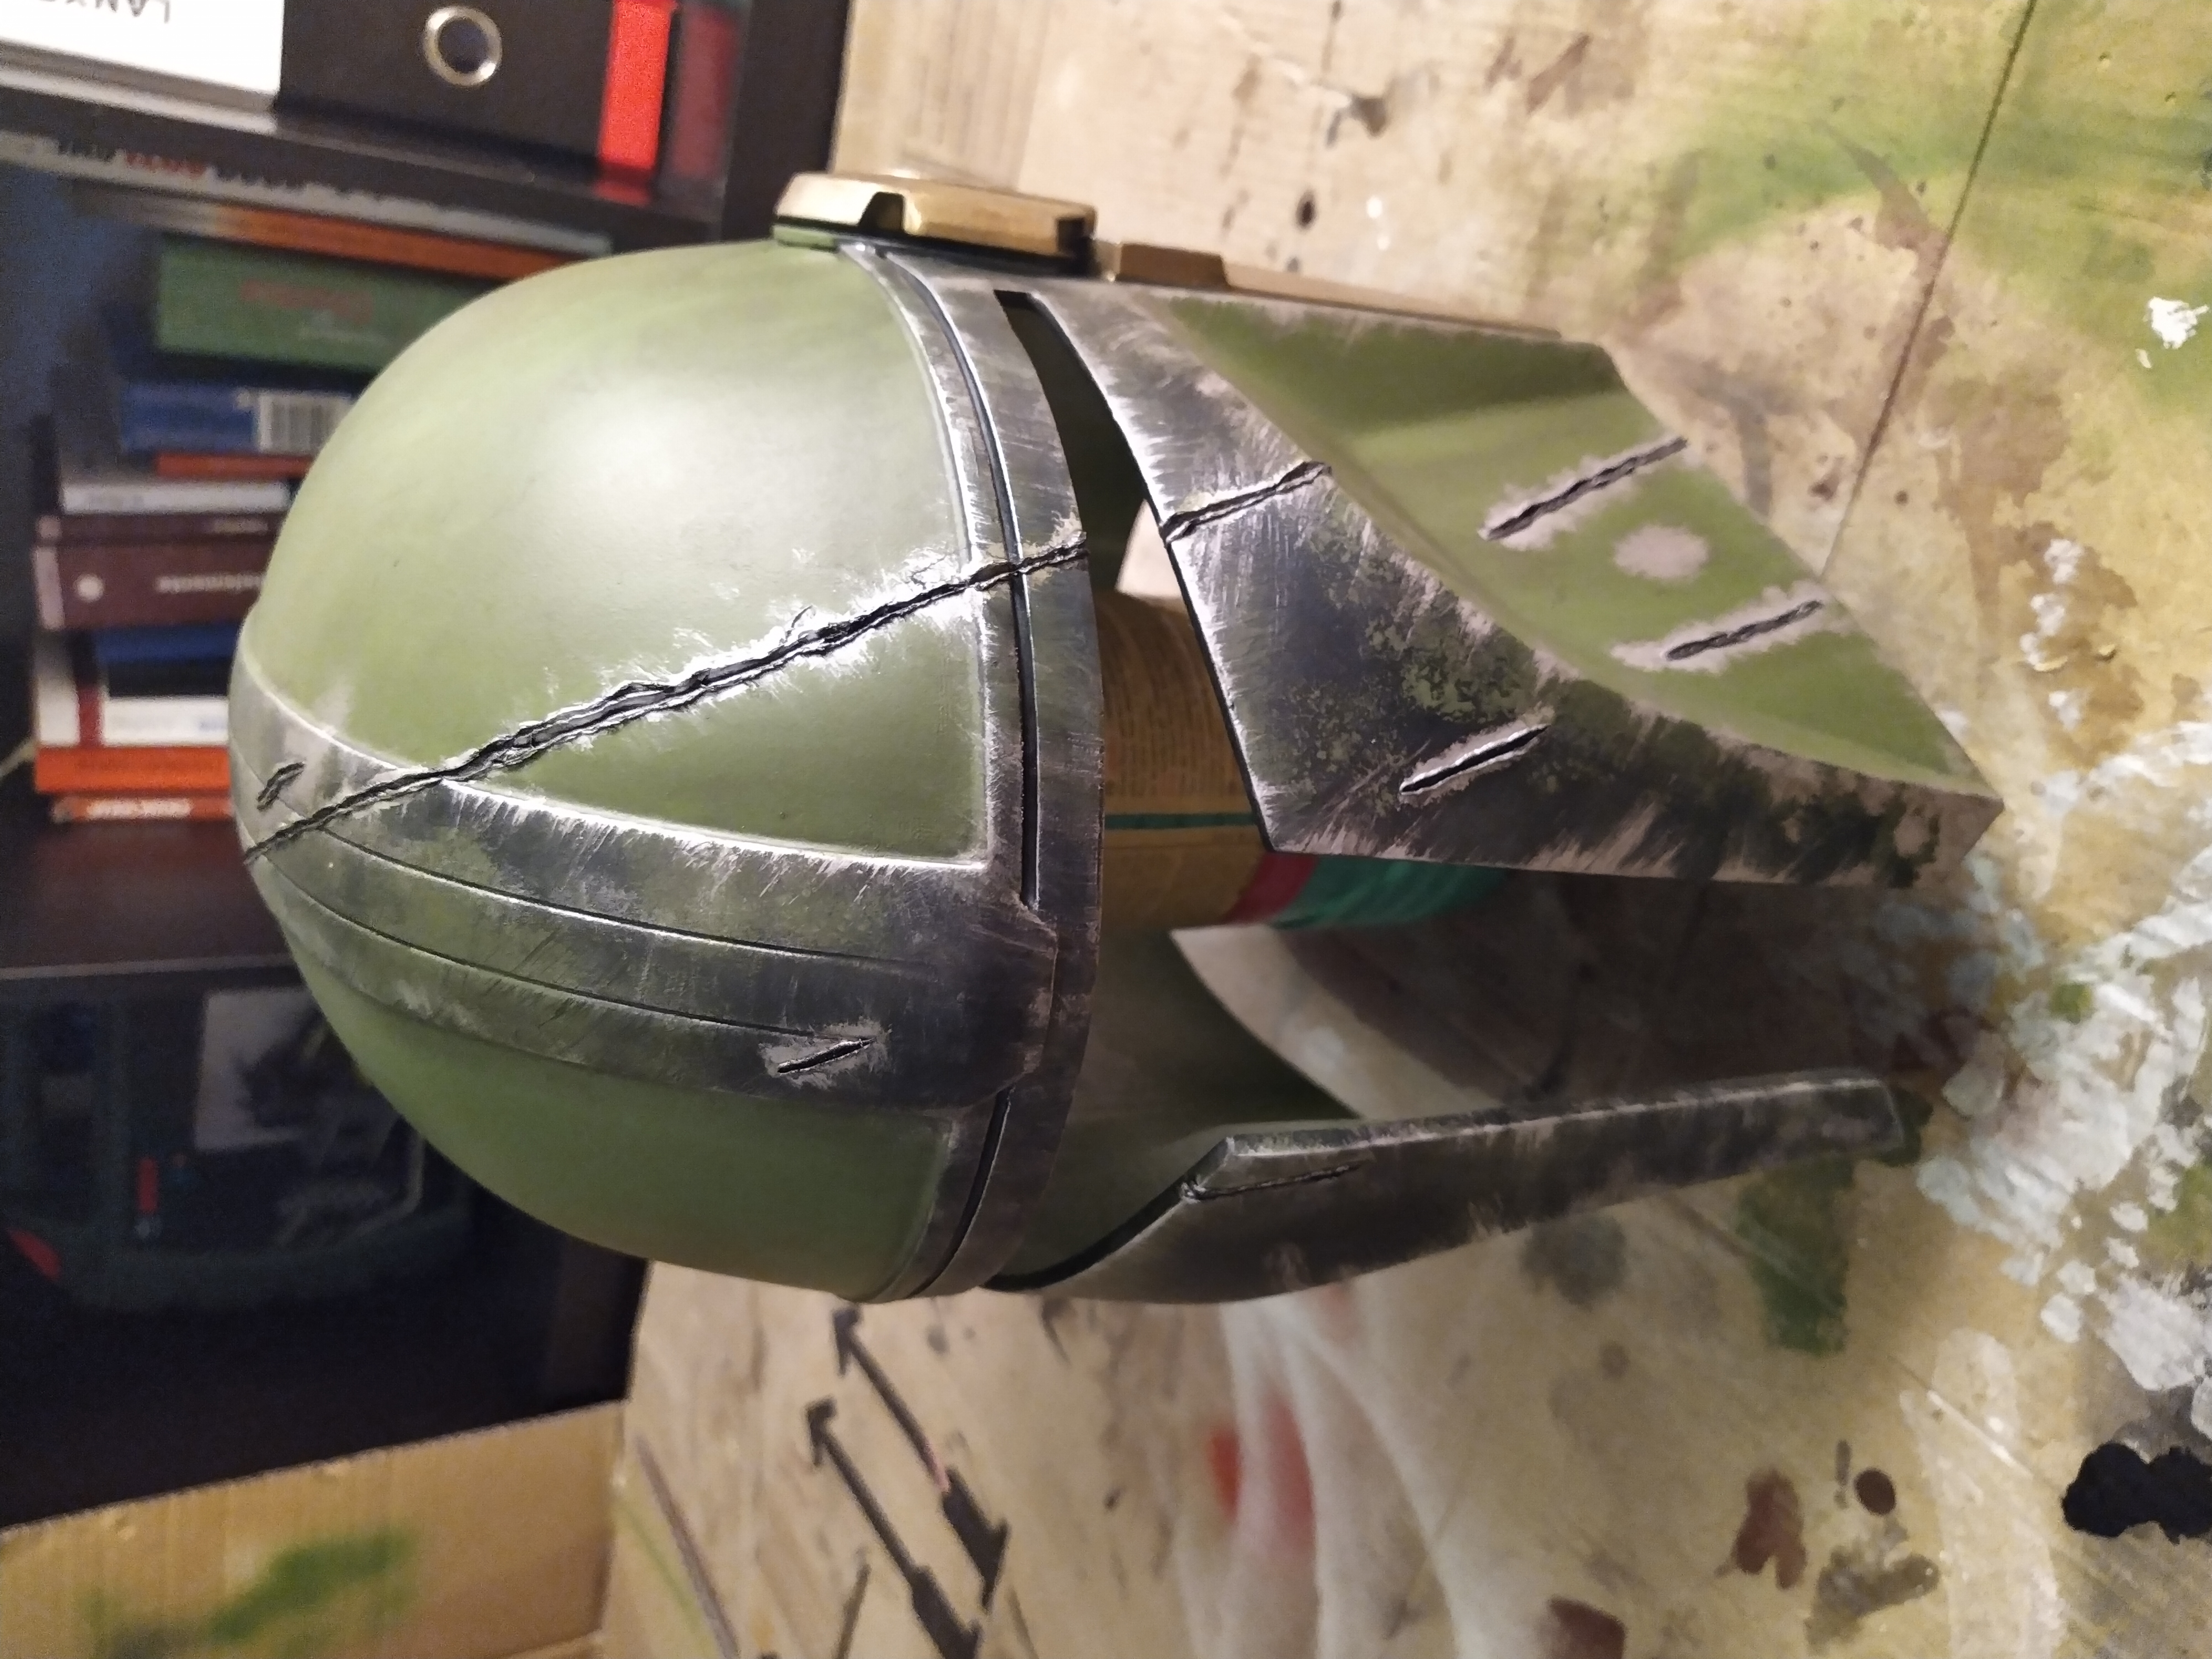
My 'Avatar the Last Airbender' Tribute with Range finder. Hope yall like it
I loved making this helmet. great model and I loved the result I got when painting.
This is my 3rd print of this marvellous helmet. The first one fell to a concrete floor and smashed :( the second one only had 10% infill and ended up with a diamond effect in the sun. Number 3 - sliced to fit on the Ender 3 and glued together, primed and sprayed. :)
Printed on my Elegoo Neptune 3 Plus. My first big print. Took 48 hours with internal supports blocked out in Prusaslicer. Just got to print the other bits, sand, prime and paint. Many Thanks
Final day working on this project, lot of fun, glue job on the cheeks is kinda lopsided
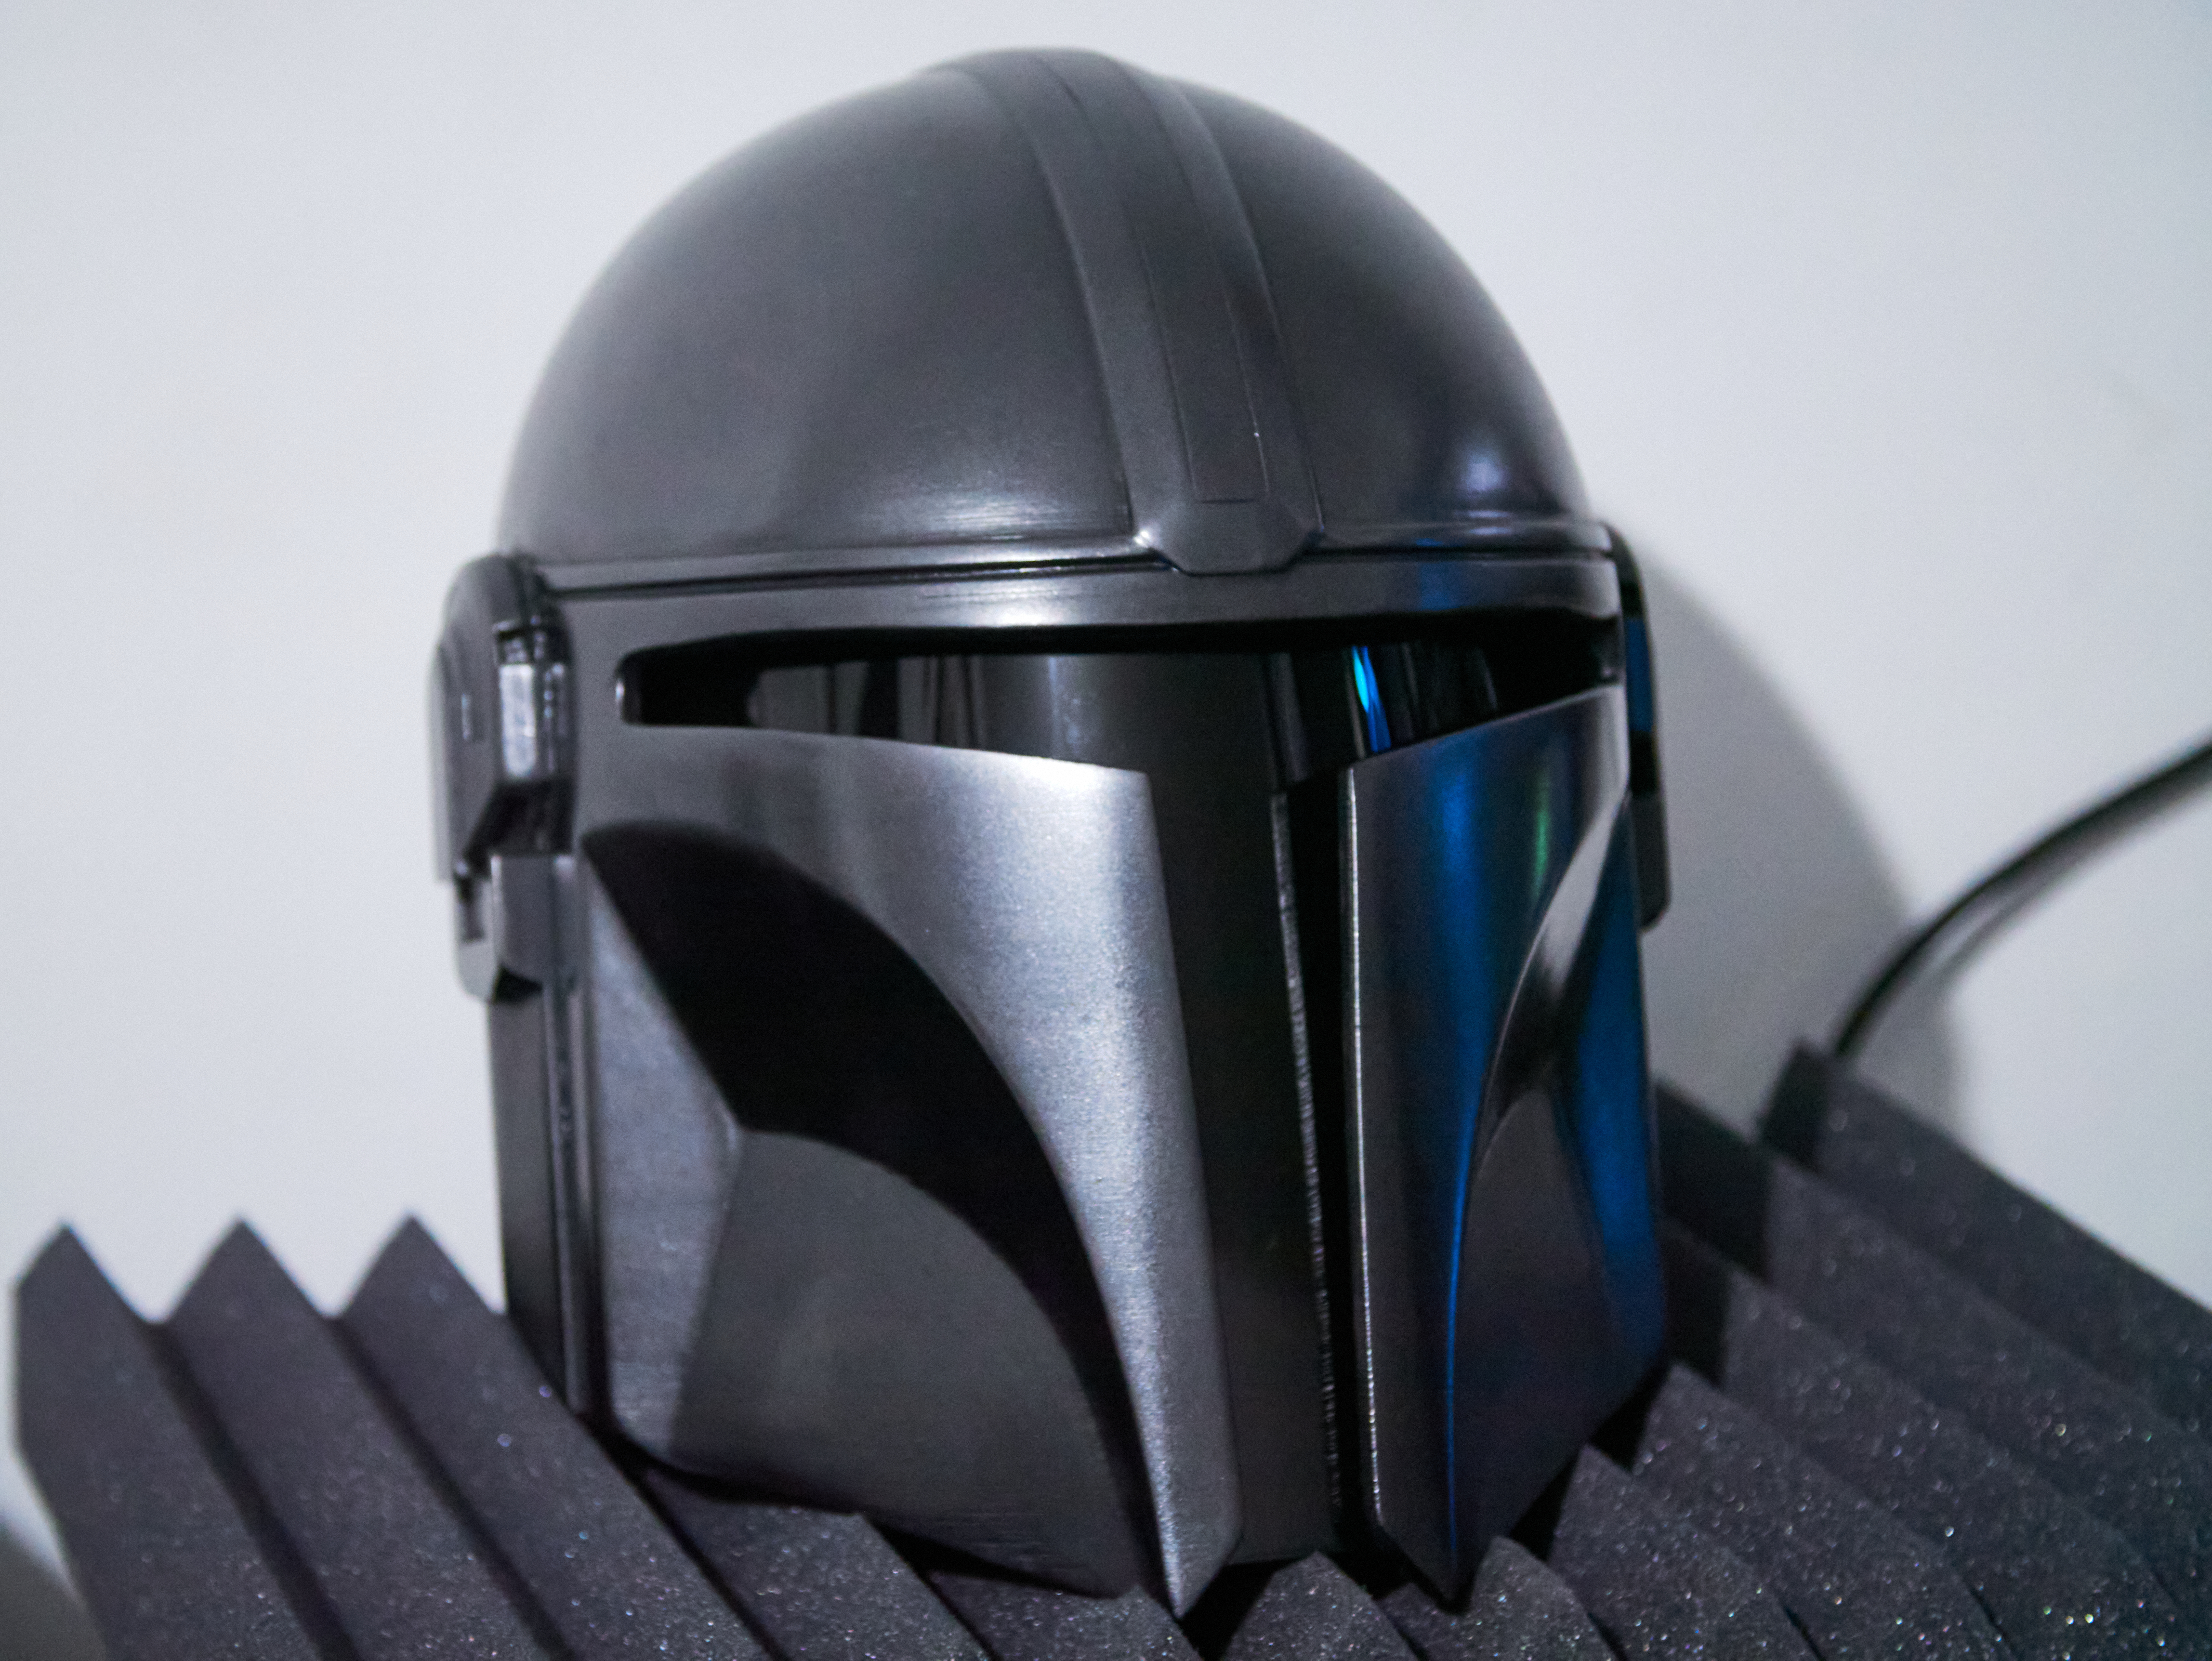
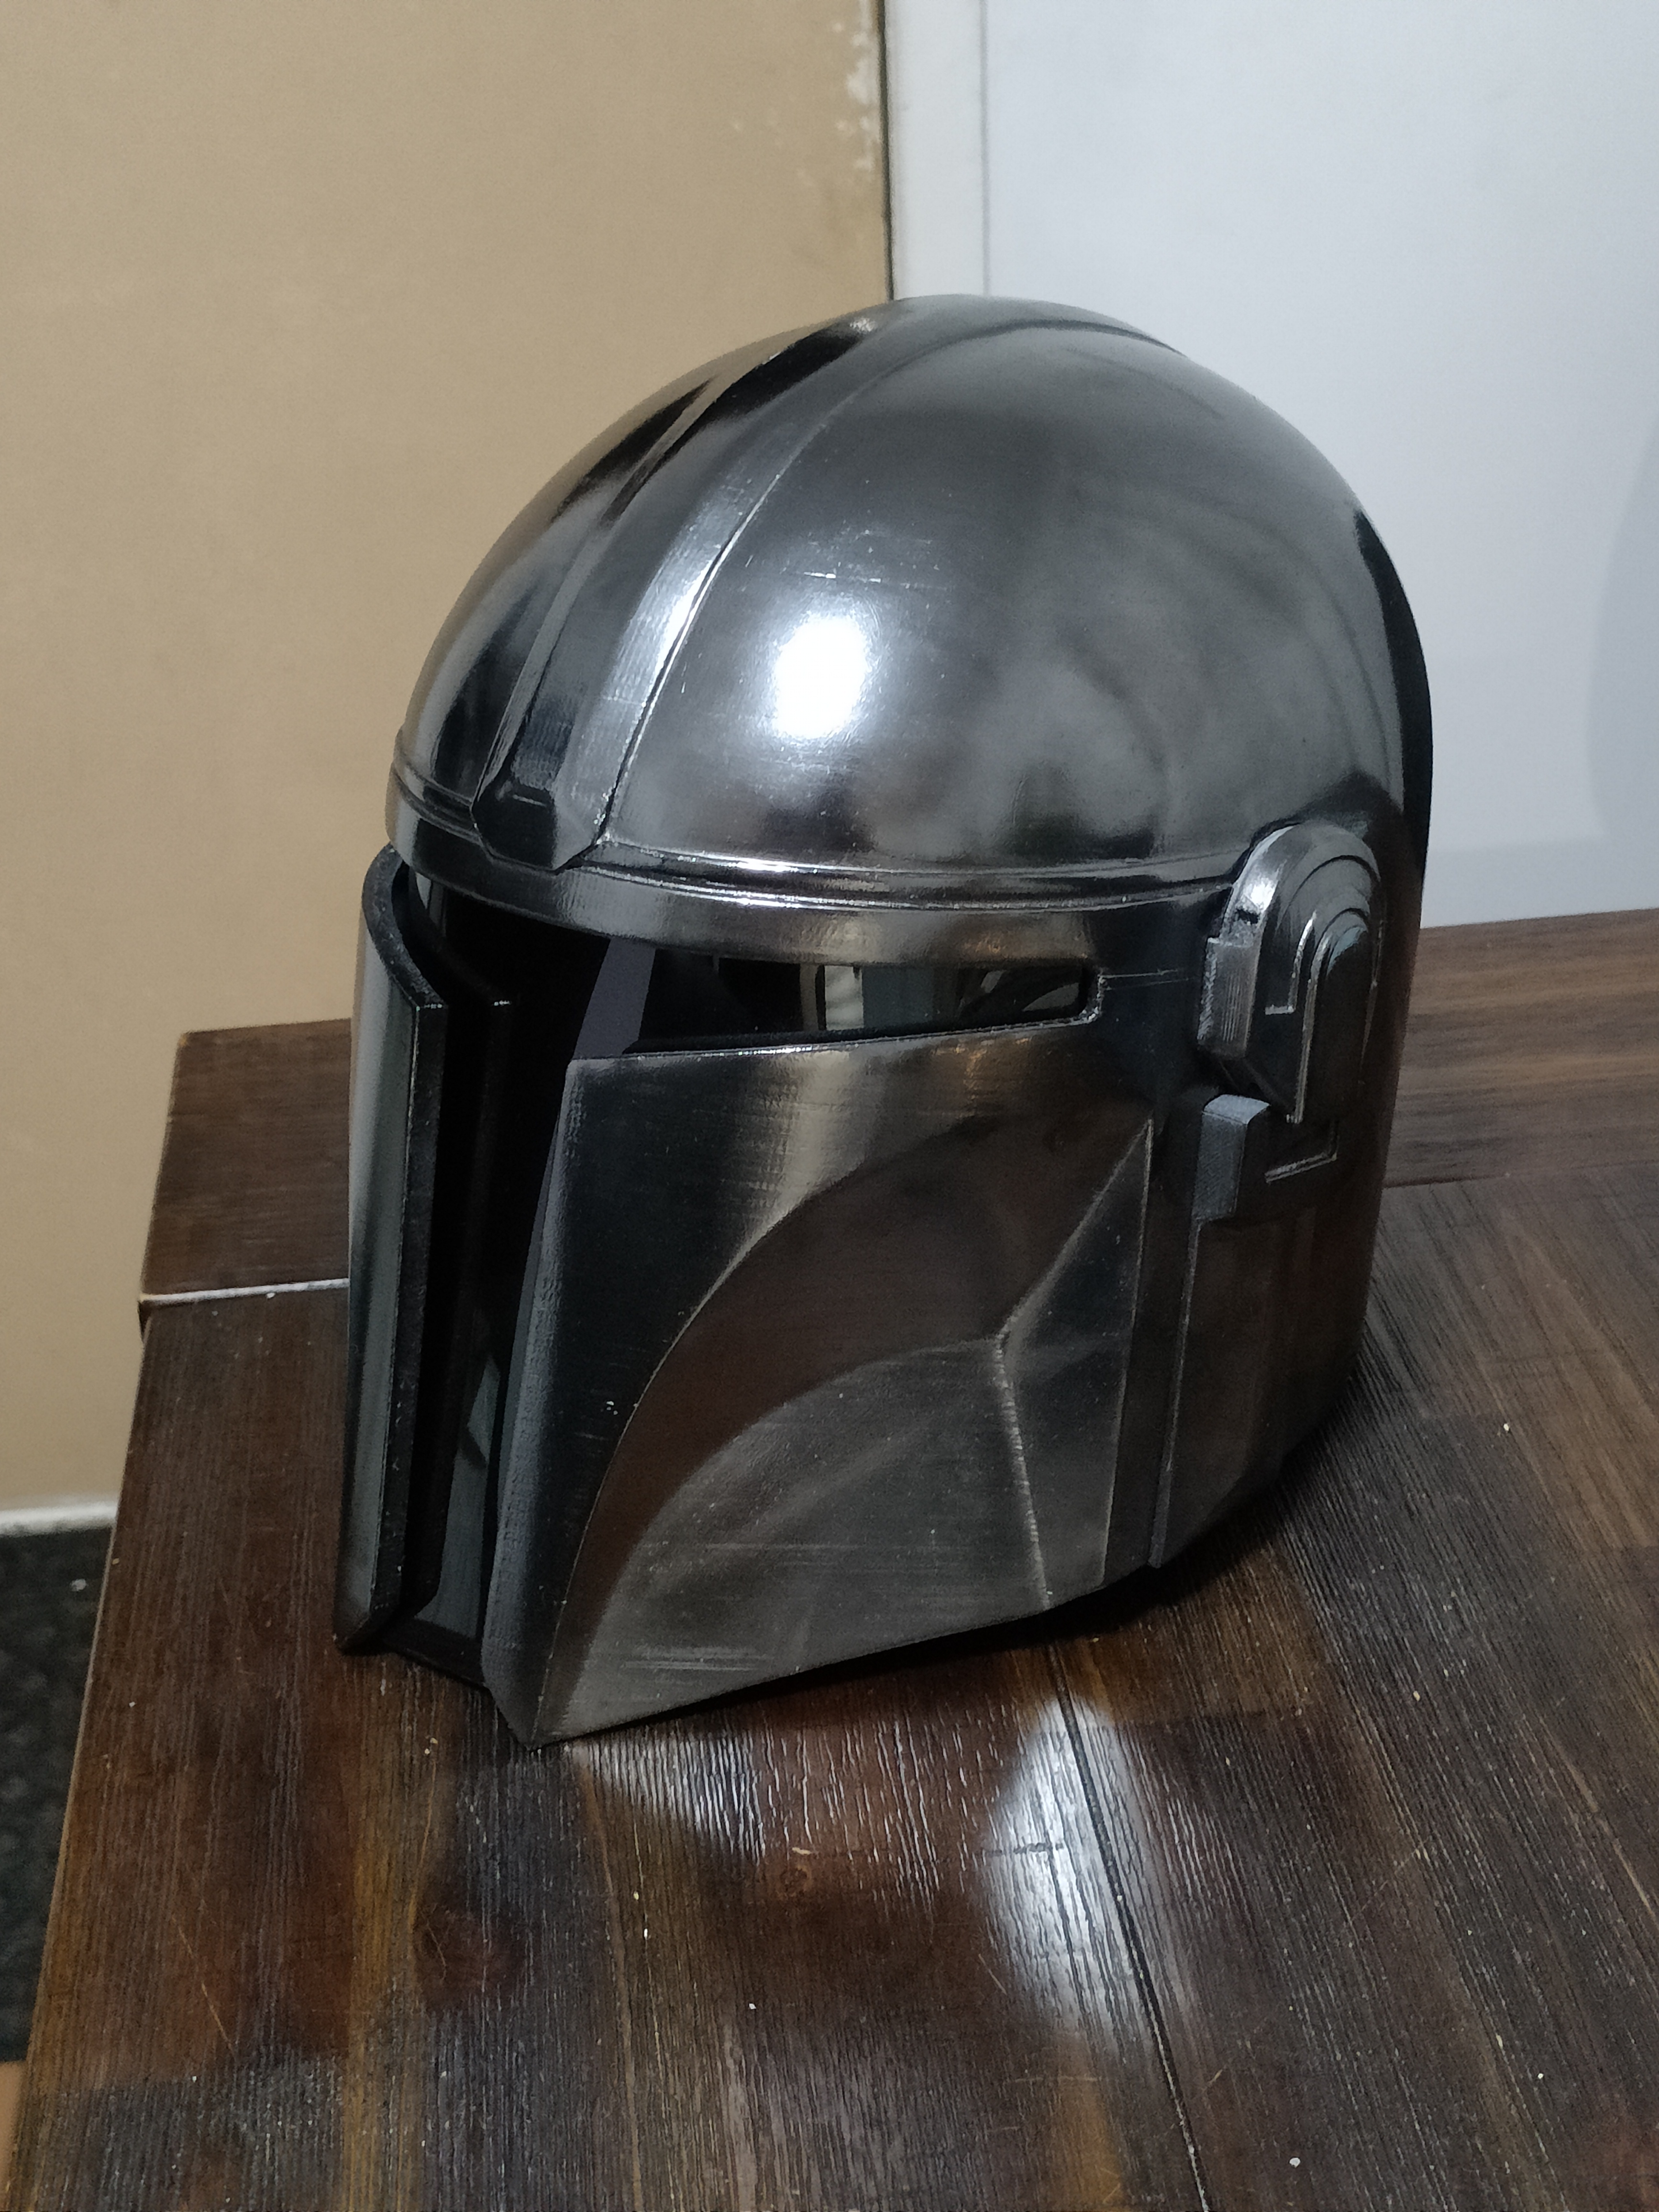
For the finish I used gloss black spray paint and rubbed graphite powder into it. The graphite powder from the hardware store is cheaper and it works. For the visor I ordered 1mm clear PETG and roll of automotive tint. For prepping the surface I used spray putty primer although later I found it easier to use wood/gap filler before priming.
This is a really great model. It was easy to print. I really appreciate the ear pieces, and rear vent being separate from the helmet. It's a much better look, and allows for customization in the build process. I added my own rangefinder to this model. Fantastic work!!
Printed in PLA at 0.2 mm layer heights. No internal supports. Raised the whole thing about 2mm and printed the whole thing on raft/support. If I were to print it again I might try without supporting the back gap as well. I think it would bridge but might be a gamble. I'll add more pictures once post is done. Excellent design. Thanks Rob!